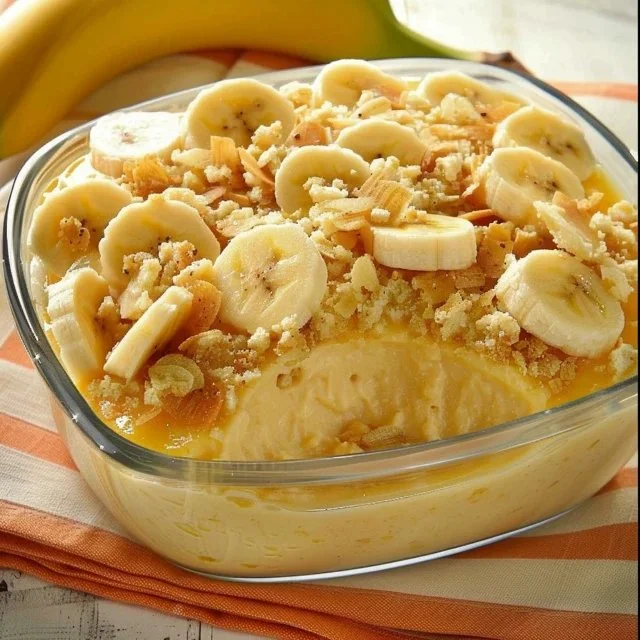
There’s something special about crafting a dish that serves as both a comforting treat and a nostalgic reminder of simpler times. Banana pudding fits the bill perfectly, making it a beloved dessert for weeknights, weekends, or any gathering. The gentle sweetness and creamy texture invite you to savor each bite, whether you’re sharing it with others or enjoying a quiet moment to yourself. It’s a straightforward recipe that brings both comfort and joy, inviting you to dive right into the process.
Why You’ll Love This Recipe Banana Pudding
This banana pudding recipe offers ease and reliability, making it an excellent choice for any occasion. The combination of vanilla wafers and ripe bananas creates a comforting blend of flavors, while the creamy filling balances it all beautifully. It’s a practical dessert that anyone can make, requiring straightforward ingredients and minimal effort, ensuring that you can enjoy this classic treat without any fuss.
Kitchen Tools You’ll Need
- Mixing bowl
- Whisk
- Saucepan
- Baking dish
Ingredients
- 3/4 cup sugar (sweetness)
- 1/4 cup all-purpose flour (thickener)
- 1/4 teaspoon salt (enhances flavor)
- 3 cups 2% milk (creaminess)
- 3 large eggs (binding agent)
- 1-1/2 teaspoons vanilla extract (flavor)
- 8 ounces vanilla wafers (about 60 cookies), divided (texture)
- 4 large ripe bananas, cut into 1/4-inch slices (natural sweetness)
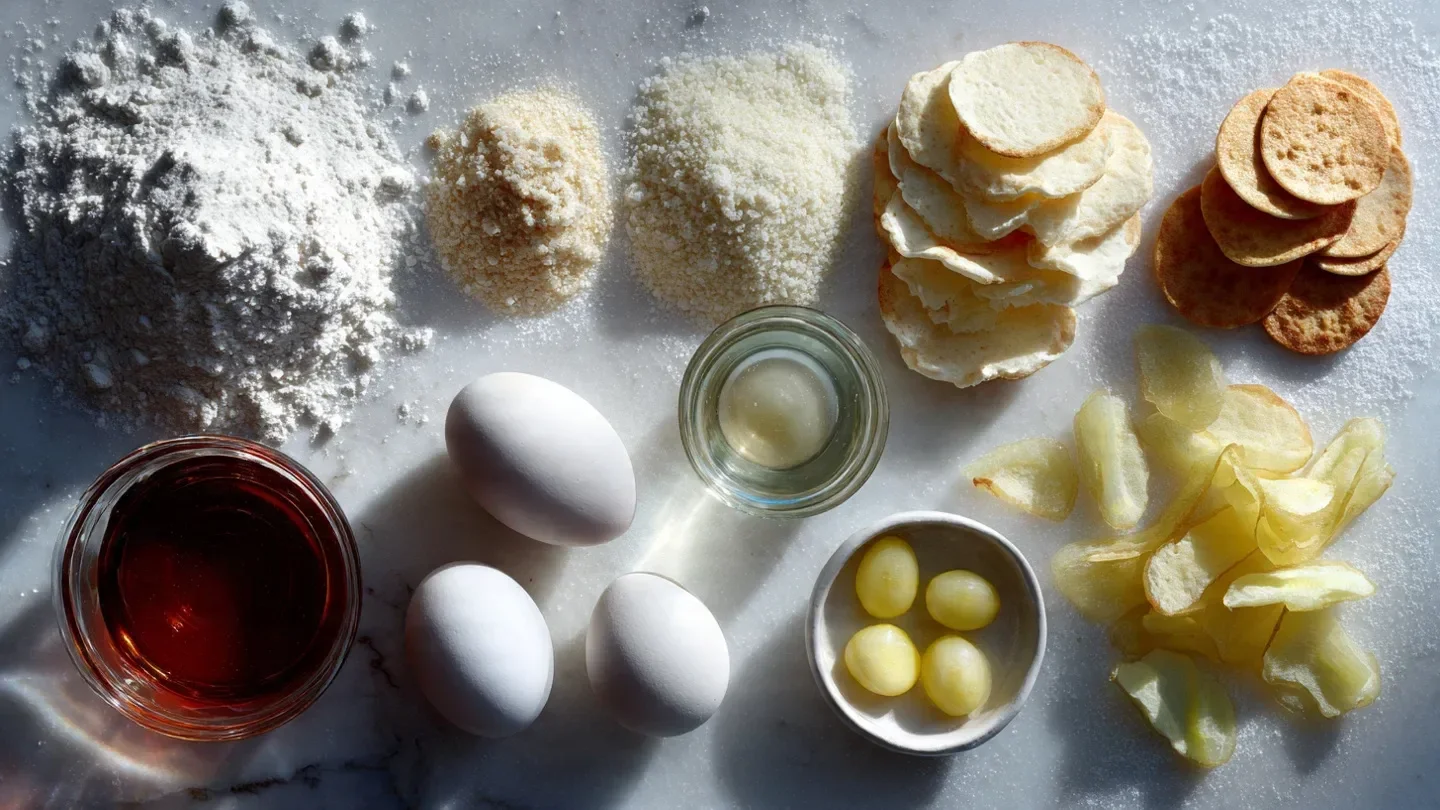
How to Make Banana Pudding
Step 1. In a medium mixing bowl, combine the sugar, flour, and salt. Use a whisk to ensure the mixture is well-blended and free of lumps. This dry ingredient mixture will help provide the sweetness and thickness to the pudding. A consistent texture at this stage will help in achieving a smoother pudding later.
Step 2. In a saucepan, pour in the milk and set it over medium heat. Stir often to prevent the milk from scorching on the bottom. You’ll want to heat the milk until it’s steaming, but not boiling. This stage is crucial for combining the dry ingredients in the next step, bringing a rich creaminess to the pudding.
Step 3. While the milk is heating, beat the eggs in a separate bowl until well mixed. You’re looking for a light and homogeneous mixture. This process will ensure that the eggs incorporate smoothly into the pudding later, helping create a cohesive texture without bits of cooked egg.
Step 4. Once the milk is ready, slowly add about a cup of the hot milk mixture into the bowl with the beaten eggs while whisking continuously. This will temper the eggs, preventing them from curdling when combined with the hot milk. The goal is to bring the eggs up to temperature gently and evenly.
Step 5. Carefully pour the egg mixture back into the saucepan with the remaining hot milk. Return the pan to medium heat, and stir constantly with a wooden spoon or spatula. Watch for the mixture to thicken and coat the back of the spoon—this usually takes about 5 to 10 minutes. Once you see this change and it feels thicker, it’s ready for the next step.
Step 6. Remove the saucepan from heat and add the vanilla extract. Stir to integrate the vanilla fully, enhancing the flavor of your pudding. The warmth from the mixture will help distribute the vanilla evenly throughout, enriching the overall flavor profile.
Step 7. Prepare a baking dish by layering half of the vanilla wafers on the bottom. The wafers will add a delightful contrast in texture against the creamy pudding. Make sure to lay out the cookies evenly for a balanced flavor in every scoop.
Step 8. Begin layering the pudding mixture over the vanilla wafers, pouring it gently to avoid disturbing the cookies. This first layer of pudding will soften the cookies slightly while allowing their flavor to meld with the pudding.
Step 9. After the first layer of pudding, add a layer of banana slices evenly over the pudding. Arrange them so that each bite will include the sweetness of the bananas. This helps create a harmonious blend of flavors throughout the dessert.
Step 10. Repeat the layering process by adding another layer of vanilla wafers, followed by the remaining pudding mixture. Spread it out smoothly to ensure an even distribution of the filling. This layering creates a beautiful presentation and sets the stage for a delightful texture.
Step 11. Finish with any remaining banana slices on top. This not only adds to the visual appeal but also provides a fresh, fruity flavor that balances the richness of the pudding. It’s a nice touch that signals to everyone what to expect in each serving.
Step 12. Cover the banana pudding with plastic wrap and refrigerate for several hours, ideally overnight. This resting time allows the flavors to meld beautifully, and the vanilla wafers will soften, creating a pleasing texture throughout. The pudding will firm up, making it easier to scoop when you’re ready to serve.
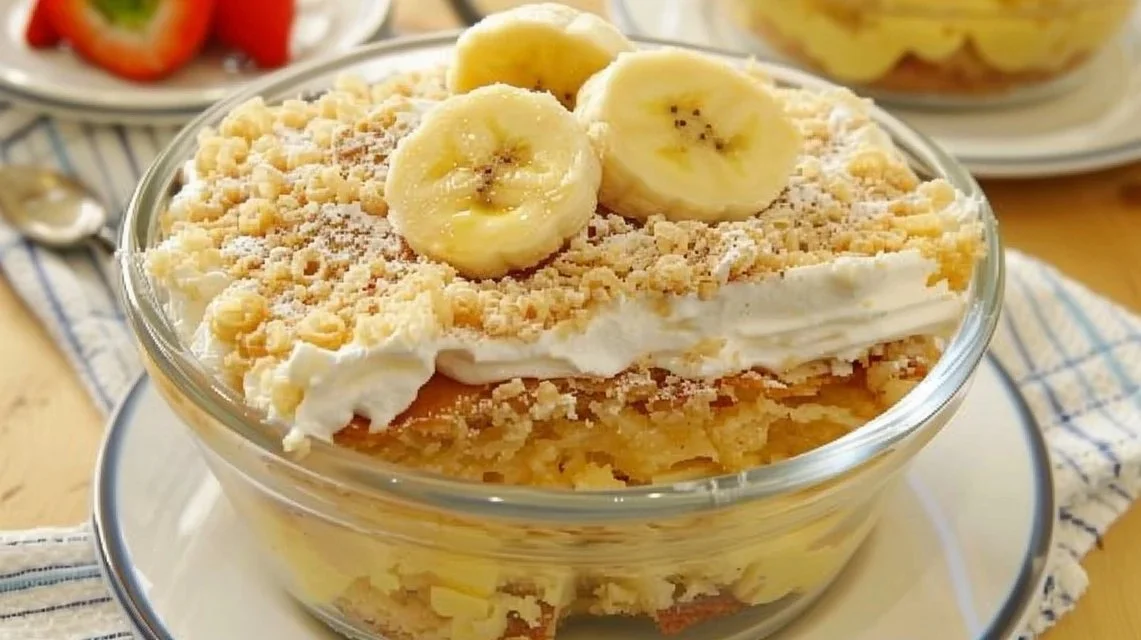
Serving Suggestions
Banana pudding is wonderfully versatile. It makes for an effortless breakfast when paired with coffee or tea. Enjoy it as an afternoon snack, providing a sweet pick-me-up during busy days. It’s perfect for family meals, offering everyone a comforting dessert to look forward to after dinner. If you find yourself with leftovers, they can be stored in the refrigerator, allowing you to enjoy this classic treat over the next few days.
Pro Tips for Best Results
- Use ripe bananas for optimal sweetness and flavor.
- Allow sufficient chilling time to let the flavors meld.
- Layered desserts like this are often best when made a day in advance.
- Stir the pudding consistently to avoid lumps during cooking.
- Use a glass dish for an appealing presentation.
- Don’t rush the cooling process; ensure it’s thoroughly chilled before serving.
Common Mistakes to Avoid
The first mistake is not whisking the sugar and flour mixture thoroughly, which can create lumps in the pudding. To avoid this, take the time to blend the dry ingredients well before adding the milk. Another common issue is cooking the pudding at too high of a temperature. This can lead to a burnt flavor or scrambled eggs in the mixture. Keep the heat at medium and stir consistently. You may also forget to temper the eggs, risking them curdling in the hot milk; always add hot milk slowly while whisking. Not layering the cookies evenly can leave some bites dry, so spread them out for balance. Additionally, skipping the chilling time will result in a runny pudding, as it needs time to set properly. Finally, using overly ripe bananas can cause them to break down too much; choose bananas that are ripe but still firm.
Variations & Substitutions
You can consider using other types of cookies, like chocolate wafers, for a different flavor profile. If you’re looking for a more decadent dessert, consider incorporating a layer of chocolate pudding within the banana layers. For added texture, feel free to fold in some whipped cream into the pudding before layering, creating a lighter consistency. You can also add a sprinkle of crushed nuts on top for a bit of crunch. Finally, a dash of cinnamon or nutmeg can elevate the flavor if you’re seeking a hint of spice.
Storage & Reheating
Store the banana pudding in an airtight container in the refrigerator to maintain freshness. It should last for about 3 to 4 days. If you plan to serve it later, it’s best enjoyed cold straight from the fridge. Avoid freezing this dessert, as the texture may become grainy when thawed. For serving leftovers, simply scoop from the refrigerator, ensuring the layers remain intact.
Frequently Asked Questions
Can I make this recipe ahead of time?
Yes, banana pudding can be made a day in advance. This allows the flavors to develop more fully, resulting in a richer taste. Just be sure to cover it well while it chills so it doesn’t absorb any odors from the fridge.
How long does it last in the fridge?
Banana pudding will last for about 3 to 4 days when stored properly in an airtight container in the refrigerator. The texture will remain best within this timeframe, allowing you to enjoy it as leftovers.
Can I freeze this recipe?
It’s not recommended to freeze banana pudding as the texture may change unfavorably when thawed. If you freeze it, the bananas might become mushy and the pudding can separate, leading to an undesirable consistency.
What can I substitute for one ingredient?
If you’re out of vanilla wafers, you could use another type of cookie that complements the flavors in banana pudding, such as graham crackers or ladyfingers, though the texture will be different.
Why didn’t my recipe turn out as expected?
There can be several reasons for this, including cooking the mixture at too high a temperature, which can lead to curdling, or not allowing enough time for it to chill properly before serving. Ensuring each step is followed carefully helps achieve a better result.
Final Thoughts
Making banana pudding invites a bit of nostalgia into the kitchen, as it’s an approachable recipe full of memories. The simplicity of layering your ingredients creates a satisfying process, while the final chilled dessert offers a delightful treat everyone can enjoy. Rest easy knowing that with straightforward steps, this comforting dish can become a reliable favorite in your home.
Banana Pudding
Ingredients
Pudding Base
- 3/4 cup sugar adds sweetness
- 1/4 cup all-purpose flour thickener for pudding
- 1/4 teaspoon salt enhances flavor
- 3 cups 2% milk provides creaminess
- 3 large eggs binding agent for the pudding
- 1-1/2 teaspoons vanilla extract adds flavor
Layering Ingredients
- 8 ounces vanilla wafers about 60 cookies, divided for layering
- 4 large ripe bananas cut into 1/4-inch slices for sweetness
Instructions
Preparation
- In a medium mixing bowl, combine the sugar, flour, and salt. Whisk until blended.
- In a saucepan over medium heat, heat the milk until steaming, stirring often.
- In a separate bowl, beat the eggs until well mixed.
- Slowly add 1 cup of hot milk to the beaten eggs while whisking continuously.
- Pour the egg mixture back into the saucepan with the remaining milk. Stir constantly over medium heat until thickened, about 5 to 10 minutes.
- Remove from heat and stir in the vanilla extract.
Layering
- In a baking dish, layer half of the vanilla wafers on the bottom.
- Pour half of the pudding mixture over the wafers.
- Add a layer of banana slices over the pudding.
- Repeat the layering with remaining wafers, pudding, and banana slices.
- Cover with plastic wrap and refrigerate for several hours, ideally overnight.