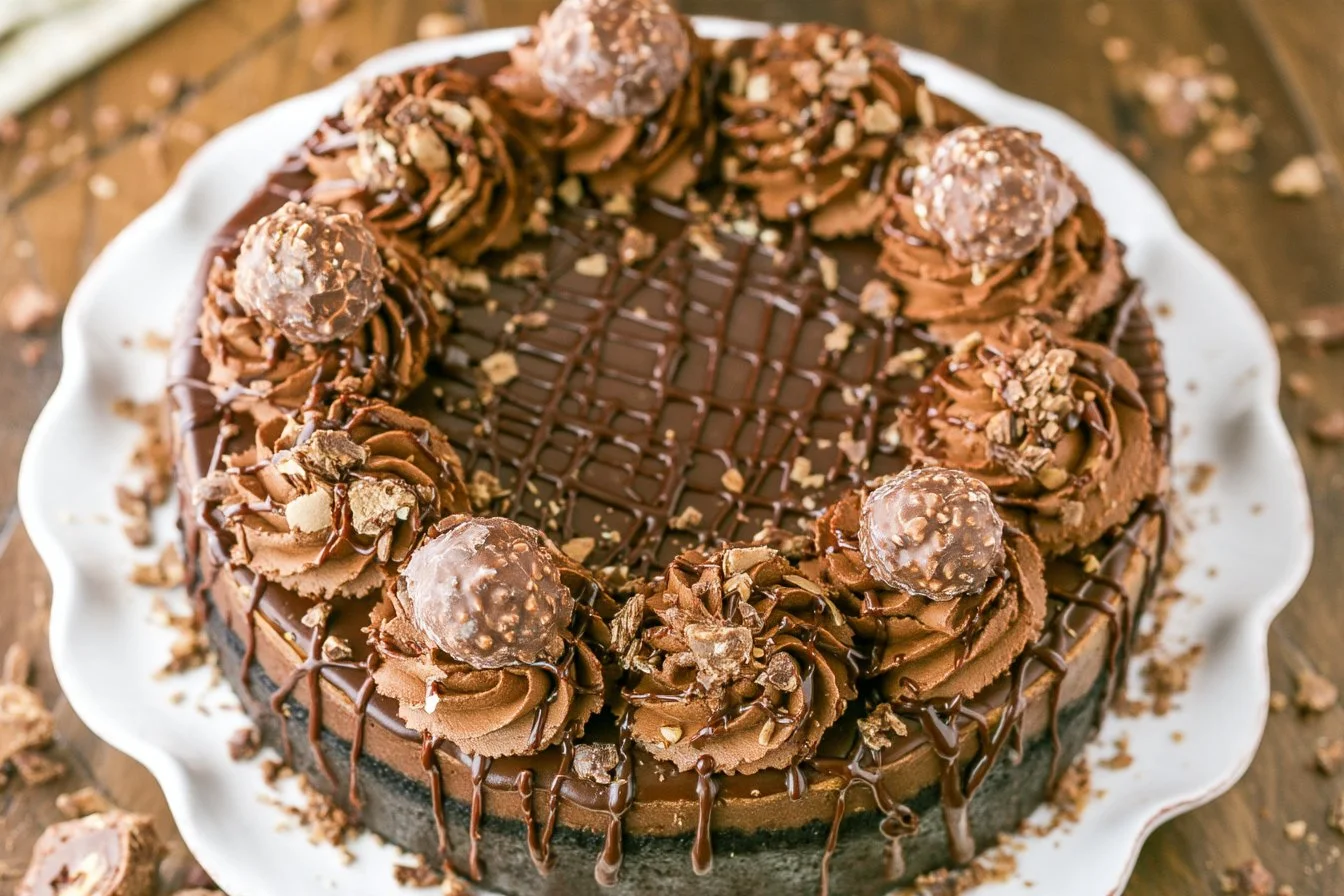

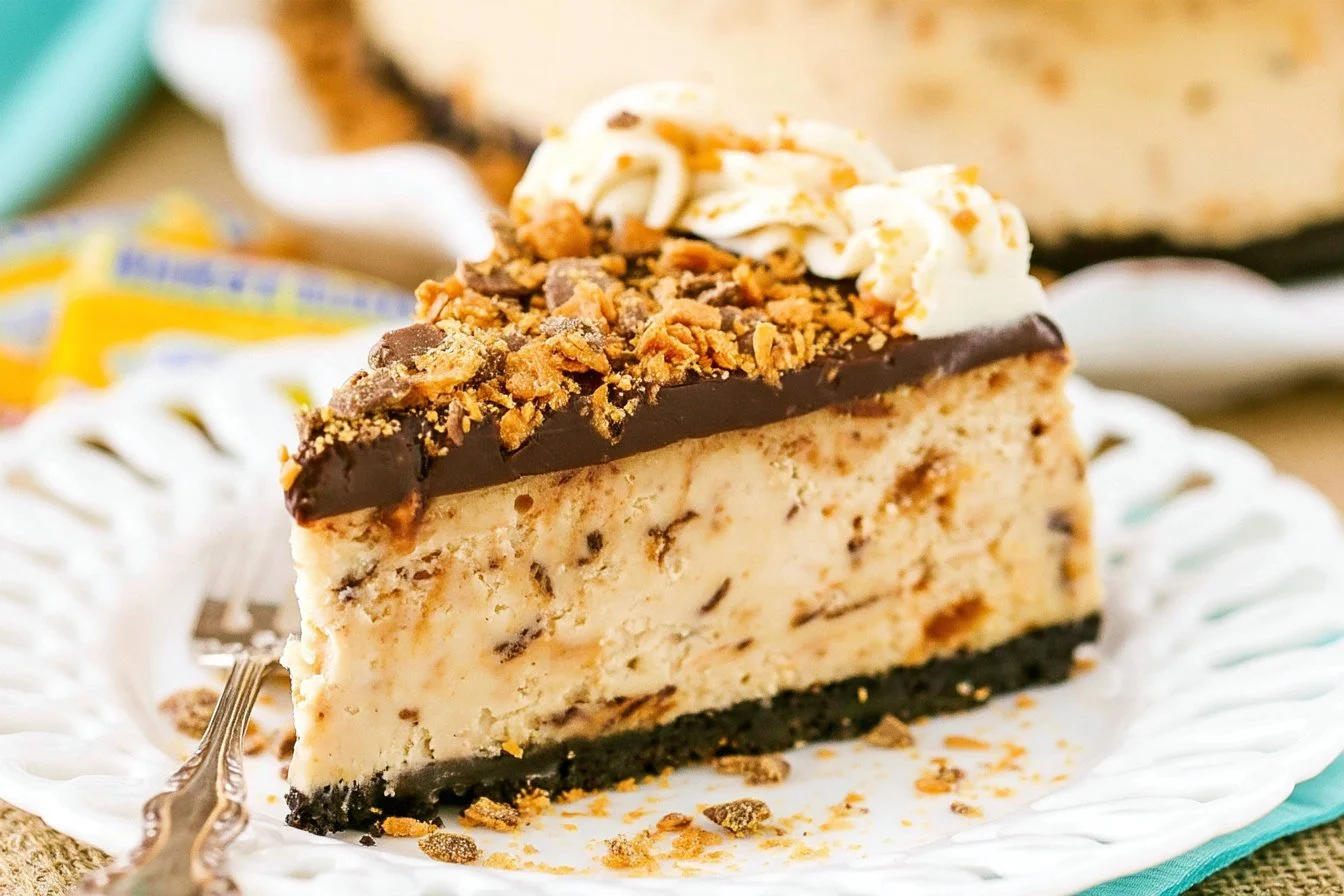
Indulging in a slice of creamy cheesecake topped with crunchy Butterfingers is a delightful experience. This recipe combines rich flavors and satisfying textures, making it a perfect treat for both special occasions and just-because moments. The smoothness of the peanut butter filling, complemented by the contrasting crunch of the Butterfinger pieces, creates a truly special dessert. Let’s get started on making this delicious Butterfinger Cheesecake!
Why You’ll Love This Fun Butterfinger Cheesecake Idea
This Butterfinger Cheesecake recipe is as comforting as it is reliable. With straightforward ingredients and steps, it’s accessible for bakers of any skill level. The balance of creamy peanut butter and crunchy candy creates a delicious flavor profile that everyone will enjoy. It’s a dependable choice for family gatherings or whenever you need a sweet treat that’s sure to please.
Kitchen Tools You’ll Need
- 9-inch (23cm) springform pan
- Mixing bowls
- Electric mixer
- Whisk
- Piping bag with a tip
- Heat-proof bowl
- Aluminum foil
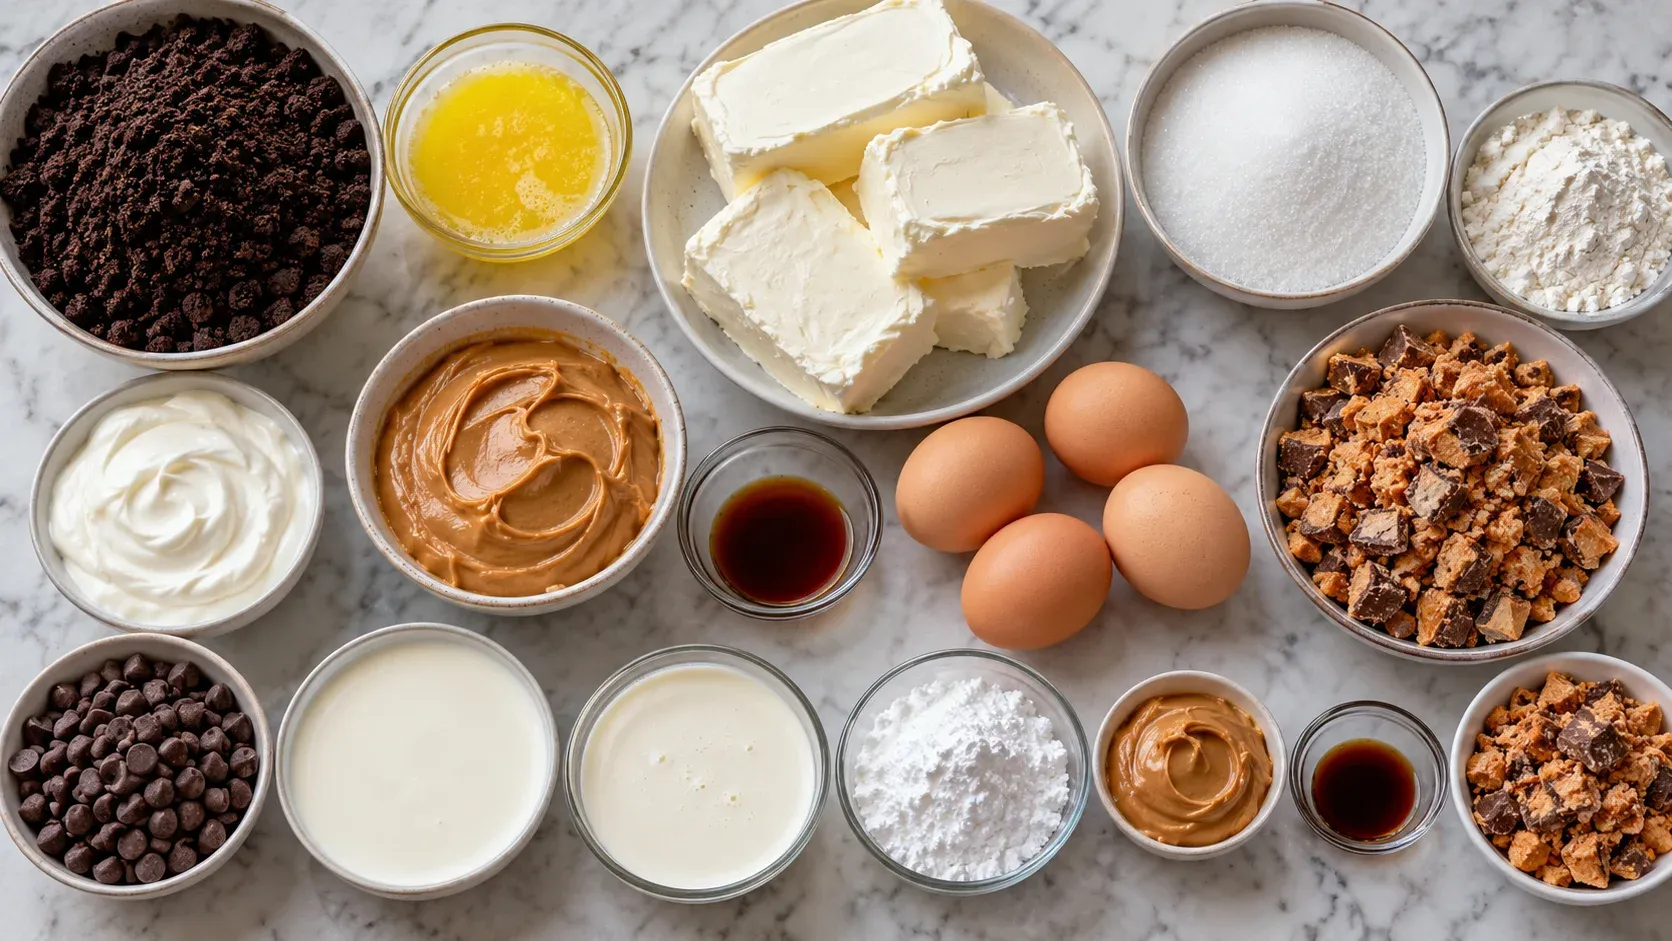
Ingredients
Crust
- 2 1/4 cups (302g) Oreo crumbs (crumbly texture)
- 4 tbsp (56g) salted butter (melted, binding agent)
Filling
- 24 ounces (678g) cream cheese (room temperature, creamy texture)
- 1 cup (207g) granulated sugar (sweetness)
- 3 tbsp (24g) all-purpose flour (thickening agent)
- 3/4 cup (173g) sour cream (room temperature, adds moisture)
- 1/2 cup (140g) peanut butter (rich flavor)
- 1 tsp vanilla extract (flavor enhancer)
- 4 large eggs (room temperature, provides structure)
- 1 1/2 cups chopped Butterfingers (from 12 fun-sized bars, crunchy texture)
Chocolate Ganache
- 6 oz semi-sweet chocolate chips (rich flavor)
- 1/2 cup heavy whipping cream (adds richness)
Peanut Butter Whipped Cream and Topping
- 3/4 cup heavy whipping cream (light and airy)
- 1/2 cup (58g) powdered sugar (sweetness)
- 2 tbsp (35g) peanut butter (adds flavor)
- 1/4 tsp vanilla extract (flavor enhancer)
- Chopped Butterfingers (for topping, crunchy texture)
How to Make Butterfinger Cheesecake Recipe
Step 1. Preheat your oven to 325°F (163°C). Prepare a 9-inch springform pan by lining the bottom with parchment paper and greasing the sides. This will help the cheesecake release easily later on.
Step 2. In a small bowl, combine the Oreo crumbs and melted butter. Mix until the crumbs are evenly coated. Press this mixture firmly into the bottom of the springform pan. This forms a solid crust that will hold the cheesecake filling.
Step 3. Bake the crust for 10 minutes, then allow it to cool. Once cooled, wrap the outside of the springform pan in aluminum foil. This is to prevent water from the water bath from seeping in during baking, ensuring a smooth texture.
Step 4. Reduce the oven temperature to 300°F (148°C). While the oven cools, chop the Butterfinger bars into small pieces, setting them aside for later use in the filling.
Step 5. In a large mixing bowl, beat the cream cheese, granulated sugar, and flour on low speed until well blended and smooth. Using low speed is important to prevent excess air which can lead to cracks in the cheesecake.
Step 6. Add the sour cream, peanut butter, and vanilla extract to the cream cheese mixture. Continue mixing on low speed until everything is combined well. The mixture should be creamy and uniform in texture.
Step 7. Add the eggs one at a time to the mixing bowl, mixing slowly after each addition. Scrape down the sides of the bowl to ensure everything is mixed evenly, leading to a creamy filling without lumps.
Step 8. Carefully stir in the chopped Butterfingers until they are evenly distributed throughout the batter. This adds both flavor and texture to the cheesecake.
Step 9. Pour the cheesecake mixture into the prepared crust. Make sure to spread it evenly for consistent cooking and a level finish.
Step 10. Place the springform pan inside a larger one, creating a water bath. Fill the outer pan with warm water until it’s halfway up the sides of the springform. Be cautious not to let water overflow into the cheesecake.
Step 11. Bake the cheesecake for 1 hour and 25 minutes. You’ll know it’s done when the center is set but still slightly jiggly. This indicates that the cheesecake will finish cooking as it cools.
Step 12. Once baking is completed, turn off the oven but keep the door closed for 30 minutes. This gradual cooling helps prevent cracks from forming on the surface of the cheesecake.
Step 13. After 30 minutes, crack the oven door open and allow the cheesecake to cool for an additional 30 minutes. This will help it cool slowly and maintain its texture.
Step 14. Carefully remove the cheesecake from the oven and unwrap it from the water bath. Refrigerate for 5-6 hours, or ideally overnight, until firm.
Step 15. Once the cheesecake is nice and firm, remove it from the springform pan and transfer it to a serving plate. This makes it easier to cut and serve.
Step 16. To make the chocolate ganache, place the semi-sweet chocolate chips in a heat-proof bowl. In another container, heat the heavy whipping cream until it begins to boil, then pour it over the chocolate chips.
Step 17. Let the chocolate and cream mixture sit for 2-3 minutes before whisking until smooth. This will create a shiny ganache that you’ll pour over the cheesecake.
Step 18. Pour the ganache over the cooled cheesecake, ensuring it spreads into an even layer across the surface.
Step 19. For the peanut butter whipped cream, combine heavy whipping cream, powdered sugar, peanut butter, and vanilla extract in a large mixing bowl. Whip on high speed until stiff peaks form.
Step 20. Use a piping bag fitted with a desired tip to pipe the whipped cream around the edge of the cheesecake for decoration. This adds an elegant touch.
Step 21. Finally, chop a few fun-sized Butterfingers and sprinkle them over the top of the cheesecake as a finishing touch. These will not only add flavor but also a delightful crunch.
Step 22. Refrigerate the cheesecake until you’re ready to serve. It’s best enjoyed within 3-4 days when stored well covered.
Serving Suggestions
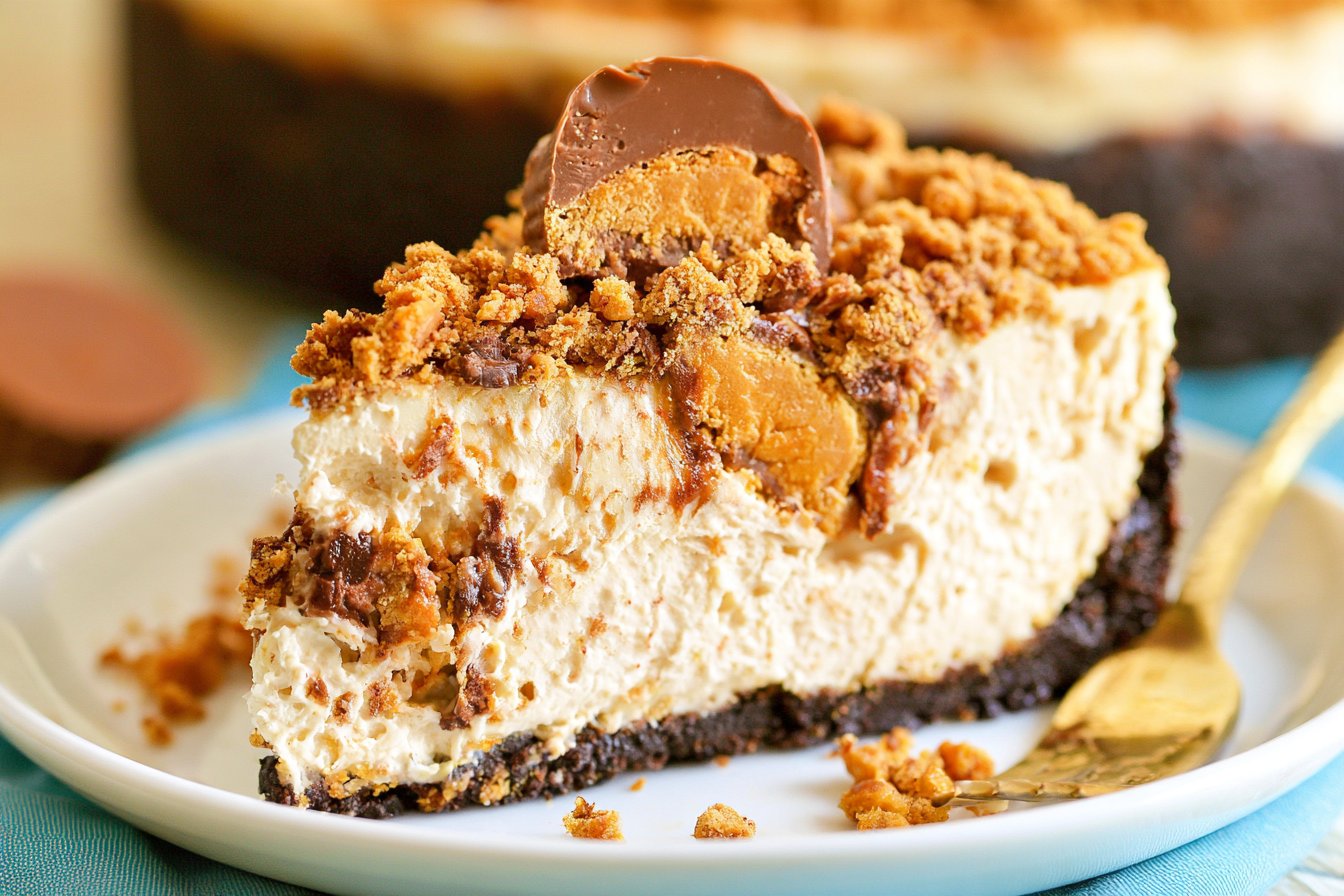
This Butterfinger cheesecake is versatile enough for different occasions. It makes a fantastic dessert after family dinners or as a sweet snack during the week. You can enjoy a slice for breakfast alongside a cup of coffee, or use it as a decadent treat at gatherings and celebrations. Leftovers can be stored conveniently in the fridge, allowing you to savor its flavors over a few days.
Pro Tips for Best Results
- Ensure your cream cheese is at room temperature for a smoother batter.
- Avoid over-mixing to prevent air bubbles that can cause cracks.
- Be patient while cooling in the oven to avoid sudden temperature changes.
- Always wrap your springform pan well to keep water out.
- A piping tip creates a nice finish for your whipped cream decoration.
- Chill thoroughly before serving to ensure the best texture.
Common Mistakes to Avoid
- Using cold cream cheese: This can lead to lumps in your batter. Always let it soften at room temperature before mixing.
- Not wrapping the springform tightly: If water seeps in during baking, it affects the crust’s texture. Ensure aluminum foil is properly sealed around the pan.
- Overbaking the cheesecake: Baking it too long can dry it out and cause cracks. Listen for the slight jiggle in the center to know when to remove it.
- Skipping the water bath: This essential step helps maintain moisture and prevents cracking, so don’t overlook it.
- Not allowing the cheesecake to cool gradually: Rapid cooling can lead to cracks. Follow the cooling steps carefully for the best results.
- Using too much air in the batter: Mixing at high speeds can incorporate air, causing the cheesecake to rise and crack while baking. Always use low speeds.
Variations & Substitutions
For a different flavor, consider swapping out the peanut butter for a chocolate hazelnut spread. You can also experiment with different candy toppings such as Snickers or Twix for variety if you’re looking to change up the flavors a bit while keeping the recipe structure intact.
Storage & Reheating
Store any leftovers at room temperature for up to two hours, then transfer to the refrigerator in an airtight container. The cheesecake will last about 3-4 days in the fridge. If you want to freeze it, wrap slices tightly in plastic wrap and then in aluminum foil to prevent freezer burn. Thaw overnight in the fridge when ready to enjoy. For the best texture, serve chilled straight from the refrigerator.
Nutrition Information
- Calories: 959kcal
- Total Fat: 61g
- Saturated Fat: 31g
- Carbohydrates: 95g
- Fiber: 4g
- Sugar: 67g
- Protein: 14g
- Sodium: 519mg
Frequently Asked Questions
Can I make this recipe ahead of time?
Yes, this cheesecake can be made up to 48 hours in advance. Just be sure to refrigerate it properly, so it stays fresh.
How long does it last in the fridge?
When stored in an airtight container, the cheesecake will last about 3-4 days in the refrigerator.
Can I freeze this recipe?
Yes, you can freeze the cheesecake. Wrap it tightly with plastic wrap and then aluminum foil. It’s best thawed in the fridge before serving.
What can I substitute for one ingredient?
If you want to try a different flavor, you might substitute peanut butter with any nut butter you like. Keep in mind it will change the taste.
Why didn’t my recipe turn out as expected?
Common issues, such as cracks or uneven texture, usually stem from over-mixing, improper cooling, or using cold ingredients. Following the steps carefully can help achieve the best results.
Final Thoughts
Making this Butterfinger cheesecake is a rewarding and enjoyable process. The combination of creamy filling with the crunchy candy topping creates a delightful dessert that suits many occasions. Whether you’re sharing it with friends or keeping it for yourself, this cheesecake is sure to bring satisfaction. Enjoy each slice, knowing you’ve created something special right in your own kitchen.
Butterfinger Cheesecake
Ingredients
Crust
- 2 1/4 cups Oreo crumbs (crumbly texture) For the crust
- 4 tbsp salted butter (melted, binding agent)
Filling
- 24 ounces cream cheese (room temperature, creamy texture)
- 1 cup granulated sugar (sweetness)
- 3 tbsp all-purpose flour (thickening agent)
- 3/4 cup sour cream (room temperature, adds moisture)
- 1/2 cup peanut butter (rich flavor)
- 1 tsp vanilla extract (flavor enhancer)
- 4 large eggs (room temperature, provides structure)
- 1 1/2 cups chopped Butterfingers (from 12 fun-sized bars, crunchy texture)
Chocolate Ganache
- 6 oz semi-sweet chocolate chips (rich flavor)
- 1/2 cup heavy whipping cream (adds richness)
Peanut Butter Whipped Cream and Topping
- 3/4 cup heavy whipping cream (light and airy)
- 1/2 cup powdered sugar (sweetness)
- 2 tbsp peanut butter (adds flavor)
- 1/4 tsp vanilla extract (flavor enhancer)
- Chopped Butterfingers for topping (crunchy texture)
Instructions
Preparation
- Preheat your oven to 325°F (163°C). Prepare a 9-inch springform pan by lining the bottom with parchment paper and greasing the sides.
- In a small bowl, combine the Oreo crumbs and melted butter. Mix until the crumbs are evenly coated. Press this mixture firmly into the bottom of the springform pan.
- Bake the crust for 10 minutes, then allow it to cool. Once cooled, wrap the outside of the springform pan in aluminum foil.
- Reduce the oven temperature to 300°F (148°C). While the oven cools, chop the Butterfinger bars into small pieces.
- In a large mixing bowl, beat the cream cheese, granulated sugar, and flour on low speed until well blended and smooth.
- Add the sour cream, peanut butter, and vanilla extract to the cream cheese mixture, continue mixing on low speed.
- Add the eggs one at a time, mixing slowly after each addition. Scrape down the sides of the bowl.
- Stir in the chopped Butterfingers until they are evenly distributed throughout the batter.
- Pour the cheesecake mixture into the prepared crust, spreading it evenly.
- Place the springform pan inside a larger one, creating a water bath. Fill the outer pan with warm water until it’s halfway up the sides of the springform.
Baking
- Bake the cheesecake for 1 hour and 25 minutes until the center is set but still slightly jiggly.
- Once baking is completed, turn off the oven but keep the door closed for 30 minutes.
- After 30 minutes, crack the oven door open and allow the cheesecake to cool for an additional 30 minutes.
- Carefully remove the cheesecake from the oven and unwrap it from the water bath and refrigerate for 5-6 hours, or ideally overnight.
Topping
- To make the chocolate ganache, place the semi-sweet chocolate chips in a heat-proof bowl.
- Heat the heavy whipping cream until it begins to boil, then pour it over the chocolate chips.
- Let the mixture sit for 2-3 minutes before whisking until smooth.
- Pour the ganache over the cooled cheesecake.
- For the peanut butter whipped cream, combine heavy whipping cream, powdered sugar, peanut butter, and vanilla extract in a large mixing bowl and whip until stiff peaks form.
- Use a piping bag to pipe the whipped cream around the edge of the cheesecake.
- Sprinkle chopped Butterfingers over the top as a finishing touch.