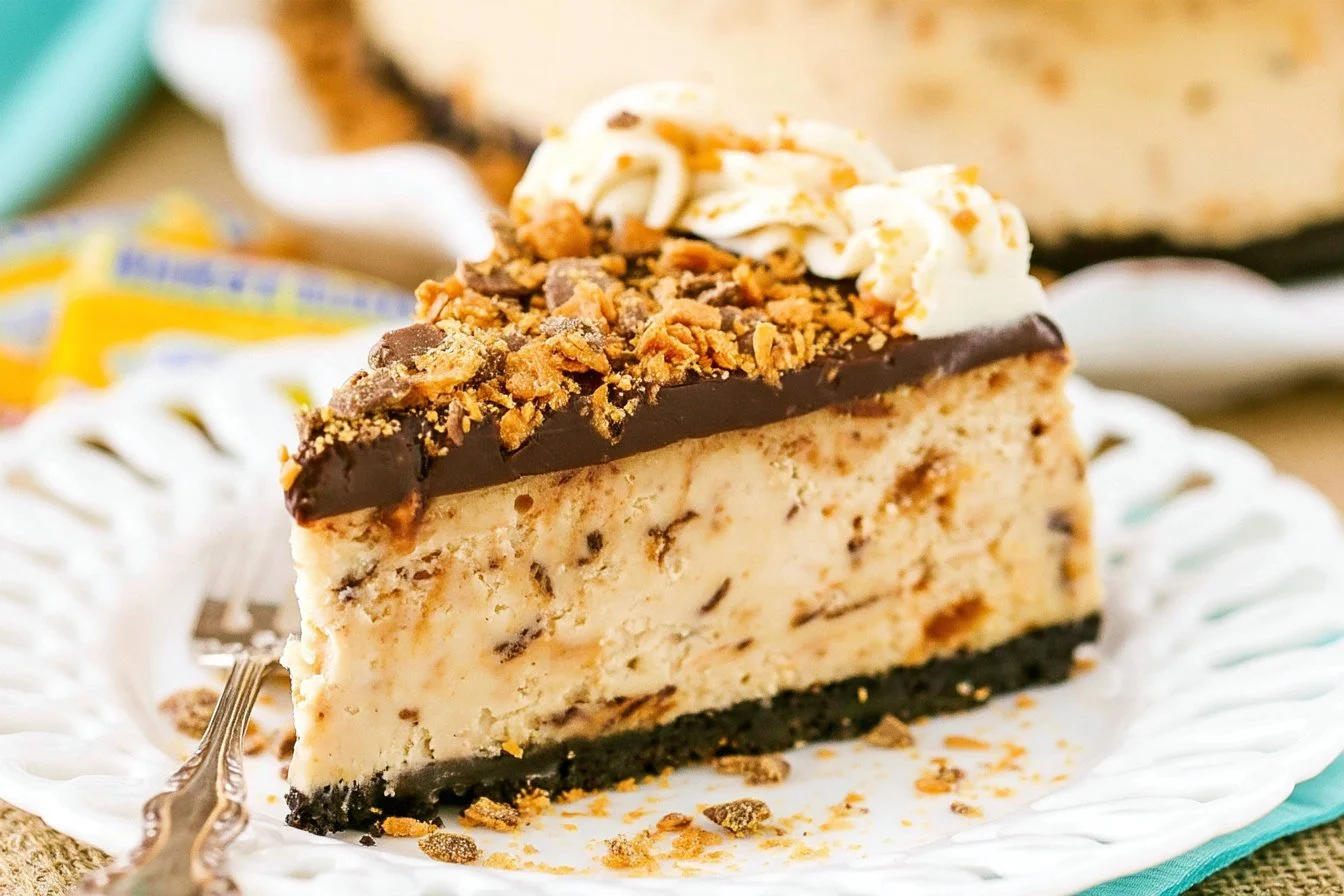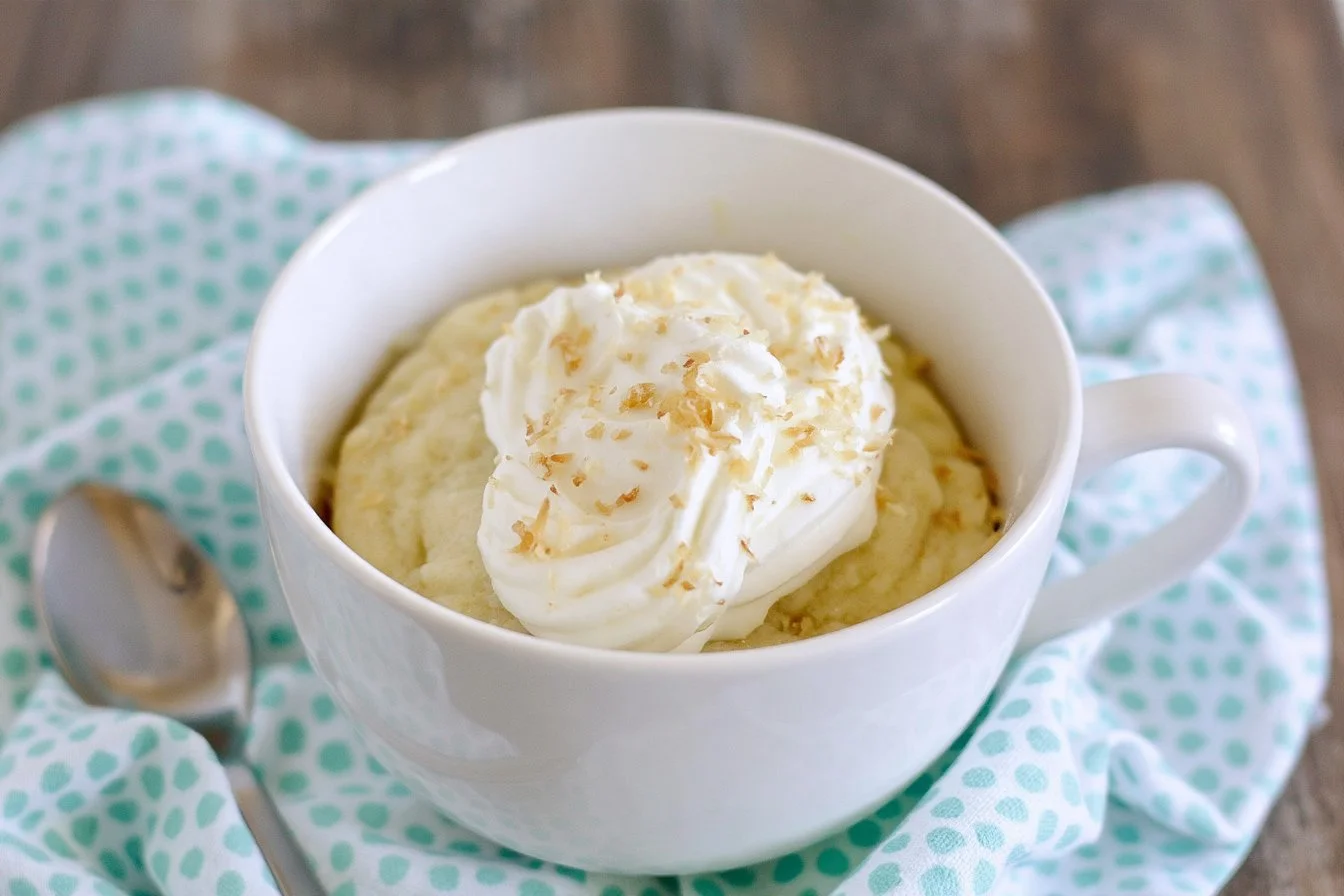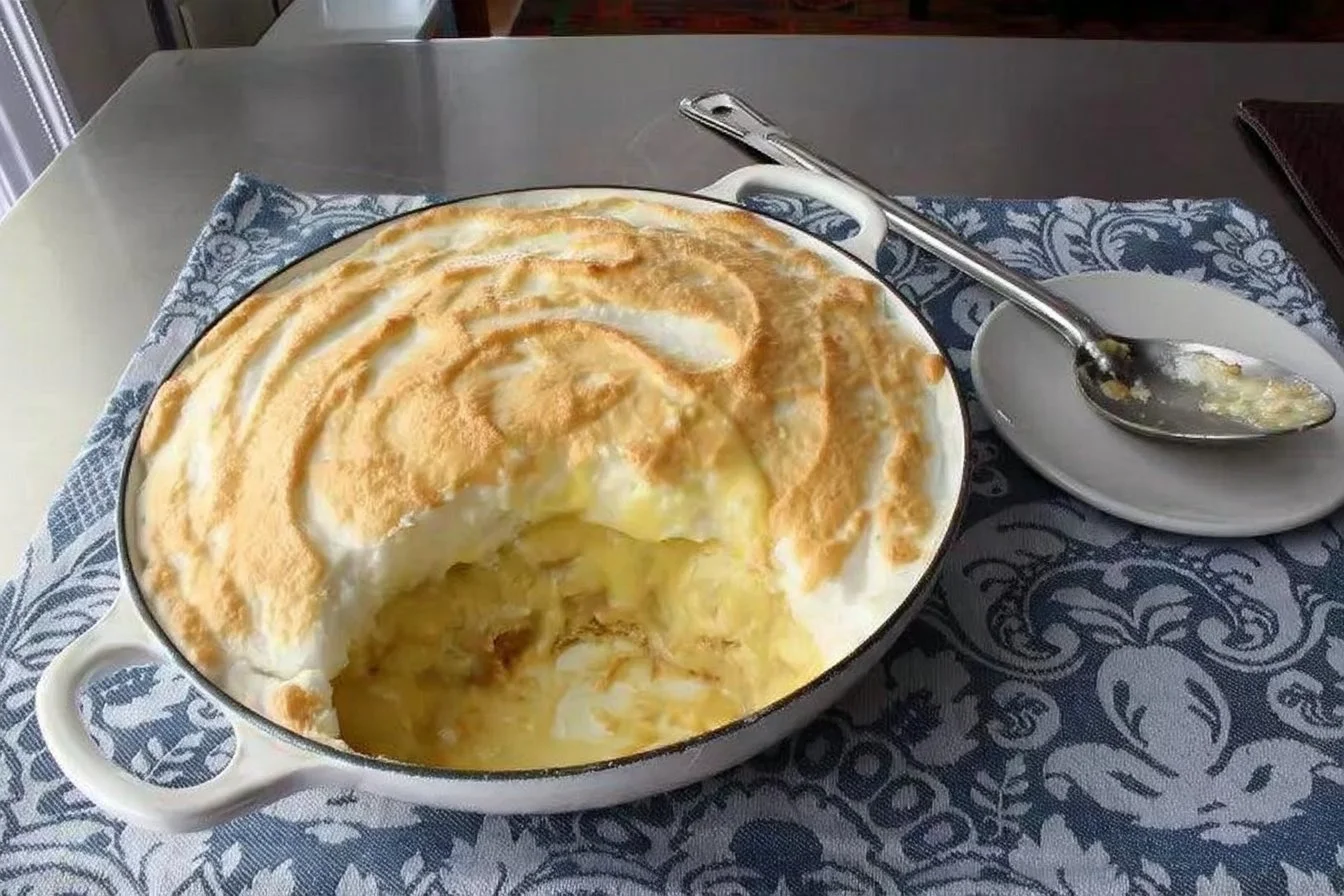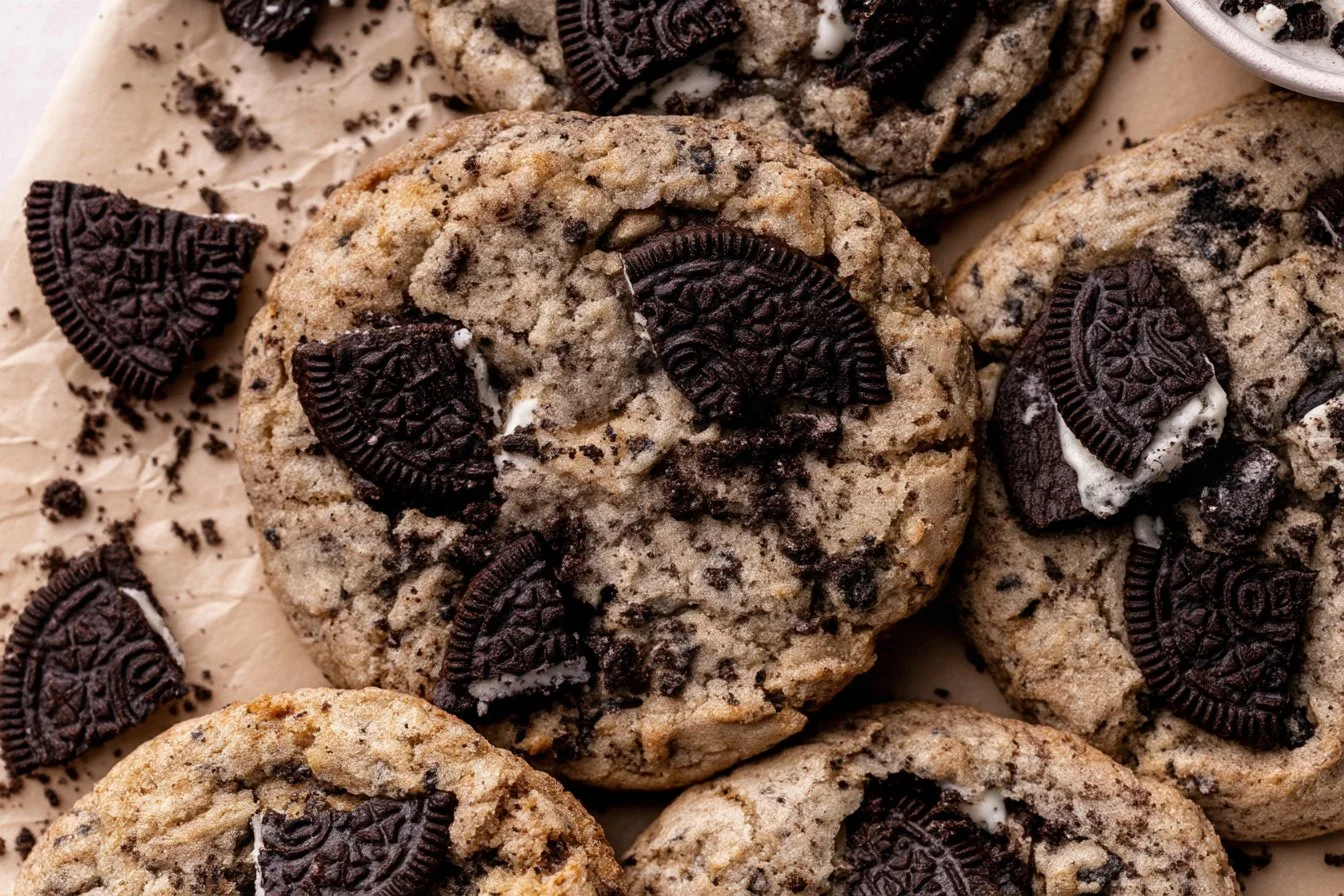

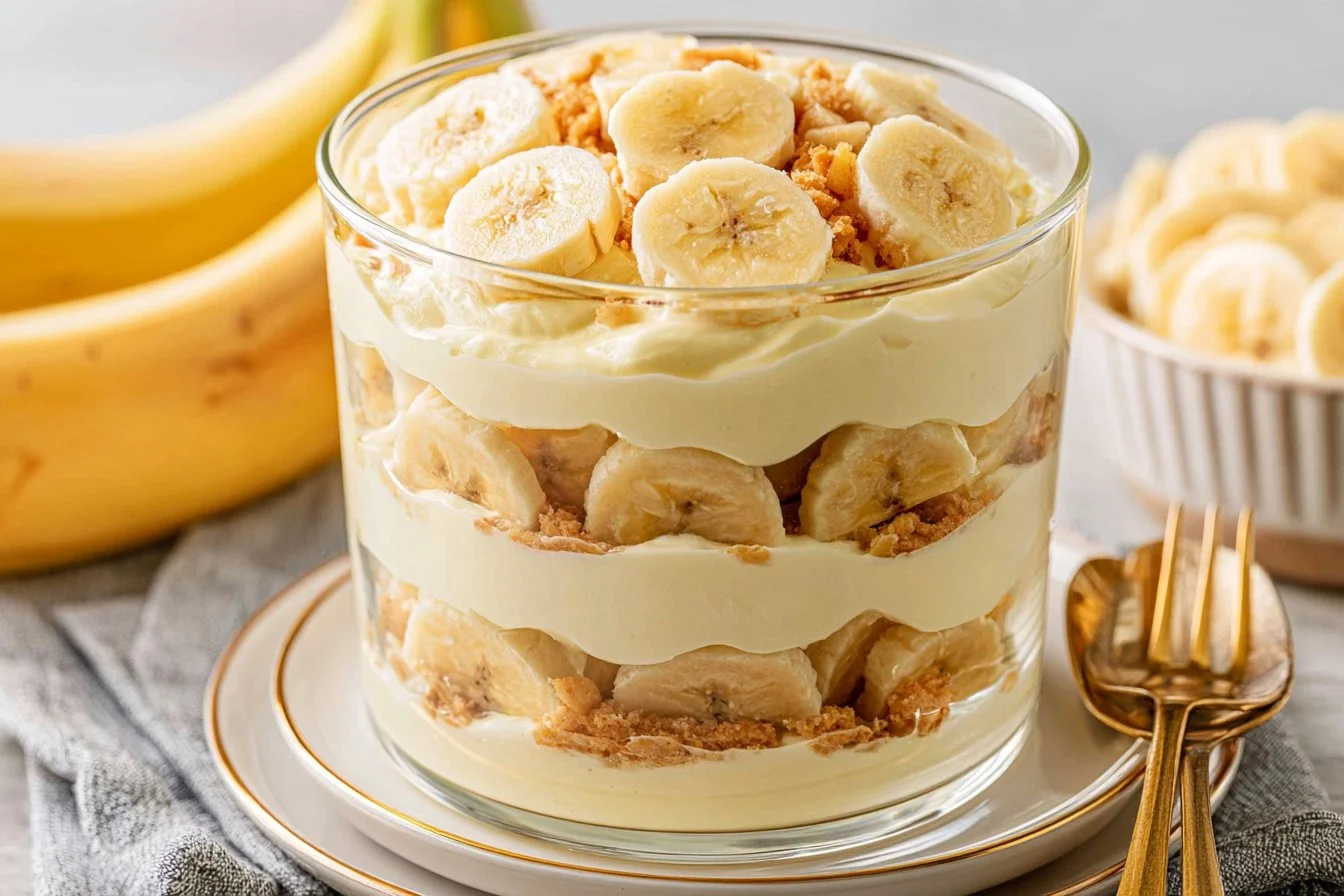
There’s something truly special about a dessert that captures the essence of simple comforts. A classic favorite, this dish brings together creamy goodness, the sweetness of bananas, and the satisfying crunch of vanilla wafers. It’s perfect for any gathering or a cozy day at home. Let’s dive into the details of making this comforting treat.
Why You’ll Love This Banana Pudding
This banana pudding stands out for its simplicity and ease. With just a few reliable ingredients, you can create a balanced blend of creamy and sweet flavors that everyone will love. It’s a delightful option for family meals, snacks, or special occasions—comforting in every bite while still being practical for everyday life.
Kitchen Tools You’ll Need
- Large mixing bowl
- Whisk
- Trifle bowl or serving dish
- Spatula
Ingredients
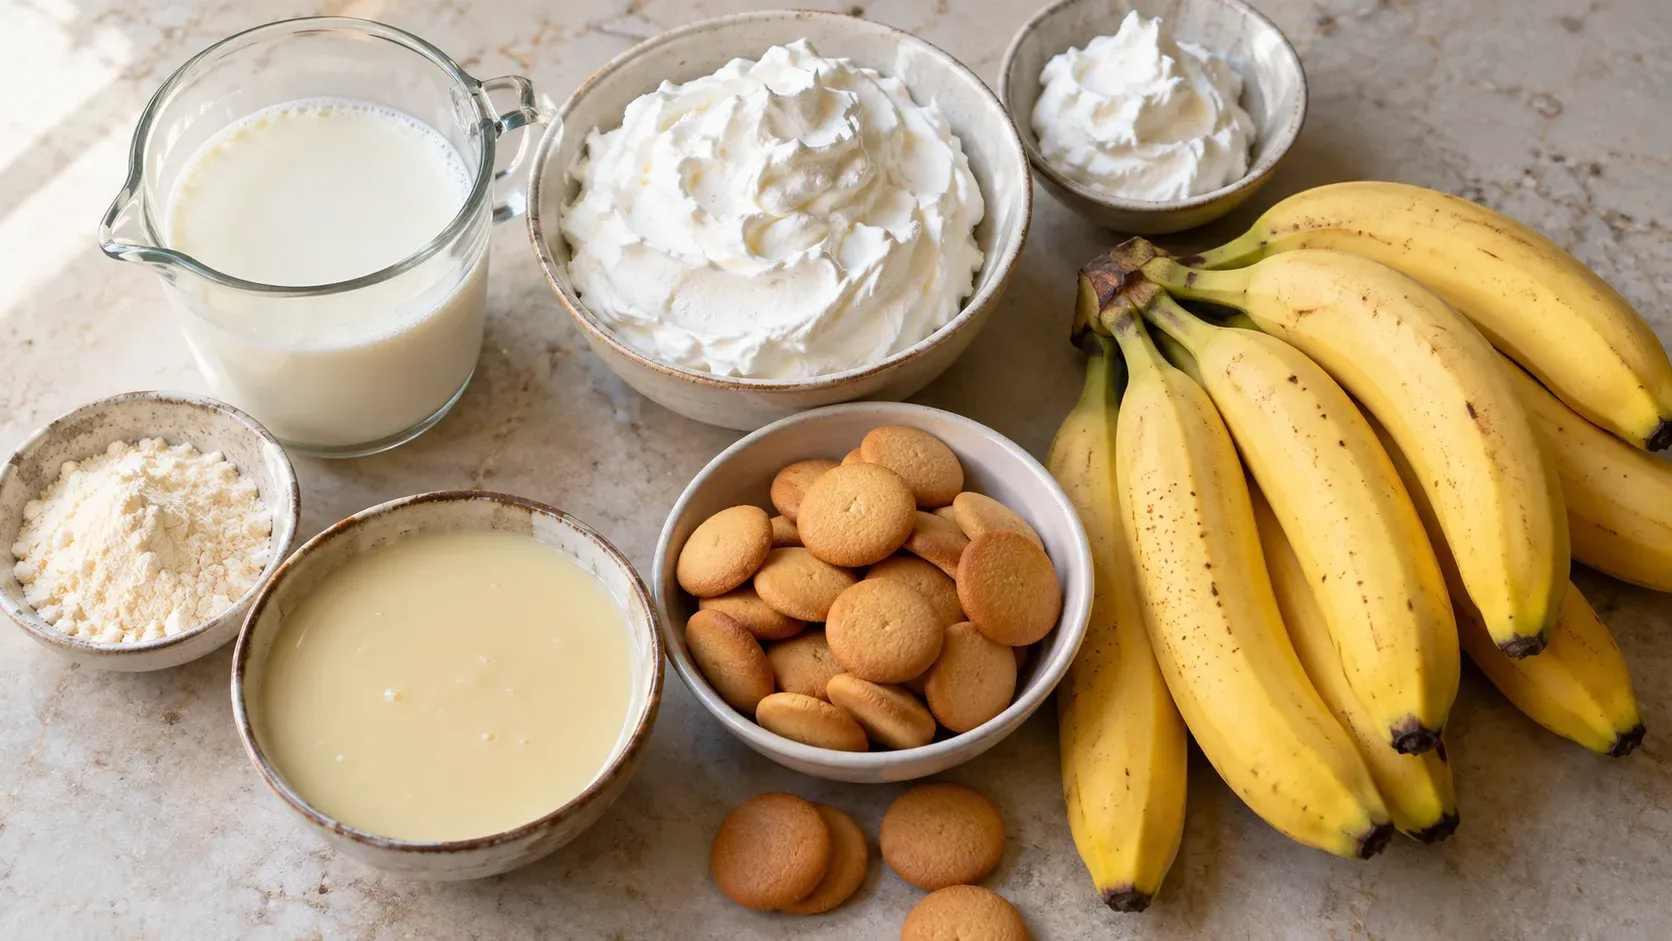
- 5 oz box vanilla pudding mix, (1 family size box) (provides a creamy base)
- 1 ½ cup cold milk (adds moisture)
- 14 oz condensed milk, (1 can) (introduces sweetness and creaminess)
- 12 oz whipped topping, (divided) (lightens the pudding texture)
- 16 oz vanilla wafer cookies, (1 box) (creates a delightful crunch)
- 7-8 whole bananas (adds natural sweetness and creaminess)
How to Make Banana Pudding
Step 1. In a large bowl, whisk together the vanilla pudding mix and cold milk until thoroughly combined. Ensure there are no lumps, and the mixture is smooth. Once blended, place this bowl in the refrigerator for a minimum of five minutes. This step allows the pudding to set slightly, giving it a good texture.
Step 2. After the pudding has chilled for a bit, fold in the entire can of condensed milk. Gently combine until the condensed milk is fully incorporated. This adds a rich sweetness that beautifully complements the vanilla flavor, making the pudding even creamier.
Step 3. Reserve one cup of whipped topping from the container for later, then fold the remaining whipped topping into the pudding mixture. Be careful while doing this to maintain the light and airy texture of the whipped topping. The mixture should feel adequately fluffy and creamy, indicating that it is ready for the next step.
Step 4. Return the folded pudding mixture back to the refrigerator while you slice the bananas. This helps keep the pudding cold and firm as you prepare the other components. Slicing the bananas can be done just before assembling to prevent browning.
Step 5. Start layering the ingredients in a trifle bowl. Begin by placing half of the vanilla wafer cookies at the bottom. This layer serves as a crunchy foundation for the dessert and will hold up well against the moist ingredients.
Step 6. Next, add half of the sliced bananas on top of the cookies. Cover the cookies evenly, ensuring every bite will have that delightful banana flavor. This layering is crucial for creating an enticing look and taste.
Step 7. Finally, add half of the pudding mixture over the bananas. Spread it gently so that it covers everything evenly. The rich pudding will seep into the layers below, creating a luscious texture.
Step 8. Repeat the layering process with the remaining ingredients, starting with the cookies, then the rest of the banana slices, and finishing with the remaining pudding mixture on top. Each layer should complement the other, creating a beautiful presentation.
Step 9. Spread the reserved cup of whipped topping evenly over the top layer of pudding. This will create a light, fluffy finish for the dessert. Try to make it smooth and inviting, as it will be the final touch before garnishing.
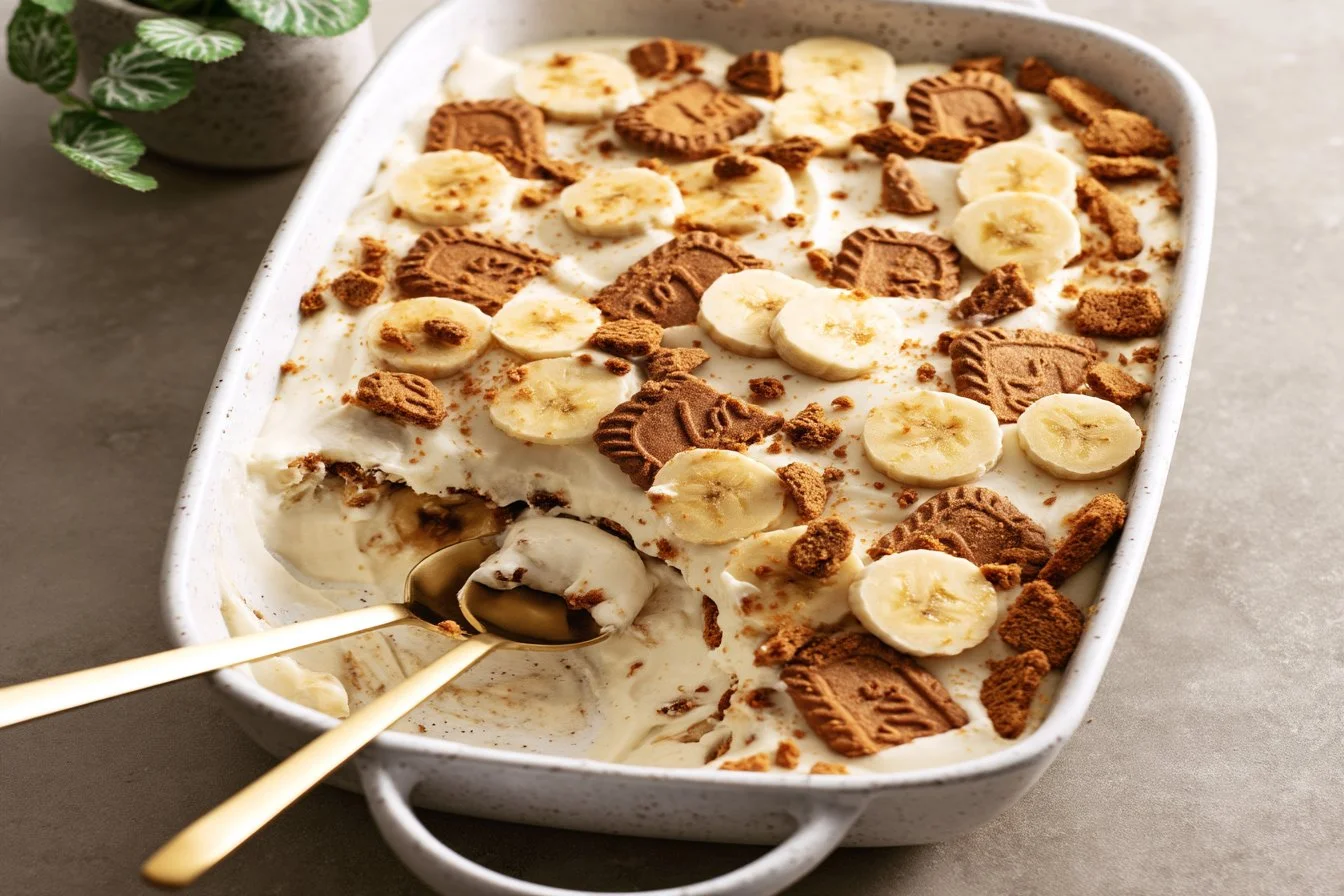
Step 10. Garnish the dessert with crushed cookies and some additional banana slices for added appeal. This not only looks attractive but also provides a little extra crunch and serves as a visual cue of what awaits inside.
Step 11. Place the assembled banana pudding in the refrigerator for at least one hour or until you’re ready to serve it. Chilling helps the flavors meld together and allows the cookies to soften just enough to create a delightful texture.
Serving Suggestions
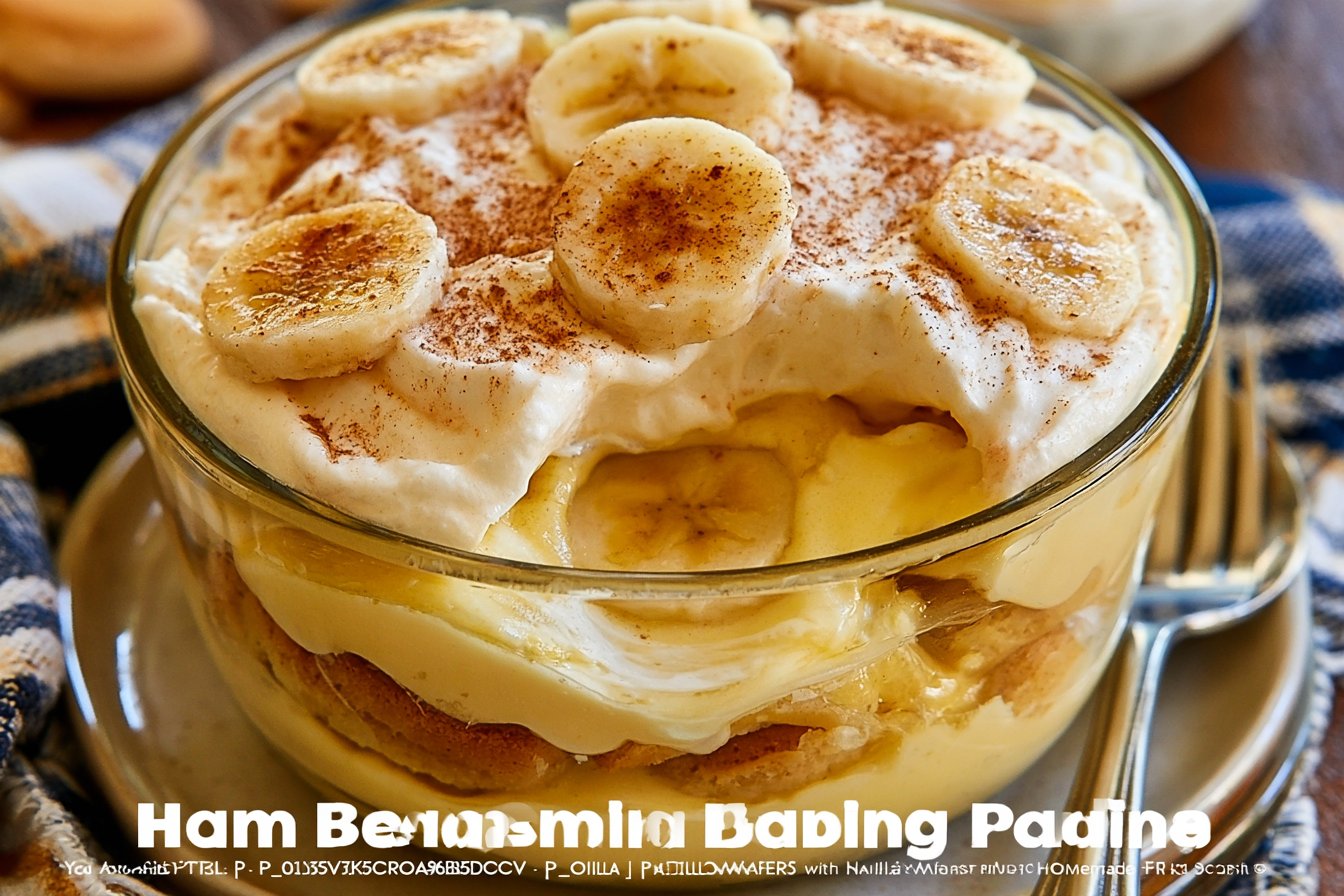
Banana pudding is versatile and can be enjoyed during various occasions. It makes for a comforting breakfast treat, especially with the sweetness of bananas to start your day. This dessert is also great for snacks, satisfying that afternoon sweet tooth. When serving family meals, it becomes a beloved side dish that everyone can share. Leftovers, if you have any, are just as enjoyable the next day, making this a practical choice for meal planning.
Pro Tips for Best Results
- Ensure you use cold milk when mixing the pudding for the best consistency.
- Handle the bananas gently to prevent bruising, which will affect their appearance.
- For a smoother texture, let the pudding mixture chill longer after folding in the whipped topping.
- Layer the dessert close to serving time to prevent the cookies from becoming overly soggy.
- Use ripe, but firm bananas for optimal flavor and texture balance.
Common Mistakes to Avoid
- Not chilling the pudding mixture: Skipping refrigeration can result in a runny consistency, preventing it from thickening properly. Always allow it to chill for at least five minutes.
- Overmixing the whipped topping: Mixing too aggressively can deflate the whipped topping, leading to a dense pudding. It’s best to fold gently for a light texture.
- Using overly ripe bananas: While ripe bananas are sweet, overly soft ones may not hold up well in layers, becoming mushy. Choose bananas that are firm with just a hint of ripeness.
- Layering too soon: Assembling the dessert too quickly after slicing the bananas can lead to browning. Let the bananas sit in lemon juice briefly to reduce discoloration.
- Inadequate chilling time: Not allowing the dessert to chill adequately before serving can result in a lack of cohesive texture and flavor. Always give it at least an hour in the fridge.
- Skipping the garnish: Omitting the crushed cookies and banana slices on top can make the dessert look less appealing. Presentation matters, so add those touches for visual interest.
Variations & Substitutions
For a unique twist, try swapping in chocolate pudding mix for a richer flavor. You might also experiment with different cookies, like chocolate wafers, for varied texture and taste. If you prefer a fresher taste, consider adding a layer of berries or a light drizzle of caramel sauce and nuts to each layer.
Storage & Reheating
Store any leftovers in an airtight container in the refrigerator. Banana pudding is best consumed within three days to enjoy its freshness, but it can last up to five. If you’re looking to keep it longer, freezing is not recommended as it alters the texture; however, it should remain delicious for a few days in the fridge.
Frequently Asked Questions
Can I make this recipe ahead of time?
Yes, this banana pudding can be made a day in advance. Just be sure to keep it covered in the refrigerator to maintain freshness. This allows the flavors to meld nicely while saving you preparation time.
How long does it last in the fridge?
Stored properly in an airtight container, banana pudding will ideally last up to three days in the fridge. After that, the texture of the bananas may start to deteriorate, although the flavors will still be good.
Can I freeze this recipe?
Freezing is not recommended for banana pudding, as it can cause the bananas to become mushy and the texture to change substantially. It’s best enjoyed fresh from the refrigerator.
What can I substitute for one ingredient?
If you’re looking for a lighter version, consider replacing regular whipped topping with a homemade version made from whipped cream. Just be aware that this may change the overall flavor and texture slightly.
Why didn’t my recipe turn out as expected?
Common pitfalls include not chilling the pudding, overmixing ingredients, or using overly ripe bananas. Take care with these steps to ensure an appealing final result.
Final Thoughts
Making banana pudding is not just about combining ingredients; it’s about crafting a delightful experience to share with family and friends. With its layered textures and comforting flavors, this recipe serves as a reminder of childhood treats and simple joys. Enjoy creating this beloved dessert that brings warmth and smiles to any gathering.
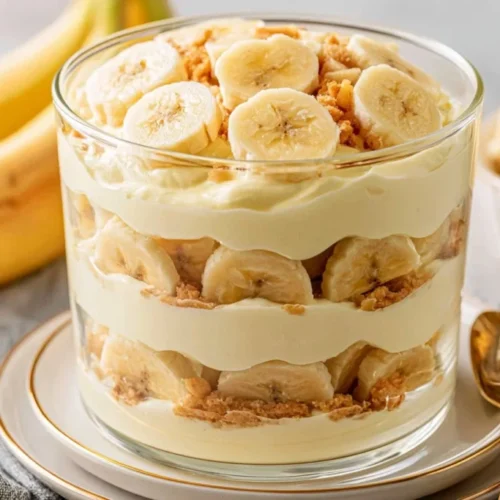
Banana Pudding
Ingredients
Pudding Base
- 5 oz vanilla pudding mix (1 family size box) Provides a creamy base
- 1.5 cup cold milk Adds moisture
- 14 oz condensed milk (1 can) Introduces sweetness and creaminess
- 12 oz whipped topping (divided) Lightens the pudding texture
Layering Ingredients
- 16 oz vanilla wafer cookies (1 box) Creates a delightful crunch
- 7-8 whole bananas Adds natural sweetness and creaminess
Instructions
Preparation
- In a large bowl, whisk together the vanilla pudding mix and cold milk until thoroughly combined and smooth. Refrigerate for a minimum of five minutes.
- Fold in the entire can of condensed milk until fully combined.
- Reserve one cup of whipped topping and fold the remaining whipped topping into the pudding mixture gently.
- Return the pudding mixture to the refrigerator while slicing the bananas.
Layering
- Layer half of the vanilla wafer cookies at the bottom of a trifle bowl.
- Add half of the sliced bananas on top of the cookies.
- Spoon half of the pudding mixture over the bananas gently.
- Repeat layering with the remaining cookies, bananas, and pudding mixture.
- Spread the reserved cup of whipped topping over the top layer of pudding.
- Garnish with crushed cookies and additional banana slices.
- Refrigerate the assembled pudding for at least one hour before serving.