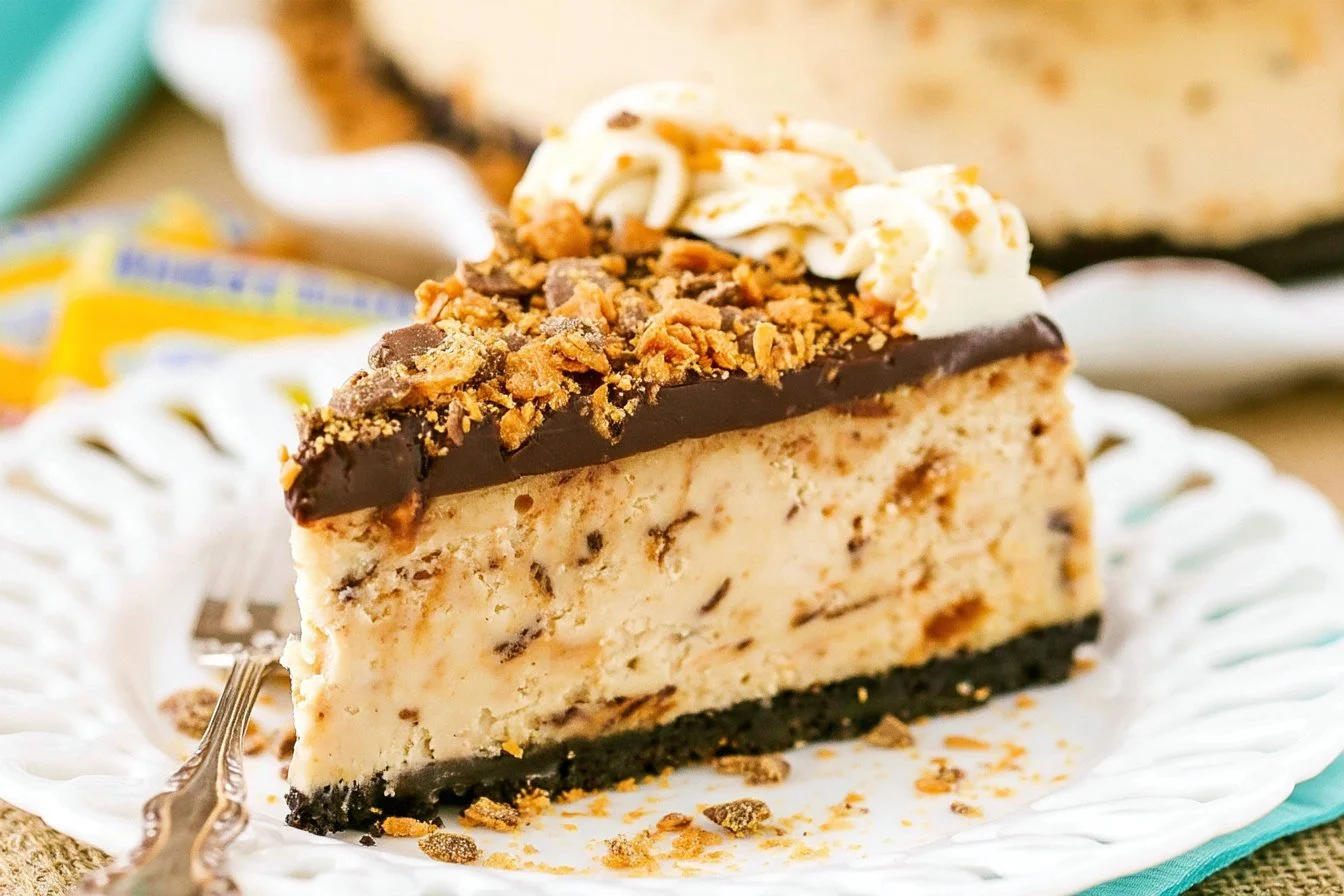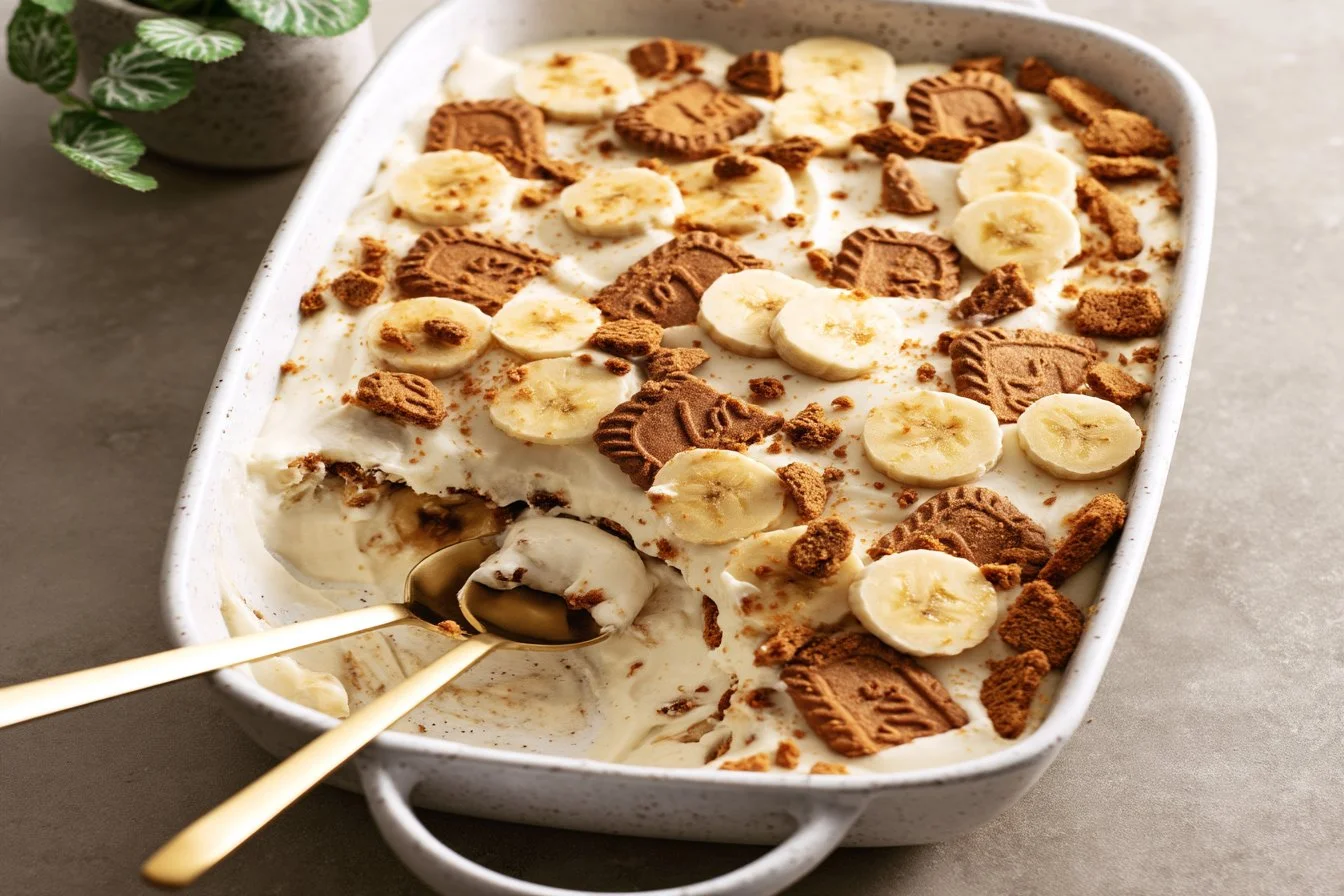

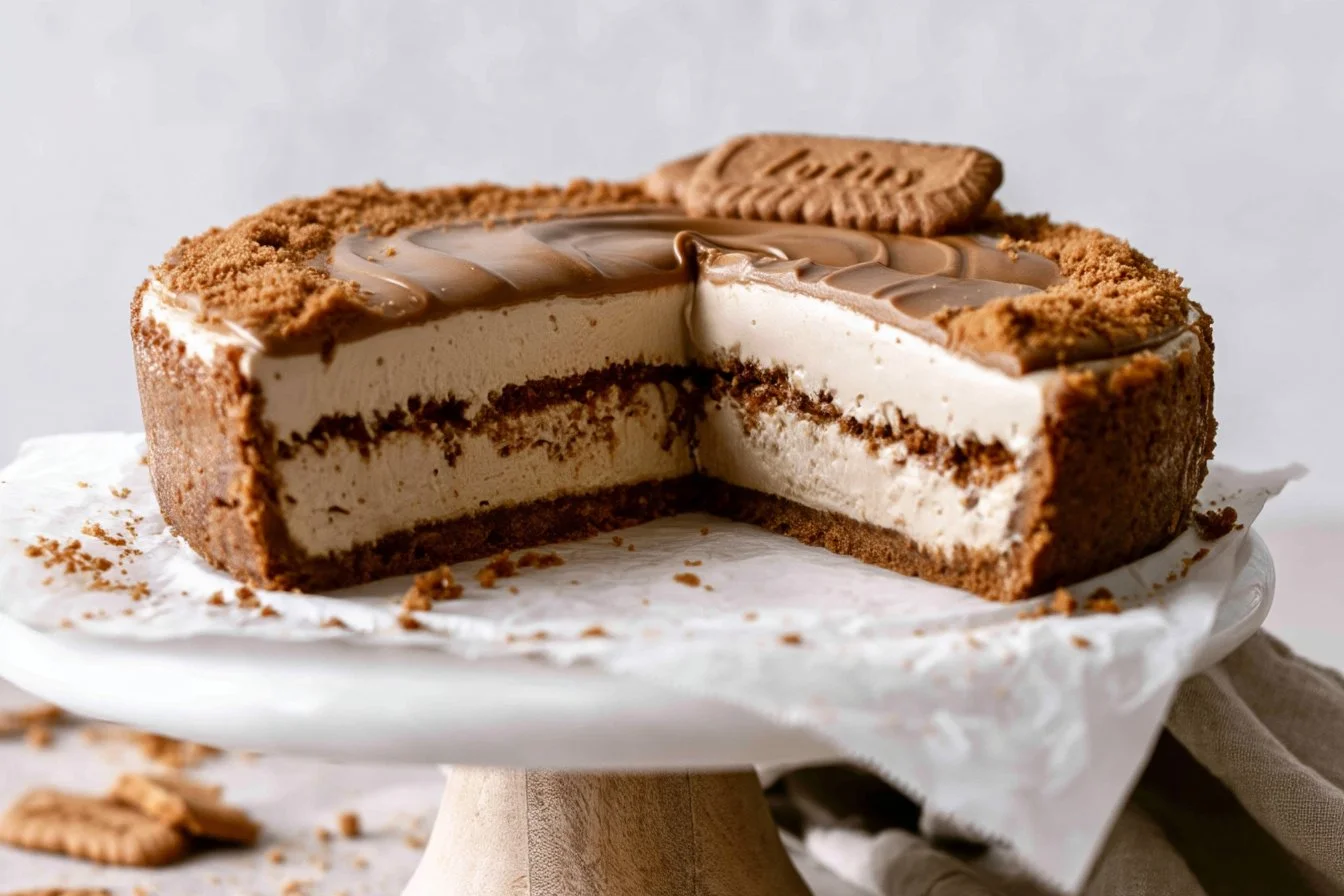
No bake desserts are a delightful way to satisfy your sweet tooth without the fuss of baking. This cheesecake combines creamy, rich ingredients with the unique flavor of Biscoff cookies to create a treat perfect for any occasion. With a crumbly crust and a smooth filling, it’s an easy choice for gatherings or cozy nights at home. Let’s dive into creating this delicious Biscoff cheesecake.
Why You’ll Love This Biscoff Crust With Crumble Topping
This recipe is reliable and straightforward, making it a fantastic option for both novice and experienced cooks. The flavors balance beautifully, with the sweetness of the cheesecake complementing the slightly spiced Biscoff cookies. It’s a treat that works well for family meals, special occasions, or simply enjoying at home. With no baking required, it’s a practical dessert that delivers comfort with every bite.
Kitchen Tools You’ll Need
- 9-inch springform pan
- Medium mixing bowl
- Large mixing bowl
- Electric mixer with paddle attachment
- Rubber spatula
- Measuring cups and spoons
- Parchment paper
Ingredients
For the Biscoff cookie crust:
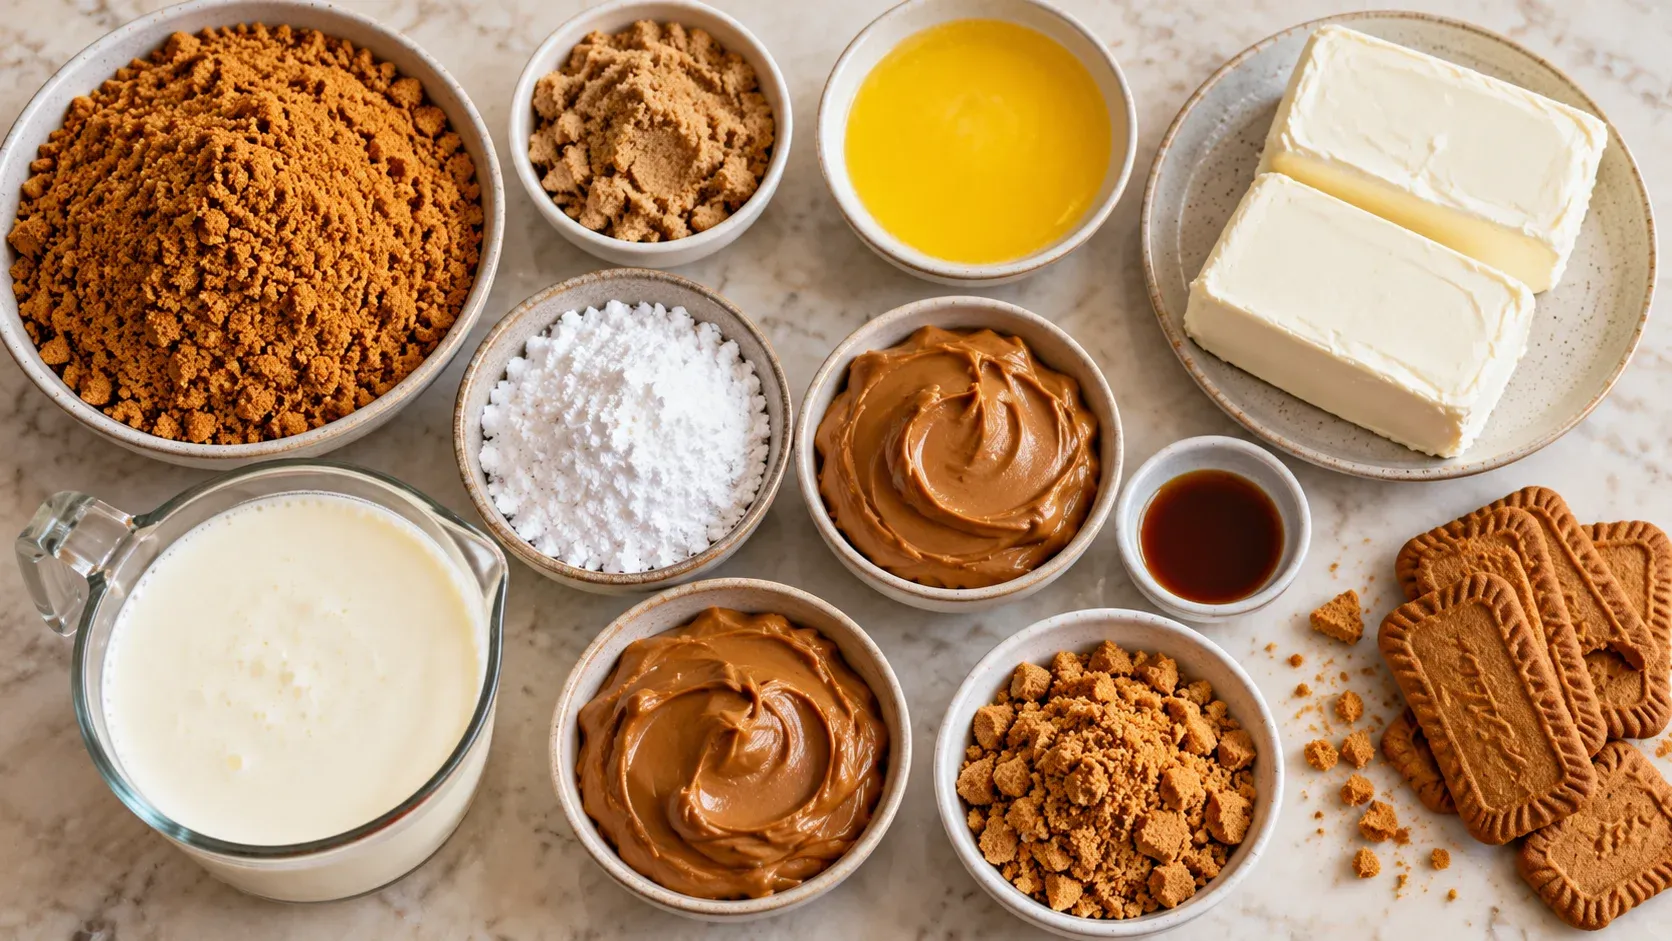
- 3 & ½ cups (370g) Biscoff cookie crumbs
- ¼ cup (50g) packed brown sugar, light or dark
- 12 tablespoons (175g) unsalted butter, melted and cooled
For the cheesecake filling:
- 2 (8 oz) blocks full fat Philadelphia cream cheese, at room temperature
- ¾ cup (97g) powdered sugar
- 1 cup (250g) Biscoff creamy cookie butter
- 1 teaspoon pure vanilla extract
- 1 & ½ cups (360mL) heavy whipping cream, cold – straight from the fridge
For the toppings:
- ½ cup (125g) Biscoff creamy cookie butter
- crushed Biscoff cookies
How to Make Biscoff Crust With Crumble Topping
Step 1. Begin by preparing your springform pan. Line the bottom with parchment paper and set it aside. This will help you easily remove the cheesecake later.
Step 2. In a medium bowl, combine the Biscoff cookie crumbs, brown sugar, and melted butter. Mix until the crumbs are evenly moistened. The mixture should hold together slightly when pressed.
Step 3. Take about ⅔ of the crumb mixture and transfer it into the springform pan. Press it firmly into the bottom and about three-quarters of the way up the sides, using the bottom of a cup to pack it tightly. This creates a sturdy base for your cheesecake.
Step 4. Place the crust in the fridge to chill while you prepare the filling. Set aside the remaining ⅓ of the crust mixture at room temperature for later use.
Step 5. In a large bowl, beat the cream cheese and powdered sugar together using an electric mixer on low speed until the sugar is fully dissolved. This initial low-speed mix helps prevent the sugar from flying out of the bowl.
Step 6. Increase the mixer speed to medium-high and continue to whip until smooth, which should take about one minute. The cream cheese should be fully incorporated without lumps.
Step 7. Scrape down the sides and bottom of the bowl with a spatula, then add the Biscoff cookie butter and vanilla extract. Mix these together until the mixture is smooth and uniform. Pause once more to scrape the bowl to ensure even mixing.
Step 8. With the mixer running on low, gradually drizzle the cold heavy whipping cream into the bowl. It’s best to add the cream slowly, about half a cup at a time, to incorporate it properly and avoid shocking the cream cheese.
Step 9. Continue to mix on low speed, pausing as needed to scrape down the bowl and ensure everything is well combined. Take your time with this step for the best texture.
Step 10. Once all the cream is mixed in, switch the mixer to high speed. Whip the mixture until it thickens, about 2 to 3 minutes, and forms soft peaks. When you lift the beater, you should see trails forming in the mixture, indicating it is ready.
Step 11. Remove the chilled crust from the fridge. Carefully add about half of the cheesecake filling into the pan and spread it evenly over the crust. This layer should be smooth and even.
Step 12. Take the remaining ⅓ of the crust mixture and evenly sprinkle it on top of the filling layer. This adds texture and that wonderful Biscoff taste between layers.
Step 13. Dollop the remaining cheesecake filling on top of the crust mixture and spread it evenly over the surface, being cautious not to disturb the crust layer too much. This layer should also be smooth.
Step 14. Cover the cheesecake with plastic wrap and place it in the fridge. Allow it to chill for a minimum of 6 hours or overnight to let the cheesecake set completely.
Step 15. For the topping, heat the Biscoff creamy cookie butter in a microwave-safe bowl or a pot over low heat until it melts into a liquid state. This warming makes it easier to pour.
Step 16. After the cheesecake has chilled and set, remove it from the fridge. Carefully unclip the springform pan and lift the cheesecake onto your serving plate or cake stand.
Step 17. Pour the melted Biscoff cookie butter over the top of the cheesecake, spreading it evenly. If desired, sprinkle crushed Biscoff cookies over the melted butter for extra crunch.
Step 18. Slice the cheesecake into pieces and enjoy. This dessert can be served chilled and makes for a lovely finish to any meal or a sweet treat any time of the day.
Serving Suggestions
This No Bake Biscoff Cheesecake is quite versatile. It makes for a delightful dessert after dinner; simply slice and serve to guests or family. Enjoy it as an afternoon snack with coffee or tea. You can even pack some slices for an easy picnic treat. If you have leftovers, they can be stored in the fridge for a delicious grab-and-go option throughout the week.
Pro Tips for Best Results
- Ensure your cream cheese is at room temperature to avoid lumps in the filling.
- Mix cold heavy cream slowly into the cream cheese to prevent curdling.
- Aim for a smooth finish by spreading the topping gently, especially over the cookie crust.
- Use a warm knife to slice through the cheesecake for neat pieces.
- For a firmer cheesecake, extend the chilling time in the fridge.
Common Mistakes to Avoid
- Not allowing cream cheese to soften. If cream cheese is cold, it may not incorporate smoothly into the mixture, leaving lumps. Always use room-temperature cream cheese for a creamy filling.
- Adding heavy cream too quickly. Pouring in cream too fast can cause the mixture to curdle or be hard to incorporate. Slowly drizzling the cream helps create the right consistency.
- Overmixing the filling. Excess mixing can lead to a grainy texture rather than a smooth cheesecake. Mix just until combined and thickened, being cautious with the heavy cream.
- Chilling for insufficient time. If your cheesecake hasn’t set for at least 6 hours, it may not hold its shape when sliced. Ensure adequate chilling for the best results.
- Skipping the crust chilling. If you skip chilling the crust, it may crumble while serving. Always refrigerate the crust to set it before adding the filling.
- Not spreading the filling carefully. Disturbing the crust layer too much when adding the top filling can mix the layers. Be gentle to keep those tasty layers intact.
Variations & Substitutions
- Flavor change: Incorporate different flavored cookie butter to switch up the taste.
- Add-ins: Consider adding chocolate chips or nuts for extra texture within the filling.
- Serving styles: Turn the cheesecake into individual servings in jars for ease of serving at a gathering.
Storage & Reheating
Store any leftover cheesecake in an airtight container in the refrigerator for up to 5 days. If you need longer storage, you can freeze slices wrapped in plastic wrap and foil for up to a month. To serve, thaw in the refrigerator overnight, and enjoy cold; do not reheat as it’s best served chilled.
Frequently Asked Questions
Can I make this recipe ahead of time?
Yes, this cheesecake is ideal for making ahead. It tastes even better after chilling for a day or two, allowing the flavors to meld.
How long does it last in the fridge?
Stored in an airtight container, the cheesecake will last for about 5 days in the refrigerator.
Can I freeze this recipe?
Absolutely! You can freeze individual slices for up to a month. Make sure to wrap them well to prevent freezer burn.
What can I substitute for one ingredient?
If you need to substitute Biscoff cookie butter, any creamy nut or cookie spread can work, but it will change the flavor profile of the cheesecake.
Why didn’t my recipe turn out as expected?
Common issues like a lumpy filling or weak crust often come from cold cream cheese or skipping chilling times. Ensuring proper preparation steps will lead to better results.
Final Thoughts
Making this No Bake Biscoff Cheesecake is a delightful experience filled with simple steps and delicious flavors. The creaminess of the filling against the crunch of the crust creates a satisfying dessert that appeals to many. Enjoy each slice knowing that you’ve created something special without the need for baking. This cheesecake is sure to be a comforting treat whenever you need a little sweetness in your day.
No Bake Biscoff Cheesecake
Ingredients
For the Biscoff cookie crust
- 3.5 cups 3 & ½ cups Biscoff cookie crumbs Use finely crushed Biscoff cookies.
- 0.25 cups ¼ cup packed brown sugar, light or dark Can use either light or dark brown sugar.
- 12 tablespoons 12 tablespoons unsalted butter, melted and cooled Ensure butter is cooled before mixing.
For the cheesecake filling
- 2 blocks 2 (8 oz) blocks full fat Philadelphia cream cheese, at room temperature Make sure cream cheese is room temperature.
- 0.75 cups ¾ cup powdered sugar Use sifted for best results.
- 1 cup 1 cup Biscoff creamy cookie butter For a nutty flavor, look for a creamy variety.
- 1 teaspoon 1 teaspoon pure vanilla extract Use pure for the best flavor.
- 1.5 cups 1 & ½ cups heavy whipping cream, cold Starting from the fridge for proper whipping.
For the toppings
- 0.5 cups ½ cup Biscoff creamy cookie butter Melted for drizzling.
- crushed Biscoff cookies For added texture on top.
Instructions
Preparation
- Prepare the springform pan by lining the bottom with parchment paper and set it aside.
- In a medium bowl, combine Biscoff cookie crumbs, brown sugar, and melted butter. Mix until evenly moistened.
- Press about ⅔ of the crumb mixture into the bottom and sides of the prepared springform pan.
- Chill the crust in the fridge while preparing the filling. Set aside the remaining crumb mixture at room temperature.
Cheesecake Filling
- In a large bowl, beat cream cheese and powdered sugar on low speed until fully dissolved.
- Increase speed to medium-high and whip until smooth.
- Add Biscoff cookie butter and vanilla extract, mixing until smooth.
- With the mixer on low, gradually add cold heavy whipping cream, drizzling in about half a cup at a time.
- Once all the cream is added, switch to high speed and whip until thickened with soft peaks.
- Spread half of the cheesecake filling evenly over the crust, followed by the remaining crumb mixture.
- Top with the remaining cheesecake filling and smooth out the top.
- Cover with plastic wrap and chill in the fridge for a minimum of 6 hours or overnight.
Topping
- Heat Biscoff creamy cookie butter until melted for drizzling.
- Remove cheesecake from the fridge, unclasp the springform pan, and transfer to a serving plate.
- Pour the melted Biscoff cookie butter over the cheesecake and sprinkle with crushed Biscoff cookies before slicing.