There’s something comforting about whipping up a recipe that combines the tang of citrus with a creamy texture. These mini key lime pie cheesecake cups are perfect for summer. They’re a delightful treat to enjoy during quiet moments, and they also shine during weekend gatherings or weeknight dinners. The simplicity of their preparation makes them an approachable choice for both beginners and seasoned bakers alike. Let’s dive into this straightforward recipe that promises fantastic results.
Why You’ll Love The Best Mini Key Lime Pie Cheesecake
These mini key lime pie cheesecake cups offer ease and reliability, allowing you to create dessert without fuss. The harmonious balance of creaminess and a bright lime flavor brings comfort to any occasion, making this recipe both practical and satisfying. With a few pantry staples, you can whip up these delightful treats that guests will love, truly showcasing the essence of summer flavors.
Kitchen Tools You’ll Need
- Muffin tin
- Paper cupcake liners
- Mixing bowls
- Whisk
- Fork
- Wire rack
Ingredients
- 1 ½ cups graham cracker crumbs (provides a crumbly, sweet base)
- 2 Tablespoons granulated sugar (adds sweetness and aids in the crust’s structure)
- 5 Tablespoons butter, melted (binds the crust and adds richness)
- 14 ounces sweetened condensed milk (creates a creamy filling)
- ½ cup fresh key lime juice (brings tanginess and brightness)
- 4 large egg yolks (helps thicken and enrich the filling)
- Whipped cream (optional, for a rich topping)
- Lime zest (optional, for flavor and visual appeal)
- Graham cracker crumbs (optional, for garnish)
- Lime slices (optional, for garnish)
How to Make The Best Mini Key Lime Pie Cheesecake
Step 1. Preheat your oven to 350°F. This temperature is crucial for ensuring that the crust and filling bake evenly, developing that perfect texture that holds everything together.
Step 2. Line a 12-cup muffin tin with paper cupcake liners. This keeps your cheesecake cups intact and makes for easy removal after baking. It’s a simple step that ensures a clean presentation.
Step 3. In a bowl, combine the graham cracker crumbs, granulated sugar, and melted butter using a fork. Mix until all the crumbs are moistened and transportable, resembling wet sand.
Step 4. Place 2 level tablespoons of the crust mixture into each paper liner and press it down firmly. This will create the foundation for your cheesecake cups, so make sure it’s compact and even.
Step 5. Bake the crusts in the oven for 5 minutes, then cool them on a wire rack. This brief baking time solidifies the crust, preparing it to hold the creamy filling that will come next.
Step 6. While the crust cools, take a medium bowl and whisk together the sweetened condensed milk, fresh key lime juice, and egg yolks until the mixture thickens slightly. The integration of these ingredients creates a rich filling that complements the crust.
Step 7. Spoon the thickened filling over the cooled crust in the paper liners, dividing it evenly among them. It should fill each liner to just below the edge, allowing for a little room for expansion during baking.
Step 8. Bake until set, which should take about 12-14 minutes. The center will jiggle slightly when nudged, indicating that they are done but still creamy. Watch carefully as they bake.
Step 9. Once baked, allow the mini cheesecakes to cool completely on a wire rack. This cooling process is essential for achieving the right texture.
Step 10. Refrigerate the mini key lime pie cheesecake cups until they are cold, which should be at least 4 hours or up to 24 hours for optimal chill. The colder they are, the better the flavors will meld.
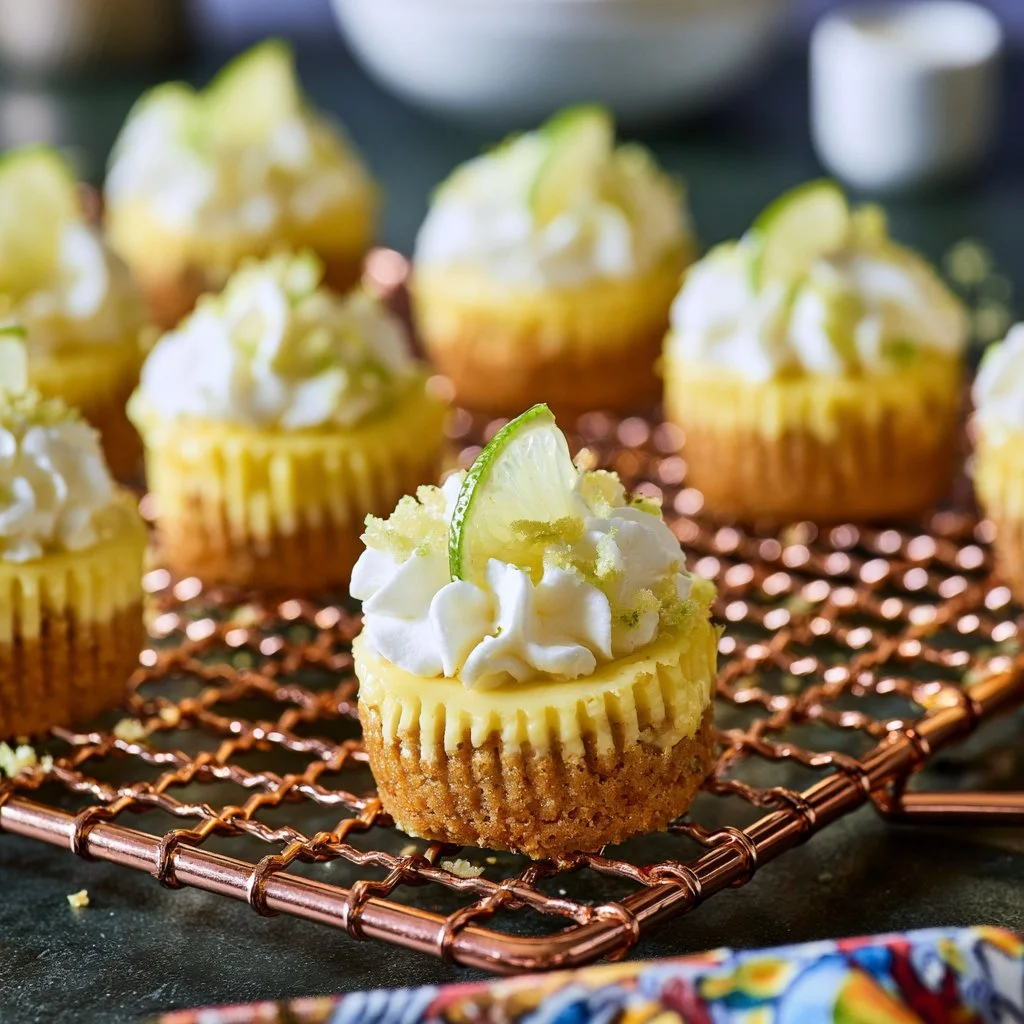
Step 11. Before serving, decorate your cups with whipped cream and garnish them with additional graham cracker crumbs, lime zest, or thinly sliced limes. These add a lovely finishing touch and enhance the flavor experience.

Serving Suggestions
These mini key lime pie cheesecake cups are perfect for breakfast treats or satisfying snacks any time of the day. They’re wonderful additions to family meals, and their individual sizes make them easy to serve at gatherings or celebrations. Leftover cups store well in the fridge, making them a convenient choice for quick desserts throughout the week. The versatility of these little cheesecakes makes them a practical option for various occasions.
Pro Tips for Best Results
- Ensure your butter is fully melted before mixing it with the crumbs for a consistent crust.
- Use fresh key limes for the best flavor; bottled juice can lack the freshness you need.
- Don’t overmix the filling; whisk just until combined to keep the texture smooth.
- Allow the cups to cool thoroughly before refrigeration to prevent excess condensation.
- Experiment with toppings based on your preferences; a dollop of whipped cream can elevate the dessert.
- If you have extra lime zest, it can be frozen and added to future batches.
Common Mistakes to Avoid
- Not pressing the crust down firmly enough can lead to a crumbly base that doesn’t hold together. Make sure it’s compact so it stays intact when serving.
- Overbaking the cheesecakes can result in a dry texture. Keep an eye on them and remember that they will continue to set slightly while cooling.
- Failing to allow the cups to cool completely before refrigerating may lead to a soggy crust from condensation. Allow them to cool at room temperature first.
- Skipping the chilling time can have a big impact. These mini cheesecakes are meant to be served cold for the best texture and flavor.
- Using bottled key lime juice instead of fresh can diminish the vibrant flavor; always reach for fresh when possible.
- Not evenly dividing the filling may result in some cups being overstuffed while others are underfilled. Use a measuring spoon to keep quantities consistent.
Variations & Substitutions
Consider experimenting with different citrus juices if you’re feeling adventurous, such as regular lime or lemon. You can also swap the graham cracker crumbs for crushed cookies like vanilla wafers or digestive biscuits for a different flavor profile. For a touch of fun, sprinkle the tops with toasted coconut or chopped nuts for added texture. Just ensure that your other ingredients remain the same for the best results.
Storage & Reheating
These mini key lime pie cheesecake cups can be stored in the refrigerator for a few days. Keep them in an airtight container to maintain freshness. If you’d like to store them for a longer period, they can be frozen. Wrap each cup individually before placing them in a freezer-safe container. When ready to enjoy, thaw in the refrigerator overnight for the best texture without compromising quality.
Frequently Asked Questions
Can I make this recipe ahead of time?
Yes, these mini key lime pie cheesecake cups can be made a day in advance. Chill them in the refrigerator after baking to allow the flavors to meld and set properly.
How long does it last in the fridge?
They can last in the refrigerator for about 3-5 days when stored properly in an airtight container, maintaining their freshness and flavor.
Can I freeze this recipe?
Absolutely! These cheesecake cups freeze well. Make sure to wrap them tightly in plastic wrap or aluminum foil, then store them in a freezer-safe container.
What can I substitute for one ingredient?
If you don’t have access to fresh key limes, regular limes can be substituted. The flavor might differ slightly, but they will still provide a lovely citrus tang to the cups.
Why didn’t my recipe turn out as expected?
Common issues may stem from overbaking, not chilling long enough, or using old ingredients. Double-check your temperature settings and cooling times, and stick with the fresh ingredients for the best outcomes.
Final Thoughts
Making these mini key lime pie cheesecake cups is not just about the process; it’s about enjoying the wonderful blend of creamy, tangy, and sweet with each bite. They’re a delightful treat for yourself or a crowd. The soft chilling process and the playfulness of the garnishes make this an enjoyable recipe to prepare. Enjoy the simplicity and flavor every time you take a bite.

Mini Key Lime Pie Cheesecake Cups
Ingredients
For the crust
- 1.5 cups graham cracker crumbs Provides a crumbly, sweet base
- 2 Tablespoons granulated sugar Adds sweetness and aids in the crust's structure
- 5 Tablespoons butter, melted Binds the crust and adds richness
For the filling
- 14 ounces sweetened condensed milk Creates a creamy filling
- 0.5 cups fresh key lime juice Brings tanginess and brightness
- 4 large egg yolks Helps thicken and enrich the filling
For garnish (optional)
- whipped cream For a rich topping
- lime zest For flavor and visual appeal
- graham cracker crumbs For garnish
- lime slices For garnish
Instructions
Preparation
- Preheat your oven to 350°F.
- Line a 12-cup muffin tin with paper cupcake liners.
- In a bowl, combine the graham cracker crumbs, granulated sugar, and melted butter using a fork. Mix until all the crumbs are moistened.
- Place 2 level tablespoons of the crust mixture into each paper liner and press it down firmly.
- Bake the crusts in the oven for 5 minutes, then cool them on a wire rack.
Filling
- In a medium bowl, whisk together the sweetened condensed milk, fresh key lime juice, and egg yolks until the mixture thickens slightly.
- Spoon the thickened filling over the cooled crust in the paper liners.
- Bake until set, about 12-14 minutes, until the center jiggles slightly.
- Allow the mini cheesecakes to cool completely on a wire rack.
- Refrigerate the mini key lime pie cheesecake cups for at least 4 hours or up to 24 hours.
- Before serving, decorate your cups with whipped cream and garnish them with additional graham cracker crumbs, lime zest, or thinly sliced limes.


