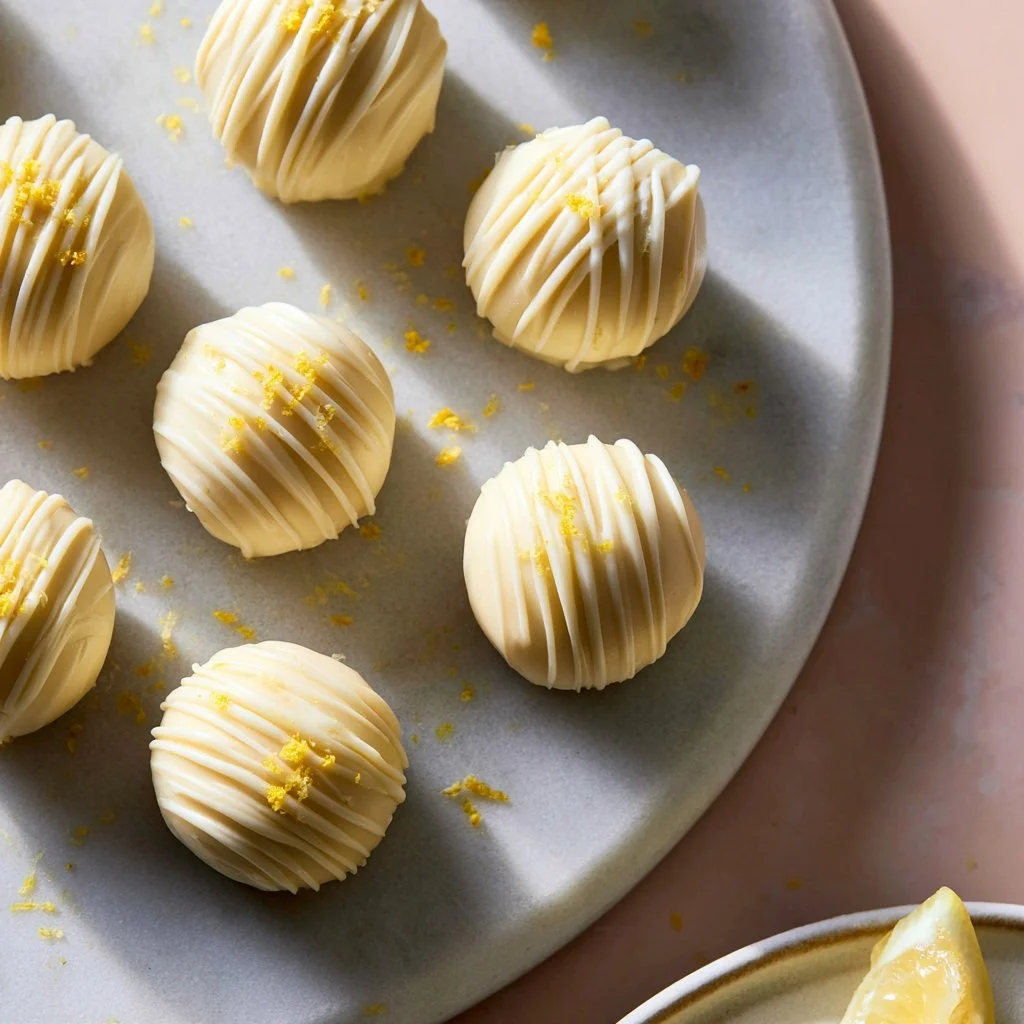
Delicious Lemon Truffles Recipe
When you’re looking for a simple treat that balances bright citrus notes with creamy sweetness, these lemon truffles fit the bill beautifully. They make for a delightful indulgence that works well during quiet evenings, casual gatherings with friends, or even festive occasions. The easy process puts them within reach for a relaxed weekend baking session or a busy weeknight dessert. If you’re ready to dive into making these delightful bites, let’s get started.
Why You’ll Love This Recipe
Their ease and reliability make these lemon truffles a go-to option, with a delightful burst of citrus flavor balancing the richness of the white chocolate. This recipe provides the perfect blend of comfort and taste, making it practical for everyday enjoyment. You’ll appreciate how straightforward the process is, perfect for both novice and seasoned cooks alike.
Kitchen Tools You’ll Need
- Medium or large microwave-safe bowl
- Cookie scoop (1 tablespoon)
- Parchment paper
- Baking sheet
Ingredients
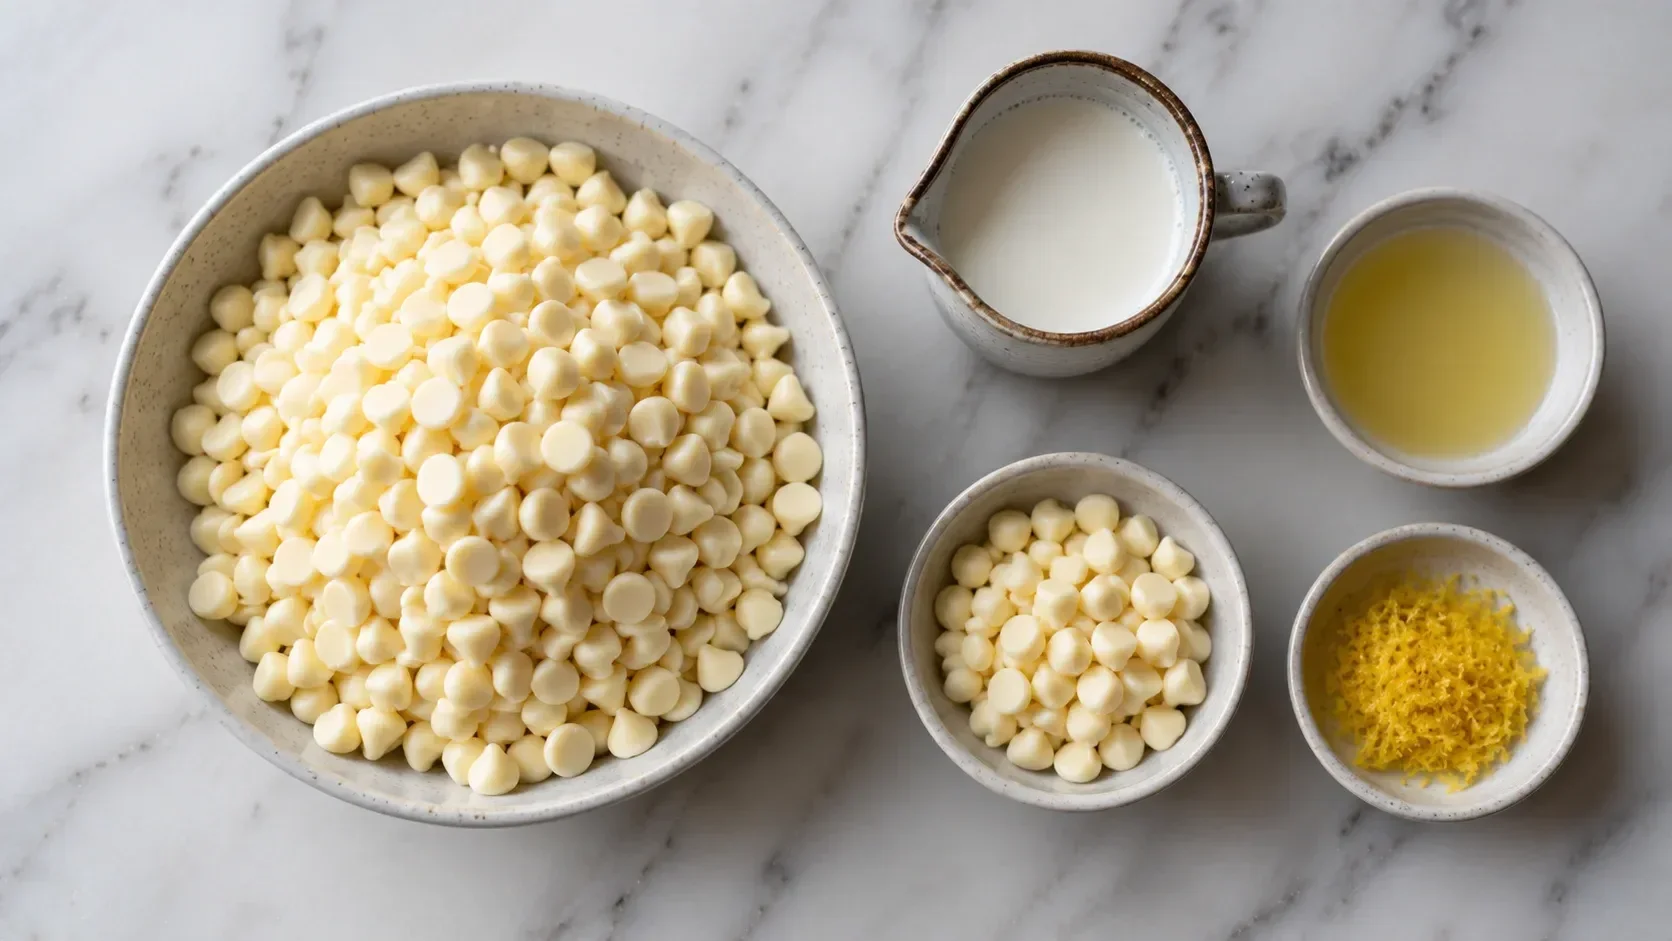
- 4 1/2 cups white baking chips, divided (for a creamy sweetness)
- 2 fl oz heavy cream (adds moisture and richness)
- 1 tbsp lemon juice (provides bright acidity)
- 1 tsp lemon zest (adds vibrant citrus flavor)
How to Make Delicious Lemon Truffles Recipe
Step 1. Begin by placing 2 cups of white baking chips into a medium or large microwave-safe bowl. Heat the heavy cream in the microwave until it’s very hot but not boiling. Pour this hot cream over the white baking chips and gently stir the mixture. You’ll want to keep stirring until the chocolate melts completely. If the chips don’t fully melt, you can pop the bowl back in the microwave for 15 to 20 seconds and stir again until the mixture is smooth.
Step 2. After the chocolate mixture is smoothly combined, stir in the lemon juice and lemon zest. This step is crucial; adding these ingredients at the end helps prevent the chocolate from seizing. The addition of lemon juice and zest will infuse the truffle filling with a refreshing burst of flavor.
Step 3. Once you’ve combined the lemon flavor into the chocolate, refrigerate this mixture for about one hour. You’re looking for it to firm up enough to scoop easily. This step is important, as it ensures the filling will hold its shape when you roll it into balls.
Step 4. After the mixture has chilled, take a 1-tablespoon cookie scoop and measure out scoops of the filling. Roll each scoop between your hands to form smooth balls. Arrange these rolled truffles on a parchment-lined baking sheet as you go. It’s helpful to work swiftly so they don’t warm up too much in your hands.
Step 5. Next, place the baking sheet with the truffle balls in the freezer for about 15 to 20 minutes until they become solid. Freezing them helps the internal filling hold its shape when you dip them in chocolate later on.
Step 6. While the truffle filling is firming up, melt the remaining 2.5 cups of white baking chips in the microwave. If desired, you can add a bit of coconut oil to the melted chocolate to create a smoother coating. Stir the mixture until it’s fully melted and free of any lumps.
Step 7. Once the white chocolate is melted, take each frozen truffle ball and dip it into the melted chocolate, ensuring it’s fully coated. Shake off any excess chocolate before placing them back onto the parchment paper. This step will give your truffles a smooth, professional look.
Step 8. After dipping, you can decorate your truffles as desired. This might involve drizzling some of the melted white chocolate on top or adding a sprinkle of lemon zest for a pop of color.
Step 9. Allow the dipped truffles to set in the refrigerator until the coating is firm. Once ready, store them in an airtight container until you are ready to enjoy them.

Serving Suggestions
These lemon truffles can serve various purposes in your home. They make a lovely addition to breakfast or brunch tables, offering a sweet bite alongside your morning coffee or tea. Consider them as a tempting snack for midday breaks or tucked into lunchboxes for a special treat. They also work well for family meals as a light dessert, and any leftovers can be enjoyed over a few days. Their flavor and texture hold up nicely, making them versatile and enjoyable at any time.
Pro Tips for Best Results
- Make sure the heavy cream is hot enough to melt the chocolate, but don’t let it boil. Proper temperature is key for smooth melting.
- Refrigerate the filling until it’s quite firm to ensure easy rolling and to prevent it from melting during the dipping process.
- When dipping, ensure the chocolate is fully melted and smooth for an even coating.
- Use parchment paper to prevent the truffles from sticking to the baking sheet after dipping.
- Experiment with decorating your truffles; simple decorations can elevate their appearance without much effort.
- Store the truffles in a single layer to maintain their shape.
Common Mistakes to Avoid
- Not Heating the Cream Enough: If the heavy cream isn’t hot enough, it may not melt the chocolate completely. Always ensure it’s hot but not boiling for best results.
- Adding Ingredients Too Early: Stirring in the lemon juice and zest too soon can cause the chocolate to seize up. It’s essential to add these at the end to maintain a smooth mixture.
- Overworking the Filling: If you handle the filling too much while rolling, it can start to warm up, making it difficult to form balls. Work quickly and efficiently to maintain the shape.
- Skipping the Freezing Step: If the balls aren’t frozen long enough, they can lose their shape when dipped in chocolate. Make sure they are solid before dipping.
- Using Cold Chocolate: If the chocolate cools too much while you’re dipping, it may not coat the truffles properly. Keep it warm and smooth throughout the dipping process.
- Improper Storage: Storing the truffles uncovered can cause them to dry out or absorb odors from the fridge. Use an airtight container to preserve freshness.
Variations & Substitutions
Consider adding a hint of flavor with a touch of vanilla extract or using different types of citrus zest for a twist. You might also experiment with different types of chocolate for the coating. Dark chocolate can add a richer flavor that pairs well with lemon. Simple variations like rolling the truffles in crushed nuts or toasted coconut can provide extra texture.
Storage & Reheating
You can keep these truffles at room temperature for a short while, but it’s best to store them in the refrigerator if you want to maintain their firmness. In an airtight container, they should last about a week in the fridge. For longer storage, you can freeze them in an airtight container for up to three months. To enjoy them, simply take them out and let them thaw in the fridge or at room temperature for a short while before serving.
Nutrition Information
- Calories: Not available
- Total Fat: Not available
- Saturated Fat: Not available
- Carbohydrates: Not available
- Fiber: Not available
- Sugar: Not available
- Protein: Not available
- Sodium: Not available
Frequently Asked Questions
Can I make this recipe ahead of time?
Absolutely, these lemon truffles can be made a few days in advance. Simply prepare them and store them in the refrigerator or the freezer until you’re ready to serve.
How long does it last in the fridge?
When stored in an airtight container, these truffles typically last about a week in the refrigerator, keeping their texture and flavor.
Can I freeze this recipe?
Yes, you can freeze the truffles. Just make sure they’re placed in an airtight container or wrapped well to avoid freezer burn. They can last up to three months frozen.
What can I substitute for one ingredient?
If you need to replace the white baking chips, you could use dark chocolate or milk chocolate as an alternative. Just keep in mind that it may alter the flavor slightly.
Why didn’t my recipe turn out as expected?
Common issues can arise from not adequately heating the cream or chocolate, which can prevent smooth melting. It’s essential to follow the steps and ensure each ingredient is at the right temperature.
Final Thoughts
Making these lemon truffles is a rewarding experience that lets you enjoy a delightful treat straight from your kitchen. The simplicity of the process, combined with the refreshing flavor, makes these truffles a lovely addition to any dessert table or a sweet moment in your day. With their rich texture and comforting taste, they’re sure to bring a smile when served. Enjoy the calm joy of creating and sharing these delightful bites.
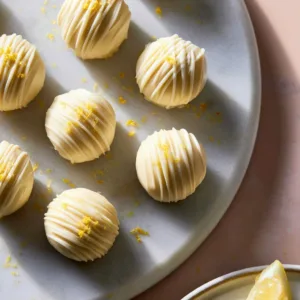
Lemon Truffles
Ingredients
Truffle Filling
- 4.5 cups white baking chips, divided For a creamy sweetness
- 2 fl oz heavy cream Adds moisture and richness
- 1 tbsp lemon juice Provides bright acidity
- 1 tsp lemon zest Adds vibrant citrus flavor
Coating
- 2.5 cups white baking chips For dipping
- optional coconut oil For a smoother coating
Instructions
Preparation
- Place 2 cups of white baking chips into a medium or large microwave-safe bowl.
- Heat the heavy cream in the microwave until very hot but not boiling.
- Pour the hot cream over the white baking chips and gently stir until melted and smooth.
- If necessary, heat again for 15-20 seconds and stir until smooth.
- Stir in the lemon juice and lemon zest, and mix thoroughly.
- Refrigerate the mixture for about one hour until firm enough to scoop.
Rolling and Dipping
- Using a 1-tablespoon cookie scoop, measure out scoops of the filling and roll them into smooth balls.
- Place the truffle balls on a parchment-lined baking sheet.
- Freeze the truffles for about 15-20 minutes until solid.
- Melt the remaining 2.5 cups of white baking chips in the microwave, adding coconut oil if desired.
- Dip each truffle ball into the melted chocolate, ensuring full coating.
- Shake off excess chocolate and place back onto parchment paper.
- Decorate as desired with additional chocolate or lemon zest.
- Allow the dipped truffles to set in the refrigerator until the coating is firm.
- Store in an airtight container until ready to enjoy.