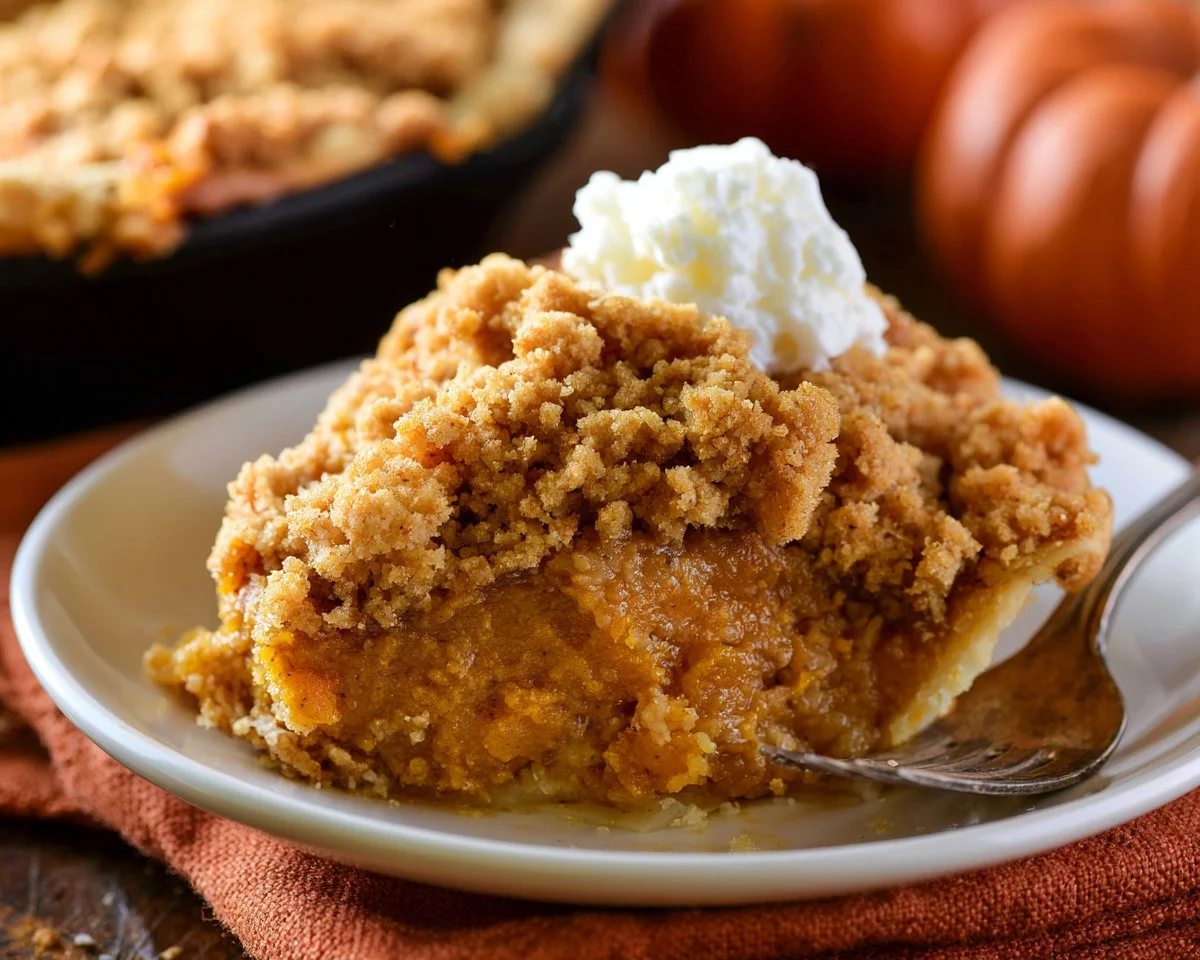
There’s something wonderfully comforting about a dessert that blends the classic flavors of pumpkin pie with a crisp, crumbly topping. This Pumpkin Pie Crisp captures all of that cozy warmth, making it perfect for gatherings or as a sweet treat after dinner. With simple steps and straightforward ingredients, it’s both satisfying and easy to put together. In just a little while, your kitchen will be filled with the delightful scent of pumpkin spice baking away.
Why You’ll Love This Pumpkin Pie Crisp
This dessert brings together the ease of preparation with the heartwarming flavors of the season. The combination of pumpkin puree and spices creates a balanced flavor that is comforting yet delightful. For everyday value, this Pumpkin Pie Crisp is dependable, making it a great choice for both family meals and casual gatherings. You’ll find it’s a dessert that everyone will enjoy.
Kitchen Tools You’ll Need
- 12-inch cast iron skillet or medium casserole dish
- Large and medium mixing bowls
- Whisk
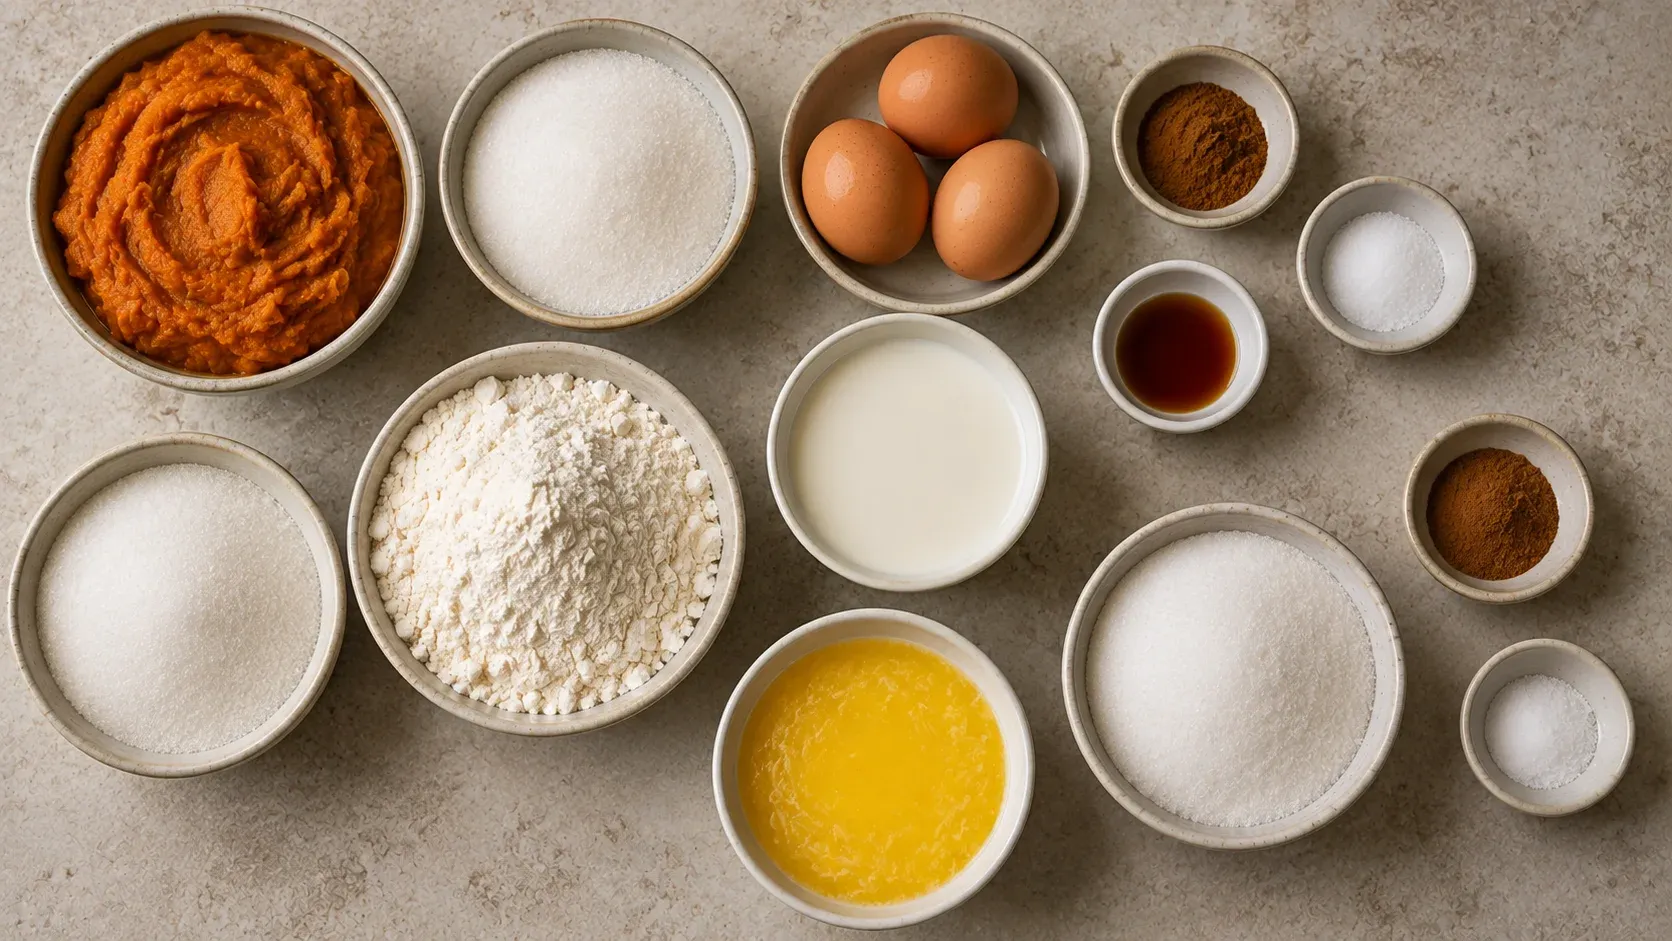
Ingredients
- 1 (15 oz) can pumpkin puree (smooth texture for filling)
- 1 cup granulated sugar (sweetness)
- 3 large eggs (binding agent)
- 2 teaspoons pumpkin pie spice (flavor enhancement)
- ½ teaspoon salt (balances flavors)
- 2 teaspoons vanilla extract (aroma and flavor)
- ⅔ cup heavy cream (adds richness)
- 2 cups all-purpose flour (structure for topping)
- 1 ½ cups granulated sugar (sweetener for topping)
- 2 teaspoons cinnamon (warm spice flavor)
- ½ teaspoon salt (enhances taste)
- 12 tablespoons unsalted butter, melted (moisture and richness)
How to Make Pumpkin Pie Crisp
Step 1. Preheat your oven to 375°F. This step is important to ensure that your Pumpkin Pie Crisp bakes evenly and thoroughly. Have your baking dish ready, as the warmth of the oven will help develop the flavors as it cooks.
Step 2. Butter your 12-inch cast iron skillet or medium casserole dish. This helps prevent the dessert from sticking and allows for easier serving later on. Make sure to cover the bottom and sides evenly for best results.
Step 3. In a large bowl, whisk together the pumpkin puree, sugar, eggs, pumpkin pie spice, salt, and vanilla extract. This mixture is the base of your dessert. Whisk until completely combined, ensuring that the eggs are fully incorporated and the mixture is smooth.
Step 4. Gradually whisk in the heavy cream until you achieve a smooth consistency. This adds richness to the filling and helps to create a custard-like texture. The filling will be somewhat thick but should be pourable when you’re done.
Step 5. Pour the pumpkin mixture into the prepared skillet. The mixture may fill the dish quite generously. It should spread evenly in the skillet, and you’re looking for a level surface, which indicates it is ready for the topping.
Step 6. In a medium bowl, whisk together the flour, sugar, cinnamon, and salt. This dry mixture will form the topping. Whisking ensures that everything is well combined and that the spices are evenly distributed throughout the topping.
Step 7. Add the melted butter to the flour mixture and stir until crumbly. The texture should feel somewhat sandy with chunks, which is perfect for creating a crisp top when baked. Make sure there are no dry spots; it should hold together slightly when squeezed.
Step 8. Spread the topping evenly over the pumpkin mixture. The topping should cover the filling without mixing in. This will create a beautiful, golden crust as it bakes and protects the filling from direct heat.
Step 9. Bake in the oven for 40-45 minutes, or until the filling is set and the top is golden brown. You’ll know it’s ready when the edges are slightly puffed and the center is firm. Keep an eye on the topping color; it should be a lovely golden brown.
Step 10. Allow the Pumpkin Pie Crisp to cool for 10 minutes before serving. This helps the flavors to settle and makes it easier to serve. The cooling time allows the filling to firm up a bit more while keeping the topping deliciously crisp.
Serving Suggestions
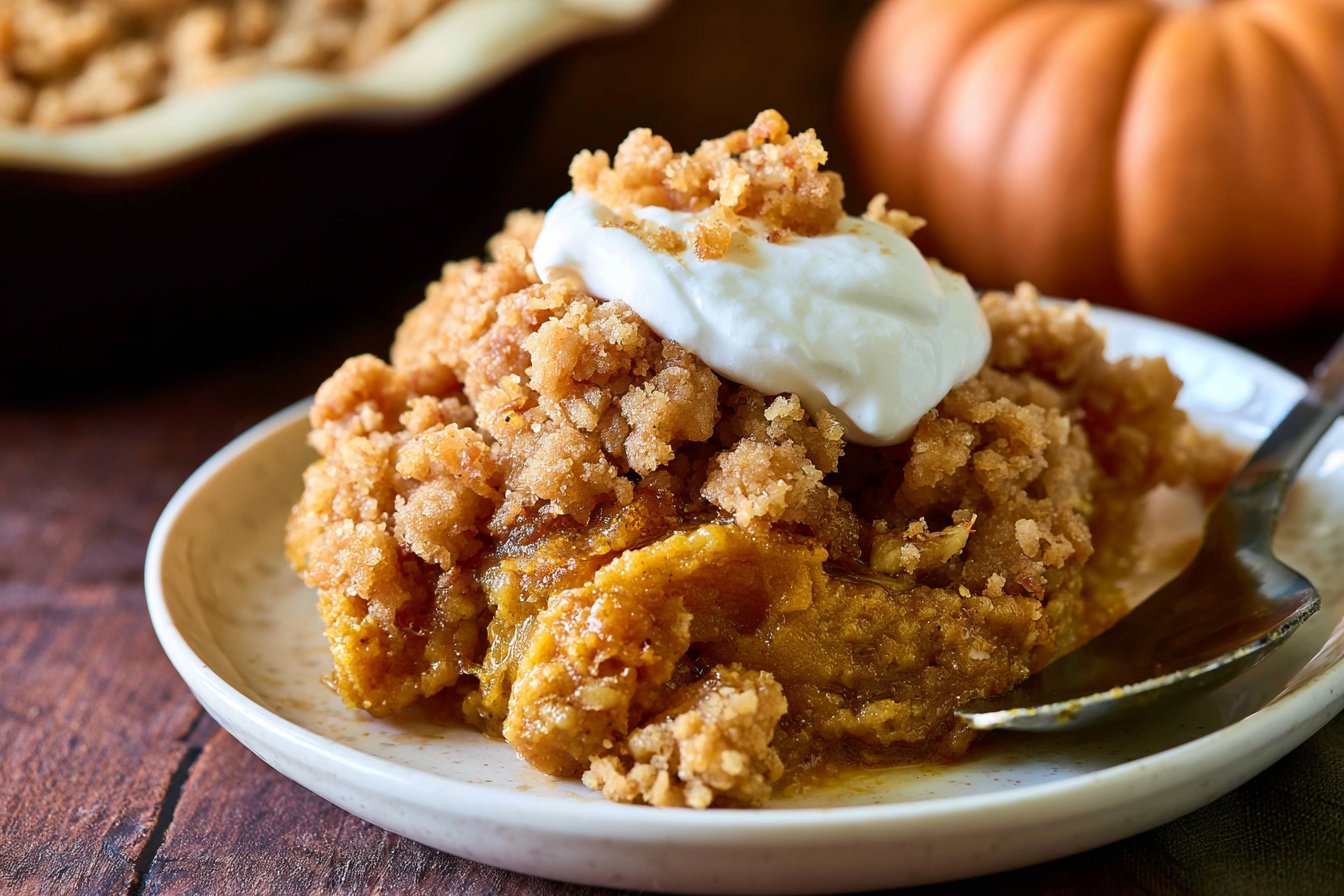
This Pumpkin Pie Crisp makes for a delightful breakfast, especially when paired with a cup of coffee or tea. It can also be enjoyed as a snack during the day or served as a comforting dessert after dinner. If you have leftovers, they can be easily warmed up for an indulgent treat or served cold straight from the refrigerator.
Pro Tips for Best Results
- Make sure to whisk the filling thoroughly to avoid any lumps from the pumpkin puree.
- Allow the melted butter to cool slightly before mixing it into the topping to prevent it from cooking the flour.
- For an even crispier topping, spread a little more granulated sugar over it just before baking.
- Try not to overmix the topping to keep it crumbly and prevent it from becoming dense.
- Garnish with a sprinkle of cinnamon before serving for added flavor and visual appeal.
Common Mistakes to Avoid
- Not Preheating the Oven: Skipping this step can lead to uneven cooking, resulting in a soggy bottom. Always preheat your oven to ensure consistent results.
- Overmixing the Topping: Mixing too vigorously can lead to a tough texture. Gently stir just until combined for a light, crumbly topping.
- Ignoring Cooling Time: Serving it too soon can lead to runny filling. Allowing it to cool helps it set properly, forming a better texture for serving.
- Not Whisking Enough: If the filling isn’t well combined, lumps can form, which will affect the final texture. Ensure a thorough whisking for a smooth consistency.
- Using Cold Ingredients: Cold eggs or cream can create a lumpy filling. Bring eggs and cream to room temperature for better incorporation.
- Baking Time Misjudgment: Relying solely on time can lead to undercooked or overcooked results. Check for set filling and a golden top to determine doneness.
Variations & Substitutions
For a twist, consider adding chopped nuts like pecans or walnuts into the topping for extra texture and flavor. You can also mix in chocolate chips for a sweeter touch. If you prefer a lighter dessert, try using half-and-half instead of heavy cream.
Storage & Reheating
This dessert can be stored at room temperature for up to 2 days if covered properly. For longer storage, refrigerate it for up to a week. If you want to keep it longer, consider freezing it for up to three months. When reheating, use the oven to restore the crispness of the topping rather than microwaving, which can make it soggy.
Frequently Asked Questions
Can I make this recipe ahead of time?
Yes, you can prepare the filling and the topping separately a day in advance and combine them just before baking. This makes for easier assembly and baking when you’re ready to serve.
How long does it last in the fridge?
When stored in an airtight container, the Pumpkin Pie Crisp will last for about a week in the fridge.
Can I freeze this recipe?
Absolutely! You can freeze the assembled crisp before baking, or bake it first and then freeze. Just make sure to cool it completely before wrapping it tightly for freezing.
What can I substitute for one ingredient?
You could use coconut milk in place of heavy cream for a dairy-free option. It will change the flavor slightly, but it should work well in the recipe.
Why didn’t my recipe turn out as expected?
Common culprits are not measuring ingredients accurately, skipping the preheating step, or cutting back too much on the sugar, which can affect the balance of flavors.
Final Thoughts
Making Pumpkin Pie Crisp is a comforting experience, bringing all the warm, cozy flavors of fall right into your kitchen. You’ll appreciate how simple it is to create a dessert that feels special and satisfying. Enjoy this warm treat with friends and family, knowing it will be a comforting addition to your meal. It’s a wonderful way to share the season’s spirit and flavors with those you love.
Pumpkin Pie Crisp
Ingredients
For the filling
- 1 can 15 oz can pumpkin puree Smooth texture for filling
- 1 cup granulated sugar For sweetness
- 3 large eggs Binding agent
- 2 teaspoons pumpkin pie spice Flavor enhancement
- ½ teaspoon salt Balances flavors
- 2 teaspoons vanilla extract For aroma and flavor
- ⅔ cup heavy cream Adds richness
For the topping
- 2 cups all-purpose flour Provides structure for topping
- 1 ½ cups granulated sugar Sweetener for topping
- 2 teaspoons cinnamon Warm spice flavor
- ½ teaspoon salt Enhances taste
- 12 tablespoons unsalted butter, melted Adds moisture and richness
Instructions
Preparation
- Preheat your oven to 375°F.
- Butter your 12-inch cast iron skillet or medium casserole dish.
- In a large bowl, whisk together the pumpkin puree, sugar, eggs, pumpkin pie spice, salt, and vanilla extract until completely combined.
- Gradually whisk in the heavy cream until you achieve a smooth consistency.
- Pour the pumpkin mixture into the prepared skillet.
Topping Preparation
- In a medium bowl, whisk together the flour, sugar, cinnamon, and salt.
- Add the melted butter to the flour mixture and stir until crumbly.
- Spread the topping evenly over the pumpkin mixture.
Baking
- Bake in the oven for 40-45 minutes, or until the filling is set and the top is golden brown.
- Allow the Pumpkin Pie Crisp to cool for 10 minutes before serving.