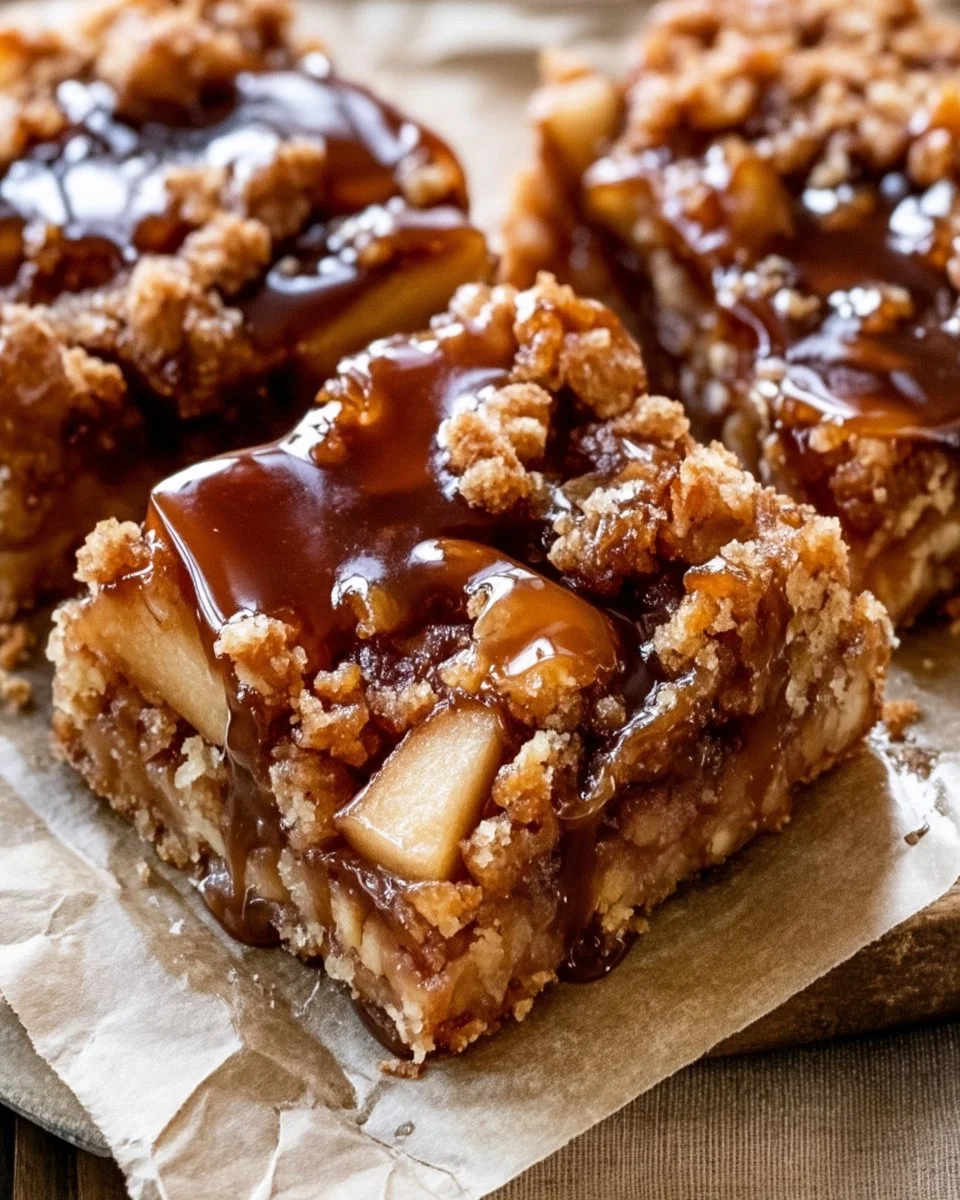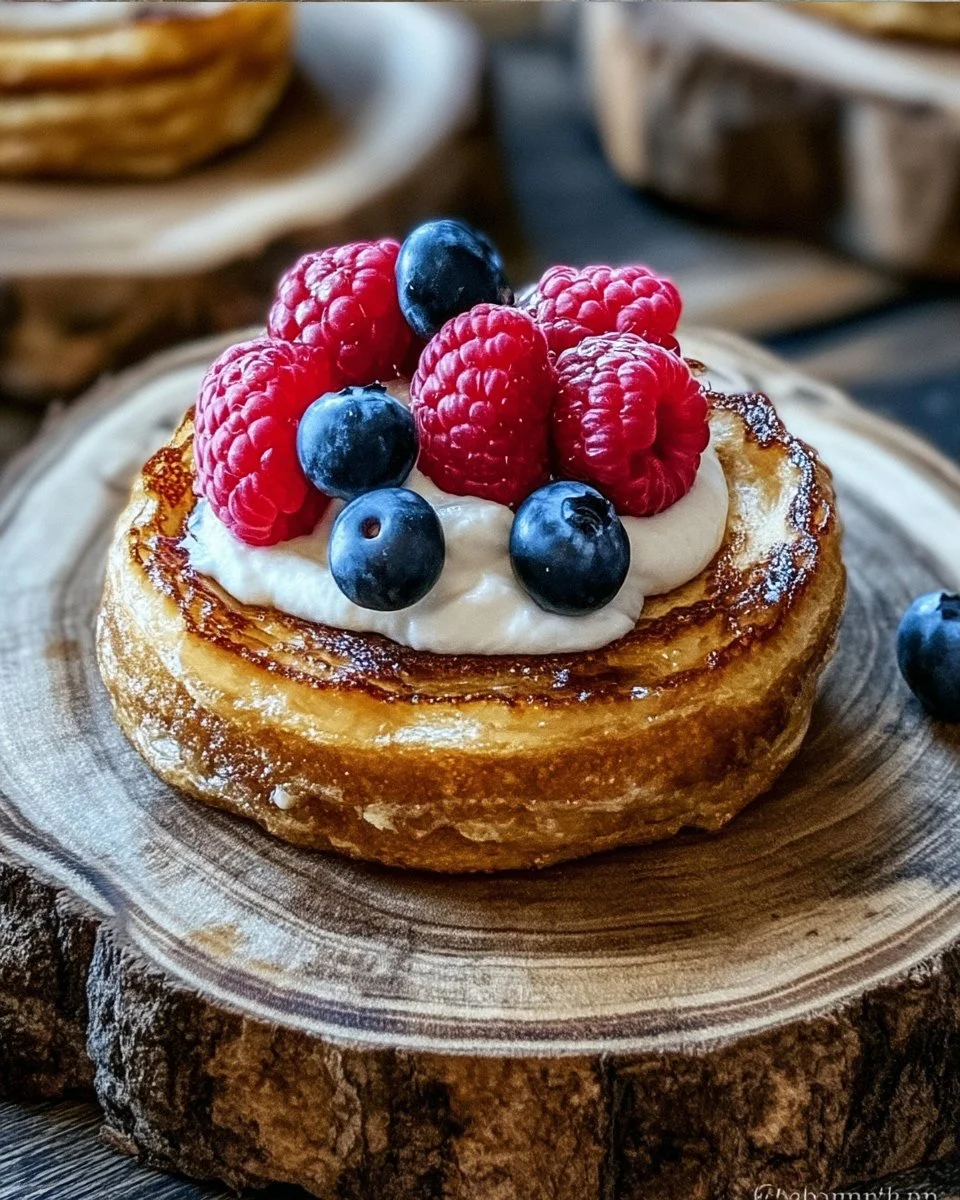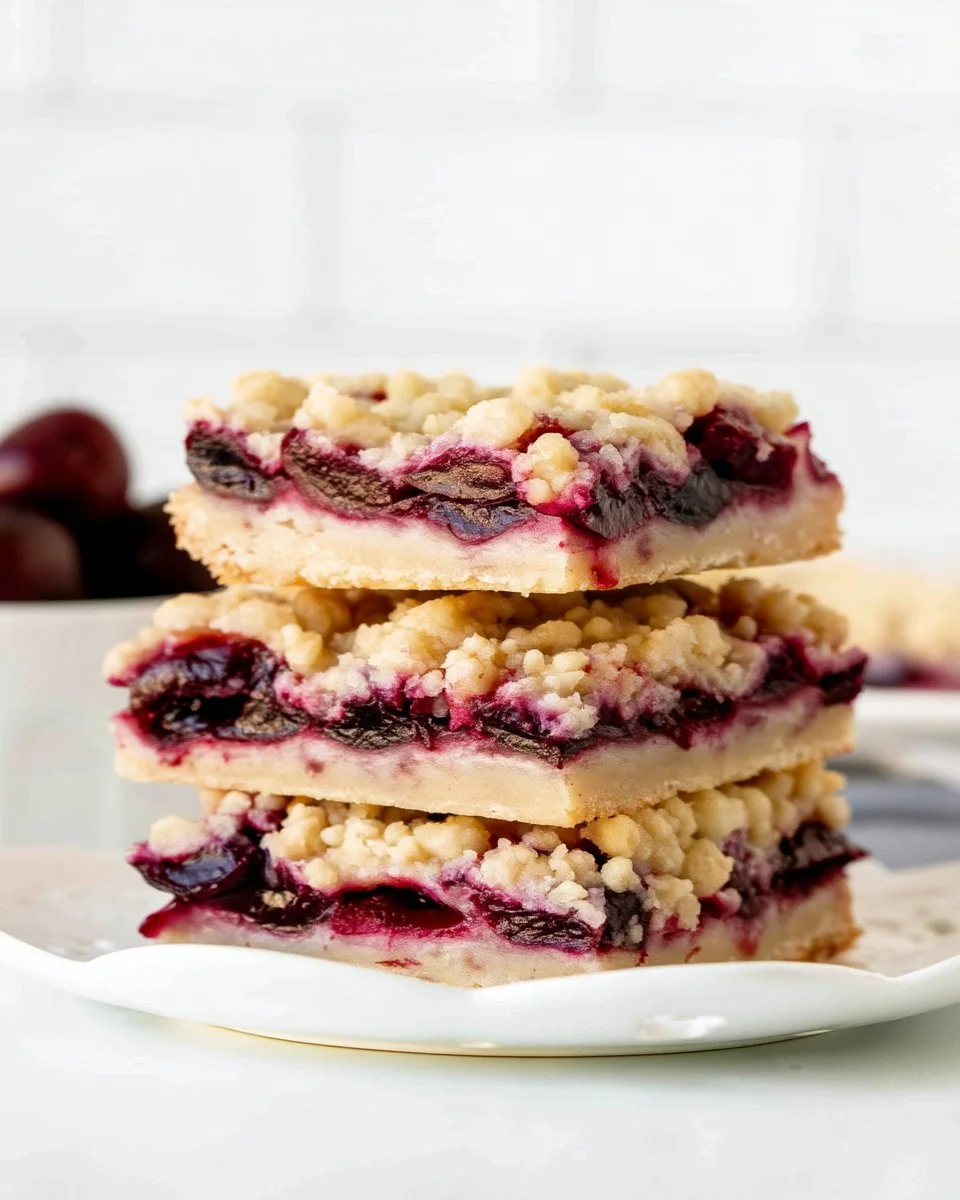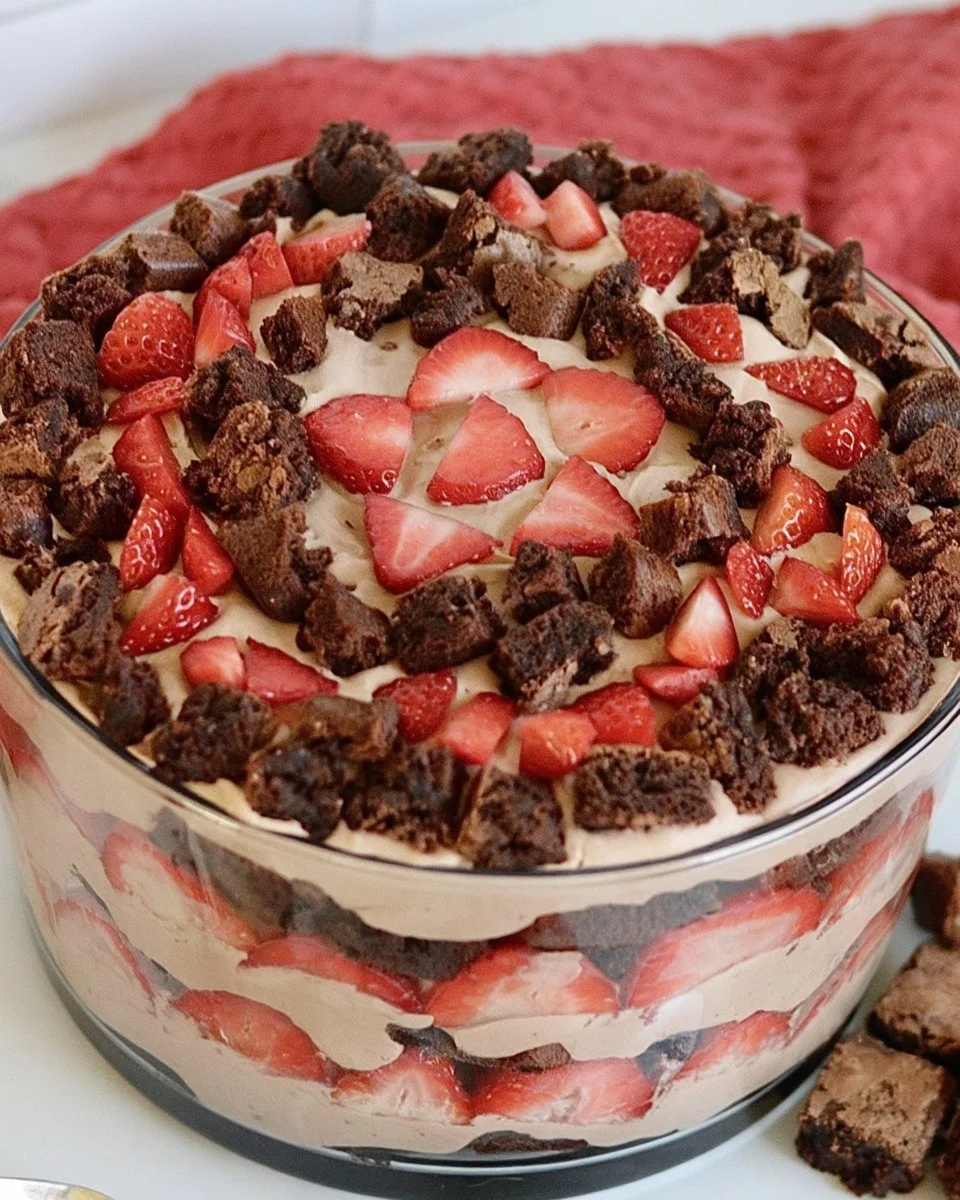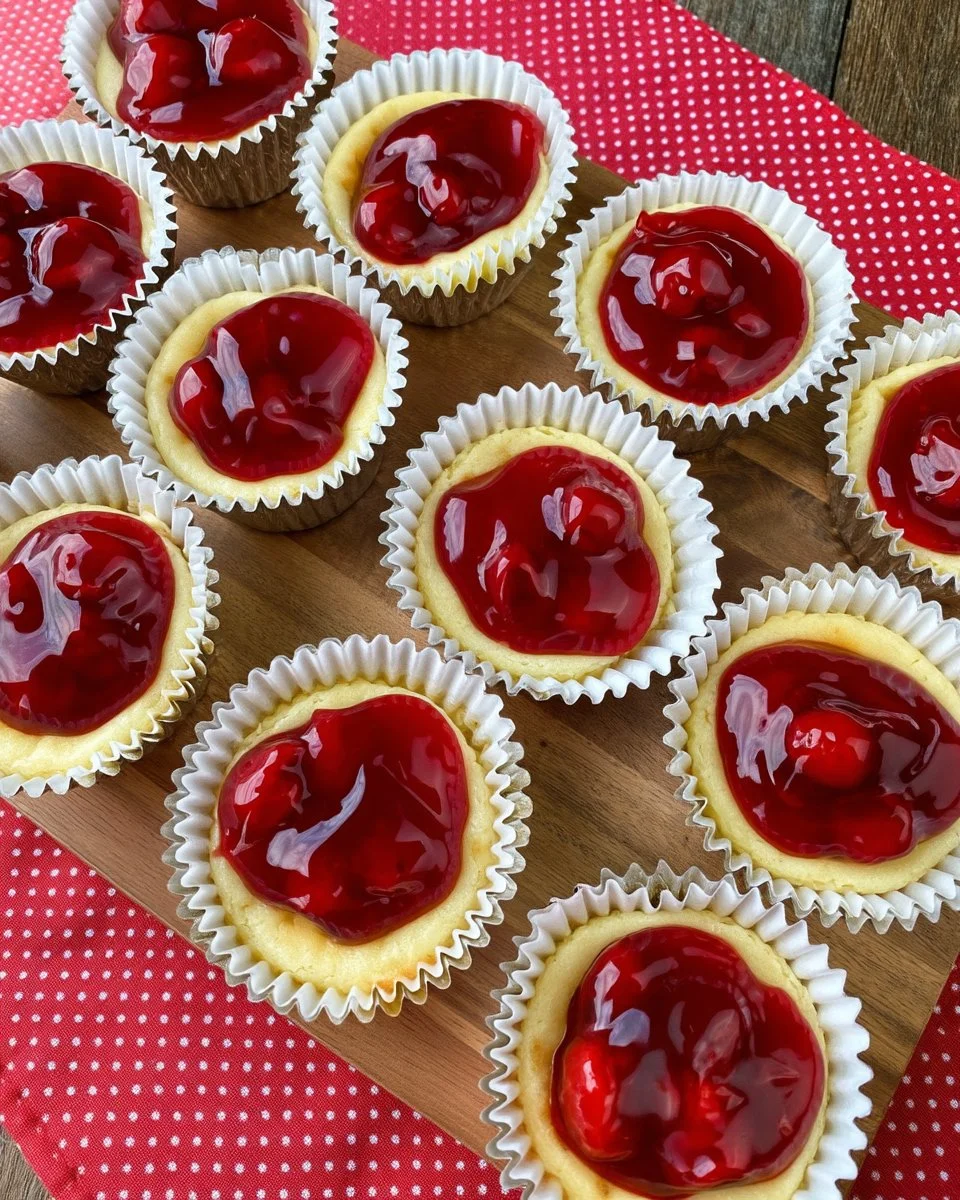
There’s something undeniably comforting about mini cheesecakes. They deliver just the right amount of sweetness and rich creaminess, making them a delightful treat. The combination of smooth cream cheese and a hint of vanilla is beautifully complemented by a simple vanilla wafer base. When you’re in the mood for a dessert that feels indulgent but is surprisingly easy to whip up, these mini cheesecakes with vanilla wafers are a wonderful go-to option. Let’s dive in and bring this charming recipe to life together.
Why This Mini Cheesecakes with Vanilla Wafers Works
These mini cheesecakes are reliable because they blend a short list of ingredients into a light, fluffy mixture that pairs well with the crispiness of the vanilla wafers. The cream cheese provides a rich base while sugar and lemon juice bring out the sweetness balanced by freshness. This practical dessert doesn’t require intensive techniques or hard-to-find ingredients, making it approachable for every home cook.
Kitchen Tools for Mini Cheesecakes with Vanilla Wafers
- Cupcake pan
- Cupcake liners
- Mixing bowl
- Electric mixer or whisk
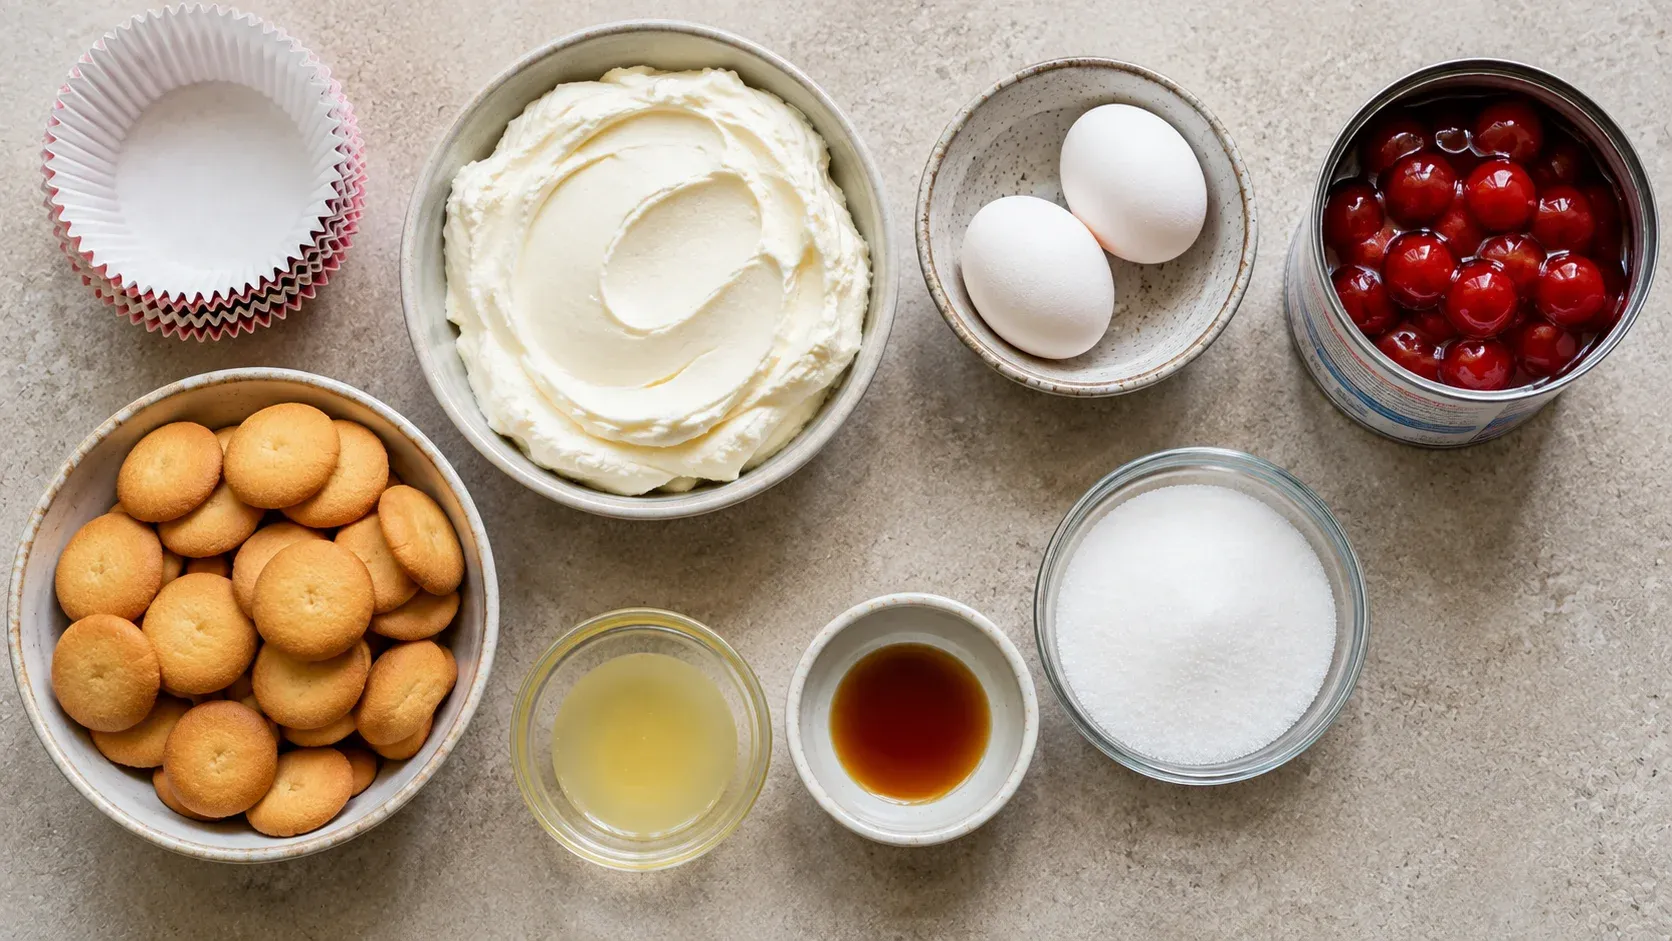
Ingredients
- 20 cupcake liners
- 20 vanilla wafers (crispy base)
- 16 ounces cream cheese, softened (rich and creamy)
- 2 eggs (binding and structure)
- 3/4 cup sugar (sweetness)
- 1 tablespoon lemon juice (zesty brightness)
- 1 teaspoon vanilla (flavor depth)
- 21 ounce can cherry pie filling (topping)
How to Make Mini Cheesecakes with Vanilla Wafers
Step 1. Begin by preheating your oven. A warm oven will ensure that your cheesecakes bake evenly and set perfectly. While your oven warms up, line your cupcake pan with liners. This step is crucial as it keeps the cheesecake intact and makes serving a breeze.
Step 2. Take your vanilla wafers and place one in the bottom of each cupcake liner, flat side down. These wafers will create a delightful, cookie-like crust that adds a little crunch to your cheesecakes. Make sure they sit nicely at the base of the liners.
Step 3. In a mixing bowl, beat the softened cream cheese until it’s smooth and fluffy. This is where you’re creating the heart of your cheesecake. Incorporate the sugar, eggs, lemon juice, and vanilla into the mixture. As you beat everything together, you should achieve a light and creamy consistency that’s slightly airy.
Step 4. Next, fill each liner with the cream cheese mixture, making sure to fill them about three-quarters full. This allows space for the cheesecakes to expand a bit while baking. You’ll see the mixture will be creamy and slightly thick, which is what you’re looking for.
Step 5. Place the cupcake pan in the oven and bake until the mini cheesecakes are set. They should have a slight jiggle in the center; that’s an indication they’re done baking. It’s a delicate balance, so keep an eye on them as baking times can vary slightly.
Step 6. Once baked, take them out and let the mini cheesecakes cool completely. After they’ve cooled, you can set them out on a tray. This is your moment to bring them to life with toppings. Arrange your cherry pie filling or any toppings you prefer around the cheesecakes for a lovely presentation.
Serving Ideas for Mini Cheesecakes with Vanilla Wafers
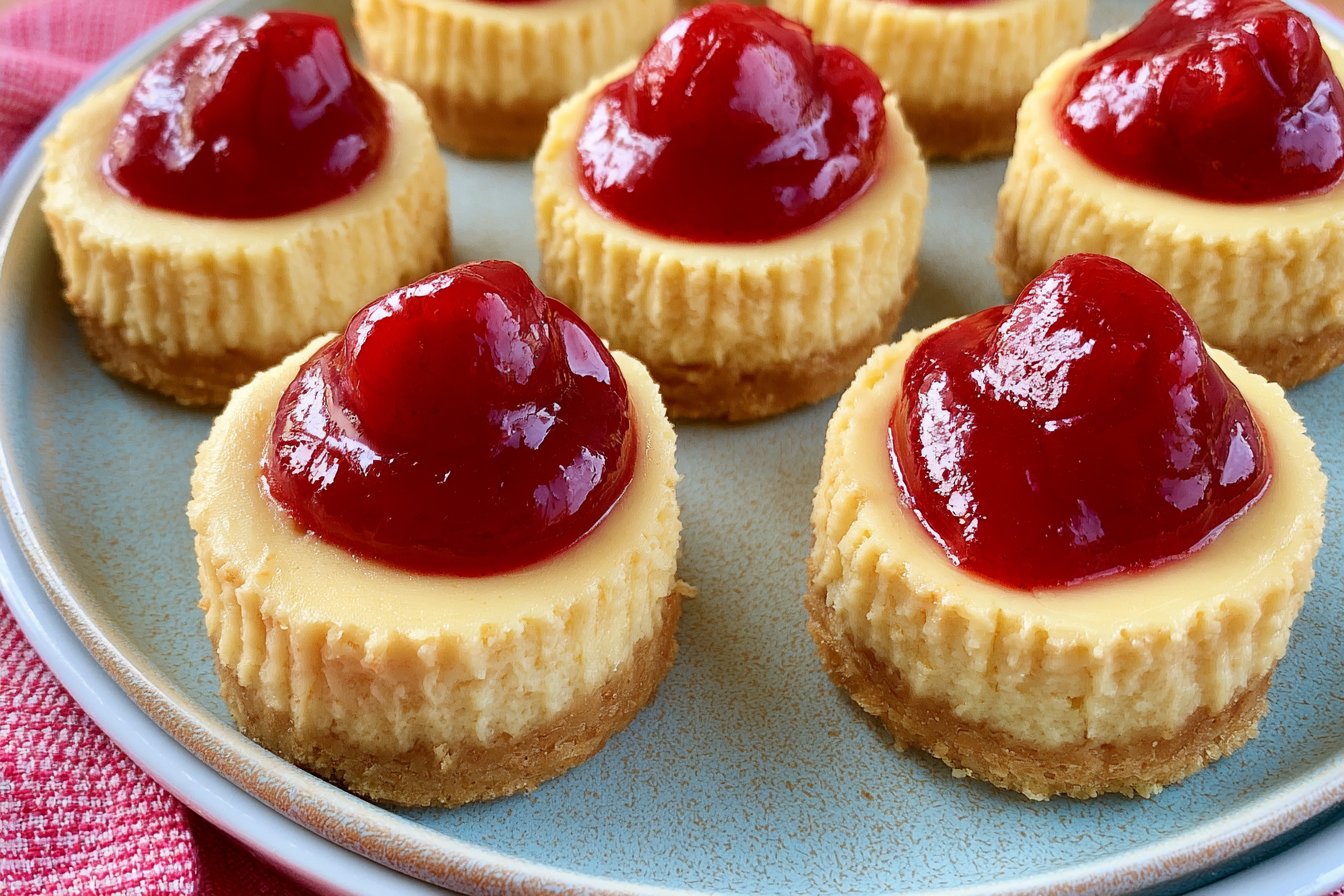
These mini cheesecakes can be enjoyed in various settings. They shine at gatherings and parties but also make for a comforting dessert after a weeknight dinner. If you have any leftovers, they can be delightful tucked into lunchboxes or served with coffee. Consider pairing them with fresh fruit or drizzling a bit of chocolate sauce over them. The options are simple, yet they elevate the experience without taking away from their natural charm.
Practical Tips for Mini Cheesecakes with Vanilla Wafers
- Use room temperature cream cheese for a smoother batter.
- Don’t overmix the batter; this helps avoid a dense texture.
- Allow them to cool slowly in the pan for a more even structure.
- Experiment with different toppings to keep each batch feeling unique.
- Be careful not to burn the edges; an even, light tan color is ideal.
- Store the mini cheesecakes properly to maintain their freshness.
Common Mistakes to Avoid
- Overmixing the Batter: This can introduce too much air and make the cheesecakes dense. It’s best to mix just until combined and fluffy.
- Skipping the Room Temperature Ingredients: Cold cream cheese can lead to lumps. Always let it come to room temperature for a smooth consistency in the batter.
- Filling Too Full: If you fill your liners to the brim, you risk overflow. Aim for three-quarters full to allow for slight rising.
- Not Monitoring Baking Time: Leaving them in too long can lead to cracks. They should be set even if slightly jiggly in the center.
- Cooling Too Quickly: Rapid temperature changes can cause cracking. Let them cool slowly at room temperature for the best results.
- Neglecting Toppings: They can enhance both flavor and presentation. Don’t forget to add your favorite toppings once cooled!
Simple Variations
If you’re looking to mix things up a bit, consider adding a twist of flavor by blending in a bit of lemon zest or some cocoa powder into the batter for a chocolatey base. You could also think about using different toppings, such as blueberry pie filling or a simple caramel drizzle, to create new flavors without changing the core recipe.
Storage & Reheating
Store your mini cheesecakes in the refrigerator if you’re enjoying them over a few days. They’ll keep well in an airtight container, staying fresh and creamy. If you need to store them for a longer time, consider freezing them. Just wrap them properly. When you’re ready, let them thaw in the refrigerator overnight. Enjoy them cold for the best texture, but you can also pop them in the microwave for a few seconds if you’d like them warm.
Frequently Asked Questions
Can I make this recipe ahead of time?
Yes, you can prepare these mini cheesecakes a day or two in advance. Just make sure to store them in the refrigerator until you’re ready to serve.
How long does it last in the fridge?
When properly stored in an airtight container, these mini cheesecakes can last about 4 to 5 days in the fridge, maintaining their creaminess.
Can I freeze this recipe?
Absolutely! They freeze well for up to two months. Just ensure they’re wrapped tightly to prevent freezer burn and thaw them in the refrigerator before serving.
What can I substitute for one ingredient?
For a different flavor profile, you could switch out the lemon juice for lime juice, which would give it a zesty twist while still offering the acidity needed in the batter.
Why didn’t my recipe turn out as expected?
If your cheesecakes cracked or were too dense, it may have been due to overmixing or improper temperature of the ingredients. Always ensure everything is at room temperature and mix just until combined.
Final Thoughts
There’s a comforting sense of achievement that comes from making mini cheesecakes from scratch. Each step, from preparing the creamy batter to watching them bake to perfection, is a reminder of the joy cooking can bring. These treats are not only delicious but also empower you to get creative with toppings and flavors. Enjoy the process, and most importantly, savor every bite of your lovely mini cheesecakes.
Mini Cheesecakes with Vanilla Wafers
Ingredients
For the crust
- 20 pieces vanilla wafers Crispy base
For the filling
- 16 ounces cream cheese, softened Rich and creamy
- 2 pieces eggs Binding and structure
- 3/4 cup sugar Sweetness
- 1 tablespoon lemon juice Zesty brightness
- 1 teaspoon vanilla Flavor depth
For the topping
- 21 ounces cherry pie filling For topping the cheesecakes
Instructions
Preparation
- Preheat your oven and line your cupcake pan with cupcake liners.
- Place one vanilla wafer in the bottom of each cupcake liner, flat side down.
Mixing
- In a mixing bowl, beat the softened cream cheese until smooth and fluffy.
- Incorporate the sugar, eggs, lemon juice, and vanilla into the mixture.
Filling and Baking
- Fill each liner about three-quarters full with the cream cheese mixture.
- Bake in the oven until the mini cheesecakes are set but still have a slight jiggle in the center.
Cooling and Serving
- Let the mini cheesecakes cool completely before serving.
- Top with cherry pie filling or any preferred toppings.