Red Velvet Cake Balls are the ultimate bite-sized dessert for anyone who loves the rich, classic flavor of red velvet. These little treats are soft, moist, and dipped in creamy chocolate for a decadent finish. Perfect for parties, holidays, or a quick homemade gift, they’re easy to make using red velvet cake mix and cream cheese frosting. Whether you call them Red Velvet Truffles, Red Velvet Cake Pops, or Red Velvet Cheesecake Bites, they’re a fun twist on the traditional cake. Learn how to make Red Velvet Cake Balls effortlessly and enjoy a sweet, elegant dessert that’s as beautiful as it is delicious.
Serving Versatility
Red Velvet Cake Balls are endlessly adaptable. Serve them on a dessert platter for a party, tuck them into lunchboxes for a sweet surprise, or use them as decorative cake toppers. You can roll them in sprinkles, drizzle them with white chocolate, or serve them chilled for a truffle-like treat. They’re equally stunning on their own or paired with a cozy cup of coffee.
Ingredients:
- 1 box red velvet cake mix (plus ingredients listed on the box)
- 1 cup cream cheese frosting (homemade or store-bought)
- 12 oz white or dark chocolate melts
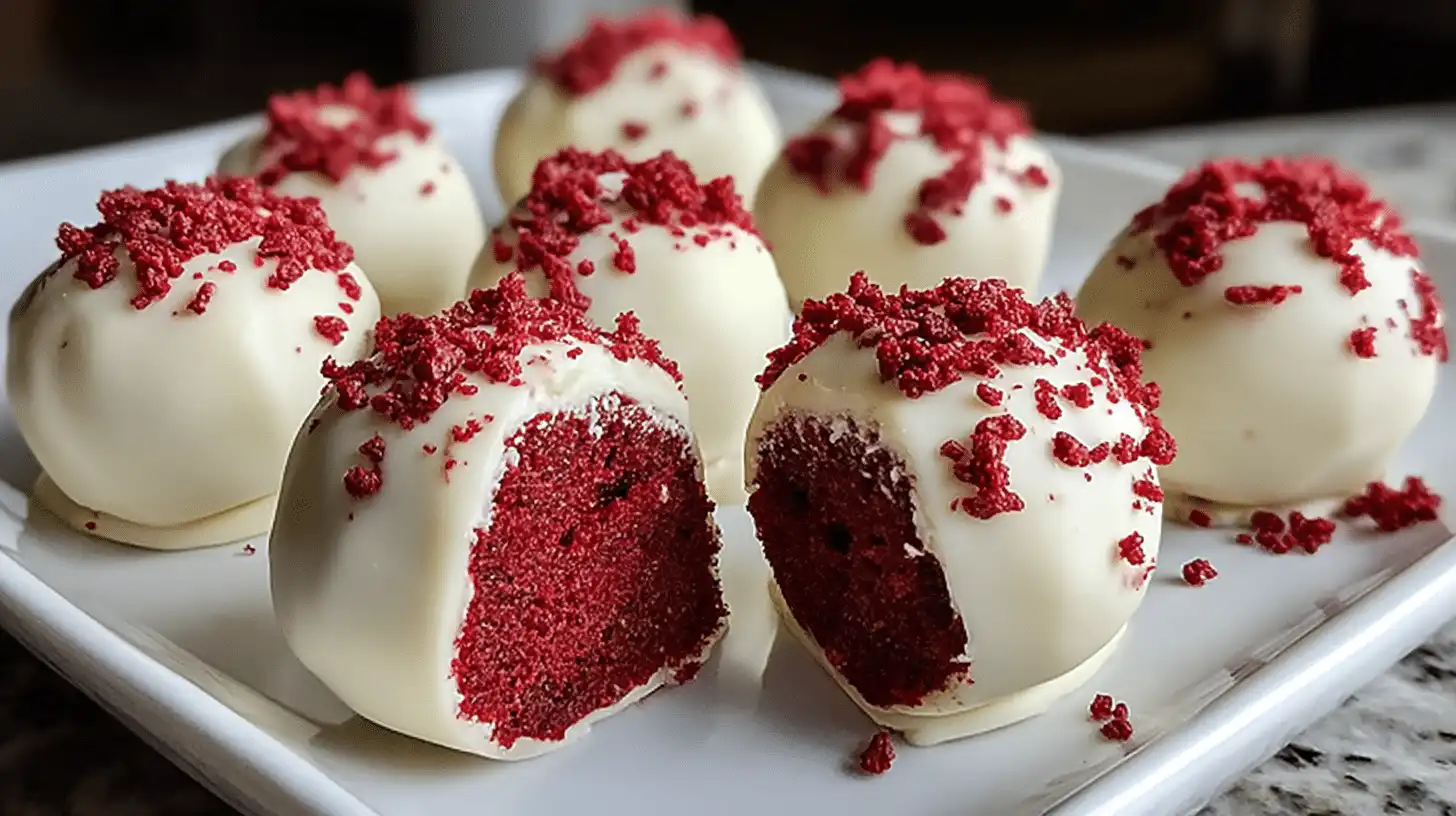
- Optional: sprinkles, crushed nuts, or red velvet crumbs for decoration
Directions:
- Bake the red velvet cake according to package instructions. Allow it to cool completely.
- Crumble the cooled cake into a large bowl until no large pieces remain.
- Add cream cheese frosting and mix until a soft dough forms. The mixture should hold its shape when rolled.
- Roll into 1-inch balls and place on a parchment-lined baking sheet. Freeze for 20–30 minutes to firm up.
- Melt chocolate in a microwave-safe bowl, stirring every 30 seconds until smooth.
- Dip each cake ball into the melted chocolate, using a fork to gently lift and tap off excess coating.
- Place on parchment paper and decorate immediately with sprinkles or crumbs before the coating sets.
- Refrigerate for at least 15 minutes before serving.
Prep Time: 15 minutes
Cook Time: 25 minutes
Chill Time: 30 minutes
Total Time: 1 hour 10 minutes
Servings: 24 cake balls
Calories: Approximately 120 per ball
Why You’ll Love This Recipe
- Quick preparation: Ready in just over an hour, including chilling time.
- Budget-friendly ingredients: Uses simple pantry staples like cake mix and frosting.
- Big, cozy flavor: Classic red velvet taste with a smooth, chocolatey finish.
- Nutritional value: Perfect portion control for mindful indulgence.
- Customizability: Easily switch up coatings, decorations, and flavors.
Cultural or Cooking Technique Note (Optional)
Red velvet’s roots trace back to the early 1900s American South, where bakers used cocoa and vinegar to create its signature tender crumb and red hue. These cake balls carry on that heritage in a modern, mess-free way—capturing the essence of red velvet in a single, delightful bite.
Serving Suggestions
- Arrange them in cupcake liners for a party-ready display.
- Serve chilled for a truffle-style treat.
- Crumble a few over vanilla ice cream for an indulgent sundae topping.
- Wrap them up in decorative boxes for a homemade gift.
Pro Tips for Success
- Use room-temperature frosting so it blends smoothly with the cake crumbs.
- Chill the cake balls before dipping to prevent cracking or melting.
- For an even coating, roll each dipped ball gently on a fork before setting it down.
- Add a touch of coconut oil to your chocolate for a glossy finish.
Storage & Reheating
Store Red Velvet Cake Balls in an airtight container in the refrigerator for up to 5 days. For longer storage, freeze them for up to 2 months—just thaw in the fridge overnight before serving. To refresh their texture, you can let them sit at room temperature for 10 minutes before enjoying.
5 Common Mistakes to Avoid
- Not cooling the cake completely before crumbling – Warm cake holds moisture and can make the mixture too sticky, leading to soggy cake balls. Always let it cool fully.
- Adding too much frosting – A little goes a long way! Too much frosting makes the mixture greasy and hard to roll. Add gradually until it just holds together.
- Skipping the chilling step – Chilling helps the balls keep their shape during dipping. If skipped, they can fall apart or crack in the chocolate.
- Overheating the chocolate – Melt chocolate in short intervals, stirring frequently. Overheating causes it to seize and become grainy.
- Not working quickly with the coating – Chocolate sets fast. Dip and decorate one ball at a time for a smooth finish and even decoration.
4 Frequently Asked Questions
1. Can I use homemade red velvet cake instead of boxed mix?
Yes! A homemade red velvet cake works beautifully—just be sure it’s soft and crumbly, not too moist, so it blends easily with the frosting.
2. How can I make these Red Velvet Cake Balls without cream cheese frosting?
You can substitute buttercream or whipped frosting if preferred. For a lighter option, mix cake crumbs with a bit of Greek yogurt or mascarpone cheese.
3. Can I make them ahead of time?
Absolutely. You can make and freeze the cake balls (before dipping) for up to 2 months. Just thaw them slightly before coating with chocolate.
4. Why is my chocolate coating cracking?
Cracking happens when cold cake balls meet hot chocolate. Let the balls sit at room temperature for 5–10 minutes before dipping to reduce temperature shock.
Closing Paragraph
These Red Velvet Cake Balls are the perfect sweet indulgence for any occasion—quick, elegant, and irresistibly smooth. Try them once, and they’ll become your go-to treat for holidays, birthdays, or cozy nights in. If you whip up a batch, don’t forget to share your twist in the comments and let others taste the love in every bite!
🎀 Final Thoughts
There’s something truly heartwarming about the simplicity of these Red Velvet Cake Balls—they remind me of baking with my mom, sneaking a bite of batter, and laughing in the kitchen. I hope they bring a touch of that same joy to your home. Bake, share, and savor every little piece of happiness.

Red Velvet Cake Balls
Equipment
- Mixing Bowl
- Baking Sheet
- Parchment Paper
- Microwave-safe bowl
- Fork or Dipping Tool
Ingredients
- 1 box red velvet cake mix plus ingredients listed on the box
- 1 cup cream cheese frosting homemade or store-bought
- 12 oz white or dark chocolate melts
- sprinkles, crushed nuts, or red velvet crumbs optional, for decoration
Instructions
- Bake the red velvet cake according to package instructions. Allow it to cool completely.
- Crumble the cooled cake into a large bowl until no large pieces remain.
- Add cream cheese frosting and mix until a soft dough forms. The mixture should hold its shape when rolled.
- Roll into 1-inch balls and place on a parchment-lined baking sheet. Freeze for 20–30 minutes to firm up.
- Melt chocolate in a microwave-safe bowl, stirring every 30 seconds until smooth.
- Dip each cake ball into the melted chocolate, using a fork to gently lift and tap off excess coating.
- Place on parchment paper and decorate immediately with sprinkles or crumbs before the coating sets.
- Refrigerate for at least 15 minutes before serving.


