The red cake aesthetic has always fascinated me — it’s bold, romantic, and full of emotion, just like the best moments shared around the table. Hi, I’m Salma, a 32-year-old home cook from the United States whose love for food began with curiosity and countless online experiments. Through trial, laughter, and a little culinary school training, I learned that cooking isn’t about perfection — it’s about heart. This red velvet-inspired creation captures that perfectly: soft layers, creamy frosting, and a color that celebrates love and confidence. To me, the red cake aesthetic is more than a look — it’s pure joy in every bite.
Serving Versatility
One of the most delightful things about a red cake is how versatile it can be. For a red birthday aesthetic, you can decorate it with edible roses, shimmering sprinkles, or a cascade of raspberries for a luxurious touch. Prefer something minimalist? Go for a smooth, black-and-red ombré frosting inspired by the black cake aesthetic — bold, edgy, and incredibly chic.
You can also transform the same red velvet base into cupcakes, mini bundt cakes, or layered jars for an elegant dessert table. A slice pairs beautifully with a cup of coffee for an afternoon treat or with a glass of champagne for those glamorous moments that deserve a little sparkle.
Ingredients (Detailed & Humanized)
2 ½ cups all-purpose flour: the foundation for soft, even texture.
1 ½ cups granulated sugar: balances tanginess with gentle sweetness.
1 tsp baking soda: helps the cake rise with a light, fluffy crumb.
1 tsp cocoa powder: subtle chocolate depth, not overwhelming.
1 tsp salt: enhances every flavor note.
1 cup buttermilk: adds tang and tenderness for that signature red velvet feel.
1 ½ cups vegetable oil: keeps the cake moist for days.
2 large eggs: add richness and structure.
2 tsp vanilla extract: layers of warm, fragrant sweetness.
1 tbsp red food coloring: the heart of the red cake aesthetic.
1 tsp white vinegar: reacts with baking soda for a tender crumb.
For the Frosting
8 oz cream cheese: silky, tangy base for that classic pairing.
½ cup unsalted butter: soft, rich flavor for perfect spreadability.
3 cups powdered sugar: creates a smooth, cloud-like finish.
1 tsp vanilla extract: a hint of warmth to balance the creaminess.
Every ingredient here plays a part — the buttermilk and vinegar create that signature soft texture, while the cocoa adds quiet sophistication. And of course, the food coloring brings that irresistible red hue that defines the red cake design aesthetic.
Directions (Step-by-Step Cooking Guide)
Step 1: Preheat and prepare your pans.
Start by preheating your oven to 350°F (175°C). Grease and line two 9-inch round cake pans with parchment paper — this ensures the cakes come out perfectly without sticking.
Step 2: Mix your dry ingredients.
In a medium bowl, whisk together flour, cocoa powder, baking soda, and salt. This helps distribute the cocoa evenly and gives your cake a consistent, velvety texture.
Step 3: Combine sugar and oil.
In a large mixing bowl, whisk together the granulated sugar and vegetable oil until smooth and glossy. This mixture keeps your cake incredibly moist — one of the secrets behind the red cake aesthetic.
Step 4: Add eggs and vanilla.
Add the eggs one at a time, whisking gently after each addition. Then stir in the vanilla extract for that warm, sweet aroma that fills your kitchen.
Step 5: Create the red velvet magic.
Pour in the buttermilk and red food coloring. Mix until your batter turns that signature deep red shade — bold yet elegant. Add the white vinegar to activate the baking soda later, which gives the cake its fluffy lift.
Step 6: Combine wet and dry ingredients.
Slowly add your dry mixture into the wet ingredients, stirring gently until just combined. Don’t overmix — we want to keep that tender crumb that makes this red velvet cake design so irresistible.
Step 7: Bake to perfection.
Divide the batter evenly between the two pans. Smooth the tops with a spatula and bake for 25–30 minutes, or until a toothpick inserted in the center comes out clean. The aroma at this point — sweet, buttery, and slightly cocoa-rich — is pure heaven.
Step 8: Cool completely.
Let the cakes rest in the pans for 10 minutes, then transfer them to a wire rack. Allow them to cool completely before frosting. This step ensures your frosting stays silky and doesn’t melt.
Step 9: Whip up your frosting.
In a large bowl, beat the cream cheese and butter until smooth and fluffy. Gradually add powdered sugar, then vanilla extract. The result should be a creamy, luscious frosting that spreads like silk.
Step 10: Assemble your cake.
Place one layer on a cake stand and spread a generous amount of frosting on top. Add the second layer and cover the entire cake in frosting, smoothing the sides for a clean finish. Sprinkle red velvet crumbs on top or add a few edible flowers if you’re going for a red birthday aesthetic look.
Step 11: Chill and serve.
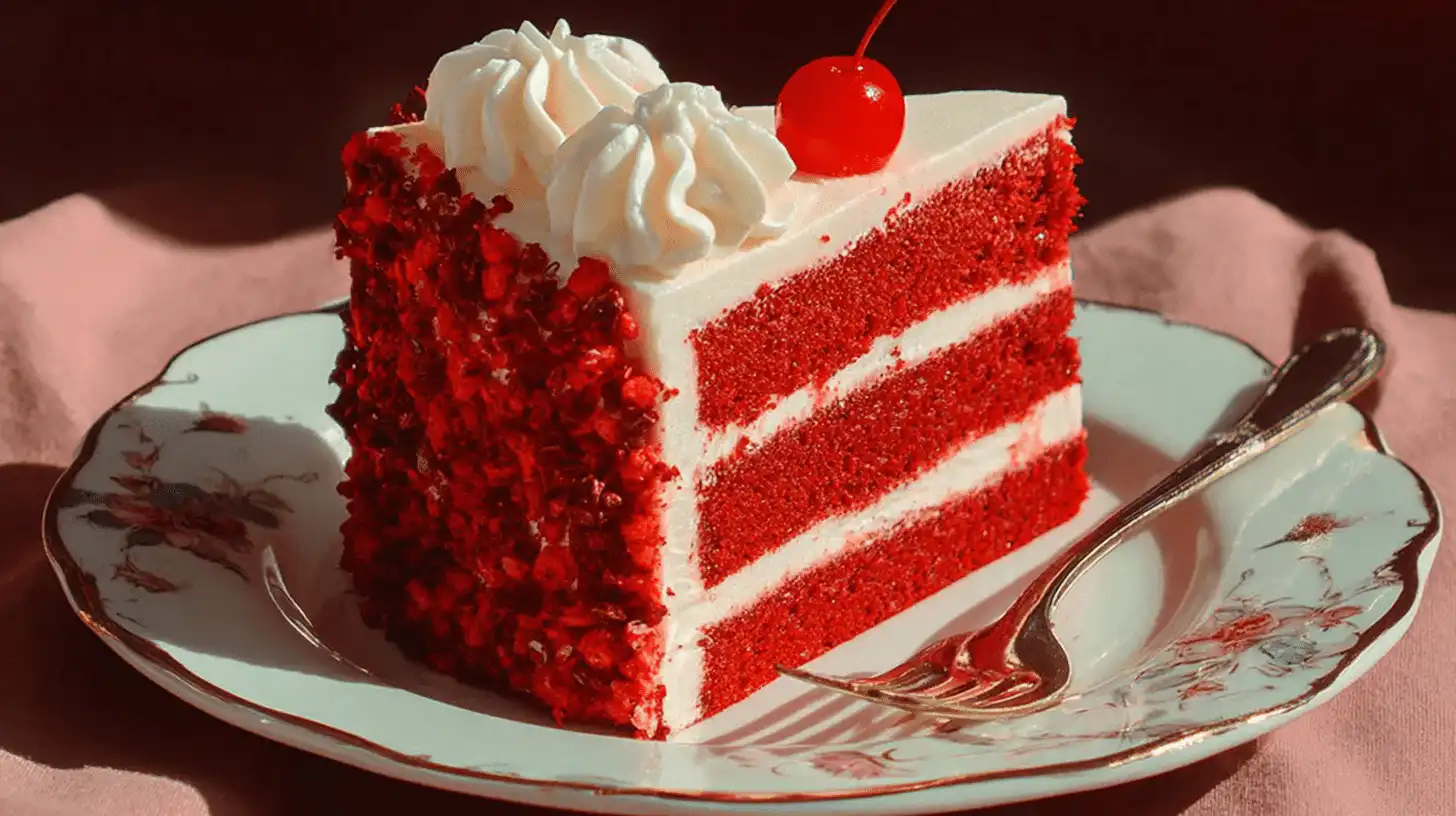
Refrigerate for at least 30 minutes before slicing — this helps the frosting set beautifully. When you cut into it, each slice will reveal that perfect contrast of red layers and white cream, the very essence of the red cake aesthetic.
Would you like me to add a small “chef’s tip” section right after this — with little personal touches like how to get that perfect red shade or how to slice it neatly for presentation?
Why You’ll Love This Recipe
✅ Quick to make – Simple ingredients, stunning results.
✅ Budget-friendly – Elegant without breaking the bank.
✅ Cozy, homemade flavor – Each bite feels like comfort and care.
✅ Nutritious balance – Lighter oil base keeps it moist, not heavy.
✅ Perfect for any celebration – From birthdays to anniversaries.
✅ Aesthetic and impressive – The red cake aesthetic never fails to wow.
Cultural or Technique Note
The red cake aesthetic has deep roots in the classic red velvet tradition of the American South. Originally, the red hue came from natural cocoa reactions and beet juice before food coloring became popular. It was a cake meant to impress, symbolizing love, luxury, and warmth. Today, that same spirit lives on — just with a modern aesthetic twist that makes it as stunning on Instagram as it is at your dining table.
Serving Suggestions
Serve with fresh berries for a bright, summery vibe.
Layer with black frosting for a moody dark red cake aesthetic.
Top with red heart decorations for Valentine’s Day.
Add edible gold flakes for a red vintage cake look that feels timeless.
Pro Tips for Success
Don’t overmix once the flour is added — that keeps the crumb tender.
Always cool the cake completely before frosting.
Use gel food coloring for a richer red tone with less liquid.
Add a pinch of espresso powder to deepen the cocoa flavor.
Frost in layers — a crumb coat first, chill, then final layer for clean edges.
For a striking finish, garnish with red velvet crumbs or fresh roses.
Common Mistakes to Avoid
⚠️ Overbaking the layers: Leads to dryness — check a few minutes early.
⚠️ Skipping the vinegar: It’s key to the red velvet texture.
⚠️ Using too much food coloring: A little goes a long way; adjust gradually.
⚠️ Frosting while warm: Always wait until the cake is cool or the frosting will slide.
⚠️ Neglecting the crumb coat: It locks in crumbs for a smooth, professional look.
Storage & Reheating
Store your red cake covered in the refrigerator for up to 4 days — the cool temperature keeps the frosting fresh and the texture moist. For longer storage, wrap slices individually and freeze for up to 2 months. When ready to serve, thaw in the fridge overnight, then bring to room temperature for the best flavor. Reheat individual slices briefly in the microwave if you love that warm, bakery-fresh feel.
Frequently Asked Questions (FAQ)
Can I make this as cupcakes?
Absolutely! Just reduce the baking time to 18–20 minutes. Perfect for birthdays or small gatherings.
Can I make it dairy-free?
Yes — use plant-based buttermilk (almond milk + vinegar) and vegan cream cheese. Still delicious and creamy.
What frosting goes best with it?
Classic cream cheese is unbeatable, but whipped mascarpone or vanilla buttercream also complement the red cake design aesthetic.
Can I use natural food coloring?
Beet powder or pomegranate juice can work for a softer, more natural red.
Can I make it ahead of time?
Yes — the flavors actually deepen overnight, making it ideal for prepping before a big event.
Closing Paragraph
A red cake isn’t just dessert — it’s a mood, a message, and a little bit of magic. Every slice tells a story of care, celebration, and creativity. Whether you’re crafting a red birthday aesthetic masterpiece or a simple, heartfelt treat, this recipe brings warmth and color to any occasion. I hope it inspires you to bake, decorate, and share it with someone you love.
Final Thoughts
Whenever I bake this cake, I’m reminded that food is art — and the red cake aesthetic proves that beauty and flavor can dance together in perfect harmony. The color, the texture, the joy of the first bite — it all feels like a celebration of love itself. Simple food, made with heart, really is the most special. Follow me on Pinterest for more cozy, quick, and nostalgic recipes.

Red Cake Aesthetic (Red Velvet-Inspired Cake)
Equipment
- Two 9-inch Cake Pans
- Mixing Bowls
- Whisk
- Electric Mixer
Ingredients
Cake Ingredients
- 2 1/2 cups all-purpose flour
- 1 1/2 cups granulated sugar
- 1 tsp baking soda
- 1 tsp cocoa powder
- 1 tsp salt
- 1 cup buttermilk
- 1 1/2 cups vegetable oil
- 2 large eggs
- 2 tsp vanilla extract
- 1 tbsp red food coloring use gel for vibrant color
- 1 tsp white vinegar
Cream Cheese Frosting
- 8 oz cream cheese softened
- 1/2 cup unsalted butter softened
- 3 cups powdered sugar sifted
- 1 tsp vanilla extract
Instructions
- Preheat oven to 350°F (175°C). Grease and line two 9-inch cake pans with parchment paper.
- In a medium bowl, whisk together flour, cocoa powder, baking soda, and salt. Set aside.
- In a large bowl, whisk sugar and oil until smooth. Add eggs one at a time, then stir in vanilla, buttermilk, and red food coloring until evenly blended.
- Gradually add the dry ingredients to the wet mixture, stirring just until combined. Stir in vinegar last.
- Divide batter evenly into prepared pans and bake for 25–30 minutes, or until a toothpick inserted comes out with a few crumbs.
- Cool cakes completely before frosting.
- For the frosting: beat cream cheese and butter together until fluffy. Gradually add powdered sugar and vanilla, beating until smooth and creamy.
- Frost the cooled cakes, spreading evenly between layers and across the top and sides. Decorate as desired — berries, roses, or velvet crumbs make elegant finishes.


