Red Velvet Cake Decoration has always held a special place in my heart. I’m Asmaa, 29 years old, and some of my happiest memories are from the kitchen beside my mom — watching her whisk, taste, and smile as she created magic from simple ingredients. She taught me that cooking isn’t just about following steps; it’s about pouring love into every layer. Now, every time I create a Red Velvet Cake, I think of her — the laughter, the aroma, and the joy we shared. This recipe isn’t just dessert; it’s a piece of my story, wrapped in creamy sweetness.
Serving Versatility
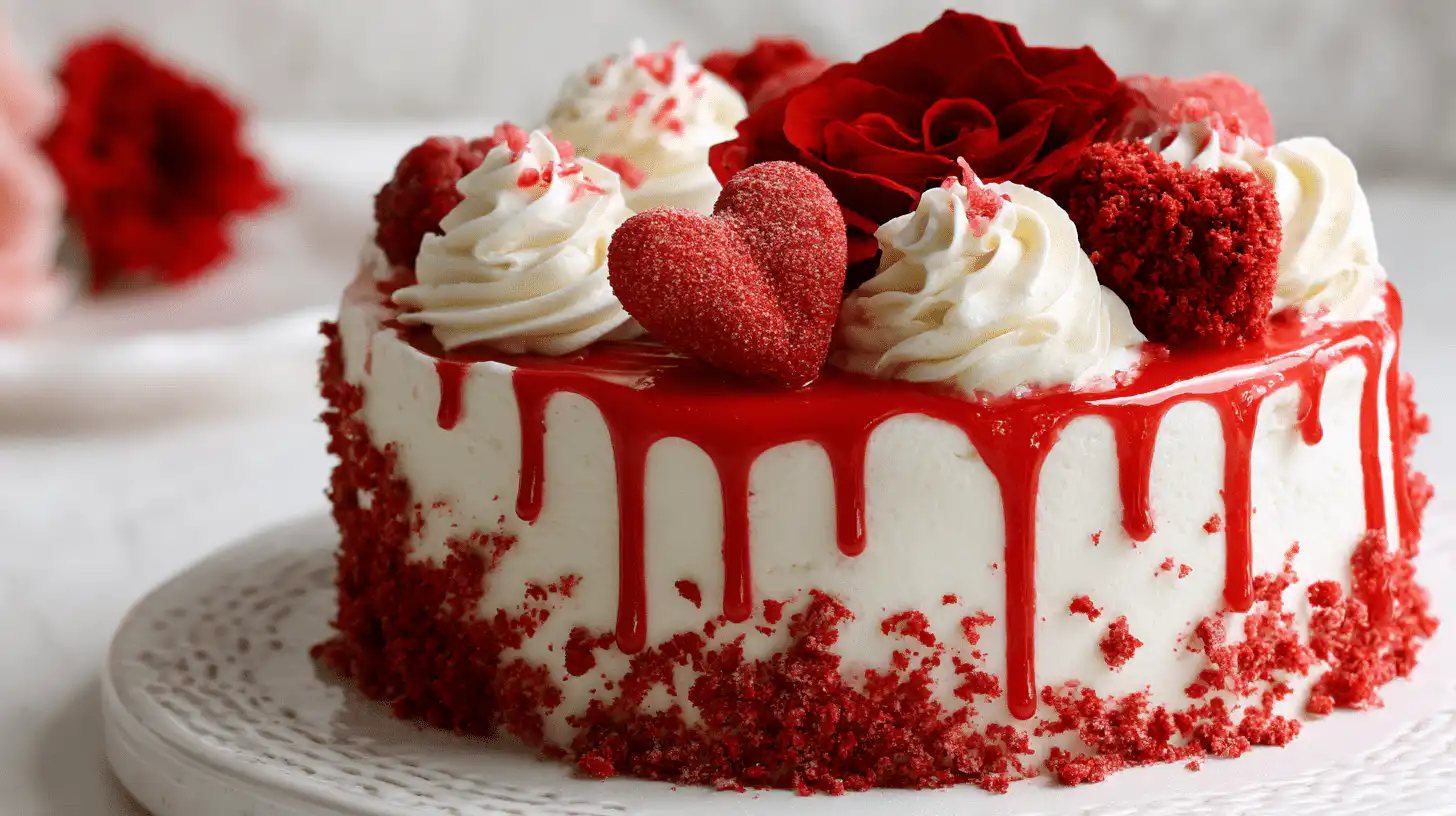
The beauty of a Red Velvet Cake lies in its versatility. It’s the showstopper for birthdays, anniversaries, and even casual gatherings. You can style it tall and grand with layers of smooth cream cheese frosting, or keep it sweet and simple as a small birthday cake — charming, elegant, and personal. For something different, try a Ribbon Cake look with alternating colors, or create a minimalist Red Velvet Cake Design featuring delicate swirls and chocolate shavings.
If you love a lighter touch, serve smaller slices with berries and whipped cream or transform the same recipe into cupcakes. For a fancy dinner, individual Bolo Red Velvet mini cakes add a touch of sophistication. However you serve it, this dessert adapts effortlessly — just like your favorite black dress, it fits every occasion perfectly.
Ingredients (Detailed & Humanized)
1 ½ cups all-purpose flour — the base that gives the cake its tender, cloud-like texture.
1 tbsp unsweetened cocoa powder — just enough for depth and that classic subtle chocolate note.
1 tsp baking soda — helps the cake rise softly and evenly.
½ tsp salt — a tiny touch that balances the sweetness perfectly.
¾ cup buttermilk — adds a gentle tang and keeps every crumb moist.
2 large eggs — for richness and structure that holds the layers together.
1 cup granulated sugar — sweetness that melts beautifully into the batter.
¾ cup vegetable oil — ensures your cake stays soft and fresh for days.
1 tsp vanilla extract — adds warmth and that inviting bakery aroma.
1 tsp white vinegar — the secret behind the vibrant red hue and fluffy texture.
1 tbsp red food coloring — that bold, velvety color everyone loves.
8 oz cream cheese — for the silky, tangy frosting that makes this cake unforgettable.
½ cup unsalted butter — soft and rich, blending perfectly with cream cheese.
2 cups powdered sugar — creates a smooth, sweet frosting with a light, airy feel.
A handful of cake crumbs or white chocolate curls — for that elegant Red Velvet Cake Decoration finish.
Directions (Step-by-Step Cooking Guide)
1️⃣ Prepare your pans. Preheat the oven to 350°F (175°C). Grease two 8-inch round pans and line them with parchment paper. This ensures your cake layers release effortlessly once baked.
2️⃣ Mix the dry ingredients. In a medium bowl, whisk together flour, cocoa powder, baking soda, and salt. The cocoa’s aroma should be light and inviting — it’s what gives Red Velvet its signature depth.
3️⃣ Whisk the wet ingredients. In a large mixing bowl, beat together eggs, sugar, and oil until smooth and glossy. Stir in vanilla and vinegar for that subtle tang that makes this cake so special.
4️⃣ Add color and combine. Pour in the red food coloring and gently mix until the batter transforms into a rich, velvety crimson. It should look silky, not thick — like a ribbon falling from your spoon.
5️⃣ Alternate the buttermilk and dry mix. Add half the dry mixture to the wet ingredients, followed by half the buttermilk. Stir gently, then repeat. Overmixing can toughen the crumb, so fold just until everything comes together.
6️⃣ Bake the layers. Divide the batter evenly between the pans and bake for 25–30 minutes. Your kitchen will fill with the warm scent of cocoa and vanilla — that’s your cue it’s almost done. Check with a toothpick; if it comes out clean, you’re ready.
7️⃣ Cool completely. Let the cakes rest in their pans for 10 minutes, then transfer to a wire rack. Patience matters here — frosting too soon can cause melting or sliding.
8️⃣ Make the frosting. Beat the cream cheese and butter together until light and fluffy. Gradually add powdered sugar until the frosting turns creamy and spreadable. A touch of vanilla can make it even more fragrant.
9️⃣ Assemble and decorate. Place one cake layer on a plate, spread a generous layer of frosting, then add the second. Cover the entire cake smoothly, or create soft swirls for texture. Finish your Red Velvet Cake Decoration with crumbs, white chocolate curls, or even fresh berries for color.
10️⃣ Serve and smile. Slice gently, serve proudly, and watch as everyone’s eyes light up with that first bite — soft, rich, and lovingly homemade.
Would you like me to continue this piece into the “Why You’ll Love This Recipe” and “Pro Tips for Success” sections next, in the same warm, story-driven tone?
Why You’ll Love This Recipe
✅ Quick to make — minimal prep, simple steps, and elegant results.
✅ Budget-friendly — pantry staples with bakery-worthy flavor.
✅ Cozy, homemade flavor — every bite feels special and comforting.
✅ Nutritious and balanced — rich but not heavy, perfect for celebrations.
✅ Great for meal prep — bake layers ahead and frost later.
✅ Family-approved — a showstopper everyone looks forward to.
Cultural or Technique Note
The Red Velvet Cake has roots in early 20th-century American baking, symbolizing luxury and celebration. Originally tinted naturally with cocoa and vinegar, its color became iconic with the addition of red food dye. Today, it remains one of the most loved cakes worldwide — from the Torta Roja of Latin kitchens to the Red Velvet Cake Aesthetic seen across Pinterest and cafes. It’s not just a dessert; it’s a tradition of indulgence wrapped in elegance.
Serving Suggestions
Serve with a drizzle of dark chocolate for a Black Forest Cake twist.
Add fresh berries and mint for a light, refreshing finish.
Layer with whipped cream for a soft, cloud-like Ribbon Cake style.
Pair with hot coffee or tea for a cozy afternoon treat.
Pro Tips for Success
Always bring ingredients to room temperature for a smoother batter.
Don’t overmix — it keeps your cake soft and fluffy.
Use gel-based food coloring for a more vibrant hue.
Frost only when the cake is completely cool.
Chill briefly after frosting for cleaner slices.
Decorate with crumbs or curls for that bakery-level finish.
Common Mistakes to Avoid
Overbaking: dries out the cake — check early and trust the aroma.
Overmixing: makes the texture dense — stir gently until combined.
Warm frosting: will slide off — chill your layers first.
Skipping vinegar: you’ll lose that signature Red Velvet tang and color.
Too much food coloring: can affect flavor — add gradually for balance.
Storage & Reheating
Store your Red Velvet Cake in an airtight container in the refrigerator for up to 4 days. Its flavors deepen beautifully overnight, making it even more delicious the next day.
For longer storage, wrap slices tightly and freeze for up to 2 months. To serve, thaw overnight in the fridge and bring to room temperature before enjoying — the texture stays soft, and the frosting retains its silky smoothness.
Frequently Asked Questions (FAQ)
Can I make this cake ahead of time?
Yes! You can bake the layers a day or two before, wrap them tightly, and frost when ready to serve.
Can I use natural coloring instead of artificial red dye?
Absolutely. Beet powder or juice can create a beautiful, subtle shade of red without artificial coloring.
How can I make it dairy-free?
Swap buttermilk for almond milk mixed with lemon juice, and use dairy-free cream cheese for frosting.
What if I want a smaller version for a quick treat?
Try making Small Birthday Cakes or cupcakes using the same batter — they bake faster and are perfect for portion control.
How can I make it look extra special for birthdays?
Add edible gold flakes, chocolate curls, or piped cream cheese rosettes. A Red Velvet Decorated Cake always steals the spotlight!
Closing Paragraph
Red Velvet Cake Decoration is more than just icing and layers — it’s an expression of love, creativity, and celebration. Each swirl of frosting, each sprinkle of cocoa or crumb topping tells a story of care and joy. Whether you’re baking for a birthday, a cozy family night, or simply a self-care weekend, this cake never fails to impress. So roll up your sleeves, take a deep breath, and let your inner baker shine.
Final Thoughts
Whenever I make this cake, I’m reminded that simple food really is the most special. It’s about care, not perfection — and every time I see those deep red layers and creamy white frosting come together, it feels like magic. Bake this one with heart, share it with love, and remember that every bite is a memory in the making.

Red Velvet Cake Decoration
Equipment
- 8-inch Cake Pans (x2)
- Electric Mixer
- Mixing Bowls
- Spatula
- Wire Rack
Ingredients
Cake Batter
- 1.5 cups all-purpose flour
- 1 tbsp unsweetened cocoa powder
- 1 tsp baking soda
- 0.5 tsp salt
- 0.75 cup buttermilk room temperature
- 2 large eggs
- 1 cup sugar
- 0.75 cup vegetable oil
- 1 tsp vanilla extract
- 1 tsp white vinegar
- 1 tbsp red food coloring
Cream Cheese Frosting
- 8 oz cream cheese softened
- 0.5 cup unsalted butter softened
- 2 cups powdered sugar
Instructions
- Preheat oven to 350°F (175°C). Grease and line two 8-inch cake pans with parchment paper.
- In a medium bowl, whisk together flour, cocoa powder, baking soda, and salt.
- In a large bowl, beat eggs, sugar, and oil until well combined. Add vanilla, vinegar, and food coloring. Stir until a rich red color appears.
- Alternate adding dry ingredients and buttermilk into the wet mixture. Stir until just combined — do not overmix.
- Pour batter evenly into pans. Bake for 25–30 minutes or until a toothpick comes out clean.
- Cool cakes in pans for 10 minutes, then transfer to wire rack. Let them cool completely before frosting.
- To make frosting: beat cream cheese and butter until fluffy. Gradually add powdered sugar until smooth and spreadable.
- Frost the cooled cakes, stack layers if desired, and decorate with swirls, crumbs, or chocolate curls.


