13th Birthday Cake Recipe — Growing up, some of my happiest memories were made in the kitchen beside my mom. I’m Asmaa, and at 29, I still carry her warmth and wisdom into every recipe I bake. She taught me that food isn’t just about flavor—it’s about love, laughter, and creating joy for others. That’s why this 13th birthday cake recipe means so much to me. It’s colorful, nostalgic, and full of the same happiness I felt as a child. Each swirl of frosting and sprinkle of color reminds me that cooking is really just love—shared one sweet slice at a time.
Serving Versatility
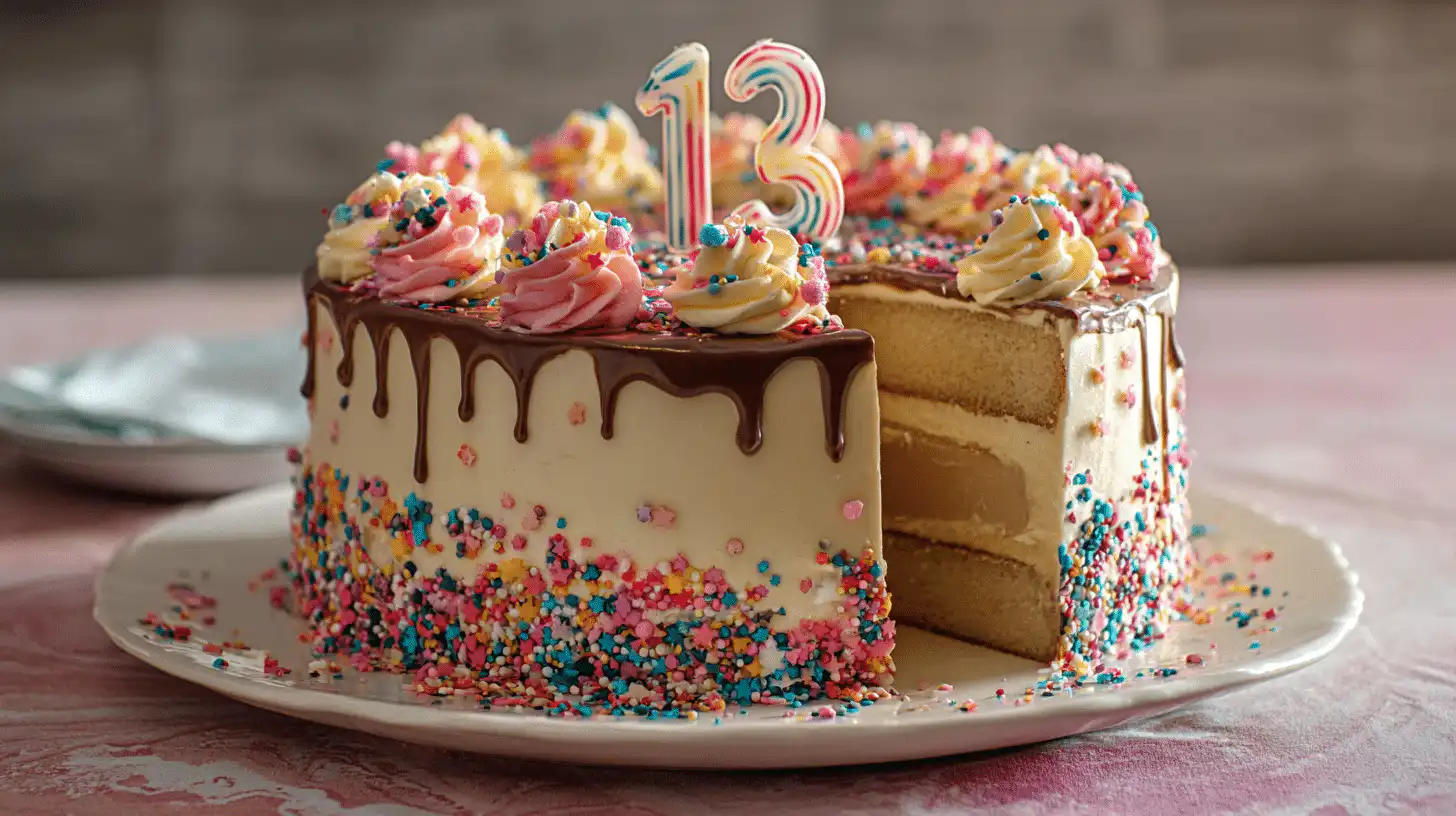
This funfetti cake is delightfully flexible, no matter how you serve it. For a traditional party moment, keep it tall and dramatic — the perfect centerpiece surrounded by balloons and confetti. Want something a little easier to share? Slice it into smaller squares and serve it on colorful napkins for a more casual vibe. You can also turn this recipe into adorable cupcakes for a classroom party or sleepover treat.
For an extra special twist, layer it with a pale pink or lavender buttercream for that aesthetic bday cake look teens love. It’s not just a dessert — it’s a style statement that fits beautifully among modern pretty birthday cakes and minimalist bday cake trends.
Ingredients (Detailed & Humanized)
For the Sponge:
400g salted butter, room temperature — rich and creamy base that guarantees moisture.
400g caster sugar — sweetness that caramelizes just enough for golden edges.
8 large free-range eggs — help the cake rise beautifully and stay tender.
3 tbsp vanilla extract — that warm, nostalgic aroma we all love.
400g self-raising flour — the secret to a fluffy, cloud-like crumb.
90g colorful sprinkles — the heart of the funfetti magic; go bold and bright!
For the Buttercream:
500g salted butter, room temperature — creates that smooth, creamy finish.
1kg icing sugar — gives sweetness and that signature bakery-style texture.
3 tbsp vanilla extract — adds flavor and depth to balance the sugar.
2 dashes milk — for a perfectly spreadable consistency.
To Decorate:
120g pastel sprinkles — delicate color for the final flourish.
A few drops of pink food coloring — soft blush tones for a youthful, pretty finish.
Tip: Using high-quality vanilla makes a surprising difference here. The better the vanilla, the more bakery-fresh your cake will taste!
Directions (Step-by-Step Cooking Guide)
- Prep the pans and oven.
Preheat to 170°C (150°C fan). Grease and line four 8-inch cake tins — you’ll want those perfect, even layers. Dust lightly with flour to prevent sticking. - Cream the butter and sugar.
Beat until light and fluffy, about 3–4 minutes. This step creates the air bubbles that make your cake tender, so don’t rush it! - Add eggs and vanilla.
Mix in the eggs one at a time, beating well after each addition. Stir in that lovely vanilla extract — it’s your flavor foundation. - Fold in flour and sprinkles.
Add half the flour, mix gently, then the rest. Fold in your rainbow sprinkles last — watching them swirl into the batter is pure joy. - Bake to perfection.
Divide batter evenly among the tins and bake for 30–35 minutes. The kitchen will smell like vanilla heaven. You’ll know it’s done when a skewer comes out clean. - Cool and chill.
Let cakes cool completely before stacking. You can even chill them for easier assembly — sturdier layers mean neater edges. - Whip the buttercream.
Beat butter until pale, add sifted icing sugar, then vanilla and milk. Half goes pink for that sweet 13th birthday vibe! - Assemble and frost.
Stack your cakes with buttercream between each layer. Apply a thin crumb coat, chill again, then smooth on your final coat. Finish with a swirl of pink buttercream and pastel sprinkles on top.
Why You’ll Love This Recipe
✅ Quick to make: Easy steps and no complex tools required.
✅ Budget-friendly: Made from pantry staples — nothing fancy needed.
✅ Cozy, homemade flavor: Buttery, soft, and sweet with that nostalgic bakery scent.
✅ Nut-free & family-safe: Great for parties with allergies or sensitivities.
✅ Customizable: Change the colors, add edible glitter, or switch up the theme.
✅ Teen-approved: The confetti surprise inside makes every slice exciting!
Cultural or Technique Note
The funfetti cake trend began in the 1980s but has become a timeless classic. It captures everything joyful about birthdays — color, fun, and a touch of nostalgia. Today’s minimalist aesthetic cakes often pair funfetti interiors with soft pastel frosting — the best of both worlds: playful inside, pretty outside.
Serving Suggestions
Serve with a scoop of vanilla ice cream for an extra treat.
Layer with raspberry jam for a fruity surprise.
Serve as cupcakes topped with whipped buttercream swirls.
Enjoy a chilled slice the next morning with coffee — pure bliss.
Pro Tips for Success
Always use room temperature butter and eggs for smoother batter.
Chill your cake layers before frosting for clean, sharp edges.
Use gel-based food coloring for vibrant hues without watering down frosting.
Don’t overmix once the flour is in — that’s the secret to a soft crumb.
Smooth your final buttercream layer with a warm spatula for that professional finish.
Common Mistakes to Avoid
Overbaking the cake: It dries quickly — start checking at 30 minutes.
Skipping the crumb coat: This thin layer keeps crumbs from showing in your final frosting.
Too many sprinkles: More isn’t always better; too many can tint the batter.
Using cold butter for frosting: It won’t whip properly and will look grainy.
Not chilling before slicing: The cake holds together better when slightly cold.
Storage & Reheating
Keep your 13th birthday cake covered in the fridge for up to 4 days — it stays moist and flavorful. For freezing, wrap slices individually and store for up to 2 months. When ready to serve, thaw overnight in the fridge and let it come to room temperature before enjoying. The buttercream stays silky, and the sponge remains soft.
Frequently Asked Questions (FAQ)
Can I use fewer layers?
Absolutely! You can make a two-layer version for smaller gatherings. The flavor stays just as magical.
Can I make it dairy-free?
Yes — use vegan butter and a dairy-free milk alternative in both cake and frosting.
What if I don’t have four pans?
No problem! Bake in batches and cool between rounds. The batter holds well.
Can I use different colors of buttercream?
Definitely. Try ombre shades or even tie-dye effects for a unique 13 bday cake aesthetic.
How can I make it more minimalist?
Keep the outside plain white, add just a sprinkle of pastel confetti — perfect for a simple aesthetic birthday cake.
Closing Paragraph
There’s something truly heartwarming about baking a cake from scratch for a special milestone like thirteen. It’s not just about flour and sugar — it’s about love, laughter, and a moment that becomes a memory. This 13th birthday cake recipe captures the energy of that moment: colorful, joyful, and full of personality. I hope it becomes part of your family’s celebrations for years to come.
Final Thoughts
Whenever I bake this cake, I’m reminded how happiness can come from the simplest things — butter, sugar, and a swirl of color. It’s not perfection that matters, but the joy of creating something special for someone you love. Celebrate big, laugh loud, and savor every sprinkle.

13th birthday cake recipe
Equipment
- 4 x 8-inch cake tins
- Mixing Bowl
- Electric Mixer
- Spatula
- Wire Rack
Ingredients
For the Sponge
- 400 g salted butter room temperature
- 400 g caster sugar
- 8 large free-range eggs
- 3 tbsp vanilla extract
- 400 g self-raising flour
- 90 g colorful sprinkles
For the Buttercream
- 500 g salted butter room temperature
- 1000 g icing sugar sifted
- 3 tbsp vanilla extract
- 2 dashes milk
To Decorate
- 120 g pastel sprinkles
- a few drops pink food coloring
Instructions
- Preheat oven to 170°C (150°C fan). Grease and line four 8-inch cake tins and lightly dust with flour.
- Cream butter and sugar until light and fluffy, about 3–4 minutes.
- Add eggs one at a time, mixing well. Stir in vanilla extract.
- Fold in flour in two batches, then gently stir in the colorful sprinkles.
- Divide batter evenly among tins and bake for 30–35 minutes or until a skewer inserted comes out clean.
- Let cakes cool completely. Chill layers for easier assembly if desired.
- To make buttercream: Beat butter until pale, gradually add icing sugar, vanilla, and milk. Tint half pink.
- Stack cake layers with buttercream in between. Apply a crumb coat, chill, then apply final coat and decorate with pink frosting and pastel sprinkles.


