Hi, I’m Amanda. Cooking has always been more than just a daily task for me—it’s a way to create comfort, connection, and joy. I found this Knock You Naked Bars recipe on Facebook after someone shared it with a touching story about making it for her grandmother’s Sunday dinners. It instantly brought back memories of my own family kitchen—the smell of caramel and chocolate filling the house, laughter echoing around the table. Food has this beautiful power to tie our hearts to moments and people we love. Try this recipe and tell me how it turns out — I’d love to hear your story too.
Why You’ll Love This Recipe
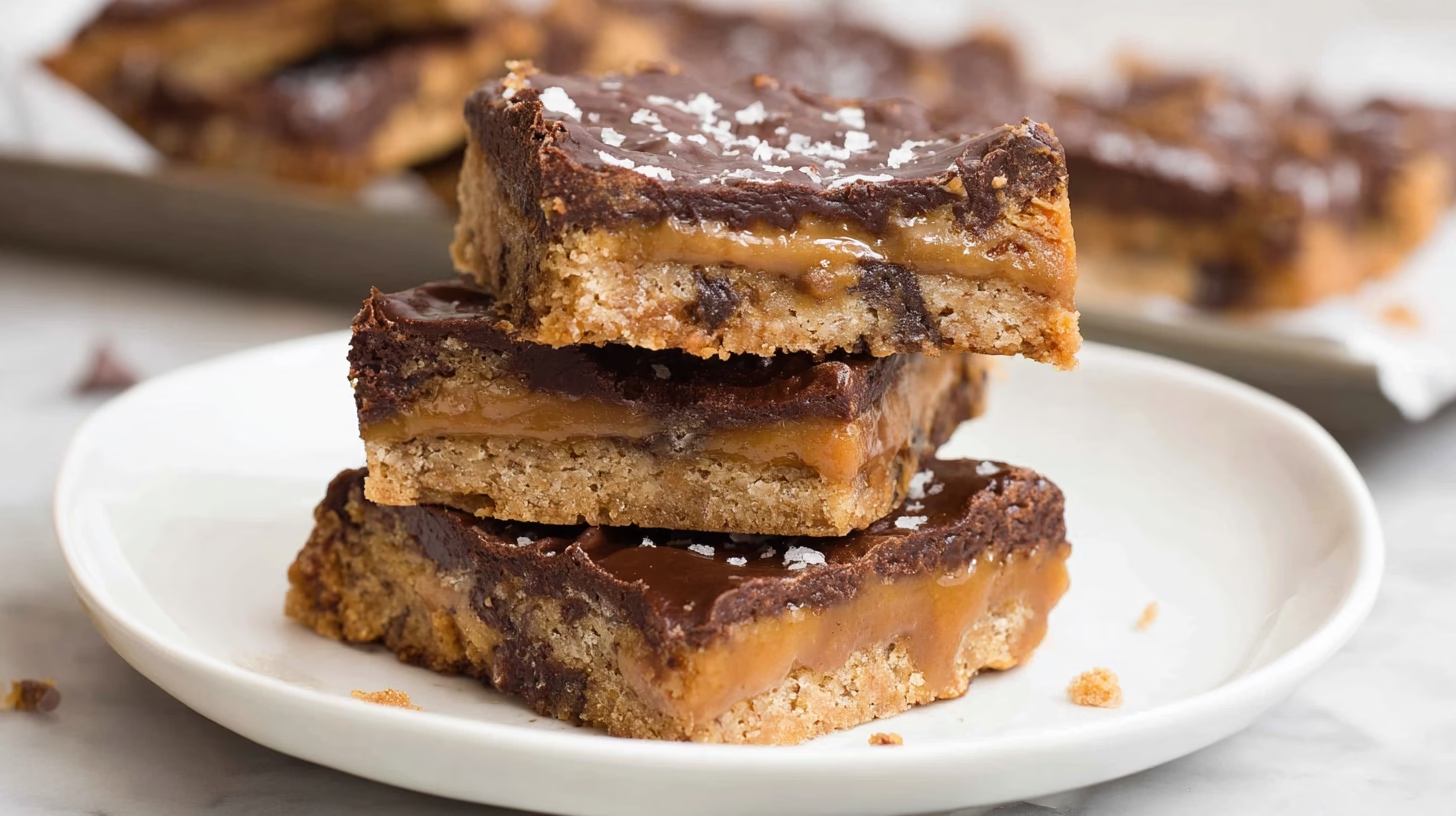
These Knock You Naked Bars are everything you want in a dessert—chewy, sweet, and unapologetically satisfying. The cookie layers bake up soft and buttery, while the center becomes a molten blanket of caramel and peanut butter. They’re easy enough for a weeknight but special enough for company.
It’s the kind of recipe you’ll return to over and over because it’s reliable, crowd-pleasing, and nostalgic. A tray of these cooling on your counter guarantees one thing: they won’t last long.
Ingredients (Detailed & Humanized)
2¼ cups all-purpose flour – the sturdy base that gives structure to the cookie layers.
1 teaspoon baking soda – helps the dough rise and stay soft.
1 teaspoon salt – balances all the sweetness.
1 cup butter, softened – adds richness and that classic cookie flavor.
¾ cup sugar – for sweetness and a light texture.
¾ cup packed brown sugar – brings caramel notes and moisture.
1 teaspoon vanilla extract – ties all the flavors together.
2 eggs, room temperature – for binding and a tender crumb.
2 cups semi-sweet chocolate chips – melty pockets of chocolate throughout.
5 ounces evaporated milk – creates that smooth, creamy caramel texture.
1 (14 oz) bag caramels – the heart of the gooey filling.
½ cup peanut butter – adds warmth and balance to the sweet caramel.
Directions (Step-by-Step Cooking Guide)
Step 1: Preheat and prepare.
Preheat your oven to 375°F and lightly grease a 9×13-inch baking pan. You can also line it with parchment paper for easy lifting later. This little step ensures that once your bars cool, they’ll slide out perfectly in neat, golden squares.
Step 2: Mix the dry ingredients.
In a small mixing bowl, whisk together flour, baking soda, and salt. This step evenly distributes the leavening, helping the cookie layers bake up light, chewy, and perfectly balanced in flavor. Set the bowl aside—you’ll be using it soon.
Step 3: Cream the butter and sugars.
In a large bowl, beat together the softened butter, granulated sugar, brown sugar, and vanilla extract until the mixture looks pale and fluffy. The brown sugar adds that deep caramel-like flavor while the white sugar keeps things crisp on the edges. This is where your kitchen starts to smell like a bakery.
Step 4: Add the eggs.
Crack in your eggs, one at a time, beating well after each addition. You’ll notice the texture of the batter changing—it becomes smooth, light, and velvety. This means you’ve incorporated just the right amount of air for that perfect cookie base.
Step 5: Combine the wet and dry mixtures.
Gradually add the dry ingredients to the butter mixture, stirring gently until everything is just combined. You don’t want to overmix; stop once you see the last streaks of flour disappear. The dough should be thick but still soft enough to spread easily.
Step 6: Fold in the chocolate chips.
Gently fold in the semi-sweet chocolate chips, making sure they’re evenly distributed throughout the dough. You’ll see the dough speckled with shiny chocolate bits, and you might have to resist the urge to sneak a taste right now—it’s that good.
Step 7: Create the base layer.
Spoon half of the cookie dough into your prepared baking pan, pressing and spreading it evenly to the edges. Don’t worry if it looks a little rustic—it will bake into a gorgeous, chewy base. Place the pan in your preheated oven and bake for 8–10 minutes, just until the surface looks set but still pale. It should be slightly underbaked; that’s exactly what you want.
Step 8: Make the caramel filling.
While the base bakes, prepare your dreamy caramel layer. Unwrap the caramels and place them in a heatproof bowl or double boiler with the evaporated milk. Melt them slowly over simmering water, stirring often so nothing sticks. When everything is silky and smooth, stir in the peanut butter. The mixture will turn glossy, thick, and irresistibly fragrant.
Step 9: Pour and spread the caramel layer.
Carefully pour the warm caramel mixture over the partially baked cookie base. Use a spatula or the back of a spoon to spread it evenly, reaching every corner. The warmth of the caramel will slightly melt into the cookie base, creating that deliciously sticky bond between the layers.
Step 10: Add the top cookie layer.
With the remaining cookie dough, drop spoonfuls gently over the caramel layer. Don’t worry about covering it completely—those little gaps let the caramel bubble up and peek through as it bakes, giving you that signature gooey look and texture.
Step 11: Bake to golden perfection.
Return the pan to the oven and bake for another 15–20 minutes, until the top layer turns a beautiful golden brown and the edges are just slightly darker. The aroma of caramel, peanut butter, and warm cookie dough will fill your kitchen—it’s pure comfort.
Step 12: Cool and cut.
Here’s the hardest part: waiting. Let the bars cool completely in the pan before slicing. This allows the caramel to set, so when you cut them, you’ll get those perfect, clean squares with a soft, gooey middle. Once cool, lift them out gently using the parchment, slice, and admire the layers—chewy cookie, molten caramel, melty chocolate, all in one bite.
Cultural or Technique Note
Knock You Naked Bars are a classic example of American comfort baking—simple ingredients layered into something decadent and nostalgic. They capture the spirit of old-fashioned dessert bars you might find at church potlucks or family reunions, where recipes are passed down and perfected by hand. The melting caramel and peanut butter give it that modern twist without losing its homemade soul.
Serving Suggestions
• Serve warm with a scoop of vanilla ice cream.
• Slice into bite-sized squares for parties or potlucks.
• Enjoy cold for a firmer, chewier texture.
• Pair with a glass of milk or coffee for an afternoon treat.
Pro Tips for Success
• Let the bars cool completely before slicing—this keeps the caramel from running.
• If you don’t have a double boiler, use a bowl over simmering water.
• Use parchment paper for easy lift-out and cleanup.
• Slightly underbake the bottom layer—it finishes baking when you return it to the oven.
• For a richer flavor, use dark chocolate chips.
• Don’t rush the cooling time—it makes all the difference in texture.
Common Mistakes to Avoid
Overbaking: It’s tempting to leave them in longer for that golden top, but too much time in the oven will dry out the cookie layers and make the caramel too firm. Pull them out when the surface is lightly golden and the edges just start to brown.
Cutting too early: The hardest part of this recipe might be waiting, but patience pays off. Cutting too soon will cause the warm caramel to spill out, making a sticky mess. Let the bars cool completely—room temperature bars are easier to slice cleanly.
Skipping salt: Even a small pinch of salt deepens the sweetness and enhances the chocolate and caramel flavors. Without it, the bars can taste overly sugary and one-dimensional.
Uneven layering: If the cookie dough isn’t spread evenly, the caramel layer can pool in some spots and disappear in others. Use a spatula to gently even out both the bottom and top layers for that perfect gooey center in every bite.
Not greasing the pan: These bars can stick easily because of the caramel layer. A greased or parchment-lined pan makes lifting and slicing a breeze.
Storage & Reheating
Fridge: Store in an airtight container for 3–4 days. They’ll stay soft, chewy, and easy to grab for a sweet snack.
Freezer: These bars freeze wonderfully. Slice them into individual portions, wrap each one tightly in plastic wrap, and place in a freezer-safe bag or container. They’ll last up to 2 months and are perfect for quick desserts.
Reheat: Warm slightly in the microwave for 10–15 seconds or place in a low oven until just softened. The caramel will become gooey again, and the chocolate will melt slightly, recreating that fresh-from-the-oven magic.
Frequently Asked Questions (FAQ)
Q1: Can these be frozen?
: Absolutely! Once cooled and sliced, wrap each piece individually and freeze. When you’re ready to enjoy, thaw at room temperature or give them a few seconds in the microwave for a soft, gooey texture.
Q2: Can I skip the peanut butter?
: Yes, you can! The peanut butter adds richness and a subtle nutty note that balances the caramel, but leaving it out won’t hurt the texture. The bars will still be irresistibly sweet and chewy.
Q3: What if I don’t have a double boiler?
: No worries. Simply place a heatproof bowl over a pot of simmering water to melt the caramels and evaporated milk. Stir often to keep it smooth and creamy. This easy DIY method works just as well.
Q4: How long should I wait before cutting the bars?
A4: Patience is key! Let them cool completely—at least one hour—before slicing. This allows the caramel to set and ensures neat, beautiful squares without oozing.
Q5: Can I use a different type of chocolate?
: Definitely. Semi-sweet chocolate gives balance, but milk or dark chocolate chips both work wonderfully. Use whatever makes your sweet tooth happiest!
closing Paragraph
These Knock You Naked Bars are pure joy in dessert form—sweet, soft, and a little messy in the best way. They’re the kind of bars that make people ask for the recipe before they’ve even finished their first piece. Keep them simple, or add your own twist, but whatever you do, make sure to share… or at least pretend you will before keeping a few squares for yourself.
Final Thoughts
Every time I make these, I’m reminded how the simplest ingredients can create the most magical results. That moment when the caramel stretches between two warm cookie layers—it gets me every time. Bake these once, and they’ll become part of your dessert story too. Follow me on Pinterest for more cozy, quick, and nostalgic recipes.

Knock You Naked Bars
Equipment
- 9×13-inch Baking Pan
- Mixing Bowls
- Whisk or Electric Mixer
- Spatula
- Double boiler or heatproof bowl over pot
- Parchment paper or nonstick spray
Ingredients
Cookie Base
- 2 1/4 cups all-purpose flour
- 1 tsp baking soda
- 1 tsp salt
- 1 cup butter softened
- 3/4 cup sugar
- 3/4 cup brown sugar packed
- 1 tsp vanilla extract
- 2 eggs room temperature
- 2 cups semi-sweet chocolate chips
Caramel Filling
- 5 oz evaporated milk
- 14 oz caramels unwrapped
- 1/2 cup peanut butter creamy
Instructions
- Preheat oven to 350°F (175°C). Line a 9×13-inch pan with parchment paper or grease well.
- In a bowl, whisk together flour, baking soda, and salt. Set aside.
- In a large bowl, cream together the butter, sugar, and brown sugar until fluffy. Add vanilla and eggs one at a time, mixing well.
- Gradually add the dry ingredients and mix until combined. Fold in chocolate chips.
- Press half the dough into the bottom of the pan and bake for 8–10 minutes. Remove and set aside.
- While the bottom layer bakes, melt caramels with evaporated milk in a double boiler or heatproof bowl over simmering water. Stir until smooth. Remove from heat and stir in peanut butter.
- Pour the caramel mixture over the baked layer. Drop spoonfuls of remaining dough on top and gently spread to cover.
- Bake for 15–20 minutes more, until golden and set. Cool completely before slicing.


