My Grandmother’s Apple Crisp is more than a recipe—it’s a memory that smells like cinnamon and feels like home. Hi, I’m Anna. Cooking has always been my way of connecting with people I love—it’s where laughter and good food meet. My sister and I make this crisp together every fall: she’s the precise one with measuring cups, and I’m the chaos covered in flour. Somehow, we always end up laughing over the warm crumble. Cook it and tell me — who’s the better chef in your family?
Why You’ll Love This My Grandmother s Apple Crisp
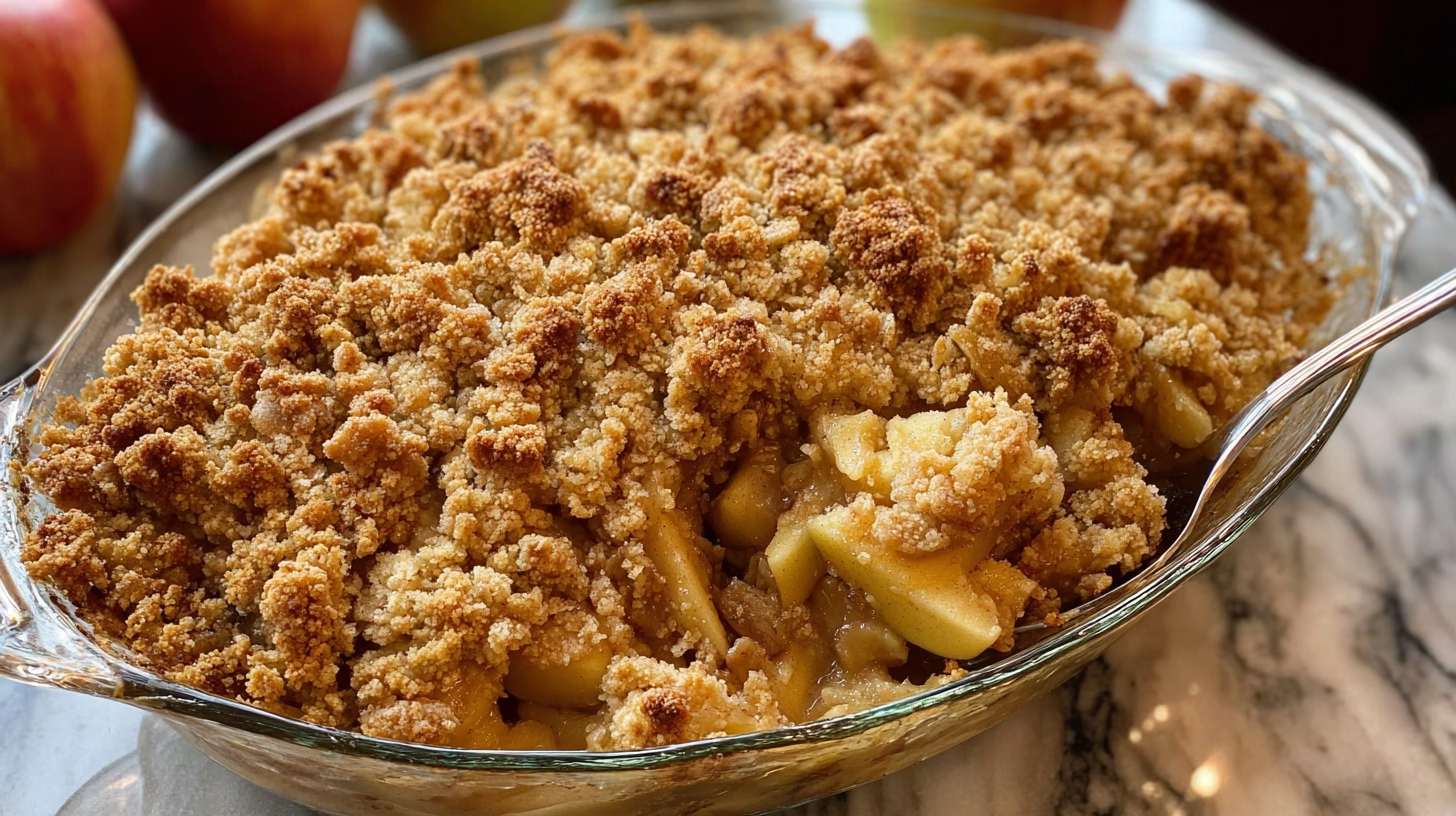
This apple crisp is simple enough for busy weekdays but special enough for the holidays. It’s forgiving, family-friendly, and full of texture — juicy fruit beneath a crisp, buttery crumble. You can make it dairy-free or vegan with one easy swap, and it’s a beautiful way to use up those extra apples from the farmer’s market. Every bite tastes like home.
Ingredients Detailed
Apples (7–10) – Fresh, juicy, and naturally sweet; use a mix of tart and soft varieties.
Cinnamon (½–1 teaspoon) – Adds warmth and that signature apple-pie spice.
Pinch of salt – Balances sweetness and deepens the flavor.
Nutmeg (optional) – A subtle spice that brings cozy autumn notes.
For the Crumble Topping:
1 cup gluten-free all-purpose flour (with xanthan gum) – The base that gives the crumble structure.
¾ cup packed brown sugar – Sweet and caramel-like for that golden crisp top.
½ cup butter or dairy-free butter – Creates rich flavor and perfect crisp texture.
½ cup gluten-free oats – Adds chewiness and a rustic touch.
1–3 tablespoons flaxseed meal (optional) – A hidden boost of nutrition with no taste.
½ teaspoon cinnamon (more or less to taste) – A second layer of spice for balance.
Directions (Step-by-Step Cooking Guide)
Step 1: Preheat the oven.
Preheat your oven to 350°F so it’s ready when you are. This simple crisp comes together quickly once the apples are prepped.
Step 2: Prepare the apples.
Peel, core, and slice 7–10 apples into ¼–½ inch pieces. Don’t stress about perfect uniform slices — this recipe is forgiving! Thicker pieces stay firmer, thinner ones get soft and jammy.
Step 3: Add the spices.
Toss your sliced apples in a large bowl with cinnamon, salt, and a sprinkle of nutmeg. Stir gently until each piece is evenly coated in spice — your kitchen will already smell amazing.
Step 4: Make the crumble topping.
In a separate bowl, combine gluten-free flour, brown sugar, oats, cinnamon, and flaxseed meal (if using). Add butter and use your hands or a pastry cutter to blend until crumbly and moist — it should feel like damp sand with little buttery bits.
Step 5: Assemble the crisp.
Layer your spiced apples into a baking dish (any shape, roughly 9–10 inches). Don’t be shy — overfill the pan a bit! The apples shrink as they bake and settle into a luscious, thick layer.
Step 6: Add the crumble.
Scatter handfuls of crumble topping over the apples, pressing lightly so it clings but still looks rustic. The goal is an even blanket of golden goodness.
Step 7: Bake to perfection.
Place the dish in the oven and bake for 40–50 minutes, until the topping turns golden brown and the apples bubble beneath. If the top browns too quickly, cover loosely with foil to let the apples finish cooking.
Step 8: Cool and serve.
Let your apple crisp rest for a few minutes before serving. The crumble firms up slightly as it cools, creating the perfect contrast between crisp and tender. Serve warm, maybe with a scoop of vanilla ice cream or a drizzle of caramel if you’re feeling fancy.
Cultural or Technique Note
Apple crisp is a true symbol of American home baking — simple, resourceful, and meant to bring people together. This gluten-free version keeps the spirit of old-fashioned apple crisp alive while making it accessible for everyone at the table. It’s the kind of recipe that connects generations through shared flavors and memories.
Serving Suggestions
- Warm with vanilla ice cream or whipped cream
- Topped with a drizzle of maple syrup or caramel sauce
- Served with coffee or tea for an afternoon treat
- As a sweet breakfast with Greek yogurt and fresh fruit
Pro Tips for Success
- Use a mix of apple varieties for the best flavor and texture.
- Always overfill the pan — apples shrink as they bake!
- Don’t overmix the crumble; leave it chunky for crisp texture.
- If using dairy-free butter, make sure it’s chilled for best results.
- Let the crisp cool slightly before serving so the topping sets beautifully.
- Rewarm leftovers in the oven to keep the crumble crisp, not soggy.
Common Mistakes to Avoid
Using too few apples: Apples shrink a lot during baking, so always fill your dish generously. It might look overflowing at first, but trust me — you’ll end up with the perfect apple-to-crumble ratio once it settles.
Overbaking: If you leave it in too long, the topping can dry out or burn before the apples soften. Start checking around 30 minutes, and if the top browns too quickly, cover it loosely with foil so the apples can finish baking underneath.
Skipping the salt: Even the tiniest pinch of salt brings the sweetness and spice to life. It’s that quiet ingredient that makes every bite taste balanced.
Not cooling before serving: I know it’s tempting to dig in right away, but give it at least 10 minutes to rest. The crumble firms up and the juices settle, making it easier to scoop and even more delicious.
Under-seasoning: Don’t be shy with the cinnamon — it’s what gives this recipe its nostalgic warmth and that “Grandma’s kitchen” aroma.
Storage & Reheating
Fridge: Store in an airtight container for 3–4 days. The flavors deepen overnight, making it even better the next day.
Freezer: Freeze in individual portions or in the baking dish (tightly wrapped) for up to 2 months. Thaw overnight in the fridge before reheating.
Reheat: Warm gently on low heat in the oven or on the stove. Add a splash of water, apple juice, or even a little butter to revive the moisture and crisp up the topping again. Avoid microwaving for too long — it can make the crumble soggy.
Frequently Asked Questions
Q1: Can I use any type of apple?
Definitely! Granny Smith and Cortland apples give that classic tartness and structure, while softer apples like Macintosh or Fuji bring juiciness. A mix of firm and soft varieties gives you the best texture — some hold shape, others melt into sweetness.
Q2: Can I make this dairy-free or vegan?
Absolutely. Swap the butter for a dairy-free alternative like Earth Balance or Miyoko’s. The crumble still turns beautifully golden and crisp — no one will taste the difference.
Q3: How do I keep the topping from getting soggy?
Let your crisp cool before covering it — trapping steam makes the topping soft. When reheating, use the oven instead of the microwave to bring back that perfect crunch.
Q4: Can I prepare it ahead of time?
Yes! Assemble the apple and crumble layers a few hours early and refrigerate until baking, or bake it fully and rewarm right before serving. It’s a lifesaver for busy holidays or dinner parties.
Q5: What’s the best way to serve it?
Serve it warm from the oven with a scoop of vanilla ice cream or a dollop of whipped cream — just like Grandma did. If you’re feeling extra cozy, drizzle a little caramel sauce on top for an irresistible finish.
Closing Paragraph
This easy gluten-free apple crisp is the kind of dessert that brings people running to the kitchen — familiar, fragrant, and full of love. Whether you make it for a fall gathering or a quiet weekend treat, it’s a dessert that celebrates simplicity and nostalgia. Pile it high with apples, bake until golden, and enjoy every comforting bite.
Final Thoughts
Every time I bake this apple crisp, I think of my grandmother’s gentle hands and the joy she found in feeding people she loved. Recipes like this remind me that the simplest ingredients — butter, sugar, and apples — can create something truly special. If you make it, I hope it fills your home with the same warmth and sweetness it brings to mine.

My Grandmother’s Apple Crisp
Equipment
- Mixing Bowls
- 9–10 inch Baking Dish
- Peeler
- Knife
- Pastry Cutter or Hands
Ingredients
Apple Filling
- 7-10 apples peeled, cored, and sliced
- 1/2-1 tsp cinnamon
- 1 pinch salt
- nutmeg optional
Crumble Topping
- 1 cup gluten-free all-purpose flour with xanthan gum
- 3/4 cup brown sugar packed
- 1/2 cup butter or dairy-free butter
- 1/2 cup gluten-free oats
- 1-3 tbsp flaxseed meal optional
- 1/2 tsp cinnamon more or less to taste
Instructions
- Preheat oven to 350°F (175°C).
- Peel, core, and slice apples into 1/4–1/2 inch pieces. Place in a large bowl.
- Add cinnamon, salt, and nutmeg (if using) to apples. Toss to coat evenly.
- In a separate bowl, mix gluten-free flour, oats, brown sugar, cinnamon, and flaxseed meal. Add butter and mix until crumbly using hands or pastry cutter.
- Layer spiced apples into a 9–10 inch baking dish. Overfill slightly — the apples will shrink during baking.
- Sprinkle the crumble topping over the apples evenly. Press lightly to help it stick.
- Bake for 40–50 minutes, until the top is golden and apples are bubbling. Cover with foil if the topping browns too quickly.
- Let cool for at least 10 minutes before serving. Enjoy warm with ice cream or topping of choice.


