Hi, I’m Salma. I’m 32 years old and living in the United States, and my love for cooking grew from simple curiosity into something that feels like a lifelong passion. My sister and I tested this recipe together I followed the rules, she improvised as always. The kitchen filled with laughter, oats on the counter, and chocolate everywhere. Both versions tasted amazing. Cook it and tell me who’s the better cook in your family?
Why You’ll Love This Recipe
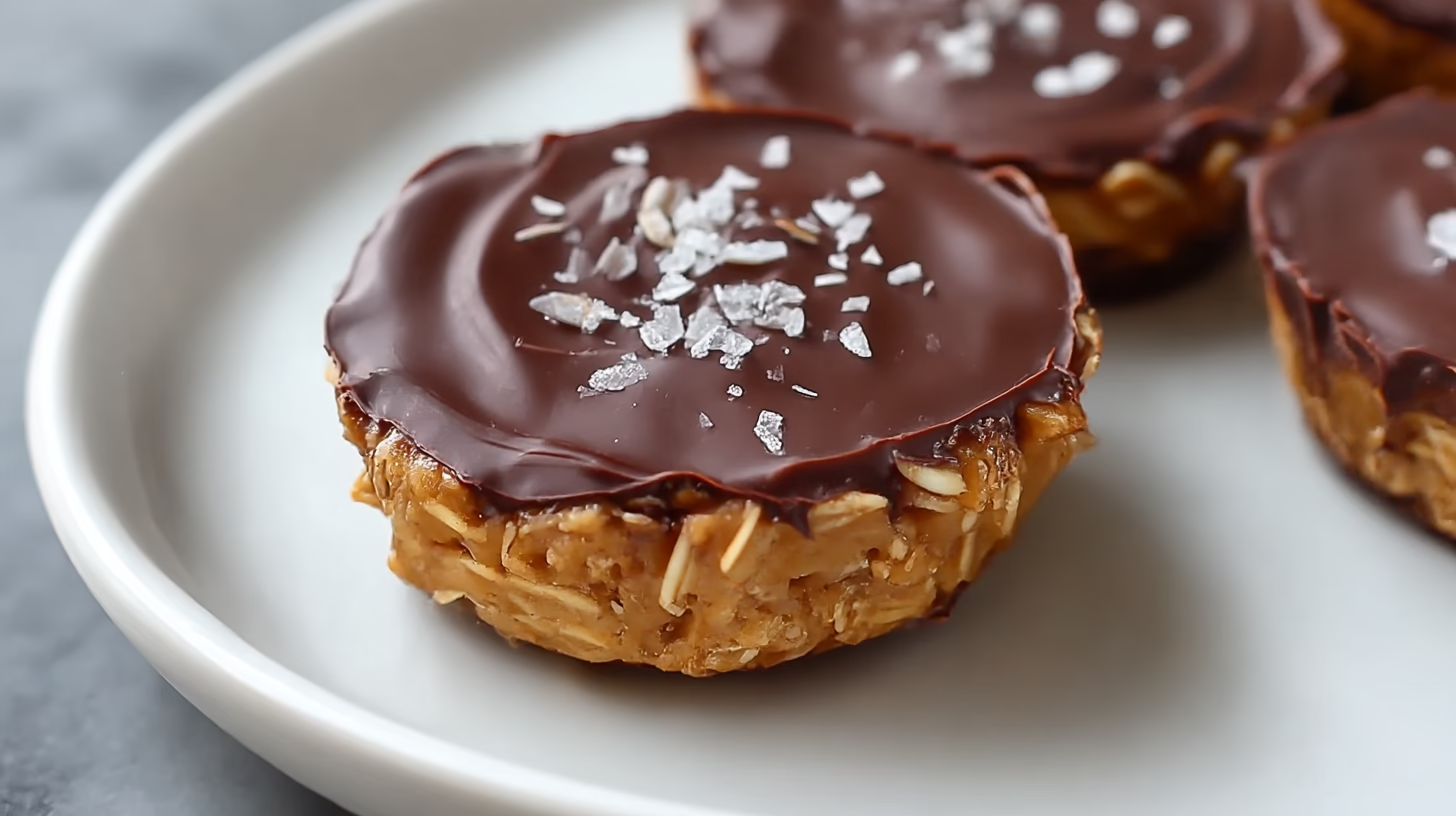
These Easy No Bake Peanut Butter Oat Cups are the perfect healthy treat — chewy, creamy, and naturally sweet. With just a few pantry ingredients, they come together in minutes. No oven, no stress, just wholesome goodness that’s ideal for meal prep, quick snacks, or satisfying your sweet cravings anytime.
Ingredients
For the oat base:
- 1/2 cup honey – adds natural sweetness and helps everything stick together
- 1/3 cup peanut butter – smooth, creamy, and full of protein-rich flavor
- 2 1/4 cups rolled oats – hearty texture and wholesome chew
- 1 tsp vanilla extract – adds warmth and depth to every bite
For the chocolate topping:
- 3/4 cup dark chocolate – rich, slightly bitter, and beautifully smooth when melted
- 2 tsp coconut oil – gives the topping a silky finish
- Sea salt (for garnish) – a pinch on top enhances the chocolate flavor
Directions
Step 1: Combine the Ingredients
In a medium bowl, mix together oats, honey, peanut butter, and vanilla. Stir until everything is well combined, making sure each oat is coated in that golden, sticky mixture. The aroma of peanut butter and vanilla will already start to fill the kitchen.
Step 2: Prepare the Muffin Tin and Add Mixture
Lightly grease a muffin tin or line it with paper cups. Divide the oat mixture evenly among the muffin wells and press it down firmly with the back of a spoon. You want a compact base that holds together when chilled.
Step 3: Melt and Spread the Chocolate
In a microwave-safe bowl, add chocolate and coconut oil. Heat in short bursts, stirring in between, until smooth and glossy. Spoon the melted chocolate over each oat base, spreading it evenly so every bite gets that rich layer. While it’s still soft, sprinkle a touch of sea salt on top for that irresistible sweet-salty finish.
Step 4: Freeze and Serve
Place the muffin tin in the freezer for about an hour or until the chocolate topping is firm. Once set, gently pop the oat cups out of the tin. The smooth chocolate will have a satisfying snap, while the oat layer stays chewy underneath.
Step 5: Storage Instructions
Store leftover cups in an airtight container in the fridge for up to a week, or freeze them for up to 3 months. They’re the perfect grab-and-go snack that stays deliciously fresh.
Cultural or Technique Note
No-bake desserts like these are rooted in the idea of simple, wholesome snacking — something that fits modern busy lives. They reflect the growing love for healthy natural snacks and DIY healthy desserts that skip refined sugar and complicated steps. The method is classic: mix, chill, enjoy. It’s proof that comfort food can be both effortless and nourishing.
Serving Suggestions
These Easy No Bake Peanut Butter Oat Cups are endlessly versatile — think of them as your go-to treat that fits almost any moment of the day. Here are a few delicious ways to enjoy them:
- Enjoy with a glass of cold milk or almond milk: The creamy, nutty flavor pairs beautifully with the cool, refreshing taste of milk. It softens the oats just enough to make every bite extra satisfying.
- Pair with fresh fruit like strawberries or banana slices: The natural sweetness of fruit brightens up the peanut butter richness. Bananas especially bring out that classic “PB&banana” combo we all love.
- Serve as part of a healthy dessert platter: Arrange these alongside fresh berries, nuts, and yogurt-covered pretzels for a beautiful no-bake dessert spread that’s simple but impressive.
- Crumble over yogurt or smoothie bowls: Break up a peanut butter oat cup and sprinkle it over your breakfast bowl for added crunch, protein, and flavor — it’s like homemade granola with a chocolate twist.
- Pack for road trips or school snacks: These hold up wonderfully in lunch boxes or snack bags and don’t melt quickly, making them ideal for healthy snacks on the go.
- Turn them into mini desserts: Slice them in half and serve as bite-sized treats after dinner — a perfect finish that feels indulgent but balanced.
Pro Tips for Success
Every home cook loves a recipe that just works, and these tips make sure your Easy No Bake Peanut Butter Oat Cups come out perfectly every time:
- Stir your peanut butter well before using: Natural peanut butter can separate, leaving a layer of oil on top. Mix it thoroughly for a smooth, consistent texture.
- Warm the peanut butter slightly if it’s too thick: A quick 10–15 seconds in the microwave makes it easier to blend with honey and oats.
- Press the oat mixture down firmly: Use the back of a spoon to compact the base — this ensures the cups don’t crumble when chilled or removed from the tin.
- Don’t rush the chilling time: Patience is key! Give them enough time to fully set so the chocolate layer hardens and the oat base firms up.
- Add sea salt right before the chocolate sets: This gives your topping that glossy, bakery-style finish and enhances the dark chocolate’s flavor.
- Use mini muffin tins for smaller portions: Perfect for parties or portion control — plus, they look adorable on a dessert tray.
- Store with parchment between layers: It keeps them from sticking together and preserves that crisp chocolate top.
Common Mistakes to Avoid
Even simple recipes have a few pitfalls. Here’s how to dodge them:
⚠️ Too dry mixture: If your oats don’t stick together, add a bit more honey or peanut butter until it binds smoothly.
⚠️ Overheating chocolate: Melt gently in short bursts — overheating can cause it to seize and lose its silky shine.
⚠️ Using quick oats: They absorb too much moisture and turn mushy. Stick to rolled oats for a chewy, satisfying texture.
⚠️ Removing too early: Let them chill completely before taking them out of the tin — firm texture makes all the difference.
⚠️ Skipping the salt: That tiny sprinkle might seem optional, but it’s the secret to balancing sweetness and deepening flavor.
Storage & Reheating
Fridge
Store your peanut butter oat cups in an airtight container for 3–4 days (or up to a week for best freshness). Keep them chilled for that perfect chewy texture and crisp chocolate top.
Freezer
Freeze in a single layer or stack with parchment paper between them for up to 2 months. They’re great to grab straight from the freezer when you want a cold, chewy, satisfying treat.
Reheat
No reheating needed! Just let them soften slightly at room temperature for a few minutes if they’ve been frozen — they’ll taste freshly made again.
Frequently Asked Questions
Q1: What kind of peanut butter should I use?
Natural peanut butter is best — smooth, drippy, and made with just peanuts (and maybe salt). It blends easily with honey and oats for the perfect texture.
Q2: Can I make these vegan?
: Yes! Just swap out the honey for maple syrup or agave nectar. Both add natural sweetness without affecting consistency.
Q3: Can I use other nut butters?
: Absolutely — almond, cashew, or sunflower seed butter all work great. Each adds a unique flavor twist while keeping that creamy, rich texture.
Q4: How long do they last?
They stay fresh for about a week in the fridge and up to 3 months in the freezer. Just keep them sealed tight so they don’t absorb other fridge odors.
Q5: Can I skip the chocolate topping?
Definitely! They’re delicious plain — more like chewy oat-peanut bites. But that thin layer of chocolate really adds a touch of magic.
Closing Paragraph
These Easy No Bake Peanut Butter Oat Cups are proof that simple can be spectacular. They’re wholesome, satisfying, and perfect for when you need something quick but crave-worthy. Whether you enjoy them as a healthier dessert, a snack between meals, or a little treat with your morning coffee, they’ll quickly become a staple in your kitchen. Make a batch, share with family, and keep some tucked away just for you.
Final Thoughts
There’s something so comforting about the smell of peanut butter and oats coming together it reminds me of cozy afternoons and homemade goodness. I love that this recipe feels both nostalgic and new, giving me all the flavor of my childhood favorites without the extra sugar or fuss. I hope these little cups bring that same joy and calm to your kitchen. Follow me on Pinterest for more cozy, quick, and nostalgic recipes.

Easy No Bake Peanut Butter Oat Cups
Equipment
- Muffin Tin
- Paper liners or silicone cups (optional)
- Mixing Bowl
- Spoon or spatula
- Microwave‑safe bowl (for melting chocolate)
Ingredients
Oat Base
- 1/2 cup honey
- 1/3 cup peanut butter
- 2 1/4 cups rolled oats
- 1 tsp vanilla extract
Chocolate Topping
- 3/4 cup dark chocolate for melting
- 2 tsp coconut oil
- sea salt a pinch for sprinkling on top
Instructions
- In a bowl, mix together the rolled oats, honey, peanut butter, and vanilla until everything is well coated.
- Line a muffin tin with paper liners or silicone cups (or grease lightly). Divide the oat mixture evenly among the wells, pressing it down firmly with the back of a spoon to compact the base.
- In a microwave‑safe bowl, combine the dark chocolate and coconut oil. Heat in short bursts, stirring between bursts, until melted and smooth.
- Spoon the melted chocolate over each oat base, spreading it evenly. While the chocolate is still soft, sprinkle a pinch of sea salt on top of each cup.
- Place the muffin tin in the freezer (or fridge) and chill for about 1 hour — or until the chocolate topping is firm.
- Once set, gently pop the cups out of the tin. Store in an airtight container in the fridge (up to a week) or freeze (up to 3 months). Enjoy chilled or at room temperature.


