Mini Cheesecake is one of my favorite desserts to bake and share. Hi, I’m Lina — a 30-year-old home baker living in the United States, and nothing feels more like home than the kitchen. My sister and I love making these creamy little treats together, laughing over the mixer and the occasional mess. Try it and tell me — who’s the better cook in your family?
Why You’ll Love This Recipe
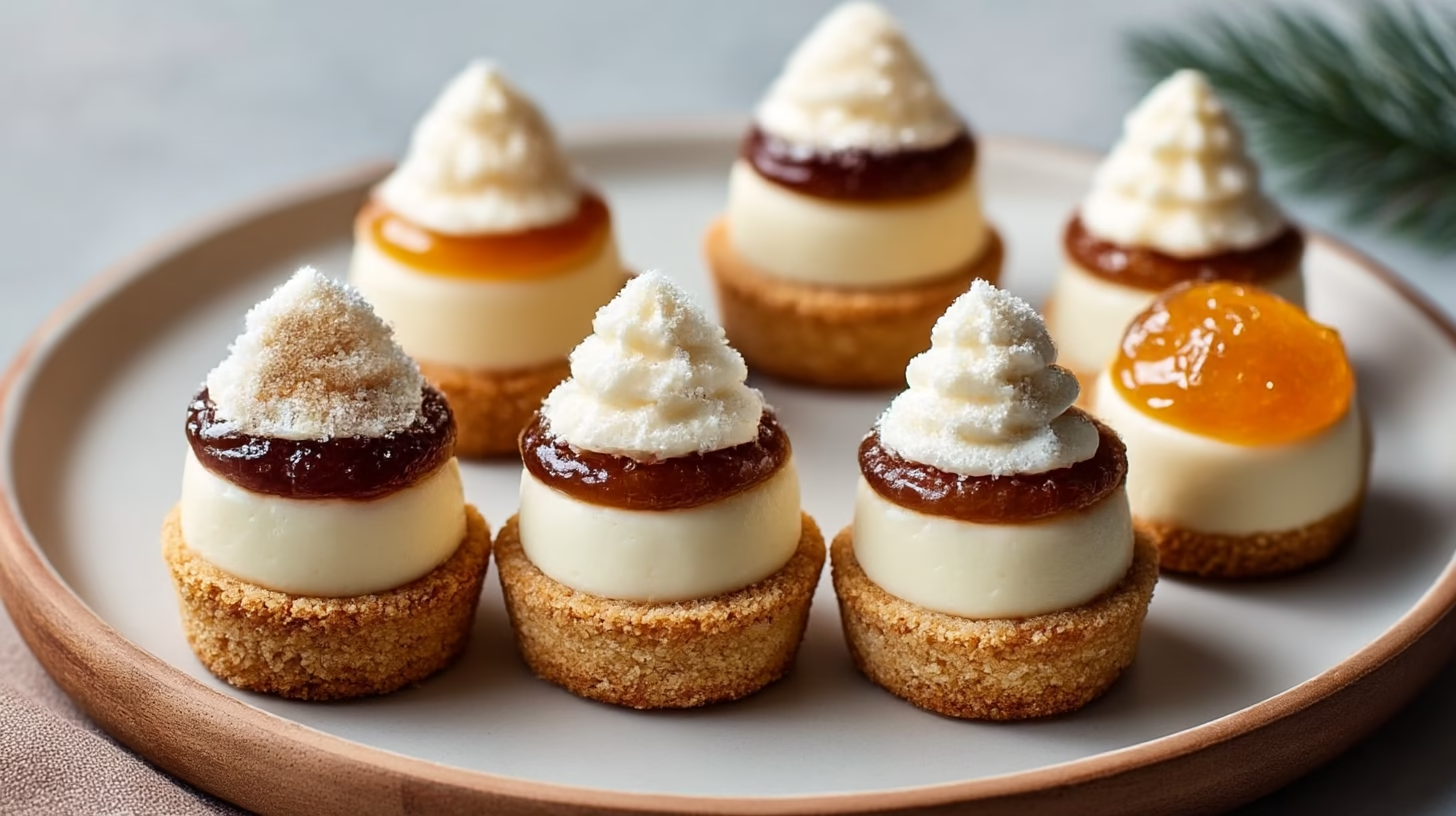
These little cheesecakes are everything you want in an individual dessert idea for a party: easy, make-ahead friendly, and completely customizable. You can dress them up for an English tea party dessert, or keep them simple for a weeknight treat. The tops naturally sink a little as they cool, creating the perfect pocket for any topping you imagine.
They also serve beautifully on an elegant dessert board or a bridal shower brunch dessert tray. Guests can pick them up with their fingers — no forks required — making them one of the easiest sweet appetizers for parties you’ll ever serve.
Ingredients
- Nilla Wafers – Crisp, sweet cookies that make the easiest cheesecake crust ever.
- Foil Cupcake Liners – Great for easy release and a pretty presentation.
- Cream Cheese – Use full-fat or Neufchâtel for rich, creamy texture.
- Sugar – Adds just the right amount of sweetness.
- All-Purpose Flour – Helps give the filling structure.
- Baking Powder – A pinch helps the cheesecakes puff slightly while baking.
- Lemon Juice – Adds brightness to balance the creaminess.
- Eggs – Bind everything together for that silky-smooth texture.
- Vanilla Extract – For warm, classic cheesecake flavor.
- Toppings – Use pie filling, fresh berries, chocolate sauce, caramel, or lemon curd — anything that feels festive or fresh.
Directions
- Preheat and Prepare: Set your oven to 375°F. Line a muffin pan with 12 foil cupcake liners and place a Nilla wafer cookie in the bottom of each. This becomes your easy crust.
- Make the Batter: In a mixing bowl, beat the cream cheese and sugar until smooth. Add flour and baking powder, then mix again until no lumps remain.
- Add Wet Ingredients: Beat in the eggs, one at a time, followed by lemon juice and vanilla. The batter should be creamy and slightly thick.
- Fill and Bake: Divide the batter evenly among the 12 liners, filling almost to the top. Bake for 15–18 minutes, or until the centers are just set and a toothpick comes out clean. They’ll puff up beautifully as they bake.
- Cool and Chill: Once out of the oven, let them cool on a rack. The centers will naturally sink a bit — that’s the perfect spot for your topping! Chill for at least 4–6 hours or overnight for the creamiest texture.
- Top and Serve: Before serving, spoon on your favorite topping — caramel with sea salt, fruit pie filling, whipped cream, or ganache. Enjoy them chilled and watch them disappear fast!
Cultural or Technique Note
Mini cheesecakes are a beloved twist on classic American comfort desserts. Baking them in cupcake liners takes all the stress out of traditional cheesecake making — no water bath, no cracks, and no slicing. They deliver the same creamy texture and flavor in a portable, mess-free form that’s perfect for petite pastries and easy finger food mini desserts.
Serving Suggestions
There are so many fun ways to serve these mini cheesecakes, depending on your occasion. For something bright and festive, top them with cherry or blueberry pie filling — the glossy fruit adds instant color and a little sparkle to your dessert table.
If you’re going for something light and elegant, add a swirl of whipped cream and a few fresh strawberries. Their sweetness and color make each cheesecake look like it came straight from a pastry shop.
They also shine on a dessert tray beside petite pastries, sugar cookies, and lemon bars — perfect for bridal showers or afternoon teas. And if you’re hosting an English tea-style gathering, serve them with coffee, hot tea, or a sparkling punch for a touch of charm and sophistication. Guests will love how easy they are to pick up and enjoy in just a few bites.
Pro Tips for Success
- Use room-temperature cream cheese. It blends smoothly and gives you that velvety, lump-free filling.
- Don’t overmix once the eggs are in. Gentle mixing keeps the texture soft and creamy.
- Let them cool fully before chilling. Cooling too fast can cause cracks, so be patient.
- Chill overnight if possible. The longer they rest, the richer the flavor becomes.
- Add toppings right before serving. This keeps the colors bright and textures perfect.
- Play with flavor! Try swirling lemon curd into the batter, drizzling caramel over the top, or finishing with a sprinkle of sea salt for contrast.
Each little cheesecake is like a blank canvas — sweet, creamy, and ready for your personal touch.
Common Mistakes to Avoid
Using cold cream cheese: It creates lumps that won’t smooth out later. Always let it soften first.
Overbaking: These should be just set — if they start browning, they’ve gone too far.
Skipping the chill time: Cheesecake needs time to firm up and develop flavor.
Overfilling liners: Fill almost to the top but leave a little space so they rise neatly.
Adding toppings too early: Fruit and sauces can make the tops soggy if added before chilling.
A few simple steps make all the difference between “pretty good” and “absolutely perfect.”
Storage & Reheating
- Fridge: Store your mini cheesecakes in an airtight container for 3–4 days. They actually taste even better after a day of chilling.
- Freezer: You can freeze them for up to 2 months. Just wrap each one tightly in plastic wrap and store them together in a freezer-safe container. Thaw overnight in the fridge before serving.
- Reheat: No need — these are best served cold, straight from the refrigerator.
Their make-ahead convenience makes them ideal for parties and holidays — no last-minute stress, just creamy, dreamy desserts ready to serve.
Frequently Asked Questions
Q: Can I make these mini cheesecakes ahead of time?
Absolutely! Bake them the day before, let them chill overnight, and top them just before serving. They’ll be firm, flavorful, and ready when you are.
Q: Can I use low-fat cream cheese?
You can use Neufchâtel, but skip fat-free — it won’t set properly and may taste chalky.
Q: What toppings work best?
Cherry and blueberry pie fillings are traditional favorites, but chocolate ganache, lemon curd, caramel drizzle, or even fresh berries with mint all taste wonderful.
Q: Can I make a traditional crust instead of using the wafer?
Definitely. Combine crushed Nilla wafers with a little melted butter and sugar, press into the cupcake liners, and bake as directed for a more classic cheesecake base.
Q: How long do leftovers last?
They’ll keep up to three days in the fridge — though they rarely make it that long once people taste them!
Closing Paragraph
These mini cheesecakes are the kind of dessert that bring joy to any table — small, creamy, and full of love. They’re perfect for sharing at a bridal shower brunch, an elegant dessert board, or a simple family gathering. However you top them, they always look beautiful and taste unforgettable.
Final Thoughts
There’s a little bit of my mom in every batch of these cheesecakes. I still think of her every time I pull them from the oven — soft, sweet, and full of memories. Whether you top yours with caramel or berries, I hope they bring the same warmth to your kitchen.

Mini Cheesecake Bites
Equipment
- Mixing Bowl
- Electric Mixer
- Muffin Pan
- Foil Cupcake Liners
- Oven
- Cooling Rack
Ingredients
Crust Base
- 12 Nilla Wafers one per liner
Filling
- 2 packages cream cheese room temperature (8 oz each)
- 2/3 cup sugar
- 2 tbsp all-purpose flour
- 1/2 tsp baking powder
- 2 eggs
- 1 tbsp lemon juice
- 1 tsp vanilla extract
Toppings
- fruit pie filling, chocolate sauce, whipped cream, or caramel as desired
Instructions
- Preheat oven to 375°F (190°C). Line muffin pan with foil cupcake liners and place a Nilla wafer in each.
- Beat cream cheese and sugar until smooth. Add flour and baking powder; mix well.
- Add eggs one at a time, then lemon juice and vanilla. Mix until just combined.
- Divide batter evenly among cupcake liners. Bake for 15–18 minutes or until centers are just set.
- Cool on a rack. Centers will sink slightly — perfect for toppings.
- Chill for 4–6 hours or overnight. Top with your favorite topping before serving.


