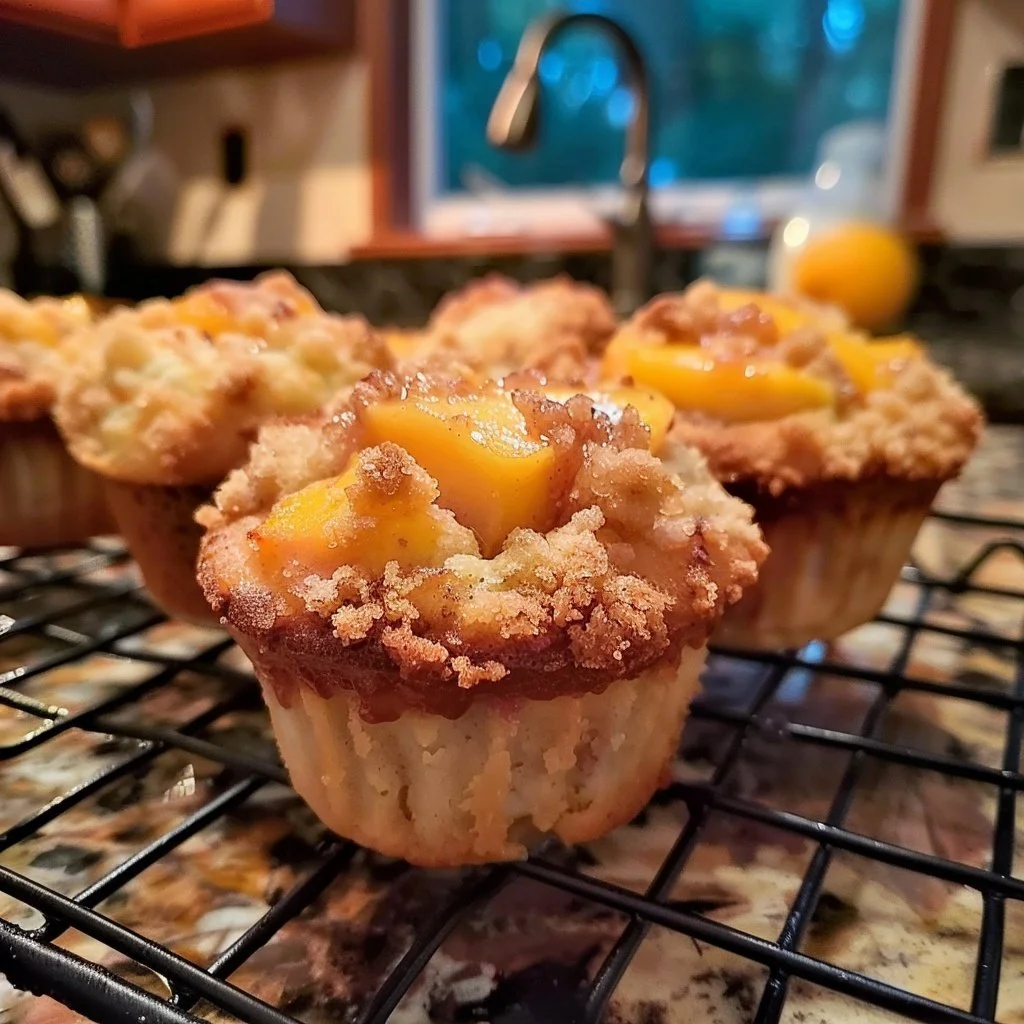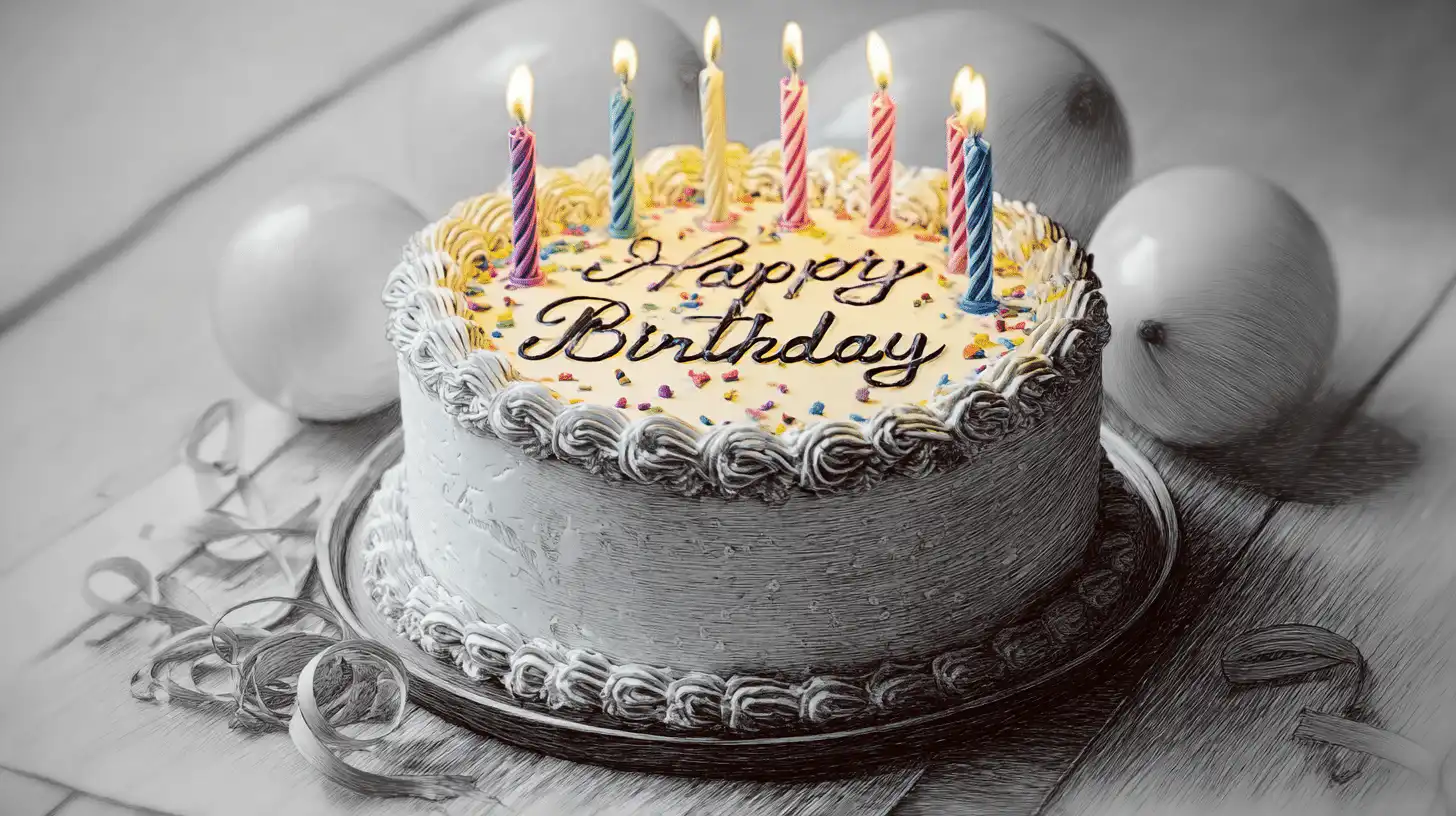
Birthday Cake Drawing isn’t just about art—it’s about capturing the joy of celebration in a simple, creative way. Hi, I’m Amanda, and here on BeamRecipes, I love turning everyday moments into something special, whether it’s through cooking or crafting. Just like a warm homemade meal, drawing a birthday cake can bring comfort, fun, and connection. It’s a creative pause in a busy day—a way to celebrate life’s sweetness without even preheating the oven. With a few simple strokes, your birthday cake drawing becomes a symbol of love, laughter, and the beauty of handmade memories.
Serving Versatility
A birthday cake drawing can be enjoyed in so many ways! You can turn it into a lovely birthday card idea with a hand-drawn illustration that feels more personal than any store-bought version. Or imagine framing your finished cake sketch for a child’s room—it adds a playful, happy touch. For creative parents, this is a wonderful rainy-day art project to do with kids. You can even scan and print your drawing to use on invitations, thank-you notes, or DIY gift tags. And if you’re into digital art, this simple concept easily becomes a birthday cake cartoon or aesthetic birthday cake illustration for social media posts or digital scrapbooks.
Ingredients (Detailed & Humanized)
A drawing may not need ingredients like a real cake, but here’s what you’ll want to bring your sketch to life!
2–3 pencils: Start light and build your lines confidently.
1 eraser: For soft corrections without tearing the paper.
Colored pencils or markers: To add frosting shades, sprinkles, and candlelight.
Fine-tip black pen: Outlines bring clarity and definition.
Sketch paper or notebook: Your creative canvas—choose a texture you enjoy.
A small ruler (optional): Helpful for symmetry or neat layers.
Reference photo: For beginners, a cake drawing easy template can help with proportions.
A smile and your imagination: The most important tools of all!
Directions (Step-by-Step Drawing Guide)
- Start with the base shape. Lightly draw two straight horizontal lines to create the bottom and top of your cake’s base. Add gentle curves at the edges to give that round, layered look.
- Add the layers. Stack another tier above the first if you want a taller cake. Each layer should be slightly smaller to give a cute tiered effect—think of a real birthday cake ready to impress.
- Sketch the frosting. Use wavy lines to outline dripping frosting along the edges. Don’t make it perfect—those little drips make it look more realistic and playful.
- Draw the candles. Evenly space a few simple rectangles for candles on top, then add small ovals for the flames. A little flick of color—yellow, orange, or pink—will make them glow.
- Decorate! Add tiny circles for sprinkles, stars, or hearts. This is where your creativity shines. Make it a birthday cake doodle with fun details like cherries, ribbons, or even a smiling face.
- Outline your drawing. Once you’re happy, go over your final lines with a fine-tip black pen. Erase the pencil marks carefully when the ink is dry.
- Add color and shading. Use pastel tones for a soft, birthday cake aesthetic vibe or bold, bright colors for a cartoon-style design. Blend lightly to make the frosting look creamy and the cake rich.
- Add finishing touches. A shadow beneath the cake, confetti around it, or a handwritten “Happy Birthday” completes your illustration beautifully.
Why You’ll Love This Recipe
✅ Quick to make: A simple, relaxing drawing that comes together in minutes.
✅ Perfect for all ages: Great for kids, teens, or adults who want to unwind creatively.
✅ Customizable: Make your cake pink and sparkly or elegant and minimal—it’s all up to you!
✅ Inspires creativity: A wonderful gateway into art, sketching, and DIY design.
✅ Makes thoughtful gifts: Hand-drawn cards and birthday art feel deeply personal.
✅ No mess, no baking: Just joy, imagination, and a bit of color!
Cultural or Technique Note
The tradition of drawing cakes in art goes back to celebration illustrations in old recipe books and greeting cards. From pastel sketches to digital birthday cake illustrations, this symbol of joy has always stood for togetherness and sweetness. It’s a small creative act that connects us with the happiness of sharing something we love—whether on paper or on a plate.
Serving Suggestions
With colored pencils for a soft, warm look.
Digitally on a tablet for a clean, modern illustration.
As part of a birthday card idea for someone special.
Turned into a printable cake drawing for kids coloring page.
Pro Tips for Success
✨ Keep your pencil strokes light at first—you can darken lines later.
✨ Don’t rush—enjoy each curve and swirl like frosting on a real cake.
✨ Mix colors to make the frosting look glossy or whipped.
✨ Use a white gel pen for tiny highlights on candles or icing.
✨ Add personality—maybe the cake has a bow, face, or cute message!
✨ Practice on scrap paper before starting your final version.
Common Mistakes to Avoid
⚠️ Pressing too hard too soon: Makes erasing messy—start soft, refine later.
⚠️ Overcrowding decorations: Simplicity often looks more charming.
⚠️ Skipping outlines: Outlines help define shapes and make colors pop.
⚠️ Ignoring proportions: Keep each layer even for a balanced, realistic cake.
⚠️ Using dull pencils: A sharp pencil makes smoother lines and cleaner edges.
Storage & Reheating
While you can’t store this “cake” in the fridge, you can preserve it! Keep your artwork in a folder or plastic sleeve to protect it from smudges. If it’s a digital drawing, save it in both JPEG and PNG formats for easy sharing or printing. You can “reheat” your creativity anytime by revisiting your design, adding color variations, or turning it into new art like stickers or cards.
Frequently Asked Questions (FAQ)
Can I make my birthday cake drawing look realistic?
Absolutely! Add shading under the frosting and blend colors smoothly for a more three-dimensional effect.
What’s the easiest way for kids to draw a cake?
Start with simple shapes—rectangles for layers, wavy lines for frosting, and circles for decorations. Keep it fun, not perfect!
Can I draw a cartoon-style cake?
Yes! Exaggerate the features—bigger candles, smiling faces, or confetti bursts—for a playful birthday cake cartoon vibe.
What colors look best for a birthday cake illustration?
Pinks, pastels, and bright tones like yellow or turquoise add instant cheer. You can also match colors to your party theme.
Can I use this for a birthday card or photoshoot theme?
Of course! A personalized birthday cake sketch makes a lovely handmade card, and it can even inspire birthday photoshoot ideas or décor.
Closing Paragraph
There’s something special about turning a simple idea into a piece of art that celebrates joy. A birthday cake drawing captures the heart of every celebration—colorful, full of love, and made with care. Whether you’re drawing for fun, for your kids, or to decorate your next celebration, let your imagination guide you.
Final Thoughts
Whenever I sit down to draw a birthday cake, I’m reminded that creativity doesn’t need to be complicated—it just needs heart. Each line and color brings a little spark of happiness, like lighting candles for someone you love. I hope your cake drawing fills your day with that same sweetness and satisfaction.

How to Create a Beautiful Birthday Cake Drawing (Step-by-Step Guide)
Equipment
- 2–3 pencils
- Eraser
- Colored pencils or markers
- Fine-tip black pen
- Sketch paper or notebook
- Small ruler (optional)
- Reference photo or template
Ingredients
Drawing Supplies
- 2–3 pencils Start light and build your lines confidently
- 1 eraser Soft corrections without tearing the paper
- Colored pencils or markers To add frosting shades, sprinkles, and candlelight
- Fine-tip black pen Outlines bring clarity and definition
- Sketch paper or notebook Choose a texture you enjoy
- Small ruler (optional) Helpful for symmetry or neat layers
- Reference photo For beginners, an easy cake drawing template helps with proportions
- A smile and your imagination The most important tools of all!
Instructions
- Start with the base shape. Lightly draw two horizontal lines with curves at the ends to create the bottom layer of the cake.
- Add the layers. Stack a second or third tier above with smaller rectangles and curved tops for that layered effect.
- Sketch the frosting. Add wavy lines to mimic frosting drips. Let them be imperfect and playful.
- Draw the candles. Add rectangles and oval flames on top. Use warm colors like yellow, pink, or orange for the glow.
- Decorate! Draw sprinkles, cherries, stars, or even a smiley face for a fun birthday cake doodle look.
- Outline your drawing. Use a black pen to trace final lines. Let ink dry before erasing pencils.
- Add color and shading. Use soft blends for frosting or bold brights for a cartoon look. Add shadows for dimension.
- Finishing touches. Add handwritten text like “Happy Birthday” or background elements like confetti or balloons.