Chocolate cake decoration recipe is more than just frosting and sprinkles—it’s about creating joy in every slice. Hi, I’m Amanda, and at BeamRecipes, I share the simple, approachable ways I’ve learned to turn baking into connection. From my earliest days in the kitchen to the desserts I serve my family now, food has always been my love language. This recipe, like all I share here, is designed for real life: no pressure, no perfection required. Just step-by-step guidance, a touch of creativity, and the warmth that comes from baking something beautiful for the people you love.
Why This Recipe Works
Easy but Impressive
This chocolate cake decoration recipe is designed for real kitchens. No need for professional piping bags—simple tools like spoons, spatulas, and even forks can create stunning textures.
Flavor First
The focus isn’t just on looks; the frosting and toppings complement the cake’s richness. The decorations add flavor as much as beauty.
Flexible for Any Occasion
From birthdays to anniversaries, this method adapts. You can keep it rustic for family dinners or dress it up with a few extra flourishes for celebrations.
Stress-Free Decorating
You’ll learn practical methods that don’t require a steady hand, so your cake looks beautiful without the pressure of perfection.
Ingredients & Swaps
Main Decoration Elements
- 2 cups chocolate frosting (store-bought or homemade)
- ½ cup chocolate shavings or curls
- ½ cup fresh berries (strawberries, raspberries, or blueberries)
- 2 tablespoons cocoa powder for dusting
Optional Swaps
- Replace berries with sliced bananas or candied orange peel
- Use white chocolate shavings instead of dark for contrast
- Try toasted coconut flakes if you prefer a tropical touch
Step-by-Step Decorating Instructions
- Cool Your Cake Completely – Never frost a warm cake, or the frosting will melt. Wait until the cake is fully cooled.
- Apply a Crumb Coat – Spread a thin layer of frosting all over to trap crumbs, then chill for 15 minutes.
- Frost Smoothly – Add a thicker layer of frosting with a spatula, smoothing the top and sides. Don’t stress about perfect edges; a little texture is charming.
- Create Chocolate Curls – Use a vegetable peeler on a chocolate bar to make rustic curls. Sprinkle them generously on top.
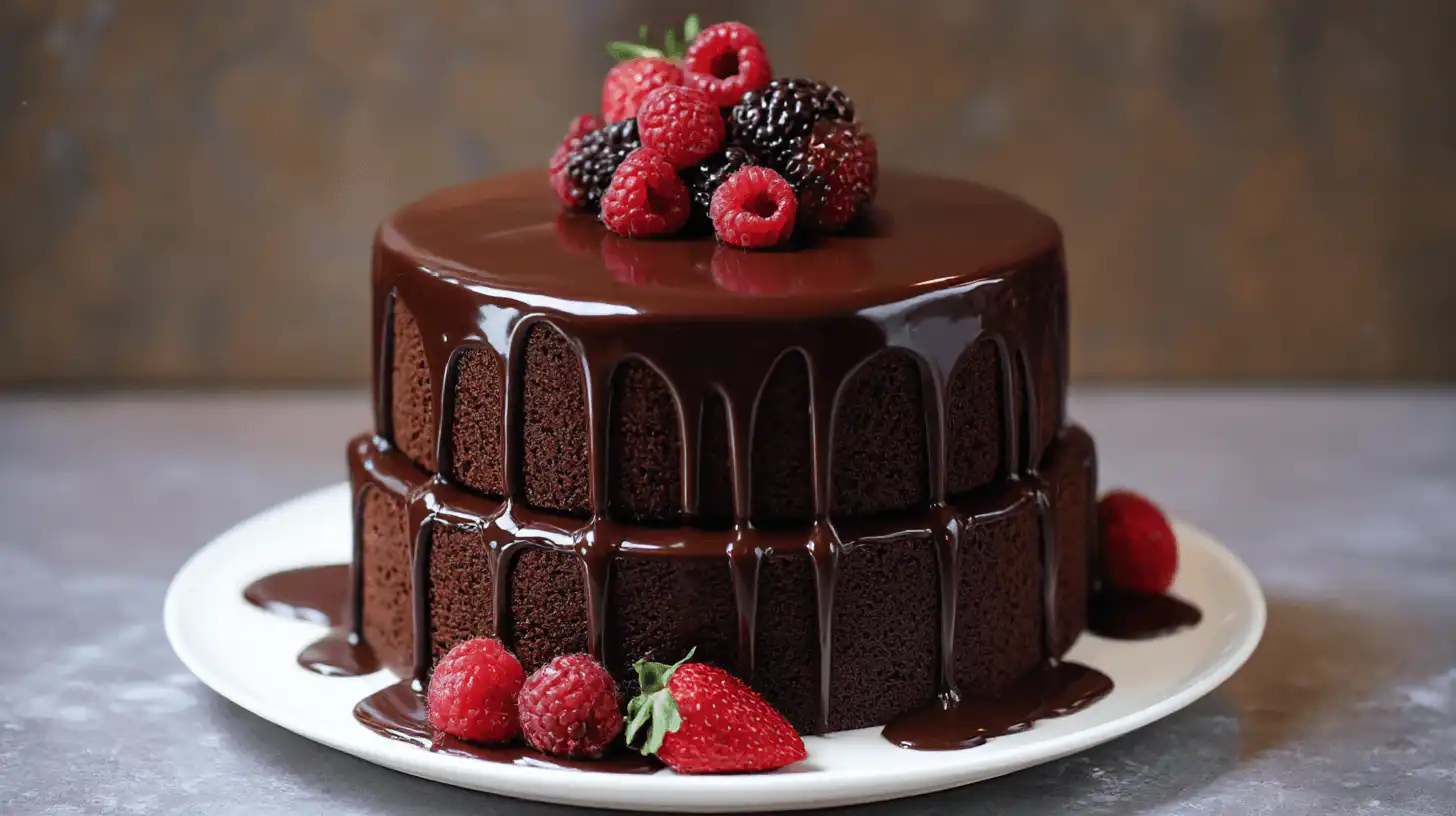
- Add Fresh Fruit – Place berries in clusters rather than scattering them randomly. It gives a more intentional look.
- Dust with Cocoa Powder – Lightly tap cocoa powder over the top for a bakery finish.
- Finishing Touches – If you want, drizzle melted chocolate over the top in thin ribbons for extra flair.
Why These Methods Work
Crumb Coat
Think of the crumb coat as your safety net. That thin first layer of frosting traps every loose crumb so they don’t sneak into the final coat. It’s like giving yourself permission to be messy first, then layering on the polished finish.
Room Temperature Frosting
Cold frosting is stiff and tears at your cake, but when it’s soft and spreadable, it glides smoothly, creating clean edges with less effort. This little trick saves you from frustration and keeps your cake intact.
Clusters of Toppings
Scattering toppings randomly can make a cake look busy. By placing berries or curls in clusters, you create focal points that feel intentional and artistic, even if you’re not a decorator.
Cocoa Powder Finish
That light dusting of cocoa powder does more than look pretty. It adds a whisper of bitterness that balances the sweetness of the frosting, giving each bite more depth.
Drizzle Effect
The chocolate drizzle is the “handmade signature” of your cake. It’s rustic yet elegant, showing guests this was made with love, not a factory machine.
Variations & Adaptations
Kid-Friendly Fun
Children love color, so trade delicate berries for rainbow sprinkles, gummy bears, or mini chocolate chips. It turns your cake into a playful centerpiece for birthdays or after-school treats.
Elegant Dinner Party
For a more sophisticated touch, swap in white chocolate curls or edible gold leaf. These decorations catch the light beautifully and transform a simple cake into something fit for a celebration.
Holiday Twist
Baking for the season? Crushed peppermint gives a festive crunch in December, while caramel drizzle feels cozy and autumnal. Tailor your decorations to the time of year for instant holiday magic.
Healthier Option
If you’re looking for lighter indulgence, use Greek yogurt frosting. It’s tangy, refreshing, and pairs beautifully with fresh fruit like strawberries, kiwi, or blueberries, adding natural sweetness.
Common Mistakes to Avoid
Frosting Too Early
Patience is key here. Even slightly warm cake will melt your frosting, leaving you with a sliding, gooey mess. Always wait until the cake is fully cooled.
Skipping the Crumb Coat
It may seem like an extra step, but skipping it often means visible crumbs in your final layer. The result looks rushed instead of smooth and professional.
Overloading Toppings
More doesn’t always mean better. A mountain of decorations can weigh the cake down and make it hard to cut. A few carefully placed elements look cleaner and taste better.
Using Warm Tools
Chocolate curls are delicate. If your hands or tools are warm, they’ll melt before reaching the cake. A cool, dry spatula or spoon preserves their shape and shine.
Frequently Asked Questions
Can I decorate a cake the day before?
Yes! Just store it in the refrigerator. Before serving, let it sit out for about 30 minutes so the frosting softens and tastes fresh again.
Do I need special tools for decoration?
Absolutely not. A butter knife, spoon, and vegetable peeler can handle everything from frosting to curls. Fancy piping bags are optional, not essential.
How do I make chocolate curls stay firm?
Chill them on a plate in the fridge for about 10 minutes. Handle them gently when transferring so they keep their shape.
Can I freeze a decorated cake?
It’s best to freeze the cake layers without frosting. Once thawed, decorate fresh. This way, your toppings stay vibrant and your frosting keeps its texture.
notes Final Encouragement
If your cake doesn’t look perfect, remember this: the people you love won’t notice uneven edges or a wobbly curl. What they’ll see is the care you put into making something sweet just for them. Decorating a chocolate cake isn’t about perfection—it’s about joy, laughter, and the memory of sharing a slice together.

Chocolate Cake Decoration
Equipment
- Spatula
- Vegetable Peeler
- Mixing Bowl
Ingredients
Main Decoration Elements
- 2 cups chocolate frosting store-bought or homemade
- 1/2 cup chocolate shavings or curls
- 1/2 cup fresh berries strawberries, raspberries, or blueberries
- 2 tbsp cocoa powder for dusting
Instructions
- Cool your cake completely. Never frost a warm cake, or the frosting will melt.
- Apply a crumb coat: spread a thin layer of frosting all over to trap crumbs, then chill for 15 minutes.
- Frost smoothly with a thicker layer, smoothing top and sides with a spatula.
- Create chocolate curls using a vegetable peeler on a chocolate bar. Sprinkle them on top.
- Add fresh fruit in clusters rather than scattering randomly for a polished look.
- Dust lightly with cocoa powder for a bakery-style finish.
- Optional: drizzle melted chocolate over the top in thin ribbons for extra flair.