Introduction
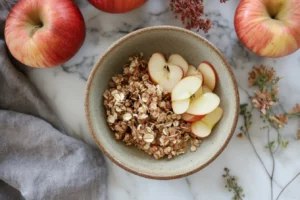
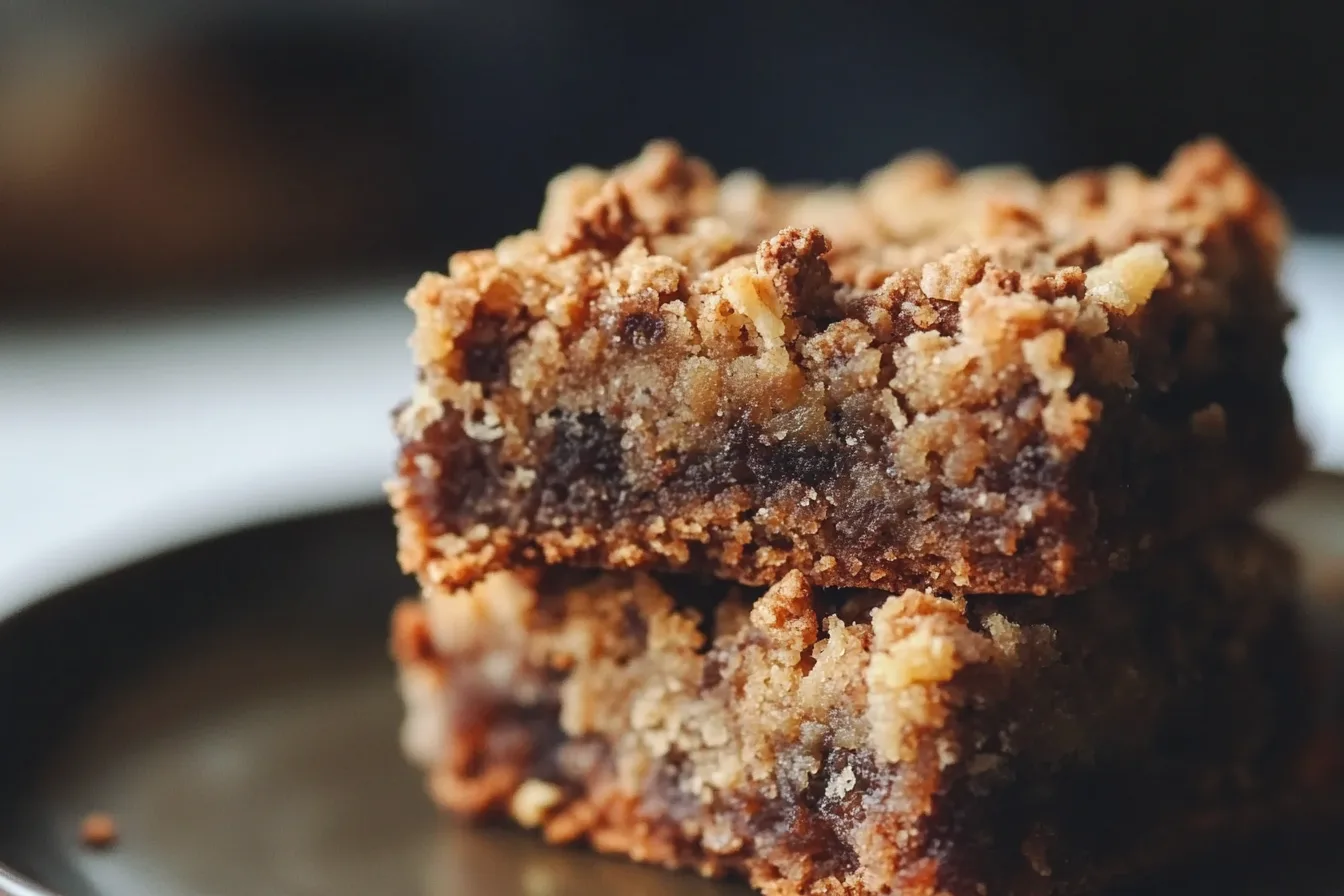
This easy apple crisp recipe without oats is a comforting dessert that’s perfect for any occasion. With its tender, cinnamon-spiced apples and buttery, golden topping, it’s a classic treat that’s simple to prepare and endlessly satisfying. By skipping the oats, this recipe offers a smoother, more refined topping, making it ideal for those who prefer a cleaner texture or have dietary preferences. Whether you’re a seasoned baker or a beginner, this oat-free apple crisp is a delicious and versatile dessert that everyone will enjoy.
What is an Apple Crisp Without Oats?
Apple crisp is a classic dessert featuring a layer of tender, spiced apples topped with a sweet, crumbly layer that becomes golden and crispy when baked.
Difference Between Crisp and Crumble
While it shares similarities with an apple crumble, the key difference lies in the topping. Traditional crisps often include oats, which add a chewy texture, whereas crumbles generally rely on flour and butter for a denser, more cake-like finish.
Characteristics of Oat-Free Apple Crisp
An apple crisp without oats simplifies the topping even further by eliminating the oats entirely, resulting in a smoother, more cohesive texture. The topping is typically made with flour, sugar, butter, and sometimes a hint of cinnamon or nutmeg.
Benefits of Skipping Oats
- A less rustic, more refined texture.
- Suitable for those with dietary restrictions or preferences against oats.
- Highlights the natural flavors of the apples while keeping the recipe approachable and versatile.

Ingredients Overview for Apple Crisp Without Oats
Filling Ingredients
- Apples: Firm, flavorful varieties like Granny Smith (tart) and Honeycrisp (sweet) are recommended. A mix of tart and sweet varieties enhances the flavor depth.
- Lemon Juice: Balances sweetness and prevents apples from browning.
- Spices: Cinnamon and nutmeg provide warmth and richness.
- Vanilla Extract: Adds depth and aroma.
- Brown Sugar: Sweetens the filling with caramel-like notes.
- Cornstarch: Thickens the juices for a silky texture.
Topping Ingredients
- Flour: Forms the crumbly base of the topping.
- Brown Sugar: Sweetens the topping and ensures a golden finish.
- Butter: Cold butter creates a crispy texture when baked.
- Optional Nuts: Adds crunch; omit for a nut-free version.
Substitutions and Variations
- Gluten-Free: Use a gluten-free flour blend.
- Vegan: Replace butter with vegan butter or coconut oil.
- Nuts: Experiment with almonds, hazelnuts, or sunflower seeds.
- Sugar Alternatives: Substitute brown sugar with coconut sugar or a sugar alternative.
Choosing the Right Apples for Apple Crisp Without Oats
Importance of Apple Selection
The apples’ texture and flavor are the foundation of the dessert. Ideal apples should hold their shape during baking and offer a balanced flavor that complements the topping.
Recommended Varieties for Baking
- Granny Smith: Tart and firm, offering a tangy contrast.
- Honeycrisp: Sweet and crisp for balanced flavor.
- Fuji: Mildly sweet with a dense texture.
- Braeburn: Sweet-tart and holds structure well.
Tips for Mixing Tart and Sweet Apples
- Combine tart Granny Smith with sweet Honeycrisp for a vibrant contrast.
- Mix Fuji (sweet) with Braeburn (mildly tart) for a subtler flavor profile.
Using a 50/50 ratio of tart to sweet apples ensures balanced flavor and texture, elevating the dessert into a truly memorable treat.
Step-by-Step Instructions for Apple Crisp Without Oats
Creating a delicious apple crisp without oats is a simple process, but following detailed steps ensures the perfect balance of flavors and textures. Here’s how to prepare it:

Preparing the Filling
- Prepping the Apples
- Choose firm apples, such as Granny Smith, Honeycrisp, or a mix of tart and sweet varieties. Peel, core, and slice the apples evenly to ensure consistent cooking. Aim for slices about ¼-inch thick.
- Place the sliced apples in a large mixing bowl.
- Adding Spices and Flavorings
- Sprinkle the apples with ground cinnamon (about 1 teaspoon) and a pinch of nutmeg for warmth.
- Add 1 teaspoon of vanilla extract and 2 tablespoons of lemon juice to enhance the flavors and prevent browning.
- Mix in ¼ cup of brown sugar for sweetness, adjusting the amount based on your apples’ natural sweetness.
- Toss the apples with 1 tablespoon of cornstarch to thicken the juices during baking.
- Assembling the Base
- Transfer the spiced apple mixture into a greased baking dish. A 9×9-inch square dish or an oval casserole dish works well for even cooking. Spread the apples out in an even layer.
Creating the Topping
- Mixing the Ingredients
- In a medium bowl, combine 1 cup of all-purpose flour and ½ cup of brown sugar.
- Add ½ cup of cold, unsalted butter, cut into small cubes.
- Use a pastry cutter, fork, or your fingers to mix until the mixture resembles coarse crumbs. The butter should be evenly distributed but leave small, pea-sized pieces for a flaky texture.
- Adding Optional Ingredients
- If desired, stir in ½ cup of chopped nuts, such as pecans or walnuts, for added crunch and flavor.
- Applying the Topping
- Spread the crumb mixture evenly over the apple filling, ensuring complete coverage. This helps create a uniform crispy layer.
Baking Tips for a Crispy Topping
- Preheat and Bake
- Preheat your oven to 350°F (175°C).
- Place the assembled apple crisp on the middle rack and bake for 40-50 minutes, or until the topping is golden brown and the apple filling is bubbling around the edges.
- Achieving the Perfect Texture
- For an extra crispy topping, broil the dish on low for 1-2 minutes at the end of the baking time. Watch closely to prevent burning.
Pro Tips
- Dish Selection
- Use a glass or ceramic baking dish for even heat distribution. Avoid metal pans, as they can cause the apples to overcook or scorch.
- Temperature Adjustments
- If your oven runs hot, reduce the temperature slightly to prevent the topping from browning too quickly.
- For high-altitude baking, increase the oven temperature by 10-15°F and reduce baking time slightly.
- Serving Suggestions
- Let the apple crisp cool for 10-15 minutes before serving to allow the filling to set. Serve warm with whipped cream, vanilla ice cream, or caramel sauce.
With these step-by-step instructions, you’ll create a beautifully balanced and flavorful apple crisp that’s sure to impress!
Serving Suggestions for Apple Crisp Without Oats
Apple crisp is best served warm, straight from the oven, when the filling is still bubbling, and the topping is perfectly crisp. Allow it to cool for 10-15 minutes before serving to let the flavors settle and the filling thicken slightly.
For an indulgent pairing, add a scoop of vanilla ice cream on top. The creamy, cold ice cream melts into the warm apple crisp, creating a delightful contrast in texture and temperature. Alternatively, a dollop of freshly whipped cream adds lightness and enhances the dessert’s comforting flavors.
If you’re looking for something extra special, drizzle warm caramel sauce over the crisp before serving. The caramel adds a luxurious sweetness and complements the cinnamon-spiced apples beautifully.
Apple crisp can also be served at room temperature, making it a versatile dessert for any occasion. Enjoy it as is or paired with your favorite toppings for a delicious treat!
Storage and Reheating Tips for Apple Crisp Without Oats
Storing Leftovers
Allow the apple crisp to cool completely before transferring it to an airtight container. Store in the refrigerator for up to 3-4 days. This helps preserve the flavors and prevents the topping from becoming soggy.
Reheating Best Practices
- Oven: To retain the crisp topping, reheat in a preheated oven at 350°F (175°C) for 10-15 minutes, or until warmed through. Cover the dish loosely with foil to prevent over-browning if necessary.
- Microwave: For a quicker option, reheat individual portions in the microwave for 30-60 seconds. Note that the topping may soften slightly.
Freezing Guidelines
Apple crisp can be frozen for future use. Wrap the cooled dish tightly in plastic wrap and aluminum foil, or store portions in freezer-safe containers. Freeze for up to 3 months. To serve, thaw in the refrigerator overnight and reheat in the oven for the best results.
FAQs About Easy Apple Crisp Recipe Without Oats
Does Apple Crisp Need to Be Refrigerated?
Yes, apple crisp should be refrigerated to prevent spoilage. Once cooled, store your easy apple crisp recipe without oats in an airtight container in the refrigerator for up to 3-4 days.
Can I Freeze Apple Crisp?
Yes, you can freeze your easy apple crisp recipe without oats. Wrap it tightly in plastic wrap and aluminum foil or store portions in freezer-safe containers. Freeze for up to 3 months. Thaw in the refrigerator before reheating in the oven for best results.
Can I Make It Ahead of Time?
Yes, you can prepare the filling and topping for your easy apple crisp recipe without oats separately and store them in the refrigerator for up to 24 hours. Assemble and bake when ready to serve for the freshest results.
Differences Between Crisps, Crumbles, and Apple Betty
What Is the Difference Between Crumble and Crisp?
The main difference lies in the topping. While both are similar, crisps, including the easy apple crisp recipe without oats, traditionally include oats for a chewy texture. Crumbles, on the other hand, rely solely on flour, sugar, and butter for a denser topping.
What Is the Difference Between Apple Betty and Apple Crisp?
Apple betty layers spiced apples with sweetened breadcrumbs, while an easy apple crisp recipe without oats features a crumbly topping made from flour, butter, and sugar.
Common Issues and Tips
Why Is My Topping Not Crispy?
A topping for your easy apple crisp recipe without oats that isn’t crispy may result from insufficient butter or overmixing. Ensure the butter is cold and evenly distributed to achieve the perfect crumbly texture.
How Do You Keep Apples from Getting Mushy in Apple Crisp?
To keep apples firm in your easy apple crisp recipe without oats, choose varieties like Granny Smith or Honeycrisp. Slice apples evenly and avoid overbaking to maintain their texture.
Additional Questions
Can I Use Nutmeg Spice Instead of Fresh Nutmeg?
Yes, ground nutmeg can be used in place of fresh nutmeg when making your easy apple crisp recipe without oats. Use the same quantity, but adjust to taste if needed.
Does Apple Crisp Need to Be Served Warm?
While your easy apple crisp recipe without oats is traditionally served warm for maximum comfort, it can also be enjoyed at room temperature or cold, depending on your preference.
To enhance the reader experience and provide additional value, consider adding internal links to related recipes and content on your website. For example, link to the Peach Crumble Recipe when discussing alternative fruit-based desserts, providing readers with another option for a crumble-style dish. You can also include the Apple Crisp Recipe Without Oats for readers interested in exploring a similar recipe variation or refining their technique. Additionally, include a link to the Blueberry Compote Recipe in the serving suggestions section, as it pairs wonderfully as a topping for apple crisp. These internal links not only improve navigation but also keep readers engaged with relevant content on your site.

