
There’s something special about the moment you create a beautiful pattern on a sourdough loaf just before it goes into the oven. The gentle anticipation builds as you prepare to cut into the dough, transforming it into a work of art. Whether it’s a busy weeknight dinner or a leisurely weekend brunch, these scoring techniques enhance the loaf’s appearance and invite everyone to gather. The process is simple and fulfilling, perfect for quiet moments in the kitchen. Let’s explore how to make your sourdough even more inviting with some creative scoring ideas.
Why You’ll Love This Sourdough Scoring
This approach to scoring will elevate your sourdough baking experience with ease and reliability. Each design brings a touch of comfort while enhancing the balanced flavor of the bread. These simple techniques reflect practical everyday value, allowing anyone to make their sourdough loaves visually appealing and enjoyable for every occasion or meal.
Kitchen Tools You’ll Need
- Sharp razor blade or lame
- Cutting board
- Clean towel
Ingredients
- Prepared sourdough loaf (proofed and ready for scoring)

How to Make Sourdough Scoring
Step 1. Start with your prepared sourdough loaf, ensuring it has been properly proofed and is ready for scoring. Gently flour the top of the loaf to prevent sticking. This not only helps with the scoring process but adds a nice texture to the crust as it bakes. The flour will also enhance the design you create and give the final loaf a desirable appearance.
Step 2. Using your sharp razor blade or lame, choose the scoring design you’d like to create. A simple straight line or gentle curve can work nicely for beginners, while more intricate patterns offer a beautiful visual for those who are comfortable with the technique. Ensure the blade is held at a slight angle as you make your cut to create an elegant, clean line.
Step 3. Apply gentle pressure as you score into the dough, cutting deep enough to allow expansion but not so deep that the loaf collapses. The goal is to help the bread rise beautifully in the oven, giving you an appealing crust. You should be able to see the cut open slightly without disrupting the overall structure of the loaf.
Step 4. Once you’ve finished scoring, take a moment to admire your work before placing the loaf into the oven. The cut should open up slightly during baking, enhancing the desired design and texture of the crust. The contrast between the light dough and the deep cuts will be particularly appealing once baked. This simple step can turn an ordinary loaf into something special.
Step 5. Bake your scored sourdough according to your recipe’s instructions. Throughout the baking process, you’ll notice the loaf expanding beautifully along the scored lines, which creates stunning visual appeal. Your kitchen will soon fill with that warm, comforting aroma that only fresh bread can bring.

Serving Suggestions
Scored sourdough bread is versatile and can be enjoyed in various ways. For breakfast, serve it toasted with butter or jam, allowing the crunchy crust to contrast with the soft center. It also makes a delightful afternoon snack paired with cheese or a simple spread. During family meals, the bread can serve as the perfect companion to soups or salads. If you have leftovers, store them properly to enjoy throughout the week with your favorite toppings or in sandwiches.
Pro Tips for Best Results
- Make sure your blade is sharp for clean, precise cuts.
- Keep the scoring design simple and practice before attempting more complex patterns.
- Flour the blade lightly to prevent sticking during scoring.
- Always score just before baking to maintain dough structure.
- Try different angles to see how they affect the scoring pattern.
Common Mistakes to Avoid
- Not Using a Sharp Blade: A dull blade can drag through the dough, leading to ragged cuts. Always use a sharp razor blade or lame to achieve clean and precise scores, which will help the bread rise better.
- Scoring Too Shallow: If your cuts are too shallow, they may not open properly during baking, resulting in a dense loaf. Ensure you cut deep enough to allow the dough to expand and achieve a beautiful crust.
- Scoring After It’s Over-Proofed: Waiting too long to score can lead to a loaf that has already expanded, which could collapse during baking. Keep an eye on the proofing process and score your loaf right when it’s ready.
- Lack of Flour on the Surface: Skipping flour on the top surface can cause the blade to stick, preventing the design from being transferred properly. Lightly flour the surface before scoring for a smoother experience.
- Using Too Much Pressure: Applying excessive pressure can compress the dough, negating the rise and creating an unappealing loaf. Practice gentle, confident cuts to maintain the lightness of the dough.
- Ignoring Consistency of Dough: If your dough is too wet or too dry, it affects how well it holds shape after scoring. Ensure your dough has the right consistency before proceeding with scoring.
Variations & Substitutions
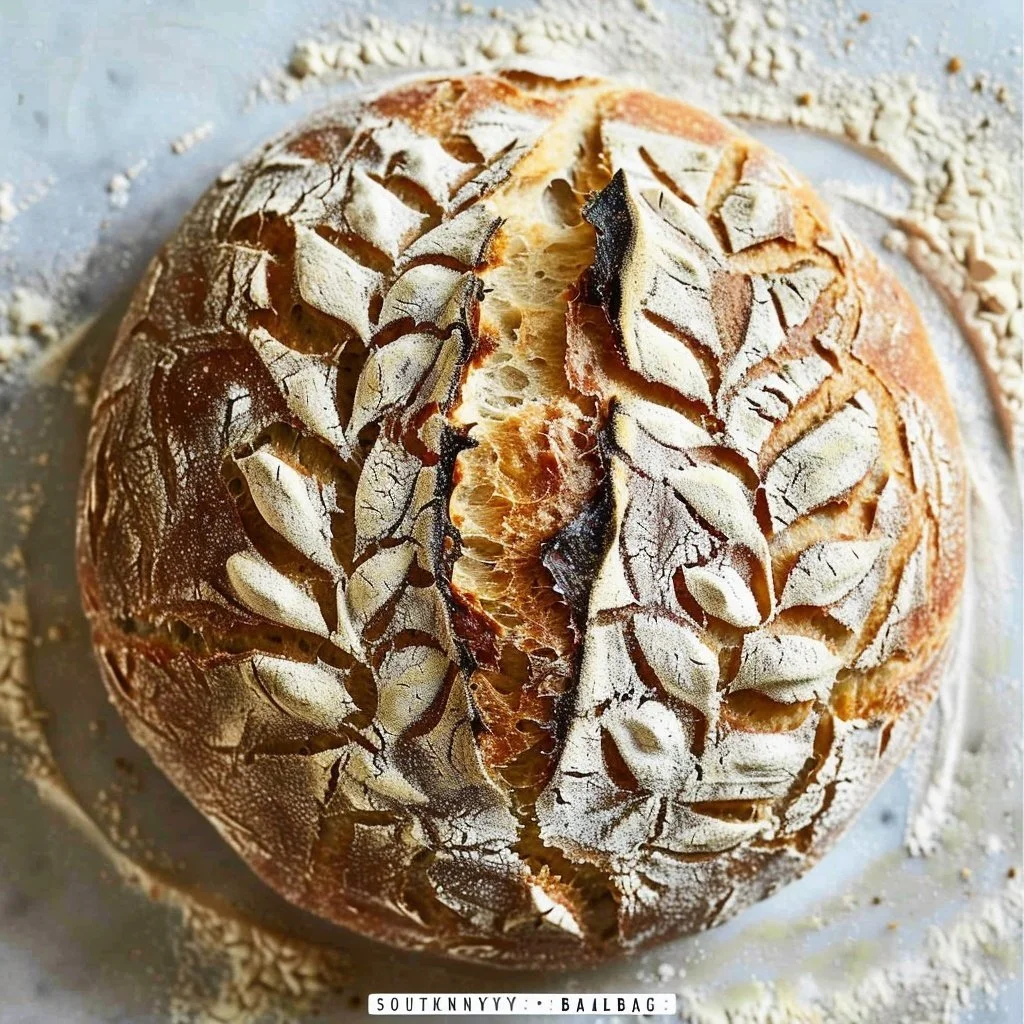
You can experiment with various scoring designs such as simple slashes, cross-hatch patterns, or leaf shapes. Each design offers a unique look and slight variations in how the loaf expands. If you’re comfortable, consider layering different cuts to create more dimensional designs on the loaf. It’s a fun way to personalize each bread you bake.
Storage & Reheating
For room-temperature storage, wrap your sourdough in a clean, dry towel and keep it in a cool area away from direct sunlight. This helps maintain moisture without making the crust soggy. If you need to store it in the refrigerator, wrap it tightly in plastic wrap to prevent it from drying out. For longer-term storage, consider freezing the bread in slices. When ready to enjoy, reheat the slices in a toaster or a preheated oven for a few minutes to restore the bread’s texture.
Frequently Asked Questions
Can I make this recipe ahead of time?
Yes, you can prepare the sourdough loaf ahead of time and score it just before baking. This helps maintain the texture and rise of the loaf while allowing you to enjoy fresh bread when you’re ready.
How long does it last in the fridge?
When stored properly in the refrigerator, sourdough can last up to a week. Just be sure to wrap it tightly to prevent it from drying out or absorbing odors from other foods.
Can I freeze this recipe?
Absolutely. You can slice the bread and freeze individual pieces for up to three months. This makes it easy to enjoy fresh-tasting sourdough whenever you want.
What can I substitute for one ingredient?
This recipe doesn’t require any substitutions, but you may experiment with different designs in your scoring if you wish, aligning them with your baking style or preferences.
Why didn’t my recipe turn out as expected?
Several factors can affect the outcome, including dough consistency, proofing time, or scoring depth. Reviewing each step and practicing will help refine your technique for better results next time.
Final Thoughts
Creating beautiful designs on your sourdough loaf is a simple yet rewarding process. With just a few techniques, you can transform your bread into an enticing centerpiece for any meal. Enjoying the fruits of your labor, with its perfectly baked crust and soft interior, adds a sense of accomplishment and warmth to everyday meals. Happy baking, and may your sourdough always rise to perfection!

Sourdough Scoring Techniques
Ingredients
Sourdough Ingredients
- 1 loaf Prepared sourdough loaf (proofed and ready for scoring) Ensure the loaf is proofed and ready for scoring.
Tools
- 1 piece Sharp razor blade or lame For creating clean cuts.
- 1 piece Cutting board To provide a stable surface for scoring.
- 1 piece Clean towel To wrap the sourdough for storage.
Instructions
Preparation
- Start with your prepared sourdough loaf, ensuring it has been properly proofed and is ready for scoring. Gently flour the top of the loaf to prevent sticking.
- Using your sharp razor blade or lame, choose the scoring design you'd like to create. Hold the blade at a slight angle as you cut.
- Apply gentle pressure as you score into the dough, cutting deep enough to allow expansion without collapsing the loaf.
- Once you’ve finished scoring, admire your work before placing the loaf into the oven.
- Bake your scored sourdough according to your recipe’s instructions.


