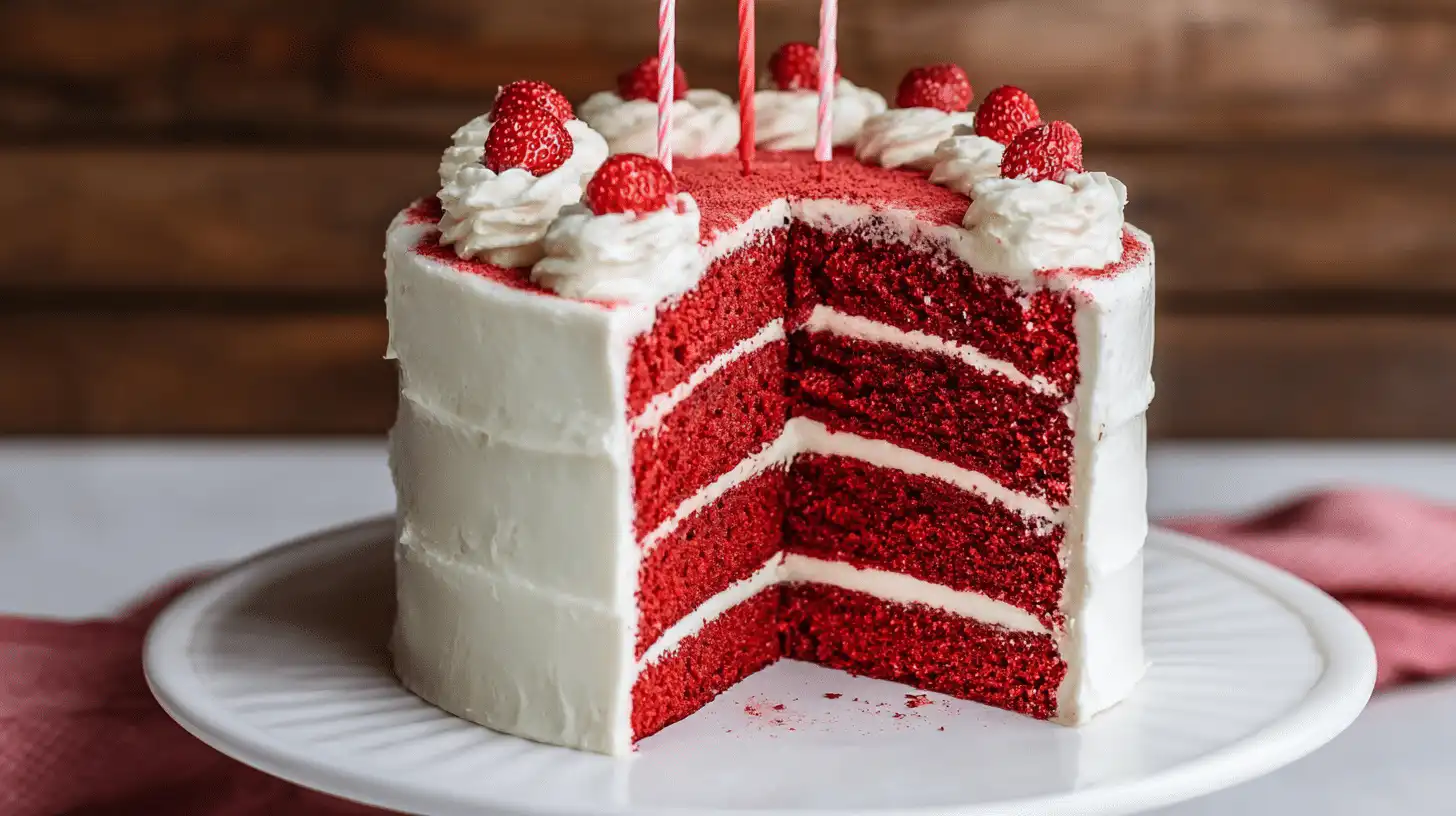
Red Velvet Birthday Cake — the name alone feels like celebration. This classic dessert combines a soft, velvety crumb with rich cream cheese frosting, creating a perfect balance of flavor and beauty. Ideal for birthdays, anniversaries, or cozy gatherings, this red velvet cake recipe easy brings elegance without effort. The deep red color, subtle cocoa notes, and creamy layers make it irresistible from the first bite. Whether you decorate it as a red velvet decorated cake or keep it simple and minimalist, it’s a timeless treat that turns any moment into something special — a true symbol of love and joy.
Serving Versatility
One of my favorite things about this cake is how versatile it is. You can serve it as a grand layer cake with ribbons and candles for a birthday party centerpiece, or as a small birthday cake for an intimate gathering — just a few layers of love and cream cheese frosting. For something even simpler, turn the batter into cupcakes or a minimalist red velvet cake aesthetic design topped with delicate whipped cream swirls.
It also pairs beautifully with different textures and flavors — a drizzle of melted white chocolate, a sprinkle of toasted coconut, or even a handful of fresh berries for a burst of freshness. However you choose to serve it, every version of this red velvet decorated cake feels elegant yet cozy, like a dessert made from the heart.
Ingredients (Detailed & Humanized)
2 ½ cups all-purpose flour: gives the cake structure and a tender crumb.
1 ½ cups granulated sugar: the perfect touch of sweetness.
1 tsp baking soda: helps the cake rise and stay fluffy.
1 tsp salt: enhances all the other flavors beautifully.
1 tsp cocoa powder: adds subtle chocolate depth and color balance.
1 ½ cups vegetable oil: keeps the cake moist and soft.
1 cup buttermilk, room temperature: gives tanginess and light texture.
2 large eggs: bind everything together and add richness.
2 tsp vanilla extract: brings warmth and sweet aroma.
1 tsp white vinegar: the secret for that classic red velvet tang.
2 tbsp red food coloring: the bold signature hue that makes it irresistible.
16 oz cream cheese, softened: for the dreamy, smooth frosting.
½ cup unsalted butter, softened: adds richness to the frosting.
4 cups powdered sugar: for that creamy-sweet balance.
A splash of vanilla extract: ties the frosting together with aroma and sweetness.
Directions (Step-by-Step Cooking Guide)
Preheat and prepare:
Set your oven to 350°F (175°C). Grease and line two 9-inch round cake pans with parchment paper — this keeps your Red Velvet Birthday Cake layers perfectly smooth and easy to remove later.
Mix the dry ingredients:
In a large bowl, whisk together flour, sugar, baking soda, salt, and cocoa powder. This blend gives your cake structure while keeping it light and tender.
Combine the wet ingredients:
In another bowl, whisk the vegetable oil, buttermilk, eggs, vanilla extract, vinegar, and red food coloring. The mixture should look creamy, silky, and beautifully red — that signature red velvet cake aesthetic.
Blend the batters:
Slowly pour the wet mixture into the dry ingredients. Stir gently with a spatula until just combined. Don’t overmix — a few small lumps are fine and will keep the crumb soft and moist.
Pour and bake:
Divide the batter evenly between your pans. Tap them lightly on the counter to release air bubbles, then bake for 25–30 minutes, or until a toothpick inserted into the center comes out clean. The cakes should spring back softly when touched.
Cool completely:
Let the cakes rest in their pans for 10 minutes before transferring them to a wire rack. The aroma — cocoa, vanilla, and warmth — will fill your kitchen and make it hard to wait!
Prepare the frosting:
Beat softened cream cheese and butter together until fluffy. Gradually add powdered sugar and vanilla extract, whipping until smooth and creamy. The texture should be cloud-like and spreadable.
Assemble your cake:
Place one cake layer on a serving plate and spread a generous layer of frosting on top. Add the second layer and frost the top and sides evenly. Smooth with a spatula for that minimalist bday cake finish or swirl for a more rustic charm.
Decorate and serve:
Garnish with red cake crumbs, chocolate curls, or a simple ribbon for a charming red velvet decorated cake look. Chill for 20–30 minutes before slicing — this helps the frosting set beautifully and gives clean, picture-perfect layers.
Why You’ll Love This Recipe
✅ Quick to make – You don’t need fancy tools or skills. Just a few bowls and love.
✅ Budget-friendly – Everyday ingredients create a cake that feels luxurious.
✅ Cozy, homemade flavor – It’s nostalgic yet fresh.
✅ Nutritious balance – Light, moist, and not overly sweet.
✅ Great for meal prep – Make the layers a day ahead for easy assembly.
✅ Family-approved – Everyone loves that soft, velvety crumb.
Cultural or Technique Note
The Red Velvet Cake has roots in classic American baking, particularly from the Southern U.S., where it became a symbol of elegance and hospitality. Originally tinted with beet juice for color, it gained popularity in the 1920s for its unique balance of cocoa and tangy buttermilk. Today, it’s a beloved tradition — a cake that feels both nostalgic and timeless, perfect for birthdays and special gatherings.
Serving Suggestions
With a scoop of vanilla ice cream for a decadent dessert.
As a ribbon cake with decorative frosting for special birthdays.
With fresh berries and mint for a refreshing summer version.
Served as cupcakes or mini bolo red velvet for easy sharing.
Pro Tips for Success
Use room-temperature ingredients — it ensures a smooth, even batter.
Don’t overmix — too much mixing can make the cake dense.
Measure your flour correctly — spoon and level for perfect texture.
Cool the layers completely before frosting — it prevents melting.
Add a pinch of salt to the frosting — it enhances the flavor beautifully.
Chill the frosted cake for 30 minutes before serving for clean slices.
Common Mistakes to Avoid
⚠️ Overbaking the cake: leads to dryness — check it early with a toothpick.
⚠️ Skipping the vinegar: it’s key to the signature tang and softness.
⚠️ Using cold cream cheese: causes lumpy frosting — always soften it first.
⚠️ Adding too much food coloring: a little goes a long way — aim for elegance, not neon.
⚠️ Frosting a warm cake: patience is key — wait until it’s fully cooled.
Storage & Reheating
Store your Red Velvet Birthday Cake in an airtight container in the refrigerator for up to 4 days. The cream cheese frosting keeps it moist and flavorful. For longer storage, wrap slices tightly and freeze for up to 2 months. When ready to enjoy, thaw overnight in the fridge. To bring back that freshly baked feel, let it sit at room temperature for 30 minutes before serving — the flavors bloom beautifully as it softens.
Frequently Asked Questions (FAQ)
Can I use natural food coloring instead of red dye?
Yes! Beet powder or pureed beets create a lovely natural tint without changing the flavor.
Can I make it dairy-free?
Use almond milk mixed with a bit of vinegar for the buttermilk and a vegan cream cheese for the frosting — still rich and delicious.
Can I bake it as cupcakes?
Absolutely! Bake for 18–20 minutes — perfect for party portions or gifting.
How can I make it spicier or more unique?
Add a pinch of cinnamon or espresso powder for depth. It complements the cocoa beautifully.
Can I prepare it in advance?
Yes, bake the layers a day ahead and frost before serving — it even enhances the flavor overnight.
Closing Paragraph
Cooking isn’t just about recipes — it’s about moments. This Red Velvet Birthday Cake isn’t just a dessert; it’s a way to celebrate love, family, and joy. Whether you decorate it with ribbons, flowers, or keep it elegantly simple, each bite brings a little magic to the table. So grab your whisk, preheat that oven, and bake something beautiful today — you deserve it.
Final Thoughts
Whenever I make this cake, I’m reminded that the simplest ingredients can create the most beautiful moments. It’s proof that you don’t need perfection — just love, patience, and a little red velvet magic. Every slice is a sweet reminder that celebrations are meant to be savored, one tender bite at a time.
Follow me on Pinterest for more cozy, quick, and nostalgic recipes.

Red Velvet Birthday Cake
Equipment
- 2 × 9‑inch round cake pans
- Mixing Bowls
- Electric mixer or hand mixer
- Whisk
- Parchment Paper
Ingredients
Cake Batter
- 2.5 cups all-purpose flour
- 1.5 cups granulated sugar
- 1 tsp baking soda
- 1 tsp salt
- 1 tsp cocoa powder unsweetened
- 1.5 cups vegetable oil
- 1 cup buttermilk room temperature
- 2 large eggs
- 2 tsp vanilla extract
- 1 tsp white vinegar
- 2 tbsp red food coloring
Cream Cheese Frosting
- 16 oz cream cheese softened
- 0.5 cup unsalted butter softened
- 4 cups powdered sugar
- 1 tsp vanilla extract
Instructions
- Preheat oven to 350°F (175°C). Grease and line two 9‑inch cake pans with parchment paper.
- In a large bowl, whisk together flour, sugar, baking soda, salt, and cocoa powder.
- In another bowl, whisk together vegetable oil, buttermilk, eggs, vanilla, vinegar, and red food coloring until smooth.
- Gently fold the wet ingredients into the dry until just combined — do not overmix.
- Divide batter between the two pans and bake for 25–30 minutes, or until a toothpick inserted comes out clean.
- Let cakes cool in pans for 10 minutes, then invert to a wire rack and cool completely.
- To make frosting: beat cream cheese and butter until fluffy. Gradually add powdered sugar and vanilla; whip until smooth.
- Assemble: place one cake layer, spread frosting, top with second layer, then frost top and sides. Decorate as desired.


