
Red Velvet Cake Pops near me — Hi, I’m Asmaa. I’m 29 years old, and some of my happiest memories are from the kitchen, standing beside my mom as she showed me how to stir, season, and taste with care. The other day, I watched a reel of heart-shaped red velvet cake pops, their deep crimson color and sweet vanilla aroma instantly taking me back to her warm kitchen. Make it, share it, and tag me — I’d love to see your cozy kitchen moments too.
Why You’ll Love This Recipe
You’ll adore this recipe because it’s festive, forgiving, and made for sharing. The cake pops hold their shape beautifully, and the smooth candy coating gives them a bakery-worthy finish without the stress. They’re perfect for parties, dessert tables, or simply as a fun weekend baking project.
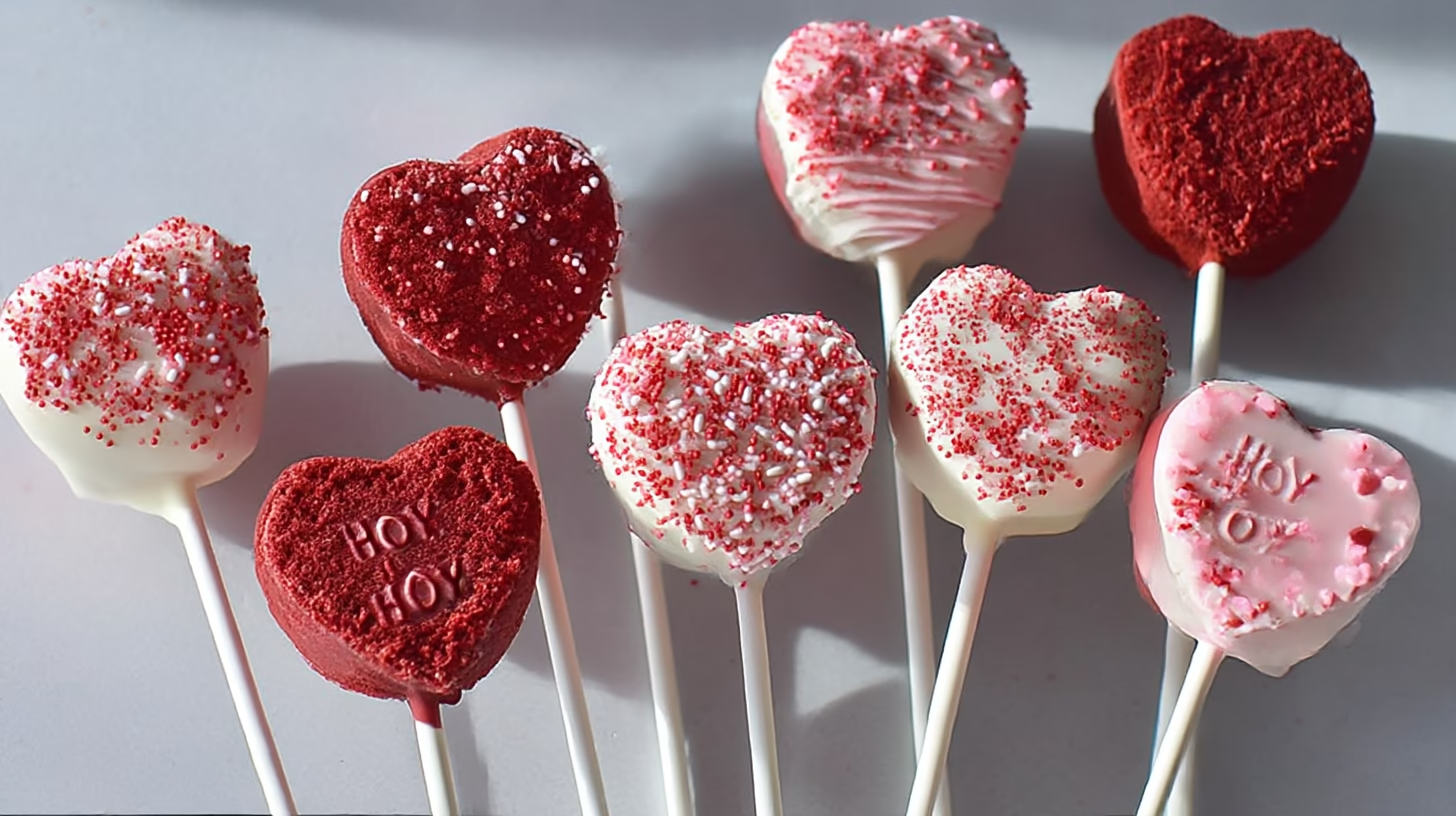
Plus, the heart-shaped design makes them ideal for Valentine’s Day or romantic celebrations — think Heart Shaped Cake Pops, Heart Cake Pops, or Heart-shaped Red Velvet Treats that say “I love you” without words.
Ingredients
For the Cake
- 1 box of Red Velvet Cake Mix – rich, vibrant base with a hint of cocoa.
- 1 cup Milk (or water/plant-based milk) – adds moisture and fluffiness.
- 3 Eggs – binds the batter and adds structure.
For the Frosting
(You can substitute with a can of cream cheese frosting for convenience.)
- 2 tbsp Unsalted Butter (softened) – for creamy texture.
- ½ cup Cream Cheese (softened) – gives that tangy balance.
- ½ cup Marshmallow Creme – adds sweetness and helps bind crumbs.
For the Coating
- 24 oz Pink Candy Melts – melts into a smooth, glossy shell (feel free to use any color you love).
Instructions
- Preheat the oven to 350°F. Line your baking pan with parchment paper or lightly grease it. Let the butter and cream cheese sit at room temperature to soften.
- Mix the batter: In a large bowl, combine the red velvet cake mix, milk, and eggs. Use a hand mixer on low for 30 seconds, then medium for 2 minutes. (Skip the oil — it keeps the mixture from becoming greasy later!)
- Bake the cake according to the package directions. If no specific time is given, bake in a 9×13-inch pan for about 30 minutes, or until a toothpick comes out clean.
- Crumble the hot cake: Once baked, transfer the cake immediately to a stand mixer and crumble it into fine crumbs. You can also do this by hand with a fork or hand mixer.
- Prepare the frosting mixture: Add softened butter, cream cheese, and marshmallow creme to the crumbled cake. Mix until it forms a dough-like consistency that easily holds its shape. Add more marshmallow creme if needed.
- Shape the hearts: Press small portions of the cake mixture firmly into your heart-shaped silicone mold. Insert a wooden stick into each heart while pressing the mixture down for a secure fit.
- Secure the sticks: If any sticks feel loose, dip their tips in melted candy melts before inserting them into the cake pops. This creates a firm seal once chilled.
- Chill briefly: Place the shaped cake pops on a parchment-lined tray and freeze for 5 minutes (or refrigerate for 1 hour) — just enough for them to firm up without becoming too cold.
- Dip in chocolate: Melt your candy melts in the microwave or double boiler until smooth. Dip each cake pop fully, letting the excess drip off. Set them on parchment to harden.
- Decorate and enjoy: Add sprinkles, edible glitter, or chocolate drizzles while the coating is still tacky. Once fully set, your Heart-shaped Red Velvet Cake Pops are ready to impress!
Cultural or Technique Note
Red velvet cake is a Southern classic, known for its tender crumb and striking red hue. Turning it into heart-shaped cake pops adds a modern twist — blending traditional comfort with fun creativity. The candy coating not only makes them portable but gives that perfect crackly bite before revealing the soft, velvety interio
Serving Suggestions
- Arrange on a heart-themed dessert tray: Display your Heart-shaped Cake Pops near a few candles or flowers for a lovely Valentine’s spread. The pop of red velvet against pink candy melts looks stunning.
- Wrap individually for gifts: Slide each pop into a clear treat bag and tie with a red or gold ribbon — perfect for Valentine’s favors, birthdays, or bridal showers.
- Serve with hot cocoa or coffee: The soft, tangy red velvet pairs beautifully with something warm to sip, making it ideal for cozy evenings.
- Add to a dessert table display: Mix them with cupcakes or a Heart-themed cake for a festive, romantic centerpiece that everyone will adore.
- Make a “pop bouquet”: Arrange cake pops in a jar or mug like flowers — an edible gift that’s both creative and heartfelt.
Pro Tips for Success
- Skip the oil in the cake mix. This keeps your mixture from becoming greasy and helps the pops hold their shape better.
- Crumble the cake while it’s warm so the crumbs stay soft and combine evenly with the frosting.
- Don’t over-chill the pops before dipping — too much time in the fridge can make the coating crack.
- Dip each stick in melted chocolate before inserting it. Once hardened, this helps secure the cake pop firmly.
- Use marshmallow creme for a creamy sweetness that balances the tang of the cream cheese.
- Decorate right away while the chocolate coating is still slightly tacky — sprinkles and drizzles will stick perfectly.
- Let the candy coating cool naturally: Avoid placing freshly dipped pops in the fridge; it can cause condensation and dull the shine.
Common Mistakes to Avoid
⚠️ Over-oiling the mix: Makes the cake pop mixture too slick to shape — skip the oil completely.
⚠️ Over-chilling before dipping: The temperature difference between cold cake pops and warm chocolate can cause cracks.
⚠️ Thick coating: If your chocolate feels too heavy, stir in a teaspoon of coconut oil for a silky, even finish.
⚠️ Loose sticks: Always seal the stick base with melted chocolate before chilling — it acts like glue.
⚠️ Skipping crust removal: The outer layer of baked cake can be dry; trimming it off gives smoother, moister pops.
⚠️ Rushing the drying process: Let the coating fully set before packaging or stacking — patience keeps them picture-perfect!
Storage & Reheating
Fridge: Store in an airtight container for 3–4 days. They’ll stay moist and flavorful.
Freezer: Freeze up to 2 months. When ready to serve, thaw in the fridge overnight for best texture.
Reheat: These treats are meant to be enjoyed chilled or at room temperature — no reheating needed!
To prevent condensation when defrosting, keep them covered until they reach room temperature.
Frequently Asked Questions
Q: Can I make these cake pops without a mold?
Absolutely! Roll the cake and frosting mixture into balls, then gently shape them into hearts using your hands. They’ll still look adorable.
Q: What can I use instead of candy melts?
Melted white chocolate with a spoonful of coconut oil works beautifully — it’s smooth, glossy, and easy to dip.
Q: How can I make them vegan?
Choose a plant-based red velvet cake mix, dairy-free milk, and vegan cream cheese frosting. The texture and flavor stay just as dreamy.
Q: How do I prevent cracks in the coating?
Let chilled pops sit at room temperature for 5–10 minutes before dipping. This avoids temperature shock between the cold cake and warm chocolate.
Closing Paragraph
These Red Velvet Cake Pops near me are the sweetest way to show love — whether for friends, family, or that special someone. With their velvety texture, creamy frosting center, and glossy chocolate shell, they’re as delightful to make as they are to eat. Customize them with your favorite colors and toppings, and share the joy one heart at a time.
Final Thoughts
There’s something timeless about red velvet — it always brings warmth, sweetness, and a touch of nostalgia. Making these heart-shaped cake pops feels like sharing a piece of your heart, one pop at a time. I hope they bring joy to your kitchen and smiles to your table. Follow me on Pinterest for more cozy, quick, and nostalgic recipes.

Heart-Shaped Red Velvet Cake Pops
Equipment
- Heart-shaped silicone mold
- Baking Pan
- Hand Mixer or Stand Mixer
- Lollipop sticks
- Microwave or double boiler
- Parchment Paper
Ingredients
For the Cake
- 1 box Red Velvet Cake Mix any brand
- 1 cup Milk or plant-based milk
- 3 Eggs
For the Frosting
- 2 tbsp Unsalted Butter softened
- 1/2 cup Cream Cheese softened
- 1/2 cup Marshmallow Creme
For the Coating
- 24 oz Pink Candy Melts or any color of choice
Instructions
- Preheat the oven to 350°F (175°C). Prepare a baking pan with parchment or light grease. Let butter and cream cheese soften at room temperature.
- In a large bowl, mix red velvet cake mix, milk, and eggs. Beat on low for 30 seconds, then on medium for 2 minutes.
- Bake according to package directions (about 30 minutes for 9×13-inch pan). Toothpick should come out clean.
- While warm, crumble the cake into fine crumbs using a stand mixer or fork.
- Add butter, cream cheese, and marshmallow creme. Mix until dough-like and moldable. Add more marshmallow creme if needed.
- Press the mixture into a heart-shaped mold. Insert a stick into each heart while pressing to secure it well.
- To secure sticks, dip the tips in melted candy melts before inserting into cake. Chill for 5 minutes in freezer or 1 hour in fridge.
- Melt candy melts until smooth. Dip each chilled pop fully and let the excess drip off. Place on parchment to harden.
- Decorate with sprinkles or drizzle while coating is still tacky. Let fully set before serving or packaging.


