Red Velvet Oreo Cheesecake — this dessert holds a special place in my heart. Hi, I’m Asmaa, and at 29, I still remember standing beside my mom in the kitchen, learning how to mix, stir, and taste with love. She taught me that food isn’t just about ingredients — it’s about connection, care, and creating joy for the people you love. This Red Velvet Oreo Cheesecake reminds me of those moments: rich, creamy, and comforting, yet beautifully simple to make. Every bite feels like a warm hug from home — a sweet reminder that love truly is the secret ingredient.
Serving Versatility
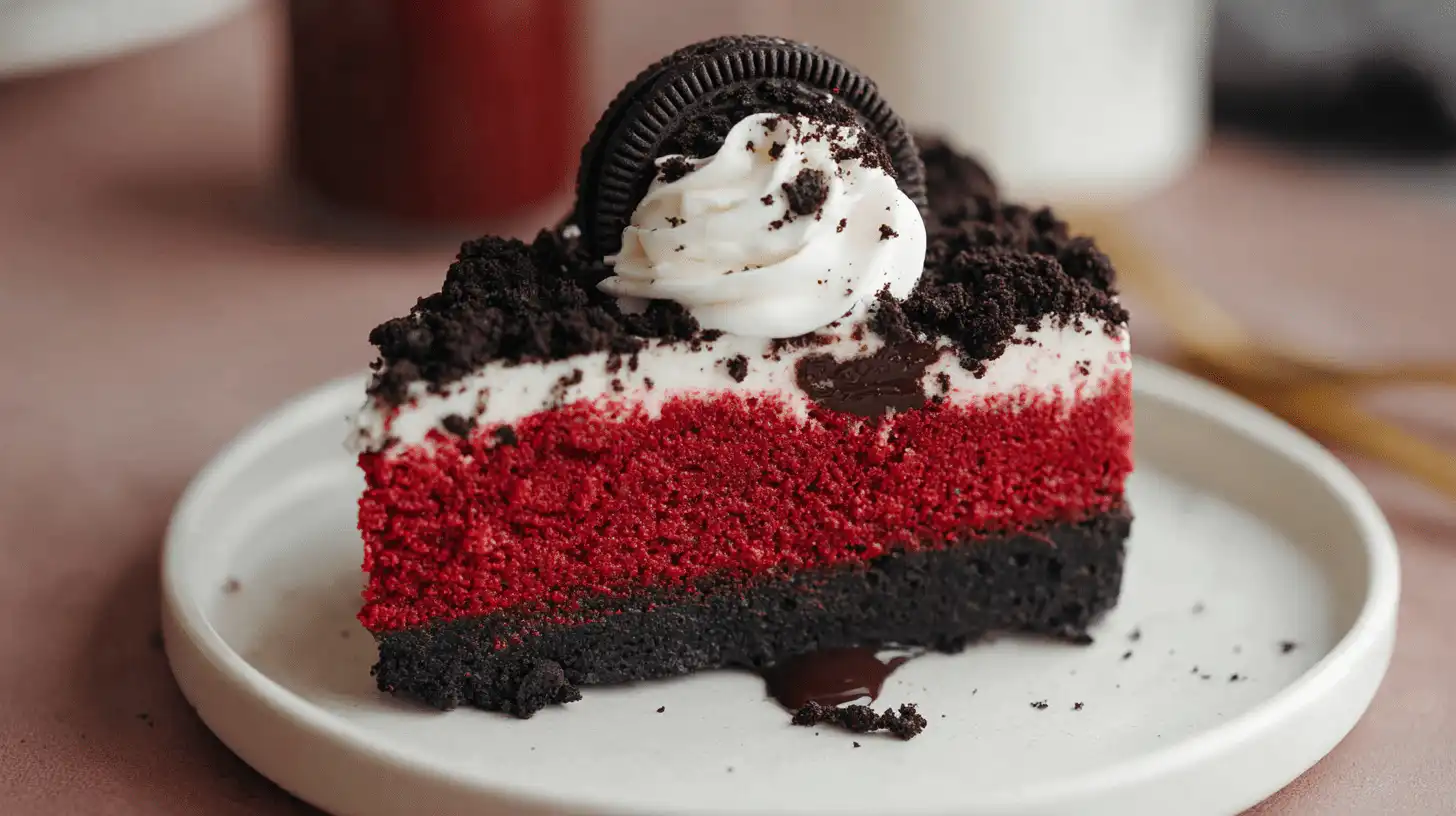
One of my favorite things about this Red Velvet Oreo Cheesecake is how adaptable it is. Serve it chilled with a dollop of whipped cream for a summer treat, or drizzle it with warm chocolate sauce on a cozy winter evening. It’s divine on its own but equally delightful when paired with fresh berries for a pop of brightness.
You can even turn this recipe into bite-sized treats for parties — think mini red velvet cheesecake bites nestled in cupcake liners, or no-bake cheesecake jars layered with crushed Oreos and creamy filling. Whether you enjoy it with coffee after dinner or sneak a slice for breakfast (no judgment here!), this dessert fits perfectly into every mood and moment.
Ingredients (Detailed & Humanized)
20 Oreo cookies: crushed for a rich, chocolatey crust.
4 tbsp melted butter: binds the crust and adds buttery flavor.
16 oz cream cheese: the creamy base that gives this dessert its silky texture.
¾ cup granulated sugar: sweetens the cheesecake perfectly.
½ cup sour cream: adds tang and keeps it smooth.
2 large eggs: for structure and that classic cheesecake creaminess.
2 tbsp unsweetened cocoa powder: deepens the red velvet flavor.
2 tsp red food coloring: gives that signature red hue.
1 tsp vanilla extract: rounds out all the flavors.
A pinch of salt: balances sweetness and enhances the chocolate notes.
6 Oreo cookies (chopped): folded into the batter for crunchy surprises in every bite.
Whipped cream or melted chocolate (optional): for topping and extra indulgence.
Directions (Step-by-Step Cooking Guide)
- Prepare the crust: Crush the Oreos finely using a food processor or a zip-top bag and rolling pin. Mix with melted butter until it resembles wet sand. Press firmly into the bottom of a 9-inch springform pan and refrigerate while you prepare the filling.
- Preheat and prep: If you’re baking it, preheat your oven to 325°F. For a no-bake version, skip baking and chill longer later.
- Mix the cream cheese: In a large bowl, beat cream cheese and sugar together until light, fluffy, and completely smooth — no lumps allowed!
- Add the flavor: Blend in sour cream, cocoa powder, vanilla extract, and a pinch of salt. The cocoa adds depth and that classic red velvet flavor.
- Color it red: Stir in the red food coloring until evenly blended. The batter should look luxuriously velvety and deep crimson.
- Incorporate the eggs: Beat in one egg at a time, mixing on low to avoid overbeating. This helps the cheesecake stay creamy instead of airy.
- Add the Oreos: Gently fold in the chopped Oreos — they’ll stay slightly crunchy and create beautiful marbled spots throughout.
- Bake or chill: Pour the filling over the crust. Bake for 45–50 minutes until the edges are set but the center jiggles slightly. For no-bake, refrigerate at least 6 hours or overnight until firm.
- Cool completely: Let it cool at room temperature before chilling in the fridge for at least 4 hours. This step ensures a smooth, creamy texture.
- Top and serve: Before serving, add whipped cream or drizzle with chocolate. Each slice is a perfect balance of velvet smoothness and Oreo crunch.
Why You’ll Love This Recipe
✅ Quick to make: Simple steps, no complex techniques needed.
✅ Budget-friendly: Uses pantry staples and just a few special touches.
✅ Cozy, homemade flavor: Tastes like a bakery treat made with love.
✅ Nutritious and balanced: Cocoa antioxidants meet creamy calcium.
✅ Great for meal prep: Make ahead and chill — even better the next day.
✅ Family-approved: Loved by kids and adults alike.
Cultural or Technique Note
Red velvet has roots in American baking history, especially in the South, where the combination of cocoa, buttermilk, and vinegar first created that signature “velvet” texture. Adding Oreos to this classic dessert is a modern twist that bridges nostalgia with comfort — a little vintage charm meets modern indulgence.
Serving Suggestions
With a drizzle of dark chocolate or caramel for added decadence.
Inside individual jars for easy, portable servings.
As mini cupcakes for parties and gatherings.
With fresh berries and mint for a refreshing touch.
Pro Tips for Success
Don’t overmix the batter — it keeps the cheesecake creamy.
Use room-temperature ingredients for the smoothest texture.
Line the bottom of your pan with parchment for easy release.
Let it chill fully before slicing — patience pays off.
Use a warm knife for clean, picture-perfect slices.
Add the whipped cream topping right before serving for freshness.
Common Mistakes to Avoid
Overbaking the cheesecake: makes it dry — remove when slightly jiggly in the center.
Using cold cream cheese: leads to lumps — always bring it to room temp.
Rushing the cooling: can cause cracks — cool gradually before chilling.
Skipping the crust chill: can cause it to crumble — firm it in the fridge first.
Adding too much coloring: a little goes a long way for that perfect red velvet tone.
Storage & Reheating
Store leftover Red Velvet Oreo Cheesecake in an airtight container in the refrigerator for up to 4 days. The flavors actually deepen and become even more luscious after a day of resting.
For longer storage, freeze individual slices wrapped tightly in plastic wrap and foil for up to 2 months. Thaw in the fridge overnight and enjoy chilled — no reheating needed for this dreamy dessert.
Frequently Asked Questions (FAQ)
Can I make this a no-bake cheesecake?
Absolutely! Just skip the baking step and let it chill overnight until firm — it’s just as delicious.
Can I use low-fat cream cheese?
Yes, but keep in mind it may slightly alter the texture. The flavor remains wonderfully creamy.
Can I use different Oreos?
Definitely! Try Red Velvet Oreos for extra flavor or Golden Oreos for a vanilla twist.
How can I make it dairy-free?
Use vegan cream cheese and coconut cream — the result is surprisingly rich and silky.
Can I make this into cupcakes or bites?
Yes! Divide the batter into cupcake liners and reduce baking time to 18–20 minutes. Perfect for parties!
Closing Paragraph
Cooking isn’t just about recipes — it’s about the joy of creating something that brings people together. This Red Velvet Oreo Cheesecake does exactly that: it’s beautiful, decadent, and heartfelt. Whether you’re making it for a celebration or just because, I hope it fills your kitchen with warmth and your heart with sweetness.
🎀 Final Thoughts (Emma’s Voice)
Whenever I make this Red Velvet Oreo Cheesecake, I’m reminded that simple food can feel truly special. The swirl of colors, the gentle crunch, and that first creamy bite — it’s pure joy. It’s about care, not perfection, and every slice is a small celebration of love and creativity. Follow me on Pinterest for more cozy, quick, and nostalgic recipes.

Irish Apple Cake with Custard Sauce
Equipment
- 9-inch round baking pan
- Mixing Bowls
- Whisk
- Electric Mixer
- Saucepan
- Parchment Paper
Ingredients
For the Cake
- 2 cups all-purpose flour soft, tender base
- 1 tsp baking powder for rise
- 0.5 tsp baking soda
- 0.5 tsp salt
- 1 tsp ground cinnamon adds warmth
- 0.25 tsp nutmeg for depth
- 0.5 cup unsalted butter softened
- 0.75 cup sugar
- 2 large eggs
- 0.5 cup buttermilk keeps crumb soft
- 3 medium apples peeled and thinly sliced (Granny Smith or Honeycrisp)
- 1 tsp vanilla extract
For the Custard Sauce
- 2 cups whole milk warm but not boiling
- 3 pcs egg yolks
- 0.33 cup sugar
- 1 tsp vanilla bean paste or extract for aroma
- 1 tbsp cornstarch for thickening
Instructions
- Preheat oven to 350°F (175°C). Grease and line a 9-inch round baking pan with parchment paper.
- Whisk together flour, baking powder, baking soda, salt, cinnamon, and nutmeg in a medium bowl.
- In a large bowl, beat butter and sugar until light and fluffy (about 2–3 minutes).
- Beat in eggs one at a time, then add vanilla extract.
- Fold in half the dry ingredients, add buttermilk, then add remaining dry mixture. Mix gently until just combined.
- Fold in apple slices evenly. Spoon batter into prepared pan and smooth the top.
- Bake for 40–45 minutes, until golden brown and a toothpick comes out clean. Cool slightly before serving.
- To make the custard sauce: warm milk in a saucepan (do not boil). In a bowl, whisk yolks, sugar, and cornstarch together.
- Gradually whisk in warm milk. Return to saucepan and cook over low heat, stirring constantly until thickened. Add vanilla and cool slightly.
- Serve the cake warm with a generous pour of custard sauce. Enjoy!


