Spooky Delightful Halloween Cookie Bars — Hi, I’m Amanda. Cooking has always been more than just a daily task for me—it’s a way to create comfort, connection, and joy. The other night, as I was scrolling through Instagram, I stumbled upon a picture of these Spooky Delightful Halloween Cookie Bars—gooey, golden squares scattered with bright candy pieces. Instantly, I was back in my grandma’s kitchen, surrounded by the smell of warm butter and sugar, the sound of her old oven humming, and the sight of melting chocolate chips turning glossy. That sweet, spooky nostalgia was irresistible. Make it, share it, and tag me — I’d love to see your cozy kitchen moments too.
Why You’ll Love This Spooky Delightful Halloween Cookie Bars
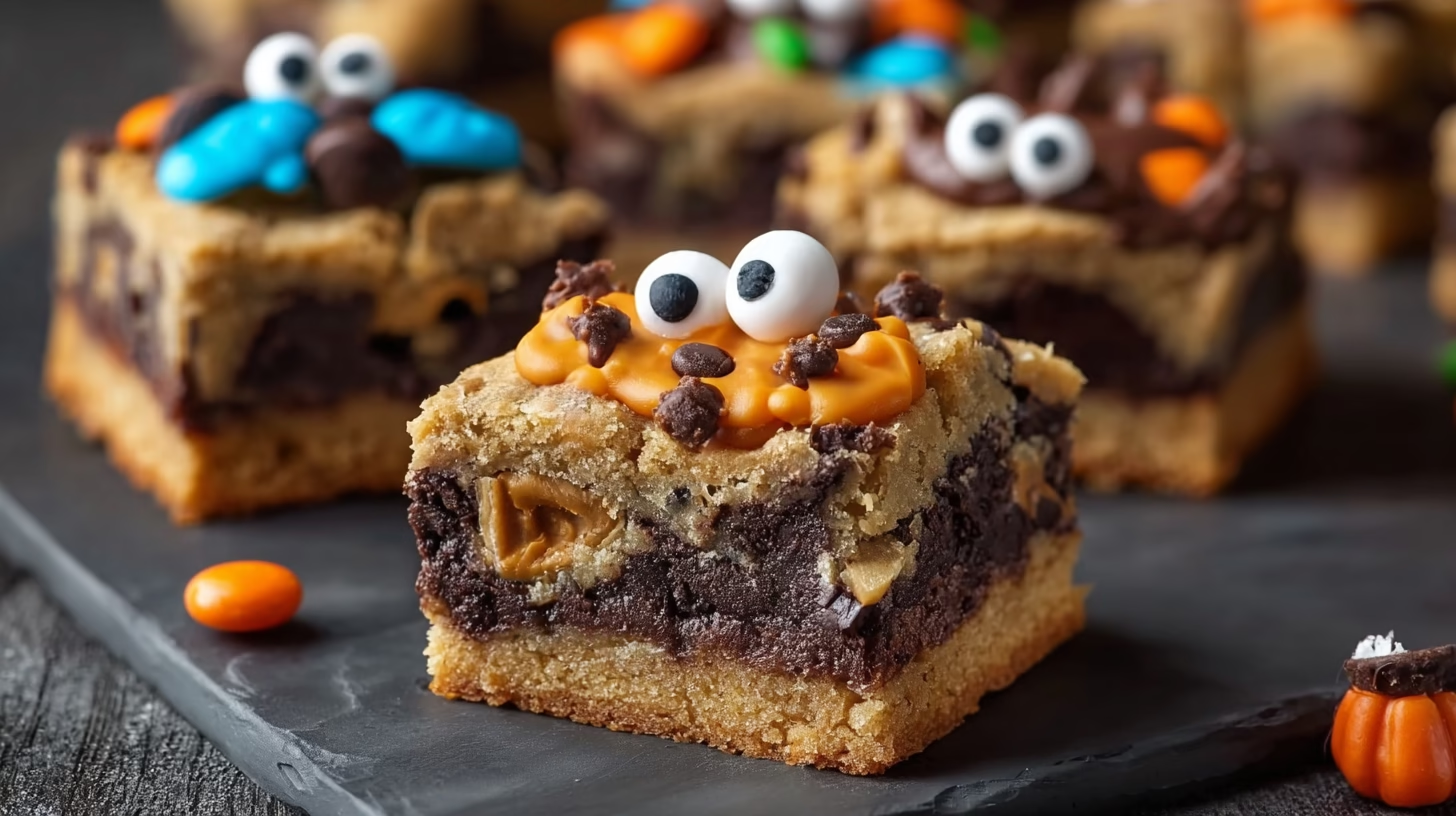
These bars are incredibly easy to make—no fancy tools, no stress, just classic comfort with a playful twist. They’re vibrantly festive with bright pops of Halloween color and chewy bits of chocolate in every slice. Whether you’re baking with kids or treating yourself after a long day, these Spooky Delightful Halloween Cookie Bars are pure joy in dessert form. They’re forgiving, customizable, and guaranteed to make your kitchen smell like warm butter and sugar magic.
Ingredients Detailed
- ½ cup unsalted butter, softened – The key to that tender, rich crumb and melt-in-your-mouth texture.
- ½ cup brown sugar – Adds deep caramel notes and a chewy, moist center.
- ¼ cup granulated sugar – Balances sweetness and gives a delicate crispness to the edges.
- 1 large egg – Binds everything together for that classic chewy cookie texture.
- 1 teaspoon vanilla extract – Brings warmth and depth to every bite.
- 1¼ cups all-purpose flour – The sturdy base that gives structure while keeping things soft.
- ½ teaspoon baking soda – Helps the bars rise just enough for that perfect lightness.
- ¼ teaspoon salt – Enhances all the sweet flavors beautifully.
- ½ cup chocolate chips – For rich, melty pockets of chocolate goodness.
- ½ cup Halloween M&Ms or candy-coated chocolates – Bright, festive pops of color.
- ¼ cup candy eyeballs – The playful spooky touch that makes everyone smile.
- ¼ cup sprinkles or chopped candy bars – Adds texture and extra bursts of flavor.
Directions (Step-by-Step Cooking Guide)
Step 1: Preheat and Prepare. Preheat your oven to 350°F (175°C). Line an 8×8-inch baking pan with parchment paper, leaving a slight overhang so you can lift the bars out easily once cooled.
Step 2: Cream Butter and Sugars. In a large bowl, beat the softened butter with both sugars until light and fluffy. You’ll notice it turning pale and airy—this means it’s ready. This step gives your bars that soft, tender bite.
Step 3: Add Egg and Vanilla. Beat in the egg and vanilla extract until smooth and glossy. Stop mixing as soon as it’s fully combined to avoid overworking the dough.
Step 4: Combine Dry Ingredients. In a separate bowl, whisk together flour, baking soda, and salt. Gradually fold the dry ingredients into the wet mixture, just until no white streaks remain. Overmixing can make the bars dense.
Step 5: Fold in the Candy. Gently fold in the chocolate chips and most of your Halloween M&Ms. Save a small handful for decorating later. You’ll see a colorful, chunky dough come together.
Step 6: Spread and Decorate. Press the dough evenly into your prepared pan. Sprinkle the remaining candies, candy eyeballs, and any chopped candy bars or sprinkles over the top. Gently press them in so they stick while baking.
Step 7: Bake and Cool. Bake until the top is golden and just set in the center. Let the bars cool completely in the pan before lifting them out for neat slices. The aroma alone will draw everyone into the kitchen.
Cultural or Technique Note
Cookie bars like these are a beloved part of American baking—simple, shareable, and endlessly adaptable. They blend the charm of classic chocolate chip cookies with the ease of a one-pan dessert, making them a Halloween favorite for families who love festive baking without the fuss.
Serving Suggestions
• Cut into bite-size squares for Halloween parties
• Serve warm with a scoop of vanilla ice cream
• Pack in lunchboxes for a sweet seasonal surprise
• Crumble over vanilla yogurt for a fun breakfast treat
Pro Tips for Success
• Use room-temperature butter—never melted—for a soft, fluffy crumb.
• Don’t overmix after adding flour; it keeps your bars tender.
• Press candy eyeballs on top right before baking for the perfect spooky look.
• Allow bars to cool fully before slicing for clean edges.
• Swap candies seasonally for fun—Christmas or Valentine’s versions work beautifully.
• Line the pan with parchment for effortless removal and no sticking.
Common Mistakes to Avoid
Overbaking: The most common issue! Overbaking dries out the bars and makes them crumbly. Remove them from the oven when the edges are golden and the center looks just set—it will continue cooking slightly as it cools.
Overmixing the batter: Mixing too long after adding flour develops gluten, which leads to dense, tough bars. Stir only until the flour disappears for that perfectly soft texture.
Melted butter: Using melted butter instead of softened butter creates greasy, flat bars with little structure. Always start with butter that’s soft enough to press with your finger but not shiny or runny.
Uneven candy distribution: Dumping all the candies at once can cause clumps and uneven color. Gently fold them in with a spatula for balanced bites of chocolate and candy in every square.
Skipping the parchment: This shortcut often leads to sticky, crumbly edges when removing the bars. Parchment not only ensures easy lifting but also makes cleanup a breeze.
Storage & Reheating
Fridge: Store the cooled cookie bars in an airtight container at room temperature for 3–4 days. They’ll stay soft, chewy, and full of flavor.
Freezer: For long-term storage, layer bars between sheets of parchment paper in a sealed container or freezer bag. Freeze for up to 2 months without losing texture.
Reheat: When ready to enjoy, let them thaw at room temperature or warm slightly in the microwave for 10–15 seconds. This revives that freshly baked gooey goodness.
Frequently Asked Questions
Q1: Can I double this recipe?
Absolutely! Double all the ingredients and bake in a 9×13-inch pan. Because it’s thicker, check for doneness around 25 minutes—the center should be just set and the edges golden.
Q2: How long can I store these cookie bars?
: These bars stay deliciously soft for 3–4 days when stored airtight at room temperature. For longer freshness, freeze them for up to 2 months following the directions above.
Q3: What kind of candy can I use in these bars?
: This recipe is wonderfully flexible! You can mix in candy corn, mini peanut butter cups, or chopped chocolate bars. Anything festive and fun works—customize based on what you have or your favorite Halloween treats.
Closing Paragraph
These Spooky Delightful Halloween Cookie Bars are everything you want from a Halloween treat—colorful, chewy, and brimming with joy. They’re easy enough for weeknights yet festive enough for any Halloween party. Bake a batch, let the sweet aroma fill your kitchen, and share them with your favorite little ghosts and goblins. Each square is a bite of nostalgia, fun, and pure cozy sweetness.
Final Thoughts
Every Halloween, I find myself coming back to these bars—they’re playful, nostalgic, and so easy to love. There’s something magical about the swirl of butter, sugar, and candy that takes me straight back to Nonna’s kitchen. Bake them, laugh a little, and don’t worry about perfection. That’s what makes them truly delightful.

Spooky Delightful Halloween Cookie Bars
Equipment
- 8×8-inch Baking Pan
- Mixing Bowl
- Hand Mixer or Spoon
- Parchment Paper
- Spatula
Ingredients
Wet Ingredients
- 1/2 cup unsalted butter softened
- 1/2 cup brown sugar packed
- 1/4 cup granulated sugar
- 1 large egg
- 1 tsp vanilla extract
Dry Ingredients
- 1 1/4 cups all-purpose flour
- 1/2 tsp baking soda
- 1/4 tsp salt
Mix-ins & Toppings
- 1/2 cup chocolate chips
- 1/2 cup Halloween M&Ms or candy-coated chocolates plus extra for topping
- 1/4 cup candy eyeballs for spooky decoration
- 1/4 cup sprinkles or chopped candy bars optional
Instructions
- Preheat oven to 350°F (175°C). Line an 8×8-inch pan with parchment paper, leaving overhang for lifting later.
- In a bowl, cream softened butter with brown and granulated sugars until light and fluffy.
- Beat in egg and vanilla until fully combined and smooth.
- In a separate bowl, whisk flour, baking soda, and salt. Gradually add to wet mixture and stir until just combined.
- Fold in chocolate chips and most of the Halloween M&Ms, saving some for topping.
- Spread dough evenly in the pan. Top with remaining candies, candy eyeballs, and sprinkles or chopped candy bars. Press gently into surface.
- Bake for 22–25 minutes until golden and just set in the center. Cool completely in pan before slicing.


