19 birthday cake recipes aren’t just about layers of chocolate and frosting—they’re about celebrating life’s milestones with love and care. Hi, I’m Amanda, and in my kitchen, food has always been more than a meal; it’s a story, a memory, a way of saying “you matter.” That’s why I started BeamRecipes, a space where I share simple, approachable recipes meant for real life. I believe baking should feel joyful, not overwhelming, and this cake is proof. Together, we’ll create not just dessert, but a centerpiece of happiness, connection, and sweet tradition for your family table.
Why This 19 Birthday Cake Works
Perfect for Milestones
A 19th birthday isn’t just another year—it’s a turning point. This cake balances fun flavors with a touch of sophistication, making it perfect for this special milestone.
Flavor Balance That Delights
The combination of moist chocolate layers with a silky vanilla buttercream keeps it crowd-pleasing and celebratory. It’s sweet without being overwhelming, a cake that satisfies both teens and adults.
Easy to Make at Home
You don’t need bakery skills to succeed with this recipe. The steps are simple and forgiving, allowing you to create something spectacular without stress.
A Cake That Photographs Beautifully
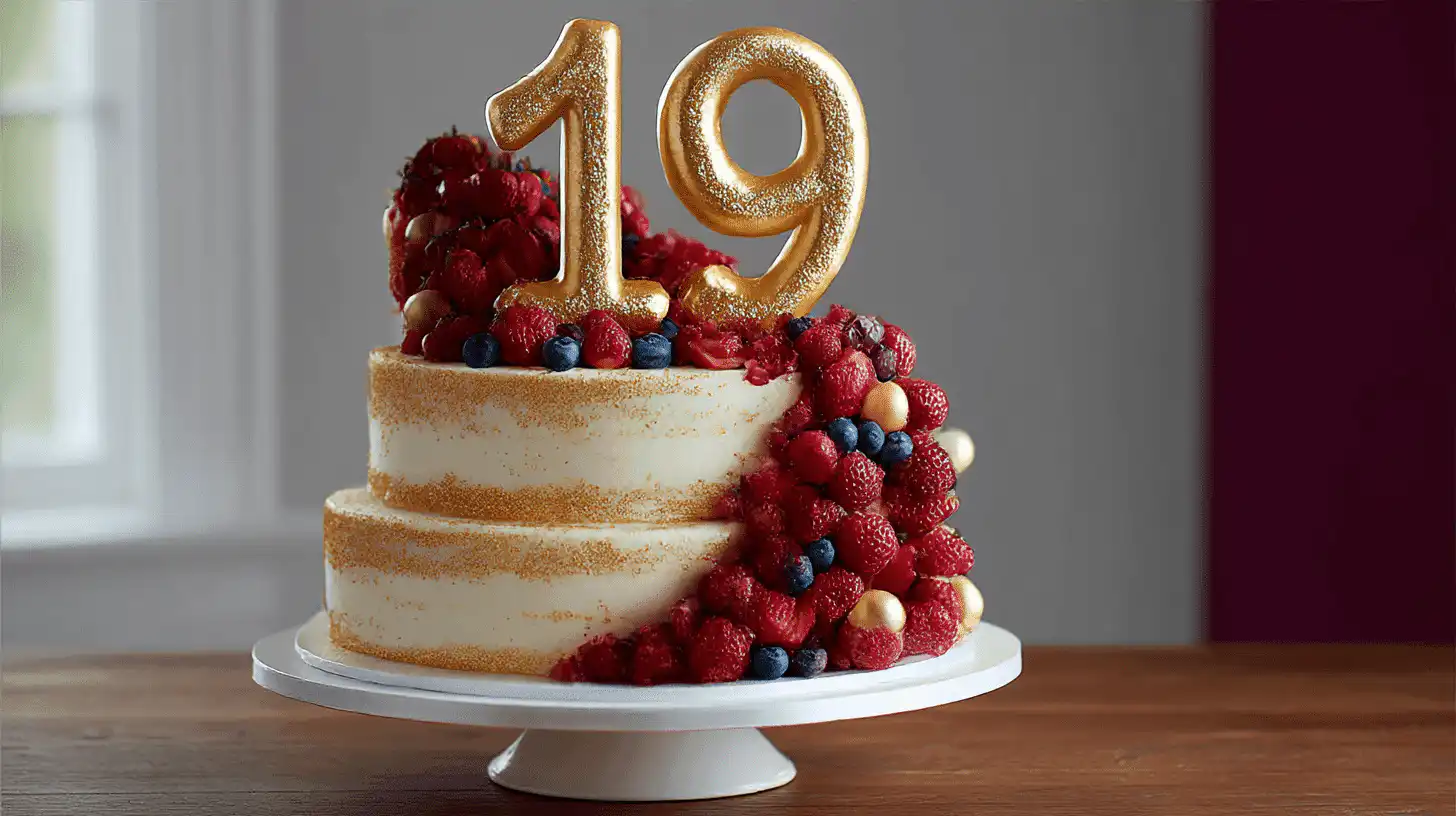
Its tall layers and smooth frosting make it picture-worthy, ideal for capturing in those milestone birthday photos.
Ingredients You’ll Need
Cake Base
- 2 cups all-purpose flour
- 2 cups sugar
- 3/4 cup cocoa powder
- 2 tsp baking powder
- 1 tsp baking soda
- 1 tsp salt
- 1 cup milk
- 1/2 cup vegetable oil
- 2 eggs
- 2 tsp vanilla extract
- 1 cup hot coffee (or hot water)
Buttercream Frosting
- 1 1/2 cups unsalted butter, softened
- 5 cups powdered sugar
- 2 tsp vanilla extract
- 2–3 tbsp milk or cream
Optional Swaps
This recipe is wonderfully adaptable. Add almond extract instead of vanilla for a nutty flavor, or swap in a gluten-free flour blend if needed. For a lighter finish, try a whipped cream frosting. You can even fold in fruit puree for a colorful twist—raspberry or strawberry works beautifully.
Step-by-Step Instructions
- Preheat and Prep – Set your oven to 350°F. Grease and line two 9-inch round cake pans with parchment paper. This step prevents sticking and makes sure your cake layers lift out easily.
- Mix Dry Ingredients – In a large mixing bowl, whisk together flour, sugar, cocoa, baking powder, baking soda, and salt until the mixture looks uniform. This ensures every bite is evenly flavored.
- Blend Wet Ingredients – In a separate bowl, whisk milk, oil, eggs, and vanilla until smooth. Slowly pour this into the dry ingredients, mixing gently. Avoid overmixing—stop as soon as the batter looks combined.
- Add Hot Coffee – Stir in the hot coffee (or hot water). The batter will look thinner than usual, but don’t worry—this creates a moist, tender cake with deep chocolate flavor.
- Bake – Divide the batter evenly between the pans. Bake for 30–35 minutes, or until a toothpick comes out clean. Don’t open the oven too early, as this can make the cakes sink.
- Cool Completely – Let cakes cool in pans for 10 minutes before transferring to a wire rack. Cooling fully is key to preventing frosting from sliding off.
- Make Frosting – Beat the softened butter on medium speed until fluffy. Slowly add powdered sugar, one cup at a time, then vanilla and milk. Adjust consistency: add more sugar for stiffness, or milk for creaminess.
- Assemble – Place one cooled cake layer on a serving stand. Spread frosting evenly on top, then add the second layer. Coat the whole cake with frosting, smoothing the sides and top with a spatula.
- Decorate – Finish with sprinkles, edible flowers, or “19” candles for a festive touch. This is your moment to personalize—make it as playful or elegant as you like.
Why This Cake Works
Moist Chocolate Base
The secret to this cake’s tender texture lies in the hot coffee. It may seem unusual, but the heat blooms the cocoa powder, unlocking deeper chocolate notes while adding just enough liquid to create a soft crumb. Instead of drying out as some chocolate cakes do, this one stays moist even after a day or two.
Creamy Buttercream
Buttercream often gets a bad reputation for being cloyingly sweet, but not here. By whipping the butter until it’s airy and balancing it with just the right amount of powdered sugar, you get a frosting that complements rather than overwhelms. The vanilla rounds out the flavor and makes it pair beautifully with chocolate.
Layered Presentation
Birthdays call for a cake that looks as good as it tastes. The tall, stacked layers feel indulgent and celebratory, instantly elevating the table. It’s the kind of cake that makes guests say “wow” before even taking the first bite.
Adaptable Recipe
This base recipe is a reliable canvas for creativity. You can swap flavors, add fillings, or change the frosting without worrying about stability. It’s a dependable foundation, whether you want a traditional chocolate-vanilla combination or something a little more daring.
Tested and Loved
This recipe isn’t just theory—it’s been baked, shared, and celebrated in kitchens time and again. Every trial has shown it to be consistent, forgiving, and most importantly, delicious. That’s what makes it a trusted choice for an important milestone like a 19th birthday.
Real-Life Variations
Strawberry Twist
Layer fresh sliced strawberries or a spoonful of strawberry jam between the cakes before frosting. The burst of fruit adds freshness and color, making it perfect for spring or summer birthdays.
Cookies and Cream
Mix crushed Oreos into the buttercream to create a playful, crunchy texture. This version is a hit with younger siblings or anyone who loves the nostalgic flavor of cookies and cream.
Mocha Lover’s
For the coffee enthusiast, use espresso instead of regular coffee in the batter. Add a touch of coffee extract to the frosting, turning the cake into a mocha dream that feels both grown-up and indulgent.
Funfetti Style
To bring back a sense of childhood fun, fold colorful sprinkles into the cake batter before baking. When sliced, the inside reveals cheerful pops of color that surprise and delight.
These variations prove that the 19 birthday cake is more than one recipe—it’s a flexible tradition that adapts to the birthday person’s personality and tastes.
Common Mistakes
Overmixing Batter
Stirring too long after adding wet ingredients can overdevelop the gluten in flour, leaving you with a dense, chewy cake instead of a tender crumb. Mix until just combined.
Skipping Parchment
Even greased pans can sometimes stick. Lining with parchment paper ensures smooth removal and keeps the cake layers intact for easy stacking.
Frosting Too Soon
Patience is essential. If you frost while the cakes are even slightly warm, the butter in the frosting will melt, causing it to slide right off. Always wait until the layers are fully cooled.
Thin Frosting
If your buttercream feels too soft to spread, don’t panic. Chill it in the fridge for 15 minutes, then whip again. The texture will firm up, making it easier to smooth onto the cake.
Avoiding these pitfalls ensures your cake looks and tastes like the celebration it was meant to be.
FAQ
Can I make this cake ahead?
Yes, absolutely. Bake the cake layers the day before, wrap them tightly in plastic wrap, and keep them at room temperature. Frosting and assembly can be done on the birthday itself.
Can I freeze leftovers?
Yes. Slice the cake into portions, wrap in foil, and freeze for up to three months. Thaw in the refrigerator overnight for best results.
What if I don’t have coffee?
Hot water works just fine, though coffee does deepen the chocolate flavor. If you’re not a coffee fan, rest assured—the cake will still taste wonderful without it.
Can I use boxed mix?
Yes, but making it from scratch brings a richness and depth that boxed cake just can’t match. If time is short, a boxed mix can be dressed up with homemade frosting and decorations.
Final Encouragement
When the candles are lit and everyone gathers around, this cake becomes more than dessert—it’s part of the memory. Birthdays at 19 are filled with hope, excitement, and a little uncertainty. A homemade cake grounds the celebration in love, showing that no matter how fast life moves, there’s always time for something sweet. Bake this cake, share it with those you love, and watch how it brings smiles that will be remembered long after the day is done.

19 Birthday Cake Recipe – A Simple Beautiful Dessert for Milestone Celebrations
Equipment
- Two 9‑inch round cake pans
- Mixing Bowls
- Electric mixer or stand mixer
- Spatula
Ingredients
Cake Layers
- 2 cups all‑purpose flour
- 2 cups granulated sugar
- 0.75 cup cocoa powder unsweetened
- 2 tsp baking powder
- 1 tsp baking soda
- 1 tsp salt
- 1 cup milk
- 0.5 cup vegetable oil
- 2 eggs large
- 2 tsp vanilla extract
- 1 cup hot coffee or hot water to bloom cocoa
Buttercream Frosting
- 1.5 cups unsalted butter softened
- 5 cups powdered sugar
- 2 tsp vanilla extract
- 2‑3 tbsp milk or cream adjust for desired frosting consistency
Instructions
- Preheat oven to 350°F (175°C). Grease and line two 9‑inch round cake pans with parchment paper.
- In a large bowl, whisk flour, sugar, cocoa powder, baking powder, baking soda, and salt together.
- In another bowl, whisk milk, oil, eggs, and vanilla until smooth. Pour into dry ingredients and mix gently until just combined.
- Stir in hot coffee or hot water; batter will be thin but this helps the chocolate deepen and the texture stay moist.
- Divide batter evenly between the prepared pans. Bake for 30‑35 minutes, or until a toothpick inserted into center comes out clean. Cool in pans for 10 minutes, then transfer to wire racks to cool completely.
- Make the buttercream: beat softened butter until fluffy, then gradually add powdered sugar. Add vanilla and milk/cream to adjust consistency until smooth and spreadable.
- Once cakes are completely cooled, place one layer on a cake stand or plate. Frost the top, add the second layer, then frost sides and top. Smooth with spatula or offset knife.
- Decorate with sprinkles, edible flowers, or milestone candles (“19”). Personalize it to suit the celebration.


