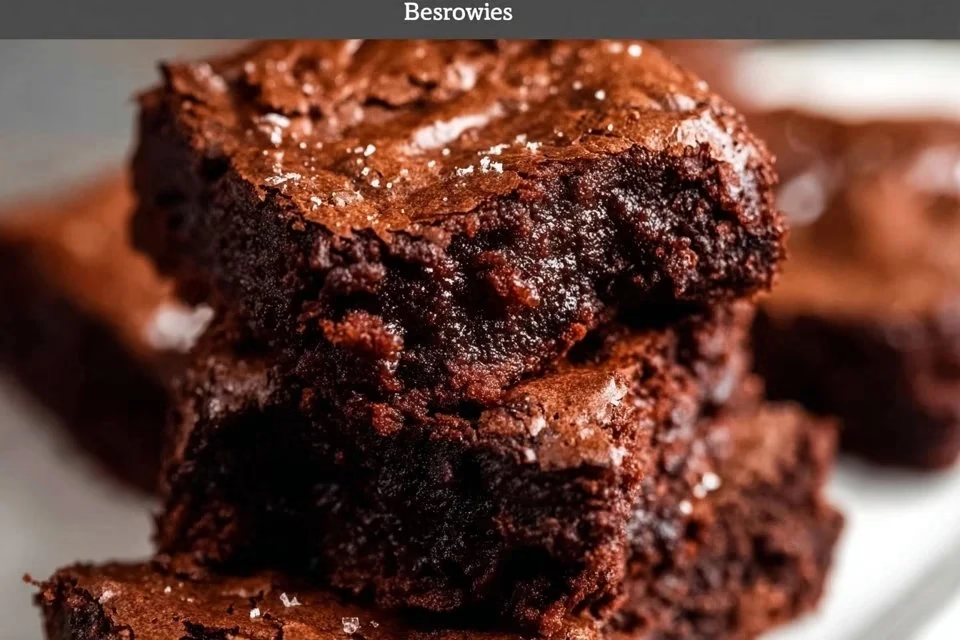
Gluten Free Brownies
Finding a consistent go-to for a sweet treat can sometimes feel overwhelming, but these gluten-free brownies present a comforting option. You can enjoy them on weeknights after a long day, share them during weekend gatherings, or savor them slowly during quiet moments. Their simplicity makes them easy to whip up, while their delicious texture offers a satisfying indulgence. Let the ease of making these brownies draw you into the delightful experience of homemade desserts.
Why You’ll Love This Recipe Gluten Free Brownies
These brownies are easy and reliable, perfect for any home cook. With their rich chocolate flavor balanced perfectly with just a hint of sweetness, they’re a comforting treat for any occasion. The use of gluten-free ingredients makes them accessible for those with dietary restrictions. You’ll enjoy the practical everyday value they bring, making them a great addition to your recipe collection.
Kitchen Tools You’ll Need
- Mixing bowl
- Whisk
- Rubber spatula
- Baking pan
Ingredients
- 2 large eggs, room temperature (structure)
- ¾ cup granulated sugar (sweetness)
- 1 ⅔ cup semi sweet chocolate chips, divided (rich chocolate flavor)
- ¾ cup oil (such as avocado or refined coconut) (moisture)
- 2 teaspoons vanilla extract (aroma)
- 2 tablespoons milk (dairy or non-dairy, room temperature) (moisture)
- ½ cup + 2 tablespoons gluten free all-purpose baking flour (structure)
- 2 tablespoons cocoa powder (deep chocolate flavor)
- ¼ teaspoon salt (enhances flavor)
- ¼ teaspoon baking powder (leavening agent)
How to Make {focus_keyword}
Step 1. Begin by preheating your oven to the appropriate temperature. This will ensure that your brownies bake evenly and become the right texture. While the oven heats, prepare your baking pan by greasing it lightly or lining it with parchment paper for easier removal later.
Step 2. In a mixing bowl, whisk together the room temperature eggs and granulated sugar until the mixture is smooth and slightly thickened. Pay attention to achieving a consistent texture, as this helps create a light base for your brownies. This step is complete when the mixture appears well combined and uniformly colored.
Step 3. Gently melt 1 cup of the semi-sweet chocolate chips with the oil in a separate microwave-safe bowl. Stir the mixture every 30 seconds until smooth. This chocolate-oil combination provides moisture and richness, contributing to the decadent texture of the brownies. Once fully melted, allow it to cool slightly before adding it to the egg and sugar mixture.
Step 4. Add the melted chocolate mixture to the egg and sugar mixture, along with the vanilla extract and milk. Stir until well combined, ensuring the wet ingredients are fully integrated. The goal is to create a homogenous batter, which blends the rich flavors together smoothly.
Step 5. In a separate bowl, whisk together the gluten-free all-purpose flour, cocoa powder, salt, and baking powder. Mixing the dry ingredients separately helps distribute the leavening agent and cocoa powder evenly, ensuring a good rise and flavor throughout. Once combined, this blend will be added to the wet mixture.
Step 6. Gradually fold the dry ingredients into the wet mixture using a rubber spatula. Be cautious not to overmix, as this can affect the texture of the brownies. The batter should be thick and slightly glossy, indicating that it’s ready for the next step.
Step 7. Finally, stir the remaining ⅔ cup of chocolate chips into the brownie batter. This adds pockets of melted chocolate throughout the brownies, enhancing their texture and richness. Ensure the chips are evenly distributed before transferring the batter into your prepared baking pan.
Step 8. Spread the batter evenly in the pan and smooth the top with a spatula. This layer will bake into a delightful brownie, so make sure it’s uniformly spread to cook evenly. Once the batter is smooth, it’s ready to be placed in the oven.
Step 9. Bake the brownies until they appear set and a toothpick inserted into the center comes out with a few moist crumbs attached. Keep an eye on them as they bake; they should be firm on the edges but slightly soft in the middle, which indicates a fudgy texture once cooled.
Step 10. After baking, remove the brownies from the oven and allow them to cool in the pan on a wire rack. Cooling is essential as it helps set the structure and makes them easier to cut later. Once they reach room temperature, you can slice them into squares and enjoy.

Serving Suggestions
These gluten-free brownies are versatile and can be enjoyed in various ways. They make for a delightful breakfast treat, paired with morning coffee or tea. As a snack, they satisfy that sweet craving without being overly heavy. For family meals, these brownies can be a fun addition to the dessert spread, pleasing both kids and adults alike. Enjoy any leftovers as a sweet afternoon pick-me-up or warm them slightly for a cozy evening treat with a scoop of ice cream on top.
Pro Tips for Best Results
- Ensure your eggs are at room temperature for better incorporation into the batter.
- Melt the chocolate chips gently to avoid burning; this preserves their smooth texture.
- Allow brownies to cool completely before slicing for cleaner cuts and better presentation.
- Use a rubber spatula to fold in the dry ingredients to maintain the batter’s fluffy texture.
- Adjust baking time based on your oven; start checking for doneness a few minutes early.
- Store brownies in an airtight container to maintain freshness.
Common Mistakes to Avoid
- Overmixing the batter: This can make the brownies tough rather than fudgy. Mix until just combined to maintain the right texture.
- Skipping the cooling step: Cutting brownies while they’re warm can result in a messy presentation. Allow them to cool fully to set properly.
- Incorrectly measuring flour: Too much flour can make brownies dry. Use a kitchen scale or the spoon-and-level method for accuracy.
- Not using enough chocolate: Reducing the chocolate may lead to less flavor and richness. Stick to the suggested amount for the best results.
- Opening the oven too soon: Checking on the brownies too early can cause them to deflate. Only check for doneness after most of the baking time has passed.
- Storing brownies improperly: Keeping them uncovered or in a non-airtight container can lead to dryness. Store them properly to retain moisture.
Variations & Substitutions
You can play around with mix-ins if you like, adding nuts or dried fruits for added texture. If desired, a bit of espresso powder can enhance the chocolate flavor without significantly altering the recipe. For those who want to tailor it to their needs, adjusting the chocolate chips to a different mix might suit your taste while keeping the base the same.
Storage & Reheating
Store these brownies at room temperature in an airtight container for up to three days. If you want to keep them longer, you can refrigerate them for about a week. For freezer storage, wrap them well in plastic wrap, then place them in a zip-top bag to maintain freshness. When you’re ready to enjoy, simply thaw at room temperature or warm them up gently in the microwave to keep their fudgy texture intact.
Frequently Asked Questions
Can I make this recipe ahead of time?
Yes, you can prepare the batter ahead of time and store it in the refrigerator for a day before baking. Just allow it to come to room temperature before you put it in the oven.
How long does it last in the fridge?
These brownies can be stored in the refrigerator for up to one week. Ensure they’re in an airtight container to keep them from drying out.
Can I freeze this recipe?
Absolutely! If you freeze the brownies, let them cool completely, then wrap them tightly in plastic wrap. They can be stored in the freezer for up to three months.
What can I substitute for one ingredient?
If you need to substitute the eggs due to dietary restrictions, a flaxseed meal or applesauce may work, though this may slightly alter the texture.
Why didn’t my recipe turn out as expected?
If the brownies are too dry, it could be due to using too much flour or overbaking them. Check your measurements and adjust your baking time next time for a fudgier result.
Final Thoughts
Making these gluten-free brownies is a straightforward process resulting in a comforting dessert. They’re easy to prepare and perfect for indulging in simple pleasures. Whether shared with others or enjoyed quietly, they are a versatile treat you can whip up anytime. Enjoy the process and the delicious outcomes these brownies bring into your kitchen.

Gluten Free Brownies
Ingredients
Wet Ingredients
- 2 large eggs, room temperature Ensure eggs are at room temperature for better incorporation.
- ¾ cup granulated sugar Adds sweetness.
- ¾ cup oil (such as avocado or refined coconut) Provides moisture.
- 2 teaspoons vanilla extract Enhances aroma.
- 2 tablespoons milk (dairy or non-dairy, room temperature) Provides additional moisture.
Dry Ingredients
- ½ cup gluten free all-purpose baking flour Provides structure.
- 2 tablespoons cocoa powder Adds deep chocolate flavor.
- ¼ teaspoon salt Enhances flavor.
- ¼ teaspoon baking powder Acts as a leavening agent.
Chocolate Chips
- 1 ⅔ cup semi sweet chocolate chips, divided Adds rich chocolate flavor.
Instructions
Preparation
- Begin by preheating your oven to 350°F (175°C). Prepare your baking pan by greasing it lightly or lining it with parchment paper.
- In a mixing bowl, whisk together the eggs and granulated sugar until smooth and slightly thickened.
- Gently melt 1 cup of the semi-sweet chocolate chips with the oil in a microwave-safe bowl, stirring every 30 seconds until smooth. Allow to cool slightly.
- Add the melted chocolate mixture to the egg and sugar mixture along with the vanilla extract and milk, stirring until well combined.
Mixing
- In a separate bowl, whisk together the gluten-free flour, cocoa powder, salt, and baking powder.
- Fold the dry ingredients into the wet mixture using a rubber spatula, being careful not to overmix.
- Stir in the remaining ⅔ cup of chocolate chips until evenly distributed.
Baking
- Spread the batter evenly in the prepared baking pan and smooth the top.
- Bake until set and a toothpick inserted into the center comes out with a few moist crumbs, about 25 minutes.
- Cool in the pan on a wire rack before slicing into squares.


