There’s something comforting about the simplicity of making bread at home. Whether enjoyed during cozy weeknights, shared on weekends with loved ones, or savored in quiet moments with a warm slice, homemade bread brings a sense of warmth and comfort to everyday life. This recipe is straightforward, allowing you to embrace the process without feeling overwhelmed. If you’re looking to create a delicious loaf that fills your kitchen with the inviting scent of baking bread, let’s dive in.
Why You’ll Love This Recipe Sourdough Bread
This sourdough bread is easy to make and relies on a reliable method. The flavors strike a perfect balance, offering a comforting experience with each bite. The practicality of this recipe shines through, making it an excellent choice for everyday baking. You’ll find that it holds up well through various meals, making it a staple in your kitchen.
Kitchen Tools You’ll Need
- Mixing bowl
- Kitchen scale
- Bench scraper
- Proofing basket or bowl
- Sharp knife or scoring tool
- Baking sheet or Dutch oven
Ingredients
- 100g Active Sourdough Starter (about 1/2 cup, bubbly and at its peak)
- 350g Warm Water (about 1 1/3 cups, adds moisture)
- 500g Bread Flour (about 4 cups, provides structure)
- 10g Fine Sea Salt (about 2 teaspoons, enhances flavor)
- Rice Flour (for dusting the top before scoring to create high contrast)

How to Make Sourdough Bread
Step 1. Begin by mixing the active sourdough starter with warm water in a large mixing bowl. Stir until the starter is fully dissolved in the water. This initial step activates the starter’s fermentation properties, which will contribute to the bread’s rise and flavor.
Step 2. Once the starter is dissolved, gradually add the bread flour to the mixture. Use a spatula or your hands to combine the ingredients until no dry flour remains. The dough will look shaggy at this point, and it’s important to ensure everything is well incorporated.
Step 3. After mixing, let the dough rest for about 30 minutes. This period is known as autolyse, allowing the flour to fully hydrate and start developing gluten structure, which helps give the bread its chewy texture.
Step 4. Once the autolyse is complete, sprinkle the fine sea salt over the top of the dough. Wet your hands to prevent sticking, then knead the salt into the dough. This process strengthens the dough and enhances flavor; you want the salt evenly distributed without overworking the dough.
Step 5. Transfer the dough to a lightly greased bowl and cover it with a clean cloth. Allow it to rise at room temperature until it has approximately doubled in size. This can take several hours, and you’ll notice the dough becoming puffier and more aerated.
Step 6. When the dough has risen sufficiently, turn it out onto a floured surface. Gently shape it into a round loaf by folding the sides toward the center. Handle it carefully to avoid deflating the air bubbles that have formed during the rise.
Step 7. Once shaped, place the dough into a proofing basket or a bowl lined with a floured towel. Cover it again and let it rise for a second time until it has expanded in size, which usually takes about 1 to 2 hours. It’s ready when it springs back slowly when lightly poked.
Step 8. Preheat your oven while the dough is rising. If using a Dutch oven, you can place it inside the oven to heat as well. This helps create a steamy environment when the bread bakes, promoting a nice crust.
Step 9. Once the dough has finished its second rise, carefully turn it out onto a baking sheet or into the preheated Dutch oven. Make a few slashes in the top of the dough with a sharp knife; this scoring allows it to expand during baking.
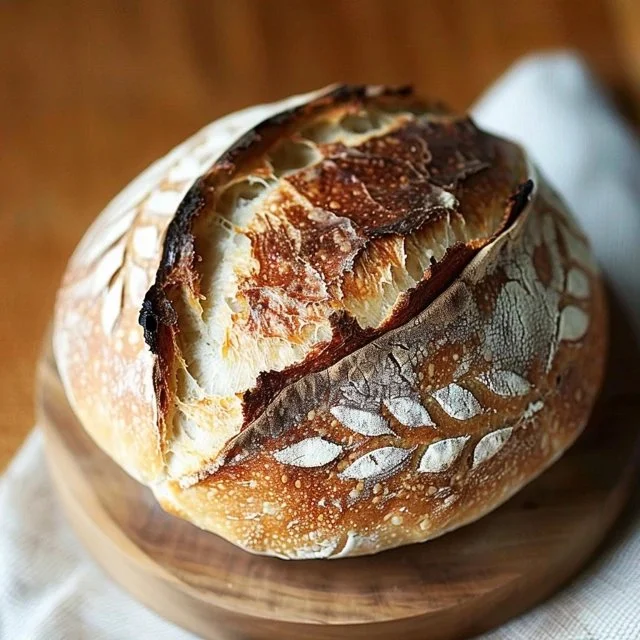
Step 10. Dust the top with a little rice flour for added texture and contrast before placing it in the oven. Bake the bread until it is golden brown and sounds hollow when tapped on the bottom. The crust will have a lovely, crisp texture, and the loaf should have risen beautifully.

Serving Suggestions
Sourdough bread serves well in various settings. For breakfast, simply toast a slice and spread it with butter or jam. It’s perfect for sandwiches or served alongside soups and salads for lunch. As a snack, try pairing it with cheese or charcuterie for a delightful afternoon treat. Leftover bread can be transformed into croutons or used for a savory bread pudding, making it not only delicious but versatile.
Pro Tips for Best Results
- Ensure your sourdough starter is active and bubbly before beginning for best fermentation.
- Pay attention to the dough’s texture during mixing; it should not be too sticky or dry.
- Don’t skip the autolyse step; it significantly improves gluten development.
- Use a sharp knife or lame for scoring; it helps control the bread’s rise.
- Make sure to preheat your oven for an adequate baking environment.
- Let the bread cool completely on a wire rack before slicing to maintain texture.
Common Mistakes to Avoid
- Skipping the autolyse: Ignoring this step can result in a denser loaf as the flour won’t hydrate properly. Allowing time for gluten to develop is crucial for a lighter bread.
- Not using an active starter: A sluggish starter won’t provide enough leavening. Always check that your starter is bubbly and fed before beginning your bake.
- Overkneading the dough: Kneading too much can lead to a tough texture. Aim for just the right amount to incorporate salt and strengthen it without overworking.
- Ignoring the dough’s rise: Baking before the dough has sufficiently risen can yield a dense loaf. Be patient and look for the dough to double in size during both rises.
- Improper oven temperature: Baking at the wrong temperature can affect the crust and texture. Make sure your oven is preheated properly to achieve the right bake.
- Slicing too soon: Cutting into the loaf before it has cooled can make the inside gummy. Be patient; wait until it cools to maintain the best texture.
Variations & Substitutions
For a hint of sweetness, consider incorporating a tablespoon of honey or sugar into the dough. If you like a more complex flavor, adding herbs or spices can create different variations. Some enjoy including seeds or nuts for added texture—just be mindful not to alter the balance too much as it can affect the dough’s rise.
Storage & Reheating
To store your sourdough bread, keep it at room temperature wrapped in a cloth to maintain moisture. For longer storage, it can be placed in a resealable bag in the refrigerator. If freezing, slice your bread first to make thawing individual pieces easier. When ready to enjoy, reheat slices in a toaster or a warm oven to refresh the crust and interior texture.
Frequently Asked Questions
Can I make this recipe ahead of time?
Yes, you can prepare the dough in advance and let it rise in the refrigerator overnight. This slow fermentation adds flavor and can make for an easier baking day.
How long does it last in the fridge?
Sourdough bread is best enjoyed fresh, but it can last for 4 to 5 days in the fridge when stored properly. It may dry out faster than in room temperature, so keep it well-wrapped.
Can I freeze this recipe?
Absolutely, you can freeze the bread after it has cooled completely. Just slice it, wrap it tightly in plastic wrap, and place it in a freezer bag.
What can I substitute for one ingredient?
If you need to replace the active sourdough starter, a commercial yeast solution can be a temporary option, but it will alter the final flavor and texture.
Why didn’t my recipe turn out as expected?
Bread baking can be tricky due to many factors such as starter activity, environmental temperature, and kneading technique. Ensure you’re following the steps carefully and adjusting for any variations in your conditions.
Final Thoughts
Making sourdough bread is a rewarding experience that allows for creativity and comfort. The process is methodical yet satisfying, yielding a delicious loaf ideal for various meals. Enjoying your homemade bread brings a sense of accomplishment, and it can easily become a cherished routine in your kitchen. Embrace the art of bread-making, and take pleasure in the simple joy of sharing it with others.

Sourdough Bread
Ingredients
Dough Ingredients
- 100 g Active Sourdough Starter (about 1/2 cup, bubbly and at its peak)
- 350 g Warm Water (about 1 1/3 cups, adds moisture)
- 500 g Bread Flour (about 4 cups, provides structure)
- 10 g Fine Sea Salt (about 2 teaspoons, enhances flavor)
For Dusting
- Rice Flour (for dusting the top before scoring to create high contrast)
Instructions
Preparation
- Mix the active sourdough starter with warm water in a large mixing bowl. Stir until the starter is fully dissolved.
- Gradually add the bread flour to the mixture and combine until no dry flour remains.
- Let the dough rest for about 30 minutes for the autolyse phase to hydrate the flour.
- Sprinkle the fine sea salt over the dough and knead it gently to incorporate.
- Transfer the dough to a greased bowl, cover, and let it rise at room temperature until doubled.
Shaping and Baking
- Turn the risen dough out onto a floured surface and shape it into a round loaf.
- Place the shaped dough into a proofing basket or bowl lined with a floured towel and let it rise for a second time.
- Preheat your oven while the dough is rising.
- Once risen, turn the dough onto a baking sheet or into a preheated Dutch oven. Score the top with a sharp knife.
- Dust the top with rice flour before baking.
- Bake until golden brown and hollow-sounding when tapped on the bottom.


