There’s something soothing about spending a quiet afternoon in the kitchen, blending simple ingredients to create a treat that both warms and excites. Gluten-free lemon bars bring a bright and refreshing element to snacks and desserts, perfect for any day of the week. Whether enjoyed on a casual evening or shared at gatherings, they’re a delightful option that comforts without overwhelming. The process is straightforward and rewarding, making these bars a great choice for home bakers. Let’s dive into this recipe and enjoy the process.
Why You’ll Love This The Best Gluten Free Lemon Bars
These gluten-free lemon bars offer ease and reliability in their preparation. The combination of zesty lemon juice and sweetness strikes a perfect balance, making them comforting without being overly rich. Their practical everyday value means they fit well into your routine, whether it’s a midday snack or a subtle dessert after dinner. You’ll find they are a treat everyone can appreciate, with a flavor profile that appeals to many.
Kitchen Tools You’ll Need
- Mixing bowl
- Whisk
- Baking dish (9×9 inches recommended)
- Strainer
- Measuring cups
- Measuring spoons
- Rubber spatula
Ingredients
- 1 cup (140 g) gum-free gluten free flour blend (provides structure)
- ½ cup (58 g) confectioners’ sugar, plus more for dusting (adds sweetness and a light texture)
- ½ teaspoon kosher salt (balances sweetness)
- 1 tablespoon finely grated lemon zest, from 1 large lemon (enhances lemon flavor)
- 9 tablespoons (126 g) unsalted butter, melted and cooled (adds richness and moisture)
- ⅔ cup (93 g) gum-free gluten free flour blend (adds structure)
- 1 cup (200 g) granulated sugar (sweetens the filling)
- ¾ teaspoon baking powder (helps with leavening)
- ⅔ cup (5.33 fluid ounces) freshly squeezed lemon juice, juice of 4 to 5 medium lemons, strained of seeds and pulp (provides acidity and flavor)
- 4 eggs, at room temperature (binds ingredients together)

How to Make The Best Gluten Free Lemon Bars
Step 1. Begin by preheating your oven and greasing the baking dish. This initial preparation step helps to ensure your lemon bars bake evenly and don’t stick. A light layer of grease can be from butter or cooking spray, which will make it easier to slice the bars once they’re cooled.
Step 2. In a mixing bowl, combine the flour blend, confectioners’ sugar, kosher salt, and lemon zest. Whisk these dry ingredients together to evenly distribute the flavors. The zest adds a bright note, enhancing the overall lemon flavor. It’s important to blend everything well to avoid clumps.
Step 3. Pour in the melted and cooled butter, mixing it into the dry ingredients until you achieve a crumbly texture. This mixture will form the crust of the lemon bars. You’ll want to ensure there are no dry spots; everything should be moistened well.
Step 4. Transfer the crumb mixture into the prepared baking dish, pressing it into an even layer. Use the back of a spatula or your hands to pack it down firmly. This solid base will hold your filling, so be sure it’s evenly distributed and not too thick in any spot.
Step 5. Bake the crust until it’s lightly golden. The oven’s heat will create a nice, firm base for the lemon filling. Once it’s done, let it cool slightly while preparing the filling. You might notice a slight firmness in the texture, which is what you want for a good foundation.
Step 6. In a clean bowl, whisk together the flour blend, granulated sugar, and baking powder. This combination will form the base for your filling, adding a bit of structure. Make sure they are well blended to avoid uneven sweetness or lumpiness in the final product.
Step 7. In another bowl, whisk the eggs until they are fully combined, then stir in the freshly squeezed lemon juice. The eggs not only give the filling its structure but also help to create a smooth and silky consistency when combined with the lemon juice.
Step 8. Mix the egg-lemon juice mixture into the flour mixture until well combined, ensuring there are no lumps. This step is crucial for creating a smooth filling that will set properly when baked. Aim for a homogenous mixture that is glossy and somewhat thick.
Step 9. Pour the filling over the prepared crust, spreading it evenly. This ensures that every bite of the lemon bars has a balanced amount of filling and crust. You’ll want to keep an eye out for any bubbling or separation, which can indicate the filling is not properly incorporated.
Step 10. Bake the lemon bars until the filling has set and has a slight jiggle. Cool them in the pan on a wire rack until they reach room temperature. This cooling process allows the filling to firm up for easier slicing and better texture.
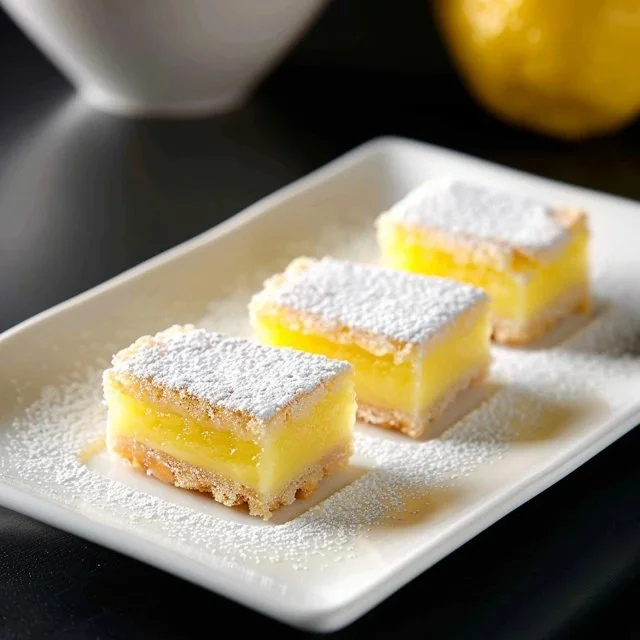
Step 11. Cut into squares and dust with additional confectioners’ sugar. This final step not only adds a touch of sweetness but also enhances the presentation. The bars should have a smooth top with a light dusting, making them look inviting and finished.

Serving Suggestions
These lemon bars are versatile and can be enjoyed in various settings. They make a lovely addition to breakfast alongside coffee or tea, or served as a refreshing snack during the day. For family meals or gatherings, they can be cut into small squares for easy sharing. Should there be any leftovers, they are just as delightful chilled straight from the fridge.
Pro Tips for Best Results
- Use fresh lemon juice for the best flavor—bottled juice can lack the brightness of fresh.
- Make sure eggs are at room temperature; they incorporate better, leading to a smoother filling.
- Allow bars to cool fully before slicing to ensure clean cuts and a better texture.
- Dust with confectioners’ sugar just before serving for the best effect; it can melt if done too early.
- Check for doneness by ensuring the filling doesn’t jiggle excessively; a slight jiggle is fine, but it shouldn’t be liquid.
- Store bars in an airtight container to maintain freshness.
Common Mistakes to Avoid
- Not measuring ingredients accurately: This can lead to texture problems; a mismeasurement of flour or sugar can throw off the consistency. Always double-check your measurements with the correct tools.
- Using cold eggs: Cold eggs can prevent a proper emulsion in the filling. Make sure to bring your eggs to room temperature before mixing them into the batter.
- Overbaking the crust: This can result in a dry bottom. Keep a close watch during the baking process to ensure it’s lightly golden and not overcooked.
- Skipping the cooling step: Cutting into the bars while warm can result in a messy presentation. Letting them cool completely ensures cleaner cuts and a better texture.
- Not straining the lemon juice: Leaving seeds or pulp can lead to an unpleasant texture in the filling. Straining ensures a smooth and pleasant bite.
- Adding too much lemon juice: Excessive acidity can overwhelm the sweetness and balance. Stick to the amount specified for a harmonious flavor profile.
Variations & Substitutions
For those looking to mix things up, consider adding a pinch of lavender or thyme to the crust for a subtle herbal note. If you want to incorporate a different citrus flavor, orange zest can be a delightful alternative. Additionally, you could experiment with a different gluten-free flour blend that matches your taste preference, making sure it’s also gum-free.
Storage & Reheating
Store any leftover lemon bars at room temperature for up to two days, keeping them in an airtight container to maintain freshness. If you need longer storage, they can be refrigerated for about a week. For freezing, wrap individual pieces tightly in plastic wrap and place them in a freezer-safe container. To reheat, let them thaw at room temperature, enjoying them cold or gently warming in a microwave for a few seconds to restore their initial texture.
Frequently Asked Questions
Can I make this recipe ahead of time?
Yes, you can prepare these lemon bars a day ahead of when you plan to serve them. Just be sure to store them in an airtight container at room temperature or in the fridge once they’ve completely cooled.
How long does it last in the fridge?
When stored properly in an airtight container, these lemon bars will last about a week in the fridge. They can also be enjoyed chilled, making them a delightful treat.
Can I freeze this recipe?
Yes, you can freeze lemon bars for up to three months. Wrap them individually in plastic wrap and place them in a freezer-safe container to preserve their quality. Thaw at room temperature before enjoying.
What can I substitute for one ingredient?
If you don’t have confectioners’ sugar, you can blend granulated sugar until fine, but note that the texture might vary slightly in the final product.
Why didn’t my recipe turn out as expected?
There could be a few factors at play, such as inaccurate measurements or not allowing enough cooling time. Reviewing each step can help identify any potential issues.
Final Thoughts
Making gluten-free lemon bars is a delightful endeavor, yielding a comforting treat that warms the heart. Their bright flavor and simple preparation make them a reliable choice for any occasion. Enjoy the process of making and savoring these bars, knowing they’re always there to brighten your day.

Gluten Free Lemon Bars
Ingredients
For the crust
- 1 cup gum-free gluten free flour blend Provides structure
- ½ cup confectioners’ sugar Adds sweetness and a light texture
- ½ teaspoon kosher salt Balances sweetness
- 1 tablespoon finely grated lemon zest Enhances lemon flavor
- 9 tablespoons unsalted butter Melted and cooled, adds richness and moisture
For the filling
- ⅔ cup gum-free gluten free flour blend Adds structure
- 1 cup granulated sugar Sweetens the filling
- ¾ teaspoon baking powder Helps with leavening
- ⅔ cup freshly squeezed lemon juice Juice of 4 to 5 medium lemons, strained of seeds and pulp
- 4 eggs at room temperature Binds ingredients together
Instructions
Preparation
- Begin by preheating your oven and greasing the baking dish.
- In a mixing bowl, combine the flour blend, confectioners’ sugar, kosher salt, and lemon zest. Whisk these dry ingredients together.
- Pour in the melted and cooled butter, mixing it into the dry ingredients until you achieve a crumbly texture.
- Transfer the crumb mixture into the prepared baking dish, pressing it into an even layer.
Baking the Crust
- Bake the crust until it’s lightly golden. Let it cool slightly.
Preparing the Filling
- In a clean bowl, whisk together the flour blend, granulated sugar, and baking powder.
- In another bowl, whisk the eggs until fully combined, then stir in the freshly squeezed lemon juice.
- Mix the egg-lemon juice mixture into the flour mixture until well combined.
Baking the Bars
- Pour the filling over the prepared crust, spreading it evenly.
- Bake until the filling has set and has a slight jiggle. Cool in the pan on a wire rack until room temperature.
- Cut into squares and dust with additional confectioners’ sugar before serving.


