Making a sweet treat that feels comforting and satisfying is always a good idea. These bars come together effortlessly, making them perfect for those weeknight cravings or as a delightful addition to a weekend gathering. With their blend of rich flavors and fun textures, they offer both simplicity and versatility for every occasion. Whether you’re enjoying them during quiet moments or sharing them with friends, these bars are sure to please. Let’s dive into this straightforward recipe.
Why You’ll Love This Gluten Free Chubby Hubby Bars
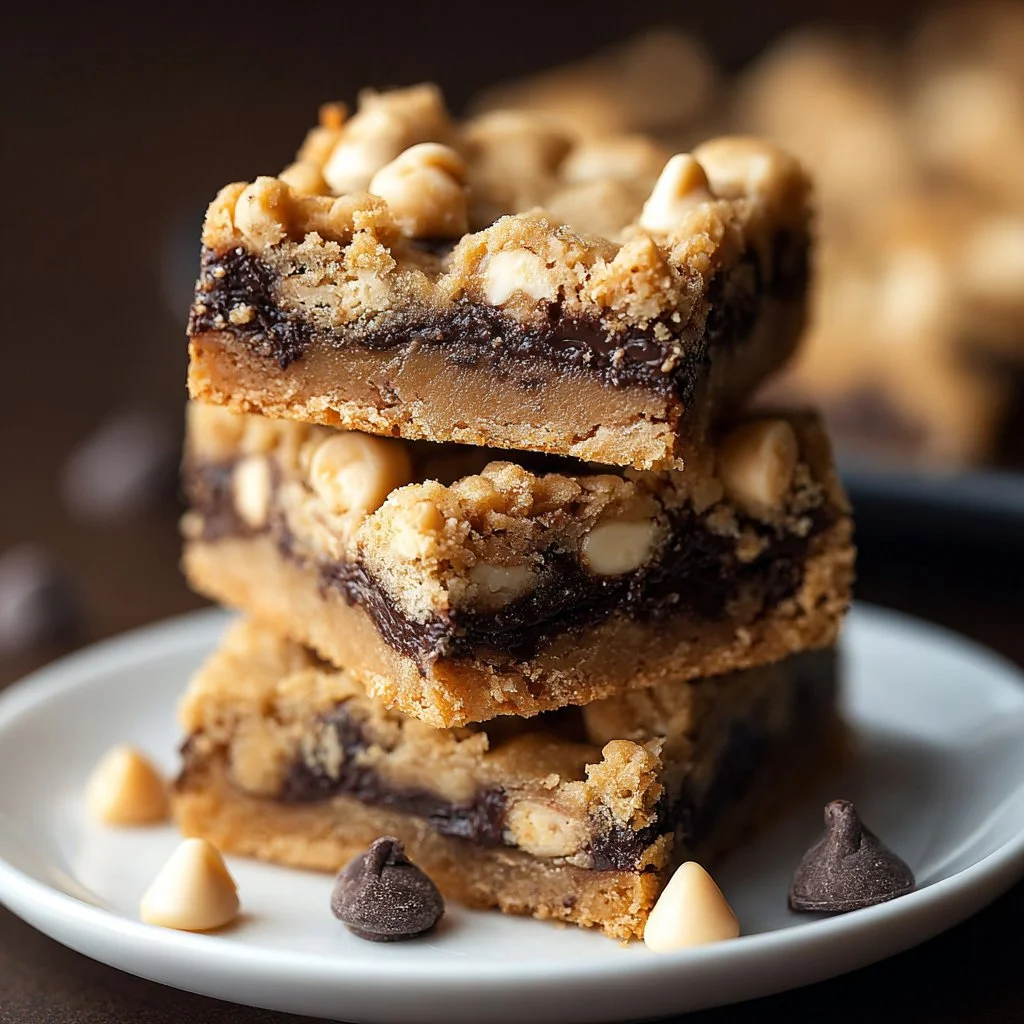
These Gluten Free Chubby Hubby Bars are easy to prepare, making them a reliable option for any day of the week. The combination of rich peanut butter, chocolate chunks, and the crunch of pretzels creates a well-balanced flavor that’s comforting and satisfying. With minimal effort, you can whip up a batch that works well for snacks or meals, fitting seamlessly into your everyday life.
Kitchen Tools You’ll Need
- Mixing bowls
- Whisk
- Baking pan (8×8 or 9×9 inches)
- Rubber spatula
- Measuring cups and spoons
Ingredients
- 1 cup (2 sticks) unsalted butter, melted and slightly cooled (adds moisture and richness)
- 1 1/2 cups packed light brown sugar (contributes sweetness and chewiness)
- 2 large eggs (binds ingredients together)
- 1 teaspoon vanilla extract (enhances flavor)
- 1 3/4 cups gluten-free all-purpose flour blend (provides structure)
- 1 teaspoon baking powder (helps bars rise)
- 1/2 teaspoon salt (balances sweetness)
- 1/2 cup creamy peanut butter (adds creaminess and flavor)
- 1 cup mini pretzels, roughly crushed (provides crunch)
- 1 cup chocolate chunks (sweetness and richness)
- 1/2 cup granulated sugar (adds sweetness)
- 1/4 cup (1/2 stick) unsalted butter (adds moisture and richness)
- 2 tablespoons milk (adds creaminess)
- 1 teaspoon vanilla extract (enhances flavor)
- 1/2 teaspoon salt (balances sweetness)

How to Make Gluten Free Chubby Hubby Bars
Step 1. Begin by preheating your oven to 350°F. This step is important for ensuring that your bars bake evenly and develop the right texture. While your oven heats up, gather all your ingredients so you have everything within reach, as this will make the process smoother.
Step 2. In a mixing bowl, combine the melted and slightly cooled butter with the packed light brown sugar. Whisk them together until the mixture is smooth and well blended. The brown sugar will add a nice depth of flavor and moisten the bars.
Step 3. Add the eggs to your sugar and butter mixture one at a time, whisking well after each addition. This step helps incorporate air, resulting in a lighter texture in the final bars.
Step 4. Stir in the teaspoon of vanilla extract, which will enhance the overall flavor of your bars. Mixing it in at this point will ensure its aromatic qualities are evenly distributed throughout the batter.
Step 5. In a separate bowl, combine the gluten-free all-purpose flour blend, baking powder, and salt. Whisk these dry ingredients together to ensure they are evenly mixed before incorporating them into the wet ingredients.
Step 6. Gradually add the dry mixture to the wet ingredients, stirring gently with a rubber spatula until just combined. Be careful not to overmix; stopping when you no longer see dry flour will keep your bars tender.
Step 7. Fold in the creamy peanut butter, ensuring it’s evenly distributed throughout the batter. The peanut butter not only adds flavor but contributes to the overall moistness of the bars.
Step 8. Incorporate the crushed mini pretzels and chocolate chunks into the batter. These add a fun texture contrast and bursts of sweet and salty flavor that make each bite enjoyable.
Step 9. Pour the mixture into a greased baking pan, spreading it evenly into the corners. It’s important to make sure the mixture is level to ensure even baking.
Step 10. Bake in your preheated oven for about 25-30 minutes, or until the edges start to pull away from the sides of the pan and the top looks set. The center may be slightly soft, but it will firm up as it cools.
Step 11. While your bars are baking, melt the remaining butter and granulated sugar in a small saucepan over low heat. Add the milk, vanilla extract, and salt, stirring until combined. This mixture will create a glaze for your finished bars.
Step 12. Once the bars are out of the oven, allow them to cool slightly in the pan. After about 10 minutes, drizzle the glaze evenly over the top. Let the bars cool completely before cutting them into squares.

Serving Suggestions
These delicious bars are perfect for breakfast paired with a cup of coffee, or they make a satisfying snack any time of day. They can also serve as a sweet addition to family meals or gatherings, providing everyone with a little treat. The bars can be easily wrapped up for lunchboxes or enjoyed as leftovers, making them a versatile option that fits into a busy lifestyle.
Pro Tips for Best Results
- Make sure your butter is melted but not too hot before mixing. This helps achieve the right texture without cooking the eggs.
- For extra texture, reserve some pretzel pieces to sprinkle on top before baking.
- Use high-quality chocolate chunks for a richer flavor.
- Allow the bars to cool completely before cutting for cleaner edges.
- If you want a more intense peanut butter taste, you can slightly increase the amount used.
Common Mistakes to Avoid
- Overmixing the batter: This can lead to tough bars. Mix until just combined.
- Using cold ingredients: Cold eggs or butter can affect the texture. Aim for room temperature for better incorporation.
- Underbaking: If you take the bars out too early, they may be too gooey. Look for a set top and edges that pull away from the pan.
- Not greasing the pan: If you skip this step, your bars might stick. Ensure the pan is well-greased or lined with parchment paper.
- Skipping the glaze: Leaving out this step can dull the flavor. The glaze adds a sweet finish that complements the bars perfectly.
- Storing improperly: Keeping bars uncovered can lead to them drying out. Store them in an airtight container.
Variations & Substitutions
For different flavors, consider swapping in other types of nut butter, such as almond or cashew. You could also play around with mix-ins, using dried fruit or different types of chips. Additionally, adjusting the level of sweetness by reducing the sugar can create a less sweet bar if desired.
Storage & Reheating
For room-temperature storage, keep the bars in an airtight container for up to three days. If you prefer longer storage, these bars can be kept in the refrigerator for about a week. They can also be frozen for up to three months; just wrap them tightly in plastic wrap and then place them in a freezer bag. To reheat, microwave a bar for 10-15 seconds to restore the soft texture.
Frequently Asked Questions
Can I make this recipe ahead of time?
Yes, you can prepare the bars in advance and store them. They stay fresh for several days, making them a great option for meal prep or gatherings.
How long does it last in the fridge?
When kept in an airtight container, these bars will last about a week in the refrigerator. Be sure to check for freshness before enjoying.
Can I freeze this recipe?
Absolutely! These bars freeze well. Just wrap them tightly in plastic wrap and again in aluminum foil or place them in a freezer-safe bag.
What can I substitute for one ingredient?
If you need to substitute, consider using another creamy nut butter instead of peanut butter, ensuring it’s similarly textured.
Why didn’t my recipe turn out as expected?
Common reasons for recipe issues include incorrect measurements, overmixing, or baking time variations. Always double-check your measurements and watch closely during baking.
Final Thoughts
Making Gluten Free Chubby Hubby Bars is a straightforward process that leads to a delightful result. With the balance of sweet and salty flavors combined with a comforting, chewy texture, they make for a wonderfully satisfying treat. Whether you enjoy them immediately or save some for later, they are sure to become a go-to for any occasion.

Gluten Free Chubby Hubby Bars
Ingredients
Wet Ingredients
- 1 cup unsalted butter, melted and slightly cooled adds moisture and richness
- 2 sticks unsalted butter, melted and slightly cooled adds moisture and richness
- 2 large eggs binds ingredients together
- 1 teaspoon vanilla extract enhances flavor
- 1/2 cup creamy peanut butter adds creaminess and flavor
- 2 tablespoons milk adds creaminess
- 1 teaspoon vanilla extract enhances flavor
Dry Ingredients
- 1 3/4 cups gluten-free all-purpose flour blend provides structure
- 1 teaspoon baking powder helps bars rise
- 1/2 teaspoon salt balances sweetness
- 1 1/2 cups packed light brown sugar contributes sweetness and chewiness
- 1/2 cup granulated sugar adds sweetness
- 1/2 teaspoon salt balances sweetness
Mix-ins
- 1 cup mini pretzels, roughly crushed provides crunch
- 1 cup chocolate chunks sweetness and richness
- 1/4 cup unsalted butter adds moisture and richness
Instructions
Preparation
- Preheat your oven to 350°F.
- Gather all your ingredients.
- In a mixing bowl, combine melted butter and light brown sugar. Whisk until smooth.
- Add eggs one at a time, whisking well after each addition.
- Stir in vanilla extract.
- In a separate bowl, combine gluten-free flour blend, baking powder, and salt. Whisk to mix.
- Gradually add dry mixture to wet ingredients, stirring gently until just combined.
- Fold in creamy peanut butter until evenly distributed.
- Add crushed mini pretzels and chocolate chunks, mixing until well combined.
- Pour mixture into a greased baking pan and spread evenly.
Baking
- Bake for about 25-30 minutes, or until the edges pull away and the top looks set.
- In a saucepan, melt the remaining butter and granulated sugar over low heat. Add milk, vanilla extract, and salt, stirring until combined.
- Drizzle glaze over the bars after cooling slightly. Cool completely before cutting.


