Making a delightful dessert doesn’t have to mean spending hours in the kitchen. This no-bake peanut butter pie is a simple, comforting dish that comes together quickly, perfect for weeknights, weekends, or gatherings. It also allows for quiet moments of enjoyment when you just want to treat yourself. With its creamy texture and balanced sweetness, this pie is a flexible choice that fits seamlessly into everyday life. Let’s dive into this uncomplicated recipe that’s sure to please.
Why You’ll Love This No-Bake Sugar Free Peanut Butter Pie
This no-bake sugar free peanut butter pie is all about ease and reliability. You’ll find its creamy filling and balanced flavor satisfying without feeling heavy. It offers a practical way to enjoy dessert, ideal for both casual family meals and lovely gatherings. With straightforward ingredients and no complex steps, this pie can become one of your go-to recipes in your dessert rotation.
Kitchen Tools You’ll Need
- Mixing bowl
- Whisk or electric mixer
- Pie dish
- Spatula
Ingredients
- 8 oz cream cheese, softened (Ensure cream cheese is well-softened for easier mixing.)
- 1 cup granulated Splenda (Provides sweetness.)
- 1/2 cup peanut butter (Use up to 3/4 cup for a richer flavor.)
- 1 container sugar-free Cool Whip (Adds lightness and volume.)
- 2 tbsp sugar-free chocolate syrup (For topping, adds flavor.)
- 2-3 pieces sugar-free peanut butter cups, crushed (Adds crunch and flavor.)
How to Make No-Bake Sugar Free Peanut Butter Pie
Step 1. Begin by preparing your ingredients. Make sure the cream cheese is fully softened to room temperature, allowing it to blend smoothly with the other ingredients. This step is crucial for achieving a creamy and lump-free filling.
Step 2. In a mixing bowl, combine the softened cream cheese and granulated Splenda. Use a whisk or an electric mixer to mix these ingredients together. You’ll want to achieve a smooth and creamy consistency, free of lumps, which will form the base of your pie filling.
Step 3. Once the cream cheese and Splenda are well combined, add the peanut butter. Blend this in thoroughly, ensuring the peanut butter is evenly distributed throughout the mixture. The flavor of the peanut butter will provide a rich, comforting taste to the filling.
Step 4. Gently fold in the sugar-free Cool Whip until it is fully combined with the peanut butter mixture. This will add volume and lightness to the filling while keeping it airy. Take time to ensure that the mixture remains smooth and fluffy.
Step 5. After the filling is well blended, transfer it to a pie dish. Use a spatula to spread it evenly, smoothing out the top for a clean presentation. This step helps to ensure that the pie looks appealing once it’s set.
Step 6. Refrigerate the pie for several hours until it is firm and chilled. This resting time allows the flavors to meld and the texture to stabilize, making it easier to slice and serve.
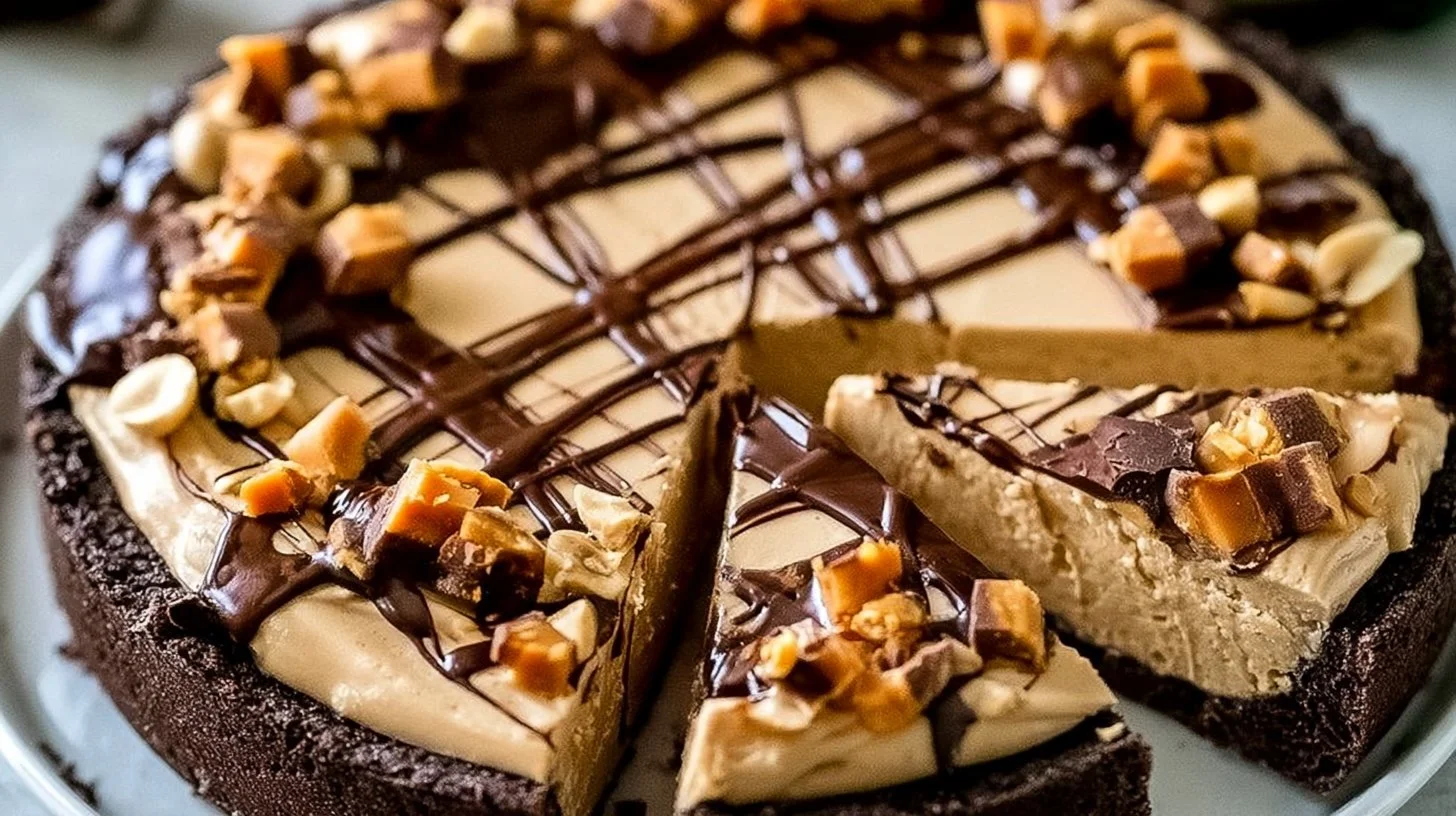
Step 7. Once set, remove the pie from the refrigerator. Drizzle the top with sugar-free chocolate syrup for added flavor and visual appeal. Then, sprinkle the crushed sugar-free peanut butter cups over the top, providing texture and a delightful crunch.

Serving Suggestions
This peanut butter pie serves wonderfully as a relaxed dessert for any meal. Enjoy it as a light breakfast with coffee or slice it for a delightful afternoon snack. It’s also great for family dinners or gatherings, where its richness can satisfy sweet tooth cravings without being overwhelming. Leftovers can be kept for later, making it a practical choice when you want an easy treat that doesn’t require much effort.
Pro Tips for Best Results
- Ensure your cream cheese is well softened before mixing, as this will prevent lumps in your filling.
- For a richer flavor, use up to 3/4 cup of peanut butter.
- Let the pie chill for a sufficient amount of time—this improves its texture.
- Be gentle when folding in the Cool Whip so the mixture retains its lightness.
- Use a spatula to achieve a smooth top on the pie for a nice presentation.
- Crush the sugar-free peanut butter cups just before serving to keep their crunch.
Common Mistakes to Avoid
- Using cold cream cheese: This can make it difficult to achieve a smooth filling. Always let it soften at room temperature before mixing to ensure a creamy texture.
- Not mixing the filling well: Inadequate mixing can lead to a lumpy consistency. Take your time to blend each step thoroughly for a uniform pie.
- Skipping the chilling time: If the pie isn’t chilled long enough, it may not set properly. Allow it to refrigerate for at least a few hours for best results.
- Over-mixing the Cool Whip: This can cause the filling to lose its light texture. Fold gently until just combined to preserve the fluffiness.
- Using too much peanut butter: While a rich flavor is delightful, excessive peanut butter might overpower the other ingredients. Stick to the recommended amounts for balance.
- Forgetting the toppings: Toppings add both flavor and texture. Be sure to include them for an enjoyable contrast to the creamy filling.
Variations & Substitutions
While this recipe is wonderful as is, you could try adding a layer of sugar-free whipped cream on top, or swap out the chocolate syrup for a drizzle of sugar-free caramel sauce for a different flavor twist. Serving it with fresh berries can provide a refreshing contrast as well.
Storage & Reheating
For storage, keep the pie covered in the refrigerator for up to a week. Room-temperature storage is not recommended for this pie, as it may lose its texture. If you want to freeze it, wrap it tightly and store it; it’s best enjoyed when thawed in the refrigerator overnight. Avoid reheating as this might alter the texture of the filling.
Frequently Asked Questions
Can I make this recipe ahead of time?
Yes, this pie can be made a day or two in advance. Just be sure to store it covered in the refrigerator to keep it fresh.
How long does it last in the fridge?
The pie should last up to a week in the fridge when stored properly, covered to prevent drying out.
Can I freeze this recipe?
Yes, you can freeze the pie. Wrap it well and store it in the freezer. To serve, thaw it in the refrigerator for a few hours before enjoying.
What can I substitute for one ingredient?
If you’re looking to reduce fat, you could try using a low-fat cream cheese or Greek yogurt in place of regular cream cheese, though this might alter the flavor slightly.
Why didn’t my recipe turn out as expected?
This might happen due to not softening the cream cheese properly or not allowing the pie enough time to chill and set. Be sure to follow the steps carefully for the best results.
Final Thoughts
Making a no-bake sugar free peanut butter pie is a straightforward process, perfect for when you need a quick dessert that doesn’t skimp on flavor. Its creamy, balanced texture combined with subtle sweetness makes it a comforting choice for many occasions. Enjoying each slice is a simple pleasure, and having it on hand provides a sense of warmth and familiarity in your kitchen.

No-Bake Sugar Free Peanut Butter Pie
Equipment
- Mixing Bowl
- Whisk or Electric Mixer
- Pie Dish
- Spatula
Ingredients
Pie Filling
- 8 oz cream cheese softened
- 1 cup granulated Splenda provides sweetness
- 1/2 cup peanut butter use up to 3/4 cup for richer flavor
- 1 container sugar-free Cool Whip adds lightness and volume
Toppings
- 2 tbsp sugar-free chocolate syrup for topping
- 2-3 pieces sugar-free peanut butter cups crushed
Instructions
- Allow the cream cheese to soften completely at room temperature for easier mixing and a smooth filling.
- In a mixing bowl, combine the softened cream cheese and granulated Splenda. Mix until smooth and creamy.
- Add the peanut butter and blend thoroughly until evenly incorporated.
- Gently fold in the sugar-free Cool Whip until the mixture is smooth, light, and fluffy.
- Transfer the filling to a pie dish and spread evenly with a spatula, smoothing the top.
- Refrigerate for several hours, or until firm and fully chilled.
- Before serving, drizzle with sugar-free chocolate syrup and sprinkle with crushed sugar-free peanut butter cups.


