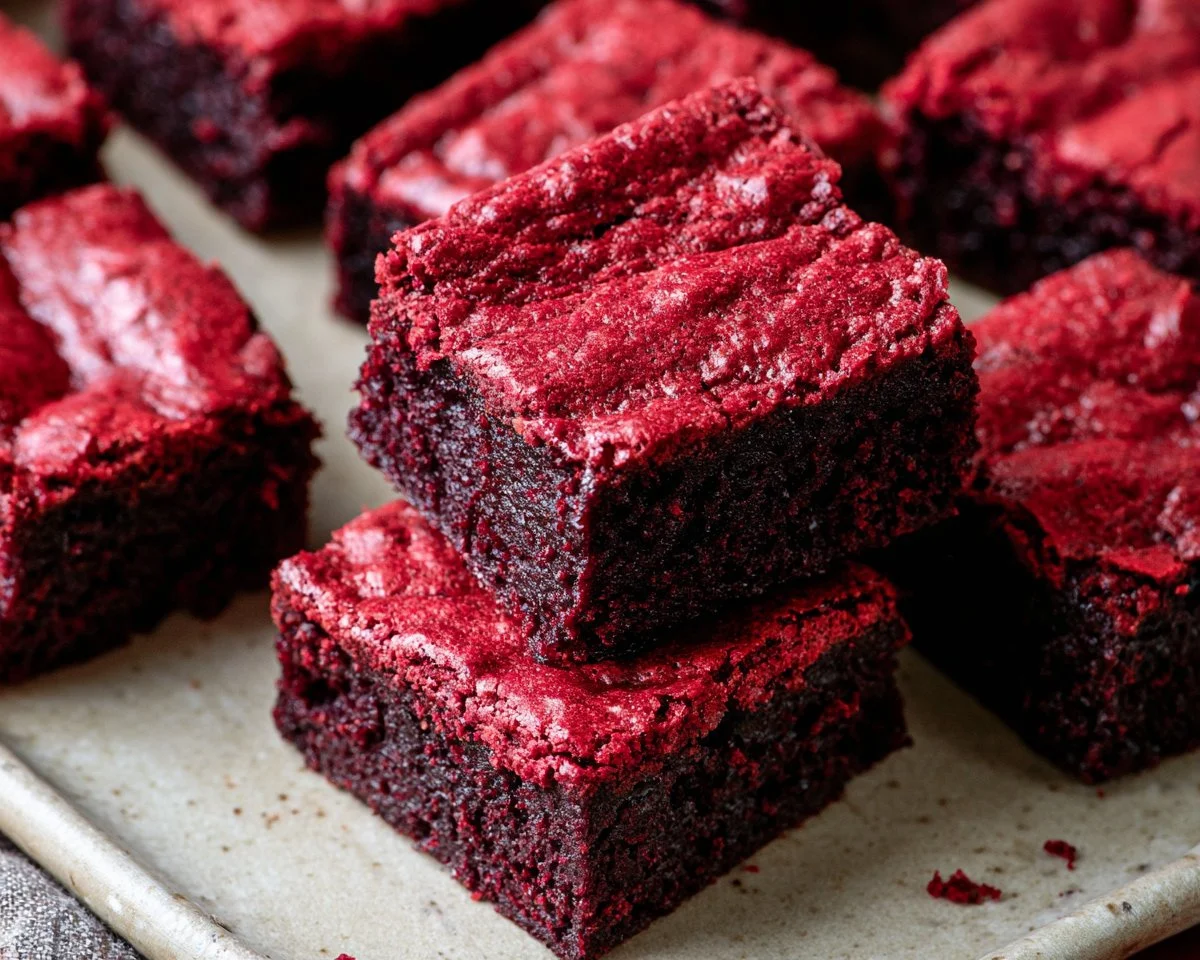
Baking can be a comforting ritual, especially when it involves pulling rich, fudgy brownies from the oven. The gentle swirl of red food coloring in a classic brownie mix transforms these treats into something special. The combination of butter, sugars, and cocoa creates a moist, tender dessert that pleases both eyes and palate. Ready to indulge? Let’s get started on making these delightful Red Velvet Brownies.
Why You’ll Love This Red Velvet Brownies
These Red Velvet Brownies are not only easy and reliable, but they also bring a lovely balance of flavor without overwhelming sweetness. The use of both granulated and brown sugar adds depth, making them perfect for a snack or dessert. Their vibrant color and chocolatey notes make them an enjoyable everyday treat that’s sure to have everyone reaching for seconds.
Kitchen Tools You’ll Need
- 9×9 inch baking pan
- Parchment paper
- Small pot
- Mixing bowl
- Whisk
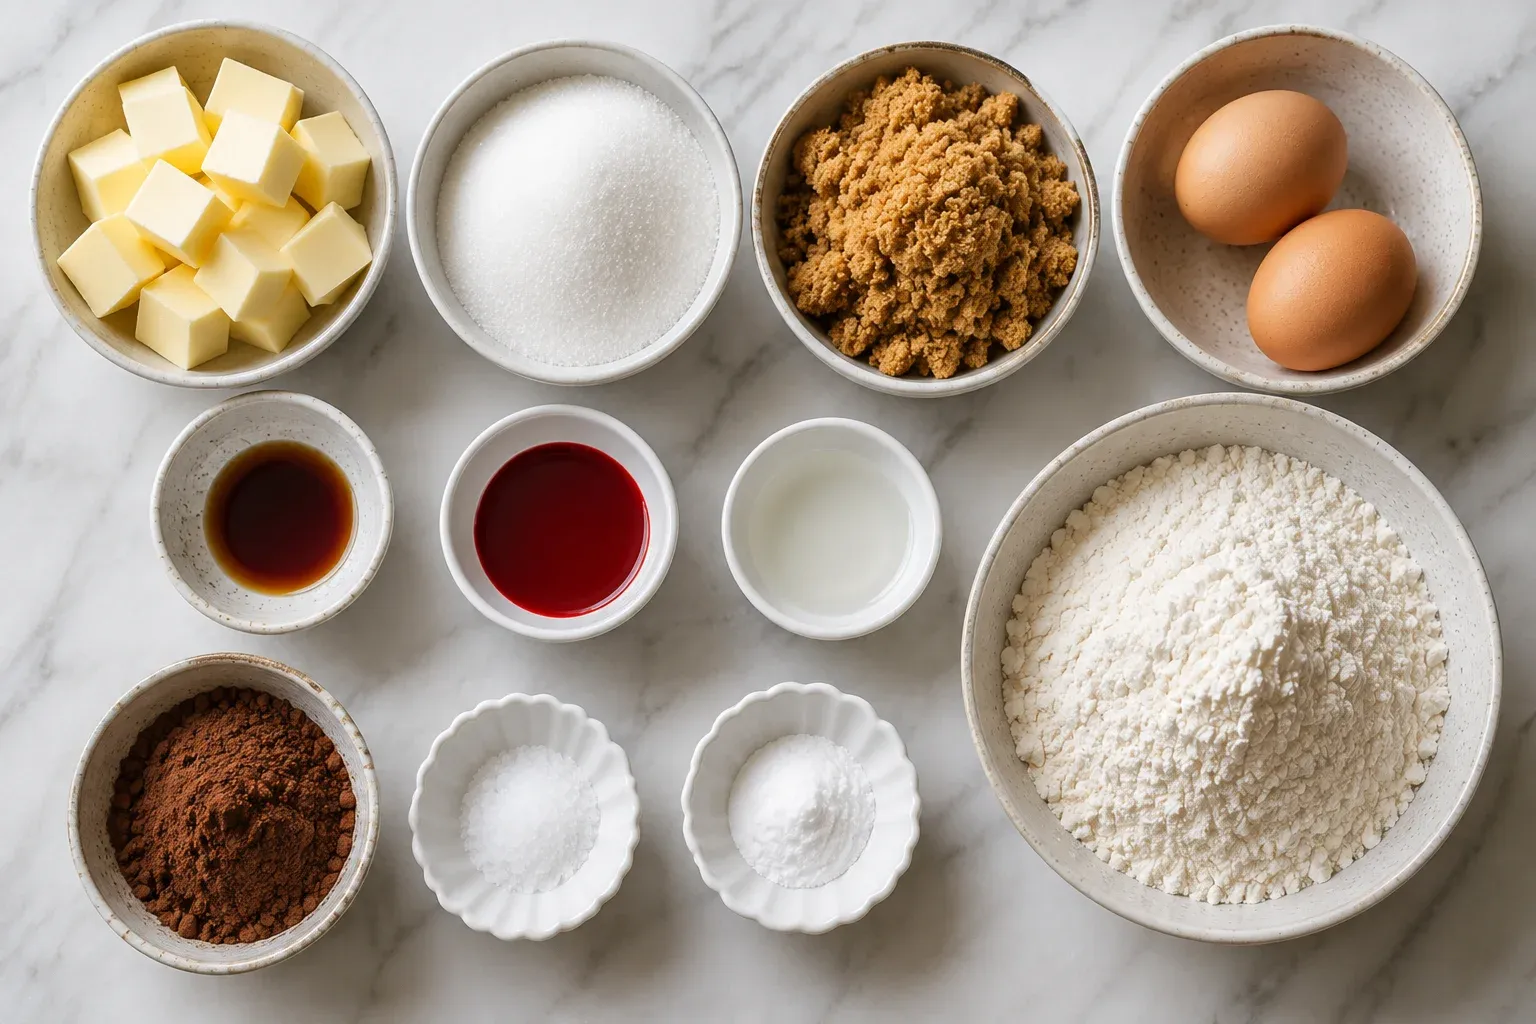
Ingredients
- ½ cup unsalted butter (adds richness)
- ½ cup granulated sugar (provides sweetness)
- ½ cup brown sugar (adds moisture and a hint of caramel flavor)
- 2 large eggs (binds ingredients together)
- 1 teaspoon pure vanilla extract (enhances flavor)
- 2 & ½ teaspoons red liquid food coloring (gives vibrant color)
- 1 teaspoon white vinegar (adds slight tang and enhances rise)
- ¾ cup all-purpose flour (structural base)
- ¼ cup unsweetened cocoa powder (contributes chocolate flavor)
- ½ teaspoon salt (balances sweetness)
- ¼ teaspoon baking soda (helps brownies rise slightly)
How to Make Red Velvet Brownies
Step 1. Preheat your oven to 350°F. It’s important that your oven reaches the right temperature for even baking. This initial step ensures that your brownies will cook properly from the moment they are placed inside, resulting in a consistent texture throughout.
Step 2. Grease a 9×9 inch baking pan and line it with parchment paper. Greasing helps prevent sticking, while the parchment facilitates easy removal after baking. This will not only simplify serving but will also keep your brownies intact, avoiding any mishaps.
Step 3. In a small pot, melt the butter over medium-high heat until it’s sizzling. As the butter melts, it will develop a mild, nutty aroma. This melted butter will blend with your sugars to create a smooth, moist brownie base.
Step 4. Combine the granulated and brown sugar with the hot butter. Mixing them while the butter is still warm allows the sugars to dissolve more easily, contributing to a shiny, fudgy texture in the brownies. Stir until the mixture appears smooth.
Step 5. Transfer the butter and sugar mixture to a mixing bowl, then whisk in the eggs, vanilla, food coloring, and vinegar. This step adds moisture and creates an appealing color. The mixture should become well-blended and homogenous, with a vivid red hue that’s characteristic of red velvet.
Step 6. Mix in the flour, cocoa powder, salt, and baking soda until just combined. The key here is to avoid overmixing; you want your batter to be cohesive without becoming tough. Once combined, you should see no dry flour and a thick, luscious batter.
Step 7. Pour the batter into the prepared pan and spread it out evenly. Ensure that the surface is level to promote uniform baking. The batter should look glossy and smooth, ready to bake into a decadent treat.
Step 8. Bake for 25 to 30 minutes. To check for doneness, look for a slightly firm top that doesn’t jiggle when you gently shake the pan. A toothpick inserted in the center should come out clean or with a few moist crumbs.
Step 9. Once done, allow to cool in the pan for about 10 minutes before transferring to a wire rack. Letting them cool slightly in the pan helps them set up before moving, which keeps them from falling apart.
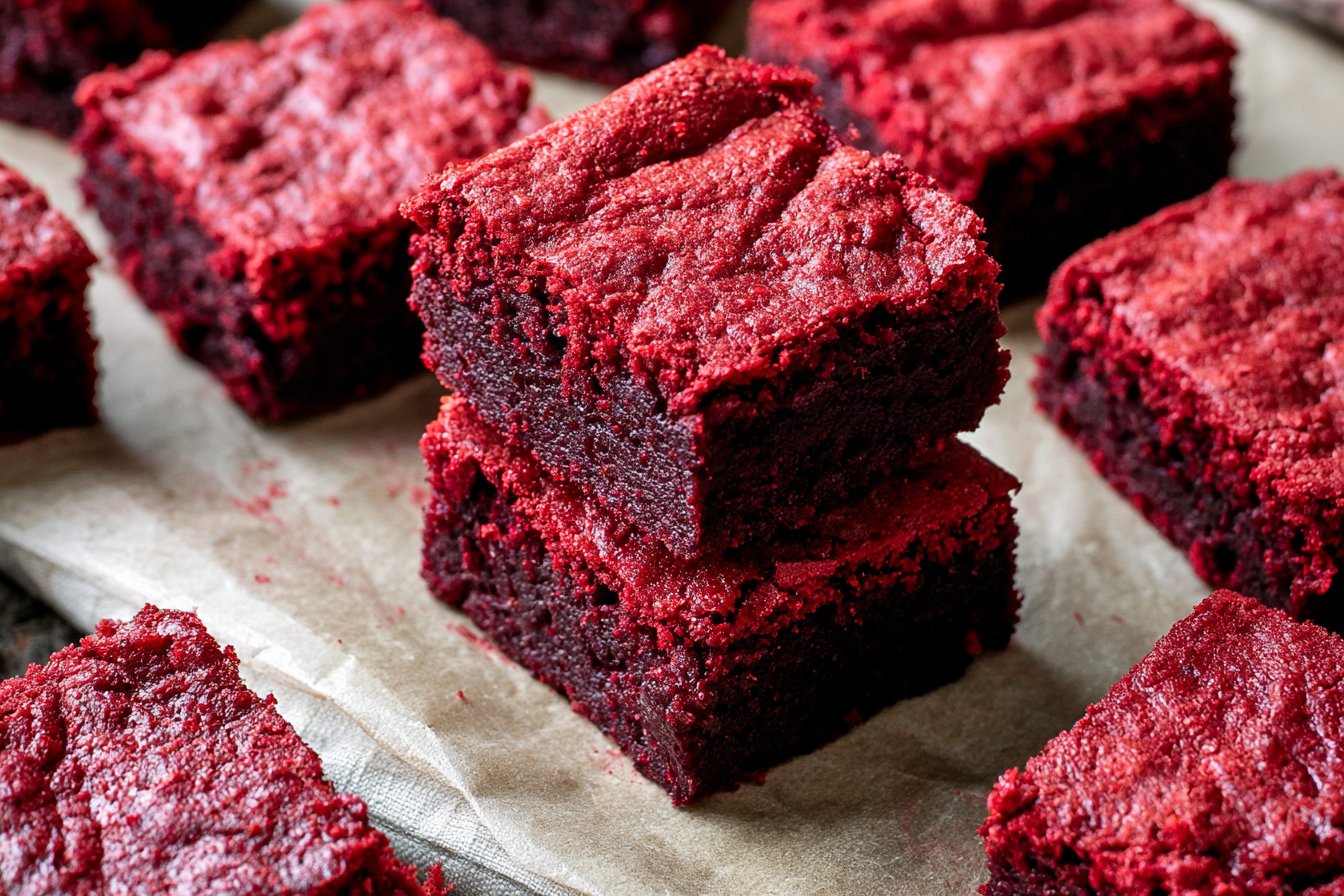
Step 10. Allow the brownies to cool completely on the wire rack. This final cooling step is essential for achieving the right texture. Once cooled, slice them into squares and serve warm or at room temperature for the best taste.
Serving Suggestions
These Red Velvet Brownies are versatile and can be enjoyed at various times throughout the day. For breakfast, they pair well with a cup of coffee or tea for a sweet start. As an afternoon snack, they’re perfect with a glass of cold milk. You can also serve them as a delightful dessert after family meals or as a treat for gatherings. If you have leftovers, they can be enjoyed over the next few days, bringing a bit of joy each time.
Pro Tips for Best Results
- Use room temperature eggs: They combine more easily with the other ingredients.
- Don’t overmix the batter: This keeps the brownies tender and fudgy.
- Check for doneness early: Ovens can vary, so it’s better to check a few minutes before the timer goes off.
- Let them cool properly: Cutting into the brownies while warm can lead to crumbling.
- Use high-quality cocoa powder: The flavor will elevate your brownies significantly.
Common Mistakes to Avoid
- Not greasing the pan: This can cause the brownies to stick, making it difficult to remove them cleanly. Always grease and line your pan to ensure easy removal.
- Using cold ingredients: Starting with cold butter or eggs can affect the batter’s texture. Allow all ingredients to reach room temperature for better emulsification.
- Overmixing the batter: Mixing too much will lead to tougher brownies. Stop mixing as soon as the flour is incorporated for a softer texture.
- Baking too long: If you bake beyond the suggested time, the brownies can become dry. Keep an eye on your oven and check them a few minutes early.
- Not letting them cool: Cutting into warm brownies can make them fall apart. Allow them to cool completely for clean slices.
- Skipping the parchment paper: Using just grease may leave remnants of brownie stuck in the pan. Parchment not only helps with removal but also minimizes mess.
Variations & Substitutions
You can customize these Red Velvet Brownies in various ways. For a cream cheese swirl, add dollops of softened cream cheese to the batter before baking and swirl gently with a knife. If you’d like a festive touch, sprinkle chopped nuts or chocolate chips on top before baking. For a gluten-free option, you can substitute all-purpose flour with a gluten-free blend designed for baking.
Storage & Reheating
Store the brownies at room temperature in an airtight container for up to three days. If you prefer them cold, you can also refrigerate them, where they’ll stay fresh for about a week. For longer storage, consider freezing them. Wrap individual brownies tightly in plastic wrap and then place them in a freezer-safe bag. When you’re ready to enjoy them, let them thaw at room temperature or warm them in the microwave for a few seconds to preserve that moist texture.
Frequently Asked Questions
Can I make this recipe ahead of time?
Yes, you can prepare the brownies and store them tightly wrapped at room temperature for up to three days. If you need to prepare them further in advance, consider freezing them after baking.
How long does it last in the fridge?
When stored in an airtight container, brownies can last up to a week in the refrigerator. However, they are best enjoyed at room temperature.
Can I freeze this recipe?
Definitely! Once baked and cooled, wrap the brownies in plastic wrap and place them in a freezer-safe container. They can be frozen for up to three months.
What can I substitute for one ingredient?
If you’re out of unsalted butter, you can use salted butter, but reduce the added salt in the recipe. Otherwise, replacing butter with a similar amount of coconut oil can also work for a different flavor.
Why didn’t my recipe turn out as expected?
Factors like ingredient temperature, oven calibration, and mixing technique can affect the outcome. Ensure all ingredients are at room temperature and be careful not to overmix.
Final Thoughts
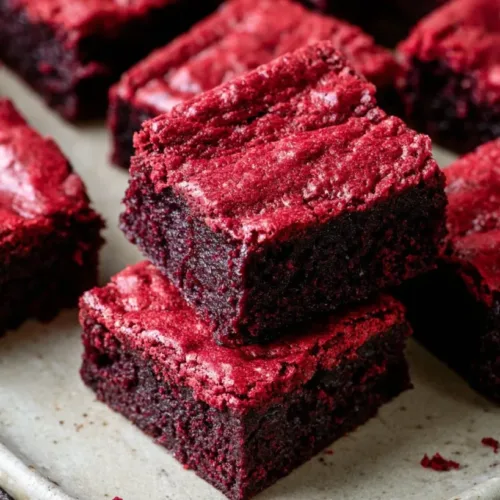
Making these Red Velvet Brownies is a straightforward process that yields rich, satisfying results. Their texture is wonderfully chewy, and the flavor is a delightful interplay of chocolate and a hint of vanilla. Enjoying them, whether fresh from the oven or at room temperature, is a comforting experience that brings a smile. Embrace the simple joys of baking and indulge in your delicious creation.
Red Velvet Brownies
Ingredients
For the Brownies
- ½ cup unsalted butter adds richness
- ½ cup granulated sugar provides sweetness
- ½ cup brown sugar adds moisture and a hint of caramel flavor
- 2 large eggs binds ingredients together
- 1 teaspoon pure vanilla extract enhances flavor
- 2.5 teaspoons red liquid food coloring gives vibrant color
- 1 teaspoon white vinegar adds slight tang and enhances rise
- ¾ cup all-purpose flour structural base
- ¼ cup unsweetened cocoa powder contributes chocolate flavor
- ½ teaspoon salt balances sweetness
- ¼ teaspoon baking soda helps brownies rise slightly
Instructions
Preparation
- Preheat your oven to 350°F.
- Grease a 9x9 inch baking pan and line it with parchment paper.
Mixing
- In a small pot, melt the butter over medium-high heat until it's sizzling.
- Combine the granulated and brown sugar with the hot butter and mix until smooth.
- Transfer the mixture to a mixing bowl, whisk in the eggs, vanilla, food coloring, and vinegar until well-blended.
- Mix in the flour, cocoa powder, salt, and baking soda until just combined.
Baking
- Pour the batter into the prepared pan and spread it out evenly.
- Bake for 25 to 30 minutes, checking for doneness with a toothpick.
Cooling and Serving
- Let the brownies cool in the pan for about 10 minutes before transferring to a wire rack.
- Allow the brownies to cool completely on the wire rack before slicing into squares.