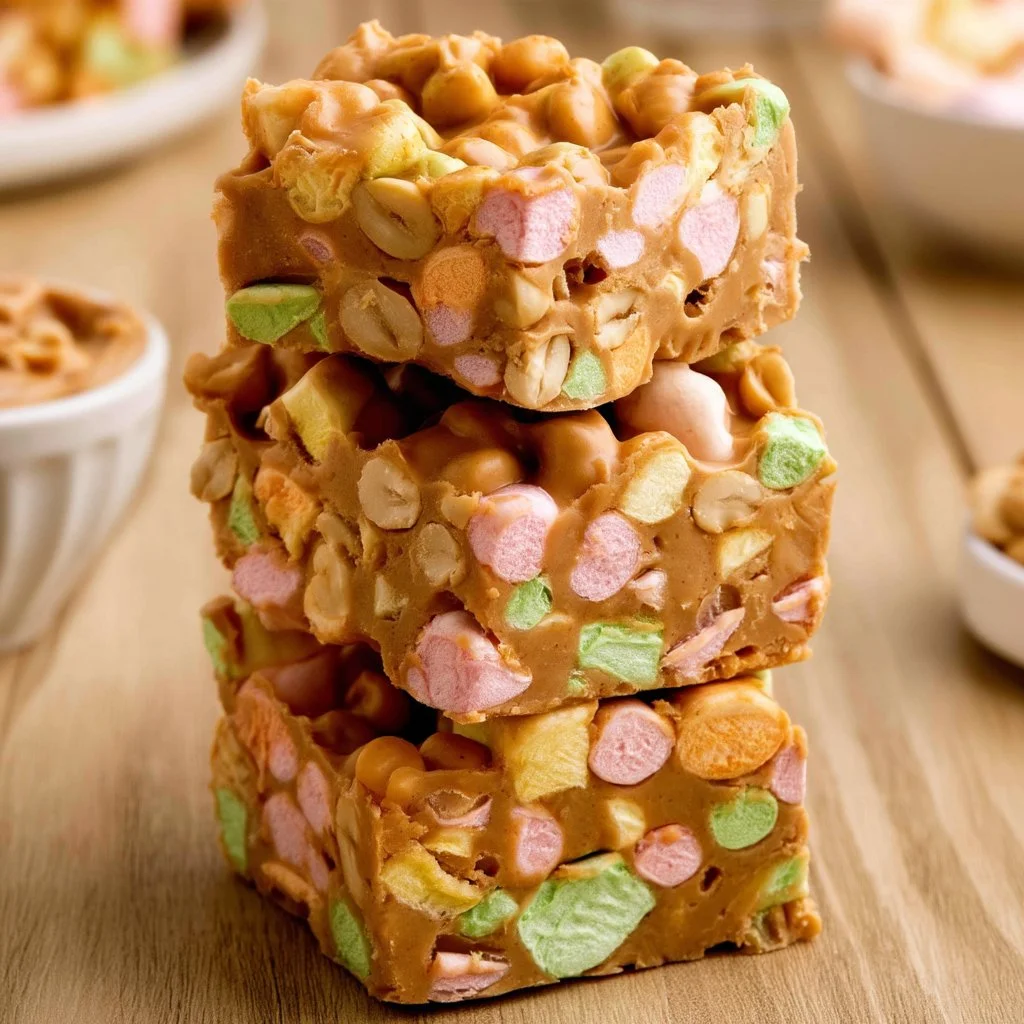
Marshmallow Peanut Butter Squares
Creating a sweet treat that brings comfort and joy can be simpler than you think. These delectable Marshmallow Peanut Butter Squares blend creamy peanut butter, melty butterscotch, and fluffy mini marshmallows into a delightful dessert. With just a handful of ingredients and straightforward steps, this recipe beautifully balances flavors and textures, making it a perfect choice for any occasion. Let’s dive into how you can make this delicious treat in your kitchen.
Why You’ll Love This Marshmallow Peanut Butter Squares
This recipe is simple and reliable, perfect for busy home cooks who appreciate quick and satisfying desserts. The combination of peanut butter and butterscotch creates a rich, balanced flavor that’s comforting and familiar. Plus, the delightful chewiness of fruity marshmallows adds a fun texture, making these squares an appealing choice for snacks or family gatherings. It’s an ideal addition to your everyday repertoire.
Kitchen Tools You’ll Need
- 8×8 straight-sided baking pan
- Parchment paper
- Non-stick baker’s spray
- Saucepan
- Large bowl
- Mixing spoon
Ingredients
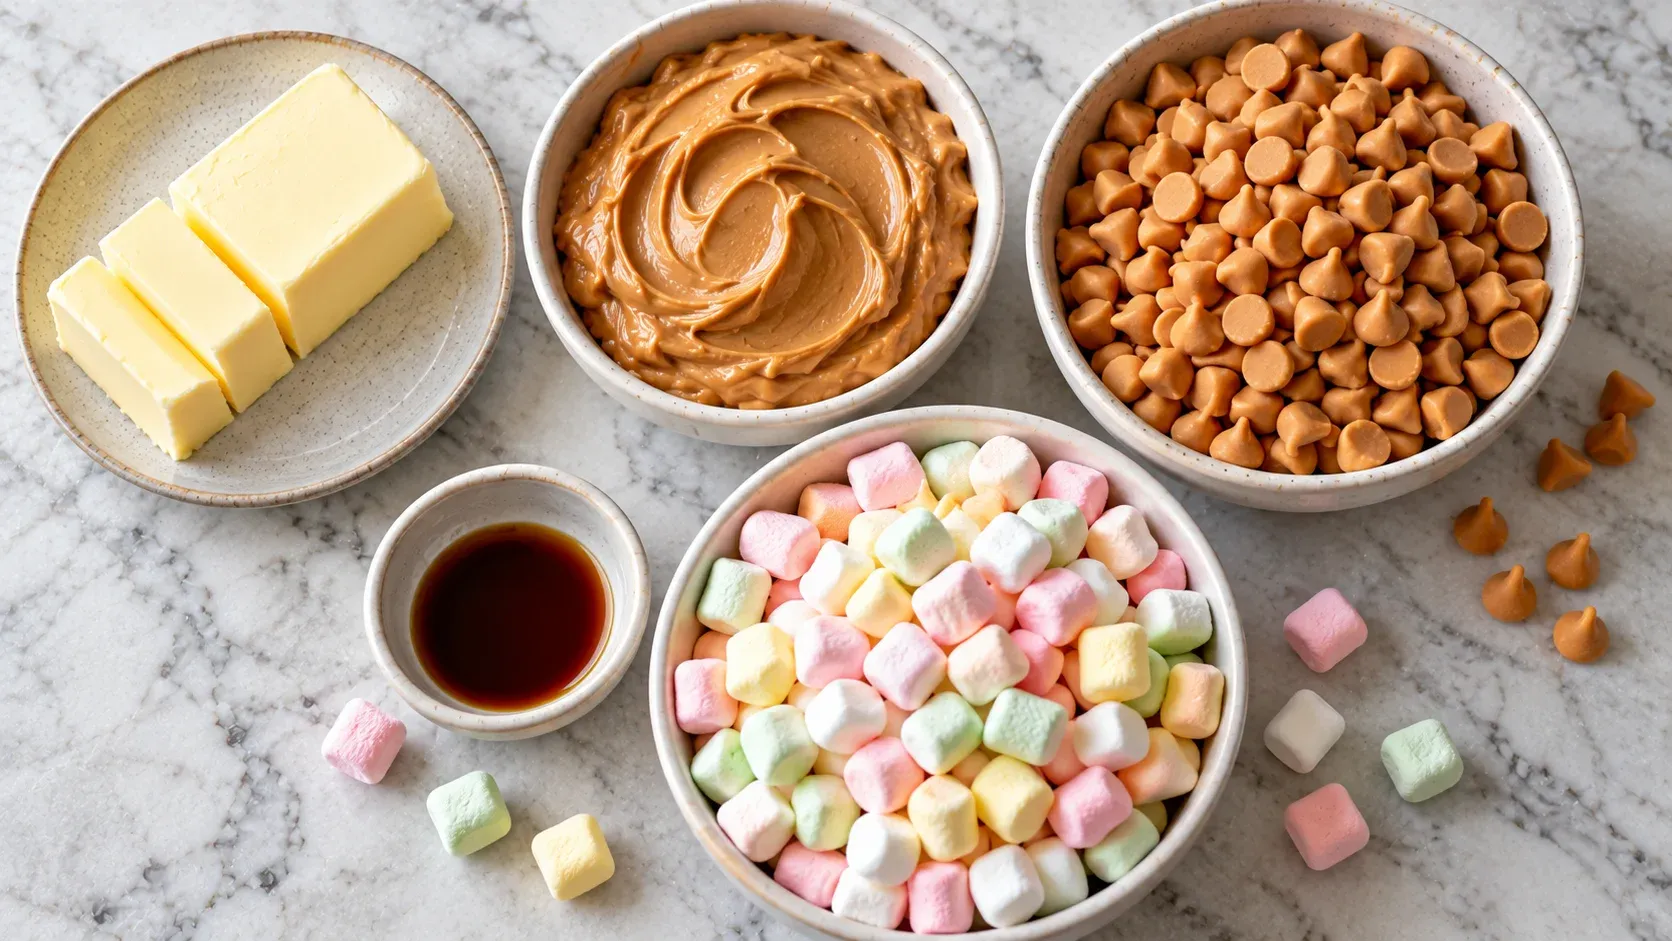
- ½ cup unsalted butter (adds richness)
- 1 cup creamy peanut butter (provides a smooth texture)
- 11 ounces butterscotch chips (introduces sweetness and flavor)
- 1 teaspoon vanilla extract (enhances overall flavor)
- 10 ounces fruity-flavored mini marshmallows (adds chewiness and a fun taste)
How to Make Marshmallow Peanut Butter Squares
Step 1. Line an 8×8 straight-sided baking pan with parchment paper and lightly spray with non-stick baker’s spray. This preparation step ensures easy removal of the finished squares later, helping maintain their shape and presentation. The parchment will also prevent sticking, which can be a common issue with sweet treats containing marshmallows.
Step 2. In a saucepan over medium-low heat, melt the butter, peanut butter, and butterscotch chips together until smooth. As these ingredients warm, they will blend together into a luscious mixture. Stirring frequently will help create a uniform consistency without burning. You’ll know it’s ready when the mixture is entirely melted and silky.
Step 3. Stir in the vanilla extract and let cool for 2-3 minutes. Adding the vanilla after melting allows it to integrate into the mixture without losing its aroma. The cooling time is essential for preventing the marshmallows from melting when combined later, so patience is key here.
Step 4. In a large bowl, add mini marshmallows and pour the peanut butter mixture over them, folding gently until coated. This step requires careful folding to ensure the marshmallows are evenly covered, creating a balance of flavors in every bite. You’ll notice the marshmallows will soften slightly, and their fruity flavor will start to mingle with the peanut butter mixture.
Step 5. Transfer to the prepared pan, spreading it into an even layer. Use a spatula to smooth the top as best as you can. This step sets the foundation for how your squares will look, so take a moment to create a nice, level surface. A flat top also helps when cutting them later.
Step 6. Chill for 1 ½ to 2 hours until firm. Refrigerating allows the mixture to set properly, giving these squares their shape and structure. You’ll know they are ready when the surface feels firm to the touch and holds its form.
Step 7. Lift out using the parchment paper and slice into 16 squares. Gently pulling the parchment paper helps release the squares from the pan, making it easier to cut neat portions. A sharp knife will give you clean edges, resulting in a polished look.
Serving Suggestions
These Marshmallow Peanut Butter Squares are quite versatile and can be enjoyed in various ways. They make a delightful addition to breakfast when paired with coffee or tea. As snacks, they are perfect for kids’ lunchboxes or after-school treats. Family gatherings benefit from these squares served as a fun dessert option, and leftovers can be an enjoyable late-night snack. Their portability also makes them great for barbecues or picnics, where everyone can share in the sweetness.
Pro Tips for Best Results
- Make sure to stir the mixture frequently while melting to prevent burning.
- Allow the mixture to cool slightly before adding marshmallows to ensure they don’t melt entirely.
- Use a sharp knife for cutting the squares to achieve clean edges.
- Store the squares in an airtight container to maintain freshness.
- If the squares feel too soft after cooling, give them extra chilling time for firmness.
Common Mistakes to Avoid
- Not lining the pan properly.
- If you skip lining the pan, the squares may stick and be difficult to remove. Always use parchment paper for easy release.
- Overheating the mixture.
- Cooking on high heat can cause the mixture to burn or become grainy. Always stick to medium-low heat and stir gently.
- Skipping the cooling step.
- Failing to let the mixture cool before folding in marshmallows can lead to a melted mess instead of firm squares. Patience is needed here.
- Using old marshmallows.
- Old marshmallows can lose their softness and become hard, affecting the final texture. Always use fresh marshmallows for the best results.
- Not cutting at the right time.
- Cutting the squares too early can result in them falling apart. Wait until they are fully chilled and firm for easier slicing.
- Not storing them properly.
- If left uncovered, the squares can dry out. Store them in an airtight container to keep them moist and delicious.
Variations & Substitutions
While the original recipe shines on its own, you can consider a few variations. Adding a handful of chopped nuts for extra crunch can enhance texture; you might also experiment with different flavored chips, like chocolate or white chocolate, for a diverse taste. If you prefer a less sweet version, reducing the amount of butterscotch chips can adjust the overall sweetness.
Storage & Reheating
For room-temperature storage, keep the Marshmallow Peanut Butter Squares in an airtight container for up to 2 days. For longer storage, place them in the refrigerator where they can last about a week. If you want to store them for an extended period, they freeze well for up to 3 months. To reheat, simply let them sit at room temperature for a while or warm them slightly in the microwave, just enough to soften without melting them.
Frequently Asked Questions
Can I make this recipe ahead of time?
Absolutely! These squares can be made ahead of time and stored in the refrigerator for up to a week. This makes them a convenient treat for when you have guests or need an easy dessert option.
How long does it last in the fridge?
When properly stored in an airtight container, the Marshmallow Peanut Butter Squares will last up to a week in the refrigerator. They hold their flavor and texture well during this time.
Can I freeze this recipe?
Yes, these squares can be frozen for up to 3 months. Be sure to wrap them tightly in plastic wrap and place them in a freezer-safe container to prevent freezer burn.
What can I substitute for one ingredient?
If you need to substitute, consider swapping creamy peanut butter for crunchy peanut butter for added texture without changing the essence of the recipe.
Why didn’t my recipe turn out as expected?
There can be several reasons, such as overheating the mixture or not cooling it long enough before adding the marshmallows. Following each step carefully can help achieve the desired outcome.
Final Thoughts
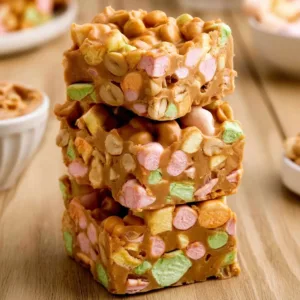
Making Marshmallow Peanut Butter Squares is a straightforward process that results in a delightful treat for any occasion. The combined flavors of peanut butter and butterscotch, along with the chewy marshmallows, create a comforting dessert that’s sure to please. Whether enjoyed fresh or stored for later, these squares are a wonderful addition to any home cook’s list of easy, satisfying recipes. Enjoy the experience of making and sharing them with friends and family.
Marshmallow Peanut Butter Squares
Ingredients
Main Ingredients
- ½ cup unsalted butter adds richness
- 1 cup creamy peanut butter provides a smooth texture
- 11 ounces butterscotch chips introduces sweetness and flavor
- 1 teaspoon vanilla extract enhances overall flavor
- 10 ounces fruity-flavored mini marshmallows adds chewiness and a fun taste
Instructions
Preparation
- Line an 8×8 straight-sided baking pan with parchment paper and lightly spray with non-stick baker’s spray.
Melting Mixture
- In a saucepan over medium-low heat, melt the butter, peanut butter, and butterscotch chips together until smooth.
- Stir frequently until the mixture is entirely melted and silky.
Combining Ingredients
- Stir in the vanilla extract and let cool for 2-3 minutes.
- In a large bowl, add mini marshmallows and pour the peanut butter mixture over them, folding gently until coated.
Setting
- Transfer the mixture to the prepared pan, spreading it into an even layer.
- Chill for 1 ½ to 2 hours until firm.
- Lift out using the parchment paper and slice into 16 squares.