There’s something special about gathering in the kitchen, especially to create a batch of warm, inviting cookies. These Bakery Gingerbread White Chocolate Cookies are perfect for any occasion—whether it’s a weeknight treat, a cozy weekend baking session, or a sweet addition to holiday gatherings. Their comforting flavors and simple preparation let you enjoy the process of baking without stress. Dive into the recipe and experience the delightful aromas that fill your home.
Why You’ll Love This Bakery Gingerbread White Chocolate Cookies
This recipe emphasizes ease and reliability, making it a dependable choice for any baker. The cookies offer comforting flavors balanced by the sweetness of white chocolate chips. Their practical everyday value means they’re suitable for breakfast, snacks, or family meals, perfect for enjoying at any moment.
Kitchen Tools You’ll Need
- Medium mixing bowl
- Large mixing bowl
- Whisk
- Electric mixer
- Cookie sheets
- Parchment paper
- Wire rack
Ingredients
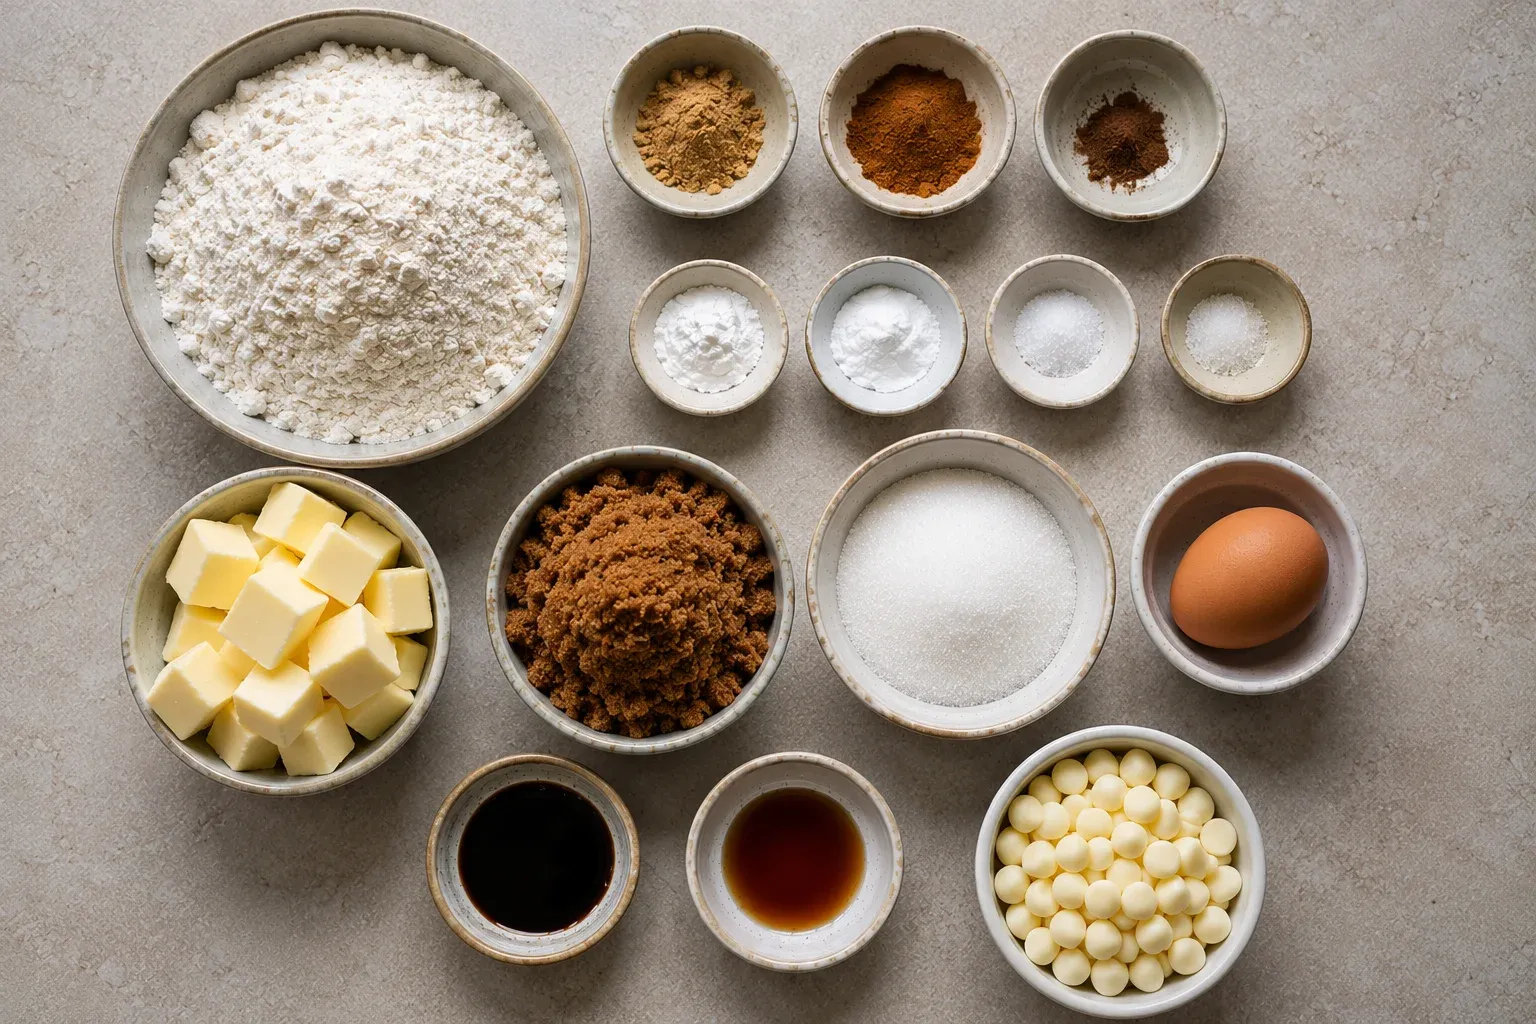
- 1¾ cups all-purpose flour (219 grams)
- 1 teaspoon ground ginger (for warmth)
- 1 teaspoon cinnamon (for sweetness)
- ¼ teaspoon ground nutmeg (for depth)
- ⅛ teaspoon ground cloves (for fragrance)
- ½ teaspoon baking powder (for leavening)
- ½ teaspoon baking soda (for rising)
- ¼ teaspoon salt (to enhance flavor)
- ¼ cup unsalted butter (112 grams, cold, cut into cubes)
- ¾ cup brown sugar (158 grams, dark preferred, for moisture)
- ¼ cup granulated sugar (50 grams, for sweetness)
- 1 large egg (for binding)
- 1 tablespoon molasses (15 ml, adds richness)
- 1 teaspoon vanilla extract (for flavor)
- 1 cup white chocolate chips (180 grams, for sweetness)
How to Make Bakery Gingerbread White Chocolate Cookies
Step 1. In a medium bowl, combine the flour, ground ginger, cinnamon, nutmeg, cloves, baking powder, baking soda, and salt. Whisk these ingredients together until they’re evenly mixed. This step helps blend the spices into the flour, ensuring every cookie has a consistent flavor profile. The mixture will be dry and powdery, providing the essential foundation for the cookies.
Step 2. In a separate large bowl, use an electric mixer to beat the cold butter cubes, brown sugar, and granulated sugar together until the mixture is smooth. This should take a couple of minutes. The color will lighten, and the texture will become creamy. Properly creaming the butter and sugars is crucial for achieving the right cookie consistency.
Step 3. Next, beat in the large egg, followed by the molasses and vanilla extract. Mix until everything is well combined. The addition of the egg will help create a cohesive dough, while the molasses and vanilla add rich flavor and moisture. The mixture should look creamy and somewhat thick at this point.
Step 4. Gradually incorporate the dry ingredients into the wet mixture. Stir until everything is combined, taking care not to overmix. You’ll know it’s ready when there are no visible flour streaks, and the dough pulls together smoothly. This creates a thick, slightly sticky dough that holds its shape.
Step 5. Gently fold in the white chocolate chips until evenly distributed throughout the dough. This adds pockets of sweetness and contrasting texture to the cookies. The dough should appear speckled with white chips when thoroughly mixed, enhancing visual appeal.
Step 6. Form the dough into balls, each weighing about 3½ ounces. Place them on a parchment-lined cookie sheet and freeze for at least 30 minutes. This step helps the cookies maintain their shape while baking, ensuring a nice, thick texture. The dough should feel firm and slightly chilled by the time you take it out.
Step 7. Preheat your oven to 375℉ (190℃) and line additional cookie sheets with parchment paper. Proper preheating is vital, as it ensures even baking for a consistent texture and color on the cookies. The sheets should be ready to go once the dough is frozen.
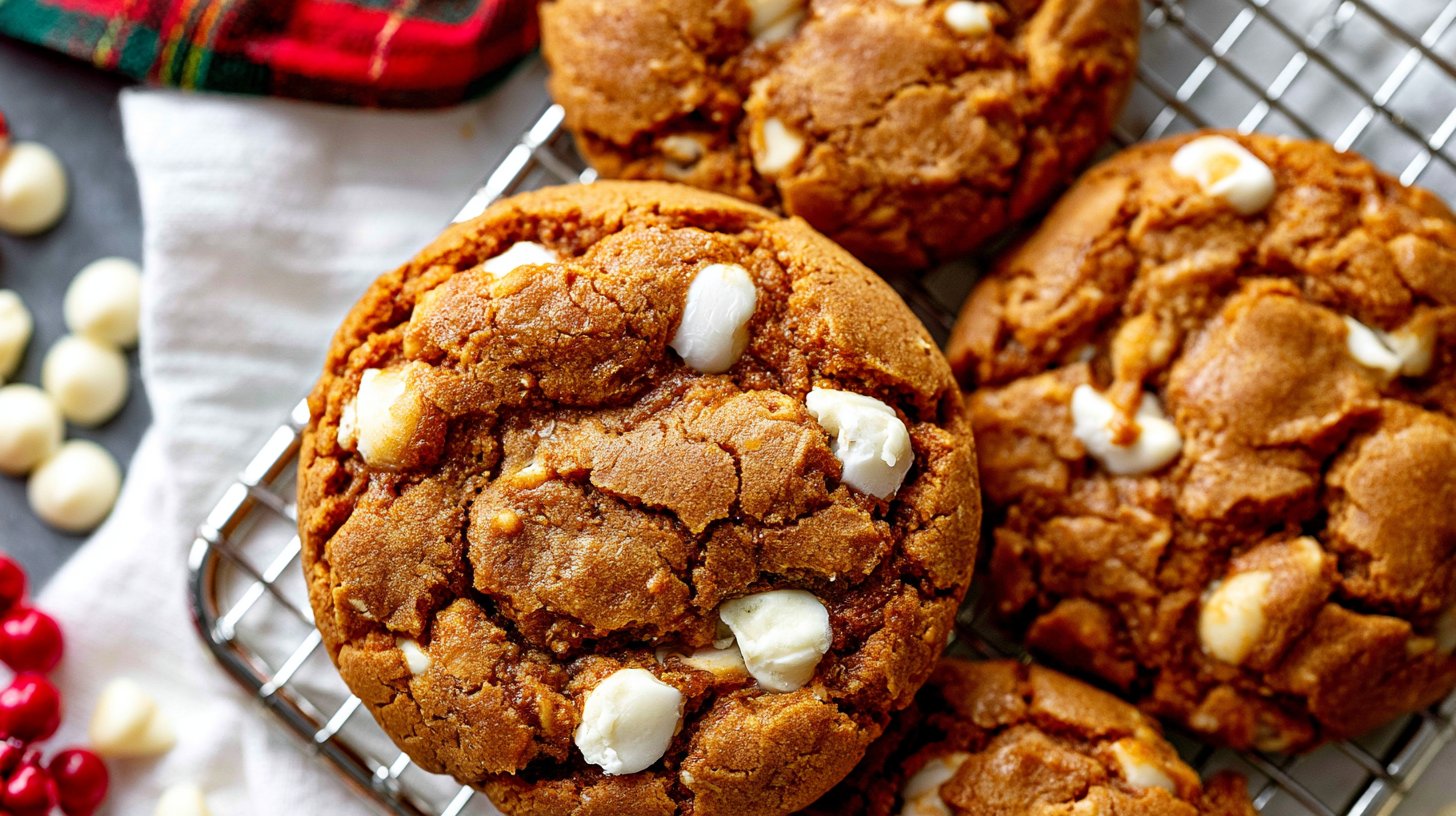
Step 8. Bake the frozen dough balls for 14-17 minutes, or until they appear set. They should look slightly puffed and have a light golden color around the edges. Keep an eye on them, as overbaking can lead to dry cookies. The cookies will firm up as they cool.
Step 9. After baking, allow the cookies to cool on the sheets for 10 minutes before transferring them to a wire rack. This cooling period helps them maintain their structure and improves their texture. They will continue to firm up as they cool completely on the rack.
Serving Suggestions
These cookies are versatile enough for a variety of instances. Enjoy them with your morning coffee for a sweet start to the day, or serve them as an after-school snack for your family. They make delightful treats for holiday gatherings, offering an inviting taste that everyone can appreciate. Leftovers can also be enjoyed throughout the week, with their flavors developing nicely over time.
Pro Tips for Best Results
- Ensure your butter is cold for a firmer dough that holds shape.
- Use fresh spices for the best flavor—old spices can lose potency over time.
- Let your dough chill in the freezer as directed to prevent spreading during baking.
- Keep an eye on the baking time; every oven is slightly different, and slight variations can impact texture.
- Allow cookies to cool on the baking sheet initially to avoid breaking when transferring.
- Store cookies in an airtight container to maintain moisture and softness.
Common Mistakes to Avoid
- Using warm butter: Using melted or warm butter can cause cookies to spread too much, resulting in flat cookies. Always use cold butter for the right texture.
- Not measuring flour correctly: Packing flour can lead to dry cookies. Spoon flour into the measuring cup and level off with a knife for accuracy.
- Skipping the chilling step: Failing to freeze the dough can lead to spreading cookies which become too thin. Allowing the dough to chill helps retain shape.
- Overbaking cookies: Cookie edges should be slightly golden, while the centers may still look soft. Overbaking can lead to dry cookies that lose their chewy texture.
- Ignoring ingredient temperature: Ingredients like eggs should be at room temperature for the best mixing. Cold eggs can lead to lumpy batter and poor dough consistency.
- Not letting cookies cool properly: Moving cookies too soon can cause them to break apart. Allow them to cool for the specified time on the sheet before transferring them.
Variations & Substitutions
You might consider tweaking the spices used for a different flavor profile—try adjusting the ginger or cinnamon levels based on your preference. Additionally, for a fun twist, you can replace some of the white chocolate chips with nuts or dried fruits for added texture. However, be cautious with substitutions as they can change the final consistency of the cookies.
Storage & Reheating
Store cookies at room temperature in an airtight container for up to a week. If you’d like them to last longer, refrigerate them, which can help maintain their freshness. For longer storage, consider freezing the baked cookies in an airtight container for up to three months. When reheating, place cookies in the microwave for about 10-15 seconds to retain their soft texture.
Frequently Asked Questions
Can I make this recipe ahead of time?
Yes, you can prepare the cookie dough ahead of time and freeze it until you’re ready to bake. Just remember to allow enough time for the dough to chill before baking.
How long does it last in the fridge?
The cookies can be stored in an airtight container in the refrigerator for about one week before they begin to lose freshness.
Can I freeze this recipe?
Absolutely! You can freeze the baked cookies or the dough itself. If freezing raw dough, be sure to portion it into balls before freezing.
What can I substitute for one ingredient?
If you need to substitute an ingredient, consider swapping the brown sugar with more granulated sugar for a lighter flavor, though it may slightly alter the cookies’ moisture.
Why didn’t my recipe turn out as expected?
Several factors can affect the outcome, such as ingredient temperatures, mismeasuring, or baking time. Reviewing each step can help identify what may need adjusting next time.
Final Thoughts
Baking Bakery Gingerbread White Chocolate Cookies is a simple and rewarding experience that brings comforting warmth to any kitchen. With straightforward steps and accessible ingredients, these cookies are perfect for sharing warmth with family and friends. Enjoy every bite and the cozy moments that come with baking.

Bakery Gingerbread White Chocolate Cookies
Ingredients
Dry Ingredients
- 1¾ cups all-purpose flour (219 grams)
- 1 teaspoon ground ginger (for warmth)
- 1 teaspoon cinnamon (for sweetness)
- ¼ teaspoon ground nutmeg (for depth)
- ⅛ teaspoon ground cloves (for fragrance)
- ½ teaspoon baking powder (for leavening)
- ½ teaspoon baking soda (for rising)
- ¼ teaspoon salt (to enhance flavor)
Wet Ingredients
- ¼ cup unsalted butter (112 grams, cold, cut into cubes)
- ¾ cup brown sugar (158 grams, dark preferred, for moisture)
- ¼ cup granulated sugar (50 grams, for sweetness)
- 1 large egg (for binding)
- 1 tablespoon molasses (15 ml, adds richness)
- 1 teaspoon vanilla extract (for flavor)
- 1 cup white chocolate chips (180 grams, for sweetness)
Instructions
Preparation
- In a medium bowl, combine the flour, ground ginger, cinnamon, nutmeg, cloves, baking powder, baking soda, and salt. Whisk until evenly mixed.
- In a separate large bowl, use an electric mixer to beat the cold butter cubes, brown sugar, and granulated sugar together until smooth.
- Beat in the large egg, followed by the molasses and vanilla extract until well combined.
- Gradually incorporate the dry ingredients into the wet mixture, stirring until combined without overmixing.
- Gently fold in the white chocolate chips until evenly distributed.
Baking
- Form the dough into balls, each weighing about 3½ ounces. Place them on a parchment-lined cookie sheet and freeze for at least 30 minutes.
- Preheat your oven to 375℉ (190℃) and line additional cookie sheets with parchment paper.
- Bake the frozen dough balls for 14-17 minutes, or until slightly puffed and light golden around the edges.
- Allow the cookies to cool on the sheets for 10 minutes before transferring them to a wire rack.