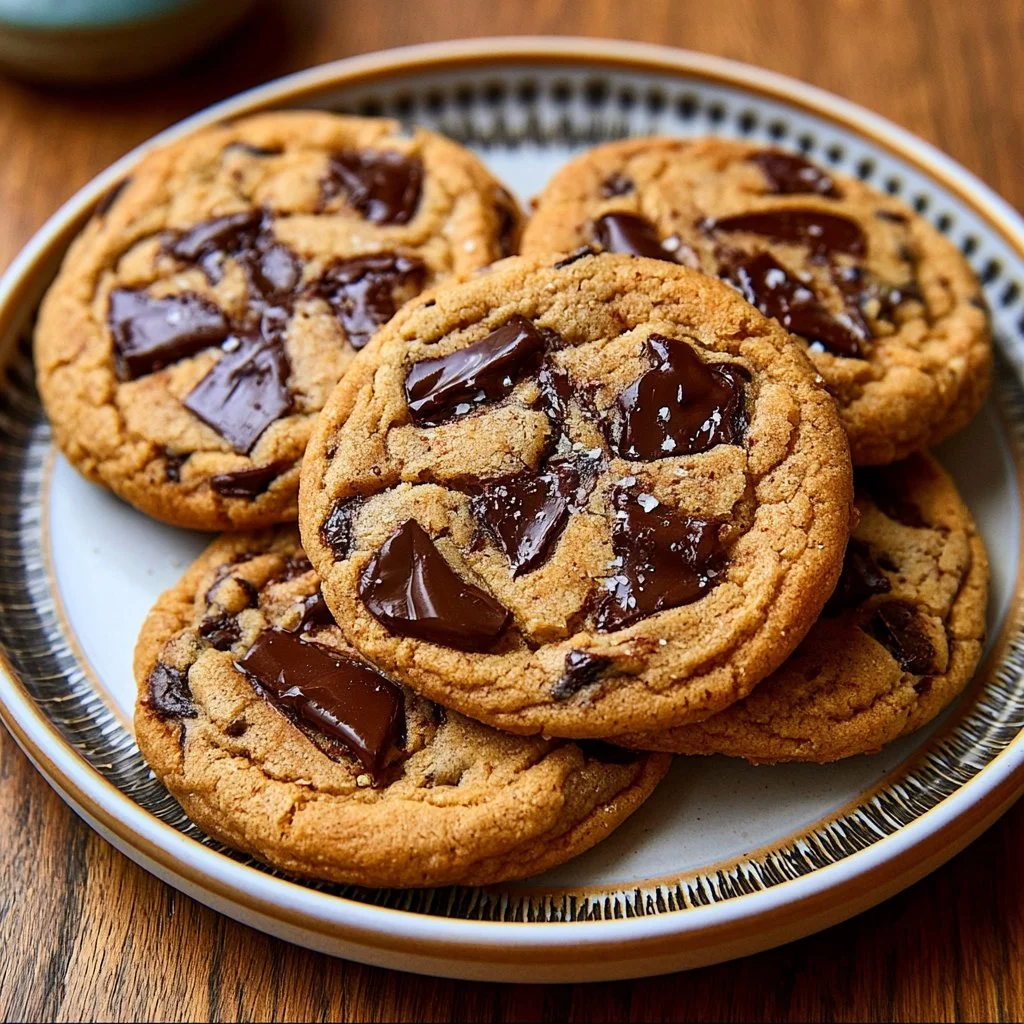
There’s something truly special about home-baked cookies, especially when they’re made with a twist. Using sourdough discard as well as rich, nutty brown butter, this cookie recipe redefines the classic chocolate chip treat. These cookies are beautifully balanced with sweet and savory flavors, creating a comforting dessert that works anytime — whether it’s for a snack or a family gathering. Let’s dive into the recipe and see how simple it is to create a batch of warm, delectable cookies.
Why You’ll Love This Brown Butter Sourdough Discard Chocolate
These cookies feature ease and reliability, making them perfect for an everyday treat. The delightful combination of flavors from the brown butter and sourdough discard provides comfort without being overpowering. They’re practical for busy days and provide a satisfying snack or dessert option that everyone will enjoy. It’s a wonderful way to use sourdough discard, turning what could be waste into something truly delicious.
Kitchen Tools You’ll Need
- Medium saucepan
- Large mixing bowl
- Whisk
- Parchment-lined baking sheet
- Wire rack
Ingredients
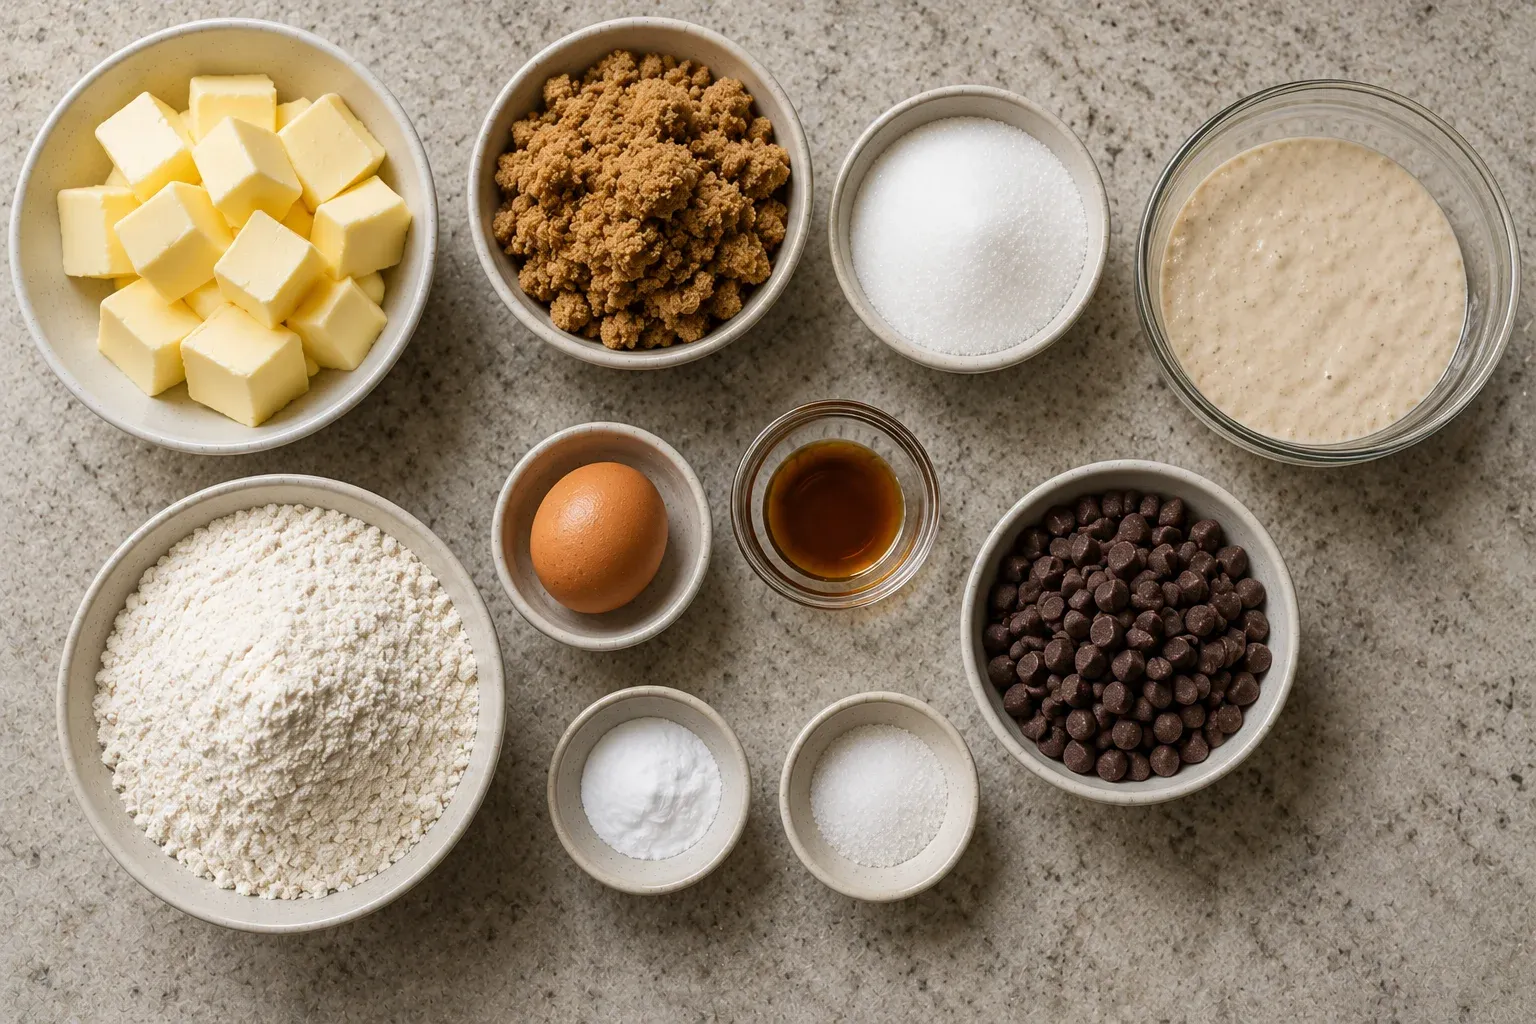
- 1 cup unsalted butter (adds richness and moisture)
- 1 cup brown sugar (contributes sweetness and a chewy texture)
- 1/2 cup granulated sugar (balances sweetness and helps with texture)
- 1 cup sourdough discard (adds moisture and a slight tang)
- 1 large egg (binds ingredients)
- 2 teaspoons vanilla extract (enhances flavor)
- 2 cups all-purpose flour (gives structure)
- 1/2 teaspoon baking soda (helps cookies rise)
- 1/2 teaspoon salt (balances flavors)
- 1 cup semi-sweet chocolate chips (adds sweetness and texture)
How to Make Brown Butter Sourdough Discard Chocolate
Step 1. In a medium saucepan, begin by melting the unsalted butter over medium heat. As it melts, keep stirring frequently to ensure it doesn’t burn. Continue cooking the butter until it develops a golden brown color, which will give off a rich, nutty aroma. Once it’s browned, remove it from the heat and let it cool slightly, allowing the flavors to deepen.
Step 2. In a large mixing bowl, start by combining the brown sugar and granulated sugar. This mix is essential because it provides a base of sweetness while contributing to the cookie’s overall texture. After the sugars are well mixed, pour in the slightly cooled browned butter. Stir until it’s thoroughly combined with the sugars, creating a smooth, glossy mixture.
Step 3. Next, add in the sourdough discard, large egg, and vanilla extract to the sugar-butter mixture. Use a spatula or wooden spoon to stir everything together until you see a uniform consistency. The sourdough discard not only contributes flavor but also adds moisture, which is key for the cookie’s tenderness.
Step 4. In another bowl, whisk together the all-purpose flour, baking soda, and salt. This step helps to evenly distribute the baking soda and salt, preventing any clumping when the dry ingredients are incorporated into the wet mixture. It’s critical to ensure that these ingredients are mixed so the cookies rise evenly.
Step 5. Gradually add the dry ingredients into the bowl with the wet mixture. As you do this, gently fold the ingredients together using a spatula. This technique helps prevent overmixing, ensuring the cookies maintain their tender texture. Stop mixing once no dry flour is visible, as overmixing can lead to denser cookies.
Step 6. With the dough combined, gently fold in the semi-sweet chocolate chips. These chocolate chips will remain somewhat firm while baking, creating pockets of melty chocolate goodness in the final cookies. Make sure they are evenly distributed throughout the dough to ensure each cookie will have bits of chocolate.
Step 7. Now that your dough is ready, cover it and place it in the refrigerator for at least 30 minutes. Chilling the dough helps the flavors develop and improves the texture of the cookies, allowing them to bake beautifully with the right amount of chewiness.
Step 8. When you’re ready to bake, preheat your oven to 350°F (175°C). This temperature is ideal for achieving a golden exterior while keeping the inside soft and tender. Position your oven racks appropriately, ensuring there is enough space for air circulation around the baking tray.
Step 9. Once the oven is preheated, scoop tablespoon-sized balls of dough onto a parchment-lined baking sheet. Keep them spaced apart to allow for spreading as they bake. The parchment paper helps prevent sticking and aids in even baking.
Step 10. Bake the cookies in the preheated oven for about 10-12 minutes. You’ll know they are done when the edges are golden and the centers appear slightly soft — they will continue to firm up as they cool. Once they’re baked, allow the cookies to cool on the baking sheet for 5 minutes before transferring them to a wire rack to cool completely.
Serving Suggestions
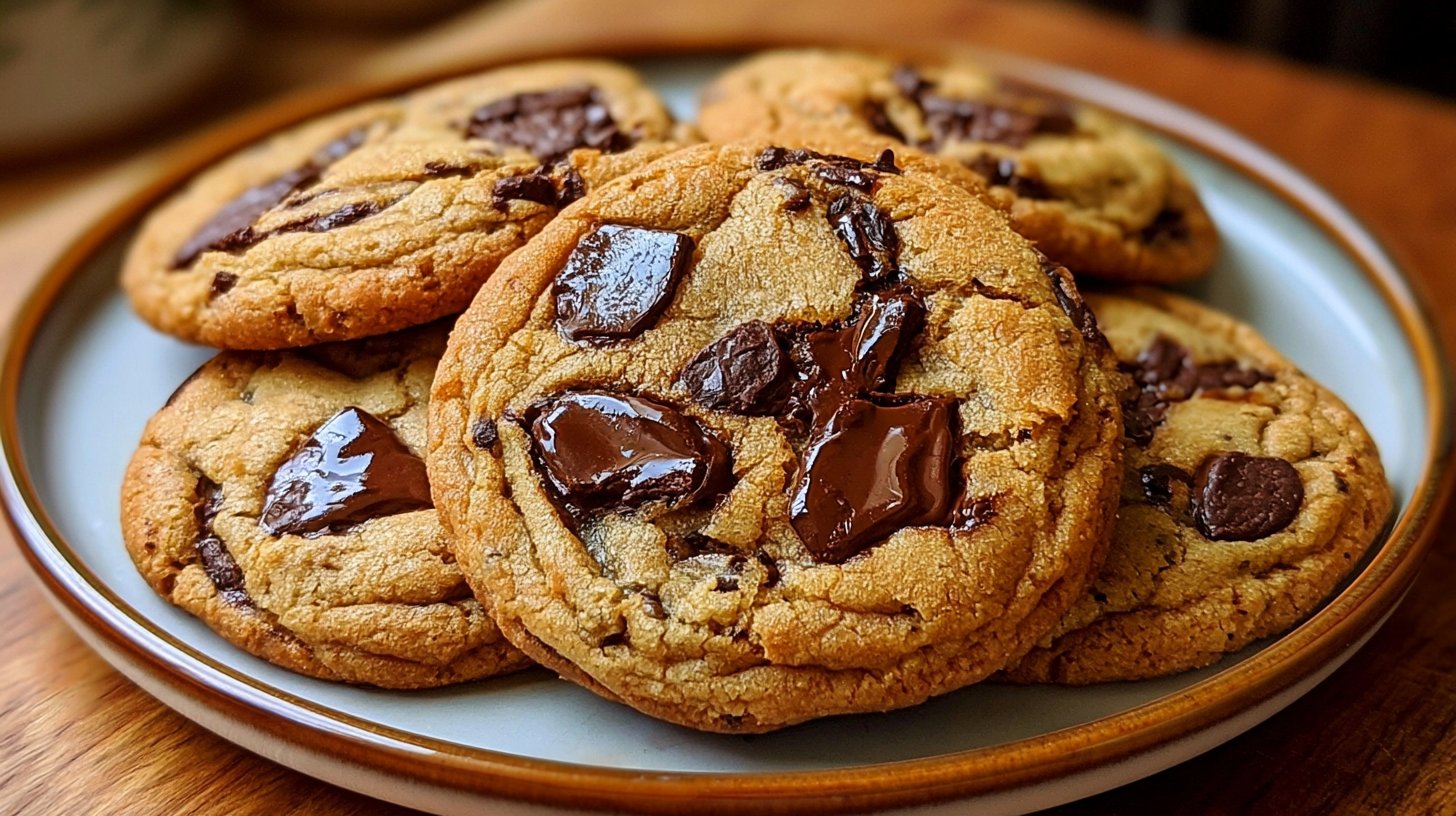
These cookies make an excellent addition to breakfast if you’re in the mood for a sweet start to your day. They’re also perfect for snacks throughout the day or as a delightful dessert after family meals. If you have any leftovers, they keep well and can be enjoyed later, offering a taste of homemade goodness whenever you need a pick-me-up. Sharing them with friends or family is always a great idea, too, as they tend to disappear quickly!
Pro Tips for Best Results
- Ensure the butter is properly browned for maximum flavor; don’t rush the browning process.
- Use room temperature ingredients for better incorporation, especially the egg.
- Chilling the dough is essential to control spread and texture in the cookies.
- Adjust the baking time based on your oven for the best results.
- Don’t skip the parchment paper; it helps create a non-stick surface for baking.
- Feel free to keep an eye on the cookies; they can go from perfect to overdone quickly.
Common Mistakes to Avoid
- Not chilling the dough: This can result in flat cookies that spread too much.
- Overmixing the dough: This can make the cookies tough instead of tender; mix just until combined.
- Incorrectly measuring flour: Too much flour can lead to dry cookies. Use the spoon-and-level method for accuracy.
- Using cold butter: Cold butter won’t brown properly and can affect the texture. Always start with room temperature.
- Baking at the wrong temperature: Make sure your oven is accurately calibrated to avoid uneven baking.
- Skipping the parchment paper: Directly baking on the sheet can lead to sticking; parchment gives an easy release.
Variations & Substitutions
If you enjoy experimenting, consider adding nuts for extra crunch or swapping in different types of chocolate chips for variety. You could also incorporate oats for a heartier texture. While maintaining the foundational ingredients, these adjustments can elevate the cookie experience without losing the comforting essence of the original recipe.
Storage & Reheating
To store cookies at room temperature, keep them in an airtight container for up to a week to maintain their softness. If you need to store them longer, placing them in the refrigerator can extend their shelf life, though they may firm up a bit in the chill. You can also freeze cooked cookies by laying them flat in a single layer until frozen, then transferring them to a freezer-safe bag or container. Reheat cookies in a microwave for a few seconds to restore their moist texture.
Frequently Asked Questions
Can I make this recipe ahead of time?
Yes, you can prepare the dough in advance. Just chill it before baking, and refrigerate it until you’re ready to use it. The flavors can develop nicely with a bit of extra time.
How long does it last in the fridge?
Stored in an airtight container, these cookies can last in the fridge for about a week. They may be a bit firmer, so letting them sit at room temperature for a few minutes before enjoying them can help restore their softness.
Can I freeze this recipe?
Absolutely! Both the baked cookies and the unbaked dough can be frozen. Baked cookies should be stored in a suitable container, while unbaked dough can be wrapped and frozen for up to three months.
What can I substitute for one ingredient?
If you’re out of brown sugar, you can use all granulated sugar in a pinch. However, expect a difference in flavor and texture; brown sugar adds moisture and a chewy texture while delivering a distinct flavor.
Why didn’t my recipe turn out as expected?
Several factors can contribute to this, including incorrect ingredient measurements or not chilling the dough enough. If the cookies spread too much or are dry, reassess the measuring techniques and ensure you followed each step as described.
Final Thoughts
Making Brown Butter Sourdough Discard Chocolate Chip Cookies is a comforting experience that transforms everyday ingredients into an inviting treat. The delightful blend of flavors and textures makes each bite rewarding. Enjoy these cookies fresh from the oven or at room temperature, savoring the warmth they bring. There’s something heartening about sharing homemade cookies, and they’re sure to create cherished moments.

Brown Butter Sourdough Discard Chocolate Chip Cookies
Ingredients
Wet Ingredients
- 1 cup unsalted butter Adds richness and moisture
- 1 cup brown sugar Contributes sweetness and a chewy texture
- 1/2 cup granulated sugar Balances sweetness and helps with texture
- 1 cup sourdough discard Adds moisture and a slight tang
- 1 large egg Binds ingredients
- 2 teaspoons vanilla extract Enhances flavor
Dry Ingredients
- 2 cups all-purpose flour Gives structure
- 1/2 teaspoon baking soda Helps cookies rise
- 1/2 teaspoon salt Balances flavors
Mix-ins
- 1 cup semi-sweet chocolate chips Adds sweetness and texture
Instructions
Preparation
- In a medium saucepan, melt the unsalted butter over medium heat, stirring frequently until it develops a golden brown color and rich aroma. Remove from heat and let cool slightly.
- In a large mixing bowl, combine the brown sugar and granulated sugar. Pour in the cooled browned butter and stir until well combined.
- Add the sourdough discard, egg, and vanilla extract to the sugar-butter mixture. Stir until uniform in consistency.
Mixing Dry Ingredients
- In another bowl, whisk together the all-purpose flour, baking soda, and salt.
- Gradually add the dry ingredients to the wet mixture, gently folding until no dry flour is visible.
Final Steps
- Gently fold in the chocolate chips, ensuring they are evenly distributed.
- Cover the dough and refrigerate for at least 30 minutes.
- Preheat your oven to 350°F (175°C).
- Scoop tablespoon-sized balls of dough onto a parchment-lined baking sheet, leaving enough space for spreading.
- Bake for about 10-12 minutes until the edges are golden and centers are slightly soft. Allow to cool on the baking sheet for 5 minutes before transferring to a wire rack.