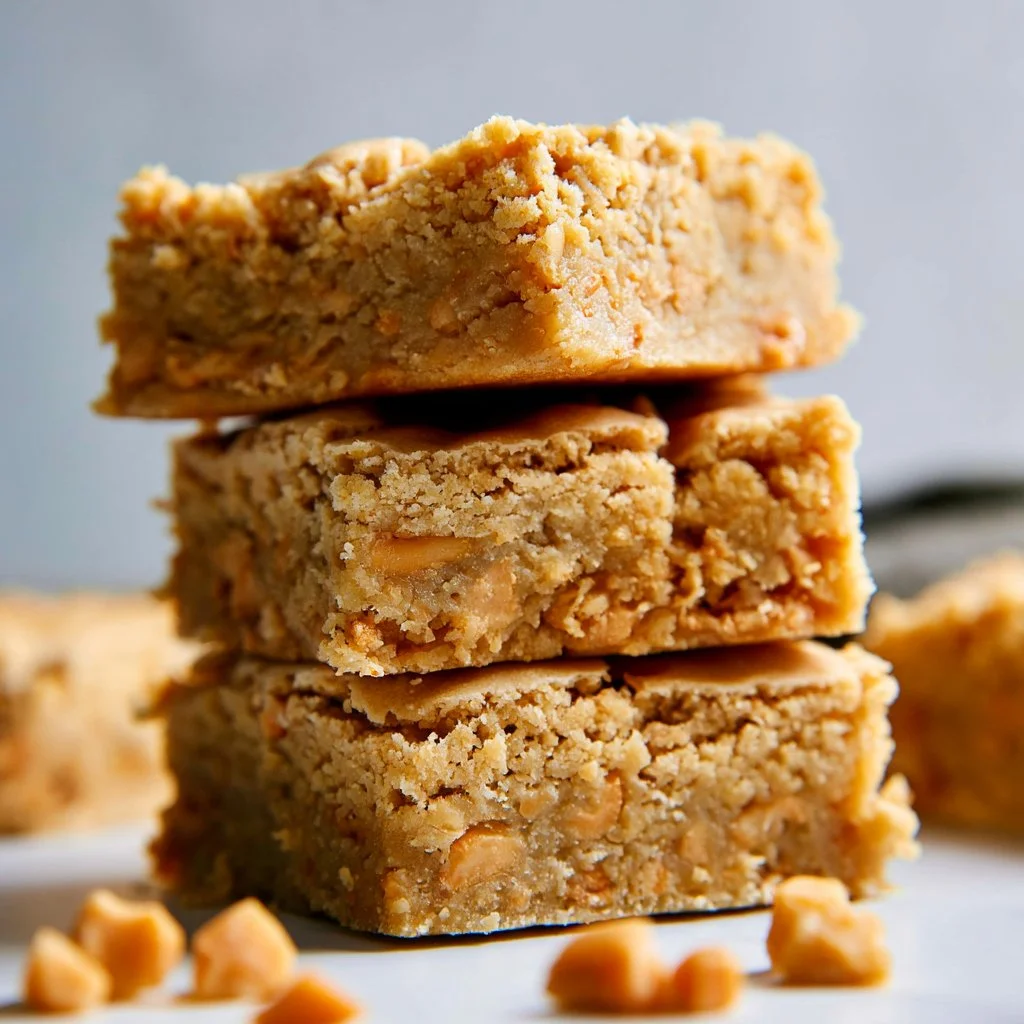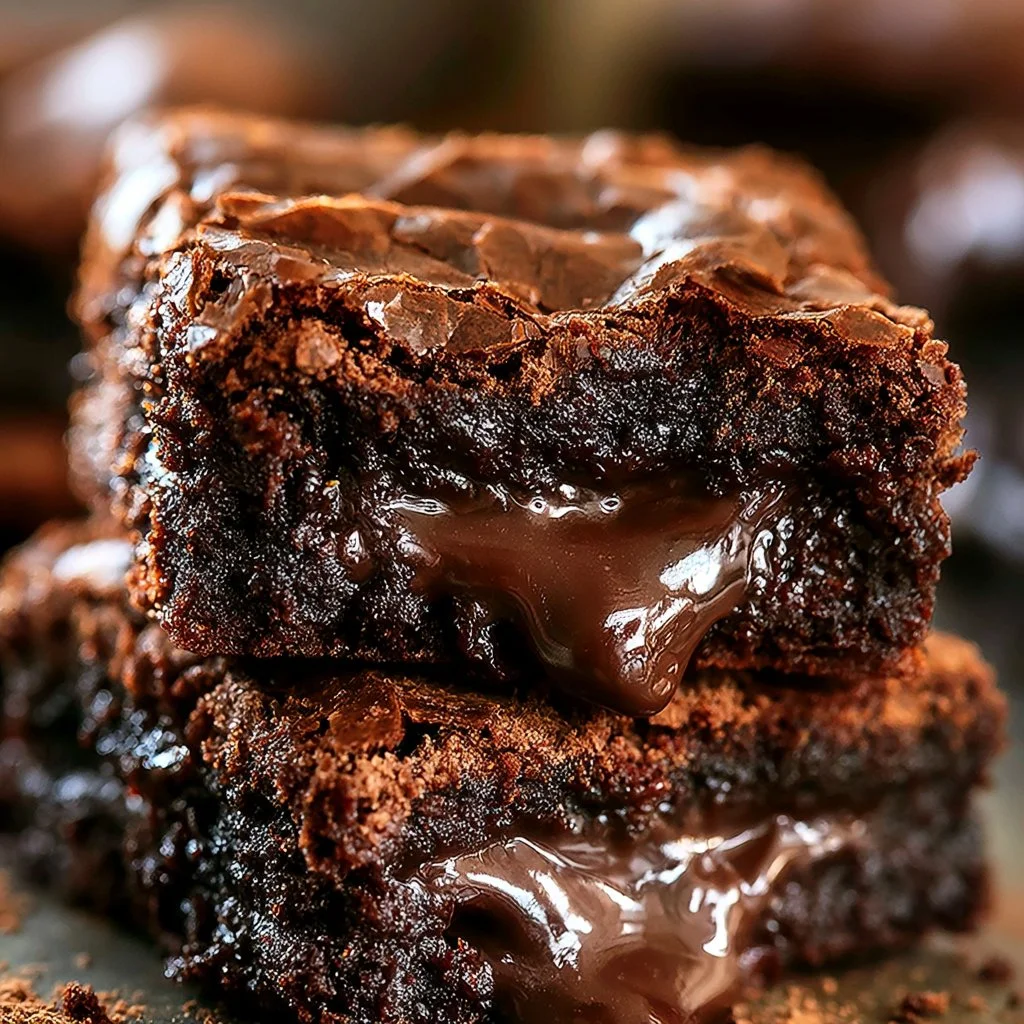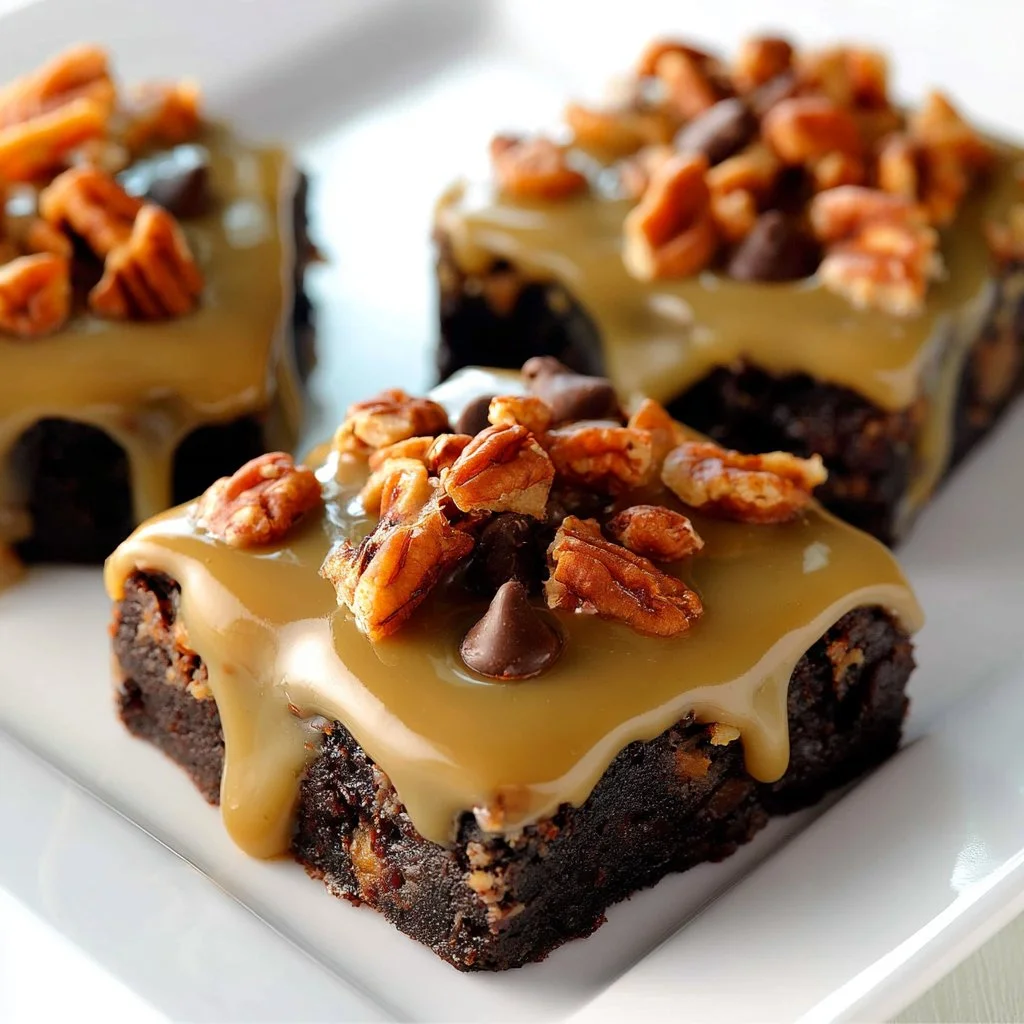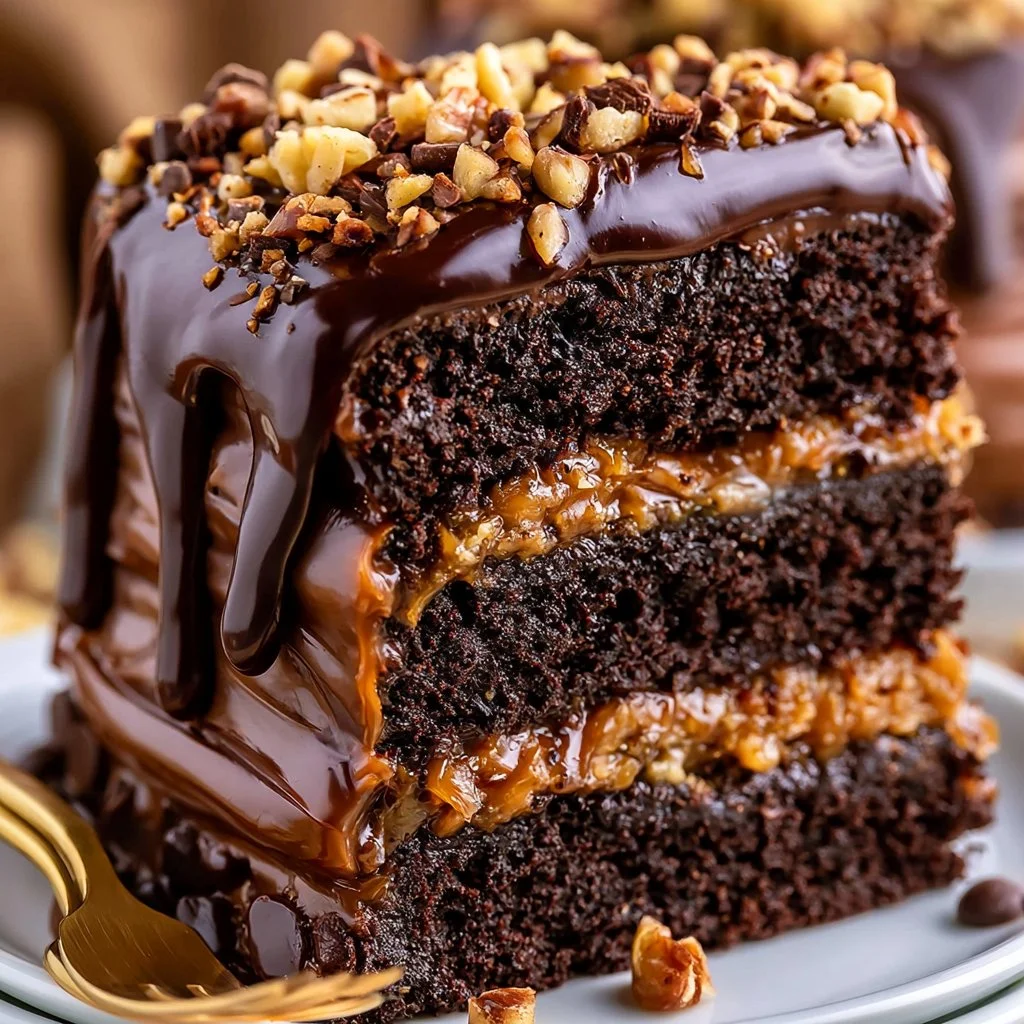
After a long day, there’s something wonderfully comforting about bringing a little sweetness into the kitchen. This chocolate peanut butter cake is a delightful treat that blends rich chocolate and creamy peanut butter into a dessert that’s truly satisfying. It’s perfect for a variety of occasions, whether it’s a quiet evening or a gathering with friends. The recipe is straightforward, offering a chance to indulge in something delicious without too much fuss. Let’s get started on creating this delightful cake.
Why You’ll Love This Chocolate Peanut Butter Gooey Melt Cake
This recipe is incredibly easy to follow, making it a reliable choice for both seasoned bakers and novices alike. The combination of chocolate and peanut butter strikes a balance between rich flavors and comforting sweetness. It’s practical for everyday enjoyment, whether shared during family meals or savored with a cup of coffee. The Chocolate Peanut Butter Gooey Melt Cake offers a little something for everyone, making it a wonderful addition to any dessert lineup.
Kitchen Tools You’ll Need
- Three 8-inch round cake pans
- Mixing bowls
- Whisk
- Electric mixer
- Rubber spatula
- Wire racks
- Serving plate
Ingredients
- 1 cup all-purpose flour (provides structure)
- 1/2 cup cocoa powder (adds rich chocolate flavor)
- 1 tsp baking soda (helps the cake rise)
- 1/2 tsp salt (enhances flavor)
- 1 cup unsalted butter, softened (adds moisture and richness)
- 1 cup granulated sugar (sweetens the cake)
- 1 cup brown sugar, packed (contributes moisture and flavor)
- 4 large eggs (binds ingredients and adds structure)
- 1 tsp vanilla extract (adds depth of flavor)
- 1 cup buttermilk (adds moisture and tenderness)
- 1 cup hot water (thin the batter)
- 1 cup creamy peanut butter (adds flavor and texture)
- 2 cups powdered sugar (sweetens the filling)
- 1/2 cup heavy cream (adds richness)
- 1 cup chocolate chips (for ganache)
- 1 cup peanut butter chips (for topping)
- 1/2 cup chopped peanuts (adds crunch)
How to Make Chocolate Peanut Butter Gooey Melt Cake
Step 1. Start by preheating your oven to 350°F (175°C). Prepare three 8-inch round cake pans by greasing and flouring them, which will help prevent the cakes from sticking once they’re baked.
Step 2. In a medium mixing bowl, combine the all-purpose flour, cocoa powder, baking soda, and salt. Whisk them together until well-blended to ensure even distribution of the dry ingredients in the batter.
Step 3. In a larger mixing bowl, use an electric mixer to beat the softened unsalted butter, granulated sugar, and brown sugar together. Continue until the mixture is creamy and fluffy, which usually takes a few minutes and helps to incorporate air for a lighter cake.
Step 4. Add the eggs to the mixture one at a time, making sure to beat well after each addition. This process helps to ensure that each egg is fully incorporated, which is important for the structure of the cake.
Step 5. Mix in the vanilla extract until it’s fully combined. This small addition will enhance the overall flavor of the cake, bringing out the sweetness of the sugars.
Step 6. Gradually alternate adding the flour mixture and the buttermilk to the butter mixture. Start and end with the flour mixture, mixing just until all ingredients are combined. This method prevents overmixing, which can lead to a tough texture.
Step 7. Carefully stir in the hot water until the batter is completely smooth. The hot water helps to dissolve the cocoa powder, enhancing the chocolate flavor and creating a silky batter.
Step 8. Pour the batter evenly into the prepared cake pans. The batter should be relatively thin, but you want it distributed evenly to ensure even baking.
Step 9. Place the pans in the preheated oven and bake for 30-35 minutes. To check for doneness, insert a toothpick into the center of one of the cakes; if it comes out clean, the cakes are ready.
Step 10. After baking, let the cakes cool in the pans for about 10 minutes. This resting period makes it easier to remove them from the pans without breaking.
Step 11. Carefully remove the cakes from the pans and transfer them to wire racks to cool completely. This step prevents excess moisture from collecting at the bottom of the cakes.
Step 12. For the peanut butter filling, beat together the creamy peanut butter, powdered sugar, and heavy cream until the mixture is smooth and fluffy. This filling will add a rich layer of flavor between the cake layers.
Step 13. To assemble the cake, place one cooled layer on a serving plate. Spread a generous amount of the peanut butter filling on top, taking care to distribute it evenly.
Step 14. Add the second layer on top of the first and repeat the process, adding another layer of peanut butter filling. Finally, place the third layer on top.
Step 15. For the chocolate ganache, melt the chocolate chips and heavy cream together until you have a smooth mixture. Stir it gently to ensure everything is fully combined.
Step 16. Pour the ganache over the top of the assembled cake, allowing it to gently drip down the sides for a beautiful finish.
Step 17. To complete your cake, garnish with peanut butter chips and chopped peanuts for added texture and flavor.
Serving Suggestions
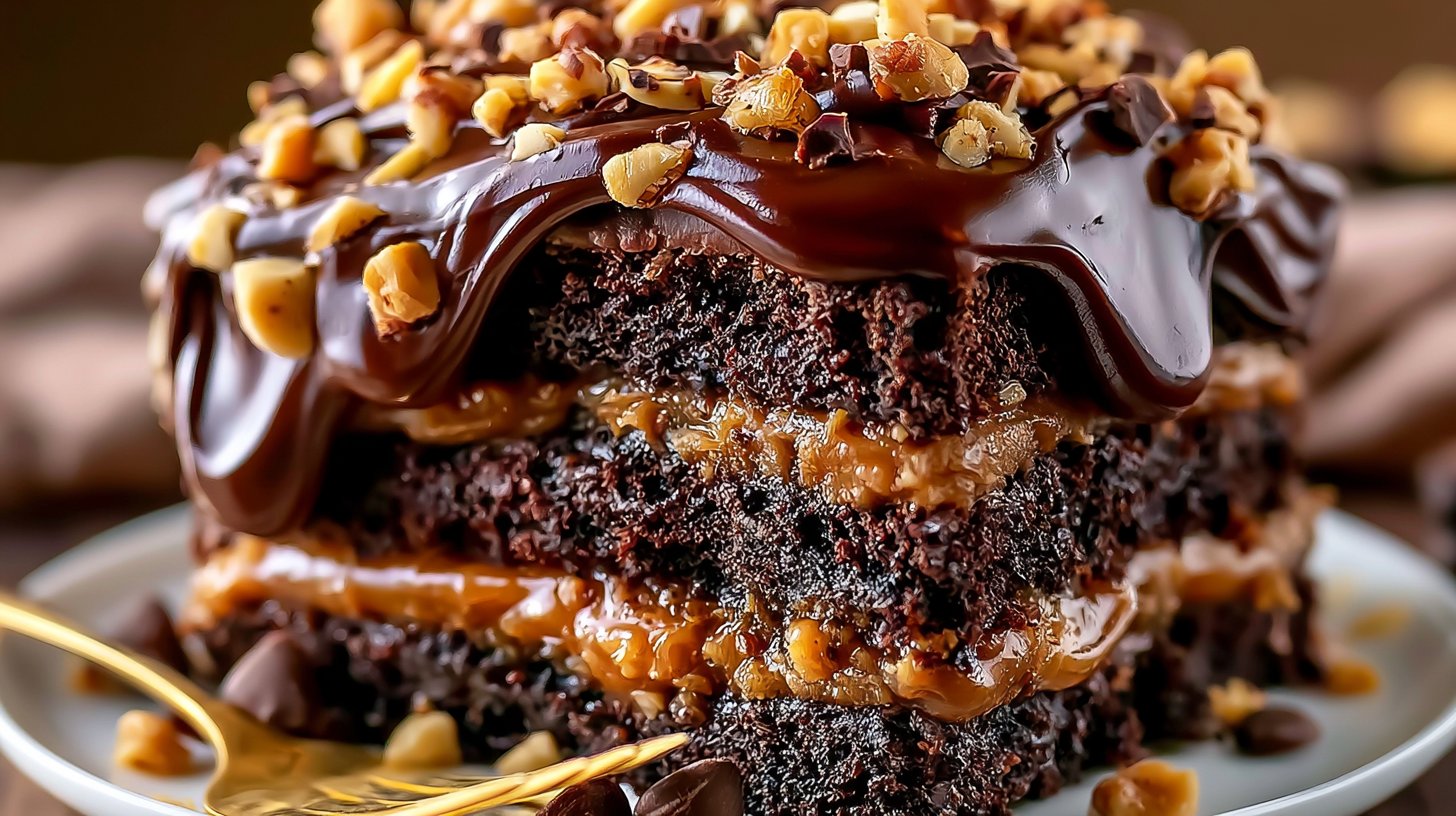
This chocolate peanut butter cake is versatile and can be served at various times throughout the day. It makes a lovely dessert for family meals, indulging in an afternoon snack, or even brightening up breakfast with a slice alongside coffee. It also holds up well, so you can enjoy leftovers throughout the week, bringing a little joy to each day. A cake this rich pairs well with a scoop of vanilla ice cream or even a dollop of whipped cream on the side.
Pro Tips for Best Results
- Use room-temperature ingredients: Allow your eggs and butter to sit out for a bit, as they incorporate more easily into the batter.
- Don’t overmix: When combining ingredients, mix until just combined to keep the cake tender.
- Check cake doneness: Be cautious not to open the oven door too often, as this can affect baking. Use a toothpick to check for doneness.
- Cool cakes completely: This prevents melting the filling when you layer the cakes.
- Melt chocolate gently: Use a double boiler or microwave in short bursts, stirring frequently to ensure it doesn’t seize.
- Garnish just before serving: Add peanuts and chips to keep them crunchy.
Common Mistakes to Avoid
- Overmixing the batter: This can lead to a dense cake instead of a light, fluffy texture. Mix just until combined for the best result.
- Not allowing cakes to cool: Attempting to frost or fill cakes while warm may cause the filling to melt or the layers to break apart. Always let them cool completely.
- Inaccurate ingredient measurements: Too much flour or sugar can affect both the texture and flavor of the cake. Use proper measuring techniques for best results.
- Skipping the greasing step: Not greasing and flouring your cake pans can result in cakes that stick, making it difficult to remove them after baking. Always prepare your pans beforehand.
- Using cold ingredients: Cold eggs and butter can result in a batter that doesn’t mix well. Make sure these are at room temperature for a better cake consistency.
- Rushing the ganache: If melted too quickly, chocolate can seize up. Melt it gently to maintain a smooth consistency for pouring.
Variations & Substitutions
For a different twist, consider using crunchy peanut butter for added texture in the filling or top the cake with chocolate shavings instead of chips. You can even layer in some sliced bananas for a fruity addition, if desired. Adjusting the filling by mixing in a bit of cream cheese can also provide a delightful tanginess.
Storage & Reheating
The cake can be stored at room temperature in an airtight container for a couple of days. For longer storage, keep it in the refrigerator, where it will last for several days. If you choose to freeze the cake, wrap it tightly in plastic wrap and then in aluminum foil to prevent freezer burn. To reheat, bring a slice to room temperature or warm it up gently in the microwave, keeping a close eye on it to maintain its delightful texture.
Frequently Asked Questions
Can I make this recipe ahead of time?
Yes, you can bake the cake layers ahead of time and store them in the refrigerator for a day or two before assembling. The filling can also be made in advance and stored in the fridge.
How long does it last in the fridge?
The assembled cake will typically last about 5 to 7 days in the refrigerator when stored in an airtight container.
Can I freeze this recipe?
Yes, you can freeze the cake layers individually wrapped in plastic wrap. However, it’s best to assemble and frost the cake after thawing to maintain optimal texture.
What can I substitute for one ingredient?
If you’re out of buttermilk, you can create a substitute by mixing one tablespoon of lemon juice or vinegar into a cup of milk and letting it sit for about 5 to 10 minutes.
Why didn’t my recipe turn out as expected?
Common issues include inaccuracies in ingredient measurements, not allowing cakes to cool completely, or overmixing the batter. Following the instructions closely can help minimize problems.
Final Thoughts
Making this Chocolate Peanut Butter Gooey Melt Cake is a rewarding experience, allowing you to create something both rich and comforting. The process is straightforward, and the result—a tall, layered cake with creamy peanut butter and decadent chocolate—is sure to impress. Enjoying this cake with loved ones or during quiet moments to yourself brings a sense of simple joy. It’s a treat that invites you back for another slice, comforting and delicious.
Chocolate Peanut Butter Gooey Melt Cake
Ingredients
Cake Ingredients
- 1 cup all-purpose flour provides structure
- 1/2 cup cocoa powder adds rich chocolate flavor
- 1 tsp baking soda helps the cake rise
- 1/2 tsp salt enhances flavor
- 1 cup unsalted butter, softened adds moisture and richness
- 1 cup granulated sugar sweetens the cake
- 1 cup brown sugar, packed contributes moisture and flavor
- 4 large eggs binds ingredients and adds structure
- 1 tsp vanilla extract adds depth of flavor
- 1 cup buttermilk adds moisture and tenderness
- 1 cup hot water thin the batter
Filling and Topping
- 1 cup creamy peanut butter adds flavor and texture
- 2 cups powdered sugar sweetens the filling
- 1/2 cup heavy cream adds richness
- 1 cup chocolate chips for ganache
- 1 cup peanut butter chips for topping
- 1/2 cup chopped peanuts adds crunch
Instructions
Preparation
- Preheat your oven to 350°F (175°C). Prepare three 8-inch round cake pans by greasing and flouring them.
- In a medium mixing bowl, combine the all-purpose flour, cocoa powder, baking soda, and salt. Whisk together until well-blended.
- In a larger mixing bowl, use an electric mixer to beat softened unsalted butter, granulated sugar, and brown sugar until creamy and fluffy.
- Add eggs one at a time, beating well after each addition.
- Mix in the vanilla extract until fully combined.
- Gradually alternate adding the flour mixture and buttermilk to the butter mixture, starting and ending with the flour mixture.
- Stir in hot water until the batter is smooth.
- Pour the batter evenly into prepared cake pans.
Baking
- Place the pans in the oven and bake for 30-35 minutes. Check for doneness with a toothpick.
- Let the cakes cool in the pans for about 10 minutes before transferring to wire racks to cool completely.
Assembly
- For the peanut butter filling, beat together creamy peanut butter, powdered sugar, and heavy cream until smooth and fluffy.
- Place one cooled layer on a serving plate. Spread a generous amount of peanut butter filling on top.
- Add the second layer and repeat the filling process. Finish with the third layer.
- For ganache, melt chocolate chips and heavy cream together until smooth, then pour over the assembled cake.
- Garnish with peanut butter chips and chopped peanuts before serving.