Hi, I’m Lina. I’m 30 years old and living here in the United States, and if there’s one place that feels like home to me, it’s the kitchen. While browsing YouTube comments, I stumbled on a hidden gem someone raving about a Christmas Kitchen Chocolate Cherry Cake they made for New Year’s Eve. I added my own twist with rich chocolate, cherry jam, and a hint of cognac. Give it a try you never know where your next favorite recipe will come from.
Why You’ll Love This Recipe
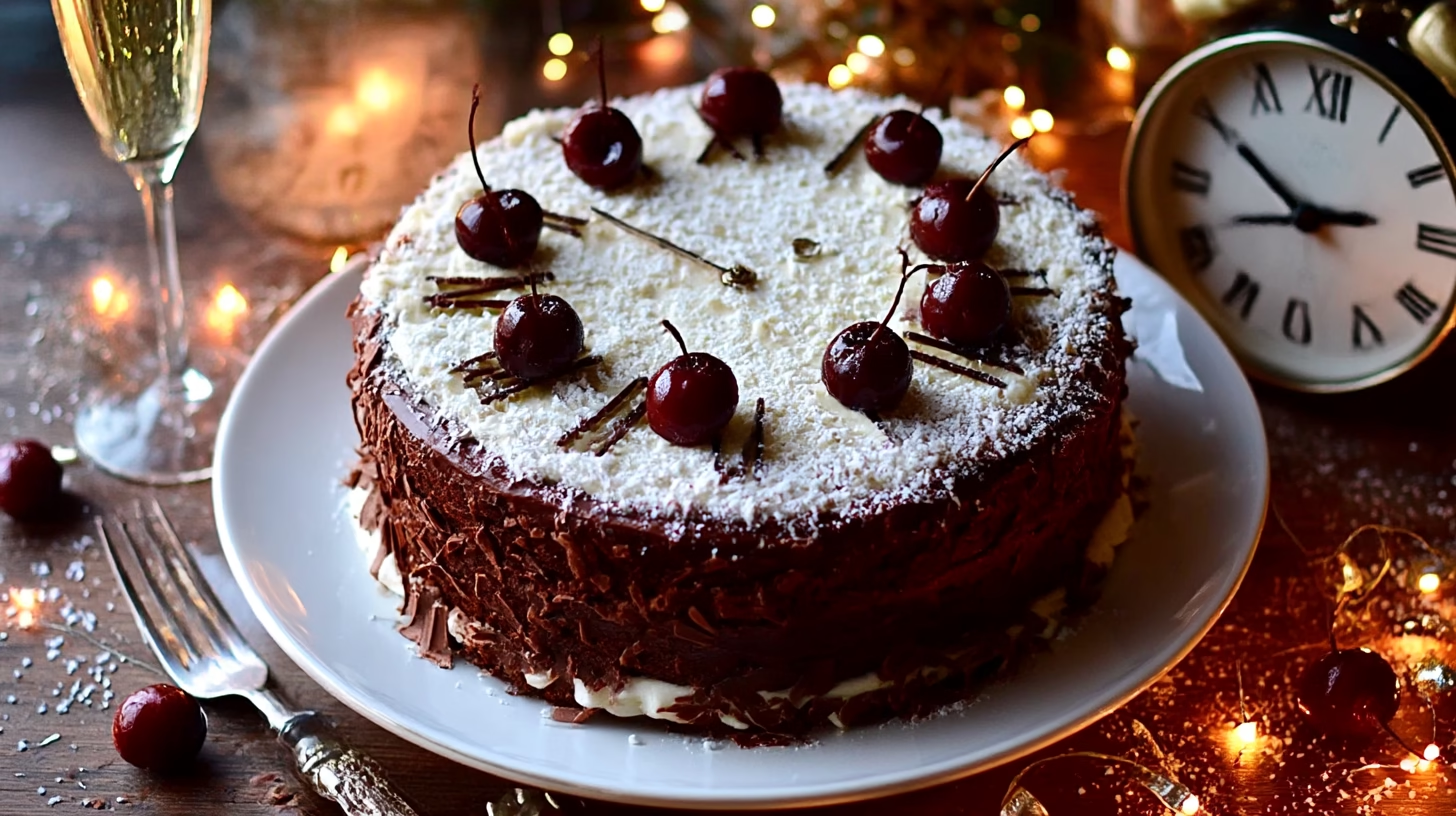
It’s festive, fun, and almost impossible to mess up. The chocolate sponge is rich but not heavy, the cherry jam adds brightness, and the cognac buttercream gives it a classy grown-up twist. Most of all, it’s visually stunning — a clock cake that’s ideal for New Year’s Eve food displays, but also perfect for birthday cake ideas when you want something special and nostalgic.
You’ll love how simple it is to decorate, how beautifully it slices, and how everyone’s face lights up when they see it.
Ingredients
For the Sponge
- 50g Cocoa Powder – brings that deep, rich chocolate flavor.
- 6 tbsp Boiling Water – to bloom the cocoa and make it smooth.
- 3 Large Eggs – for structure and tenderness.
- 120ml Whole Milk – adds moisture and richness.
- 175g Self-Raising Flour – gives the cake its soft rise.
- 1 tsp Baking Powder – a little extra lift never hurts.
- 100g Soft Margarine (or butter) – keeps it light and fluffy.
- 275g Golden Caster Sugar – for sweetness and a delicate crumb.
For the Decoration
- 300g Icing Sugar – for a silky buttercream base.
- 150g Unsalted Butter, at room temperature – essential for smooth frosting.
- 3 tbsp Cognac – adds warmth and depth (optional for a non-alcoholic version).
- Black Cherry Jam – glossy, tart, and perfect with chocolate.
- 3 Boxes Cadbury Chocolate Fingers – for that signature clock rim.
- Milk Chocolate Writing Icing – to draw the clock face.
- Edible Gold Stars (optional) – a festive finishing touch.
Directions
- Prepare the tins.
Preheat your oven to 180°C (350°F). Line two 8-inch cake tins with baking parchment to prevent sticking. - Make the sponge.
In a large bowl, whisk the cocoa and boiling water into a smooth paste. Add eggs, milk, flour, baking powder, margarine, and sugar. Beat until smooth and creamy. - Bake the cakes.
Divide the batter evenly between tins, give them a gentle shake to release air bubbles, and bake for 25–30 minutes. The cakes are ready when they spring back lightly and a knife comes out clean. - Cool completely.
Allow the cakes to cool on a wire rack. Avoid wrapping them tightly — this keeps the crumb firm enough to frost later. - Make the buttercream.
Beat butter, icing sugar, and cognac until light and fluffy. You’ll know it’s perfect when it looks pale and spreadable. - Assemble the cake.
Place one sponge layer on your stand. Spread a thick layer of buttercream, then cherry jam over it, leaving a small clean edge. Sandwich with the second sponge. - Frost the top and sides.
Smooth buttercream across the top and sides. Don’t worry about neatness — the chocolate fingers will hide imperfections beautifully. - Decorate.
Press chocolate fingers upright around the edge to form the “clock frame.” Use your melted chocolate writing icing to mark the numbers and clock hands at five minutes to midnight. Sprinkle with gold stars if desired.
Cultural or Technique Note
This cake is a playful twist on the traditional British Victoria Sponge, dressed up for celebration season. The clock design nods to New Year’s Eve countdown traditions, while the flavors — chocolate, cherry, and cognac — evoke European winter desserts. It’s comfort food meets festive flair.
Serving Suggestions
- With champagne or sparkling juice at midnight: The bubbles cut through the richness of the chocolate and buttercream, making every bite feel celebratory. It’s the perfect moment to toast with friends as the clock strikes twelve.
- As a centerpiece for a New Year’s Eve dessert table: Place it on a cake stand surrounded by small fairy lights or gold confetti — it instantly becomes the star of your New Year’s Eve food spread.
- With hot chocolate after dinner: For a quieter evening in, serve generous slices with steaming mugs of cocoa or coffee. The deep chocolate flavor pairs beautifully with warm drinks.
- Served at winter birthday parties for a touch of nostalgia: Swap out the clock face for a name or number — it becomes a lovely birthday cake idea that feels both festive and personal.
- Paired with cherry compote or whipped cream: Add an extra spoonful of sweetness and make every bite even more indulgent.
- At New Year’s brunch the next day: Leftover slices are delicious chilled — a soft, fudgy reminder of the night before.
Pro Tips for Success
- Make the sponges a day ahead so they’re firmer and easier to frost without crumbling.
- Always use room-temperature butter when making buttercream — cold butter won’t blend smoothly, while melted butter can ruin the texture.
- Don’t overmix your batter. Once your ingredients are combined, stop mixing — it keeps your sponge light and tender.
- Use a serrated knife for neat slices, letting the chocolate fingers guide you so each piece looks perfect.
- Chill the cake briefly before serving — 15 to 20 minutes in the fridge helps the buttercream firm up, making it easier to cut cleanly.
- Keep decorations simple. The clock face, a few gold stars, and glossy chocolate fingers are all you need.
- If you want extra shine, brush the chocolate fingers with a little edible glitter before serving.
- Warm your knife in hot water (then wipe it dry) before slicing — it glides through buttercream like a dream.
Common Mistakes to Avoid
- Overbaking: Makes the sponge dry — check your cake at 25 minutes, not later.
- Too much jam: A thick layer may cause the sponges to slip; a thin, even spread is best.
- Warm buttercream: If your kitchen is hot, chill your frosting for 5 minutes before spreading to keep it stable.
- Skipping parchment: Cakes will stick without it — always line your tins to protect your sponge.
- Decorating before cooling: Let the cakes cool fully or your buttercream will melt and slide.
- Uneven chocolate fingers: Press them gently but firmly and use your fingers to align them evenly for a professional look.
- Rushing the clock design: Practice on parchment first to get a smooth, confident hand with the icing.
Storage & Reheating
- Fridge: Store in an airtight container for 3–4 days. The buttercream keeps beautifully, and the chocolate fingers stay crisp.
- Freezer: You can freeze the unassembled sponges (wrapped well) for up to 2 months. Thaw fully before decorating.
- Reheat: This cake is best at room temperature — take it out of the fridge about 30 minutes before serving for the perfect texture.
- Transporting: Keep it cool during travel; a few ice packs around the container help protect the buttercream.
Frequently Asked Questions
Q1: Can I make this cake without cognac?
: Absolutely. You can replace it with milk, cherry juice, or even a splash of orange juice for a kid-friendly twist. The flavor stays rich and festive without any alcohol.
Q2: What if I can’t find chocolate fingers?
Wafer sticks, KitKat bars, or any slim chocolate-coated biscuits work wonderfully. You can even mix dark and white chocolate for contrast.
Q3: Can I make the sponge gluten-free?
Yes! Use a good-quality gluten-free self-raising flour and check your baking powder is gluten-free too. The result will still be moist and tender.
Q4: Can I make this in advance?
Definitely. Bake the cakes a day ahead, wrap them loosely, and frost them the next day. You can also decorate the finished cake a few hours before serving — it holds its shape perfectly.
Q5: Can I skip the clock design?
: Of course. You can decorate with swirls of buttercream, cherries, or even edible glitter instead. It’ll still look festive and taste amazing.
Closing Paragraph
This Christmas Kitchen Chocolate Cherry Cake is everything you want in a celebration dessert — rich, nostalgic, and joyfully imperfect. Each slice feels like a sweet countdown to something wonderful, whether that’s a brand-new year or a simple family gathering. Bake it, decorate it your way, and let the chocolate and cherry magic bring everyone together.
Final Thoughts
I love that something so festive can be so forgiving. Every time I make this cake, I’m reminded that joy in the kitchen doesn’t come from perfection — it comes from laughter, crumbs, and chocolate-stained fingers. May this recipe bring a little sparkle to your celebrations.

Christmas Kitchen Chocolate Cherry Cake
Equipment
- 2 x 8-inch cake tins
- Mixing Bowls
- Electric whisk or hand mixer
- Parchment Paper
- Wire Rack
Ingredients
For the Sponge
- 50 g cocoa powder
- 6 tbsp boiling water
- 3 large eggs
- 120 ml whole milk
- 175 g self-raising flour
- 1 tsp baking powder
- 100 g soft margarine or butter
- 275 g golden caster sugar
For the Decoration
- 150 g unsalted butter room temperature
- 300 g icing sugar sifted
- 3 tbsp cognac optional
- black cherry jam as needed
- 3 boxes Cadbury chocolate fingers
- milk chocolate writing icing for the clock design
- edible gold stars optional, for garnish
Instructions
- Preheat the oven to 180°C (350°F). Line two 8-inch cake tins with parchment paper.
- Whisk cocoa powder and boiling water into a smooth paste. Add eggs, milk, flour, baking powder, margarine, and sugar. Beat until creamy.
- Divide batter between tins and bake for 25–30 minutes, or until a knife comes out clean. Cool completely on a wire rack.
- For the buttercream, beat butter, icing sugar, and cognac until light and fluffy.
- Place one sponge on a cake stand. Spread with buttercream, then cherry jam. Top with second sponge.
- Frost the top and sides with remaining buttercream. Press chocolate fingers upright around the edge.
- Use writing icing to draw a clock face showing five minutes to midnight. Add gold stars if desired.


