
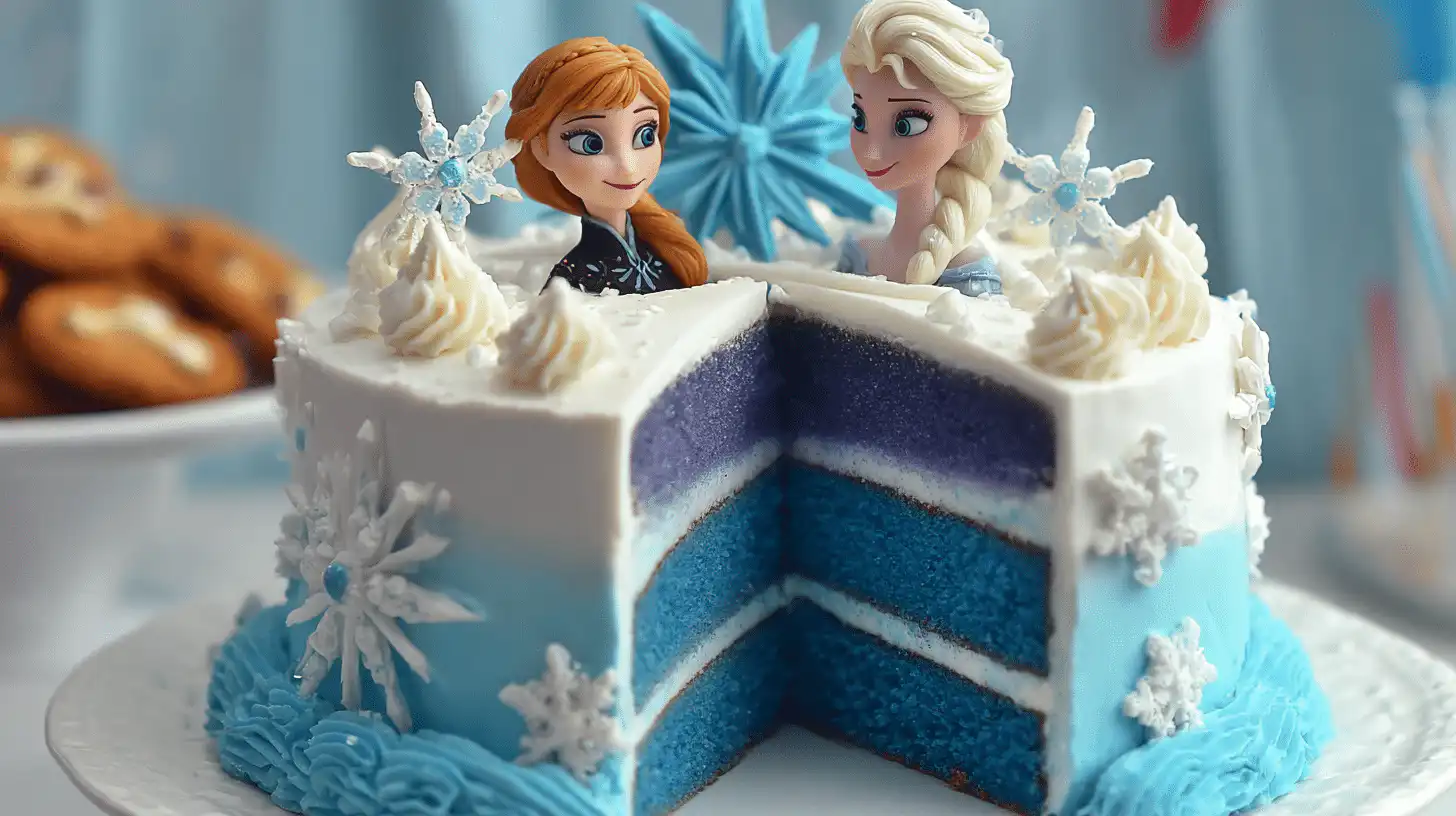
Frozen Birthday Cake — the ultimate showstopper for any celebration! This magical dessert captures the sparkle and sweetness of Elsa’s icy world, layered with soft vanilla sponge and dreamy blue frosting. Perfect for kids’ parties or Disney lovers of any age, it’s as beautiful as it is delicious. Inspired by Frozen theme cake designs, it’s easy to customize with snowflakes, sprinkles, or an Elsa topper. Whether you’re planning a winter wonderland party or just want to add a touch of Frozen magic to your table, this Frozen Birthday Cake makes every celebration feel unforgettable and full of joy.
Serving Versatility
What I love most about this cake is how versatile it is for different celebrations and settings. For a grand Frozen-themed birthday, you can stack multiple tiers and add a sparkling Elsa cake topper to make it feel royal and festive. For a smaller, more intimate party, try a single-layer version with simple frosting swirls and a few edible snowflakes — still stunning but easier to manage. You can even turn the same batter into Frozen cake pops or mini cupcakes for school parties or winter gatherings. Imagine handing each guest their own bite-sized piece of magic!
Ingredients (Detailed & Humanized)
2½ cups all-purpose flour: the base that keeps our cake light and fluffy.
1 tbsp baking powder: lifts the batter for that perfect, airy crumb.
½ tsp salt: balances out the sweetness.
1 cup unsalted butter: rich, creamy flavor that melts in your mouth.
1¾ cups sugar: just enough to sweeten without being overpowering.
4 large eggs: for structure and a soft, velvety texture.
1 tbsp vanilla extract: gives the cake its classic, cozy scent.
1 cup buttermilk: adds moisture and a subtle tang.
Blue food coloring (natural or gel-based): for that Frozen-inspired hue.
1½ cups heavy cream: to whip into soft clouds of frosting.
½ cup cream cheese: adds stability and a gentle tang to the frosting.
2½ cups powdered sugar: sweet, silky finish for your icing.
Edible snowflakes or silver sprinkles: bring the magical snowy touch.
Frozen Elsa cake topper: the crowning jewel of your creation.
Tip: You can use natural spirulina or butterfly pea powder for a pastel blue tone instead of artificial coloring — perfect for a healthier touch.
Directions (Step-by-Step Cooking Guide)
- Preheat & Prep: Set your oven to 350°F and grease two 8-inch round cake pans. Line the bottoms with parchment paper for easy release. The smell of butter and vanilla soon will fill your kitchen — get ready for magic.
- Mix Dry Ingredients: In a medium bowl, whisk together flour, baking powder, and salt. It’s simple, but this step ensures a perfectly even rise later on.
- Cream the Butter & Sugar: In a large bowl, beat butter and sugar until light and fluffy. It should look pale and feel airy — this is what gives the cake its soft texture.
- Add the Eggs & Vanilla: Beat in the eggs one at a time, then add vanilla. Each egg adds richness, while the vanilla deepens the aroma beautifully.
- Combine Wet & Dry: Alternate adding flour mixture and buttermilk, starting and ending with flour. Mix gently — overmixing can make the cake dense. Add a few drops of blue food coloring until you get your perfect Frozen shade.
- Bake the Magic: Pour batter evenly into the pans and bake for 25–30 minutes or until a toothpick comes out clean. Your kitchen will smell like a snowy dream.
- Cool & Frost: Once baked, let cakes cool completely. Whip heavy cream, cream cheese, and powdered sugar until fluffy. Spread frosting between layers and all around the cake. Smooth it out or leave soft swirls for a snow-like texture.
- Decorate & Shine: Sprinkle with edible snowflakes, add silver pearls, and top it all off with your Frozen Elsa cake topper. Step back — you’ve created a masterpiece worthy of Arendelle!
Why You’ll Love This Recipe
✅ Quick to make: Ready in under 90 minutes — no fancy equipment required.
✅ Budget-friendly: Most ingredients are pantry staples.
✅ Cozy, homemade flavor: A balance of buttery sweetness and soft texture.
✅ Nutritious and balanced: Lightened-up frosting keeps it wholesome.
✅ Great for parties: A showstopper centerpiece every kid (and adult) will adore.
✅ Customizable: Add Elsa, Anna, or Olaf for extra fun.
Cultural or Technique Note
The art of themed cakes, like this Frozen Birthday Cake, comes from a long tradition of storytelling through baking. From Disney princess cakes to fairy-tale designs, bakers have always used color and texture to express magic and joy. What makes this one special is its simplicity — even without fondant or advanced tools, it captures the icy elegance of Elsa’s world with just buttercream and imagination.
Serving Suggestions
✨ With vanilla ice cream for an extra indulgent treat.
✨ As mini Frozen cake pops for party favors.
✨ Paired with warm cocoa for a cozy winter birthday.
✨ With sparkling blue punch for a true Frozen-themed celebration.
Pro Tips for Success
💡 Always start with room-temperature butter and eggs — it ensures a smooth batter.
💡 Use gel food coloring for deeper blue tones that won’t water down your mix.
💡 Chill the cake for 30 minutes before frosting to prevent crumbs from lifting.
💡 A serrated knife makes it easier to level the cake layers.
💡 Add white chocolate curls for an elegant snow effect.
💡 Keep decorations simple — less can often look more magical.
Common Mistakes to Avoid
⚠️ Overbaking the cake: It’ll dry out — check it 5 minutes early.
⚠️ Overmixing: Makes the cake dense — stop as soon as the flour disappears.
⚠️ Skipping the chill: A warm cake melts frosting — patience pays off.
⚠️ Using too much coloring: A tiny drop gives a perfect icy hue.
⚠️ Ignoring texture: Frosting should be thick yet spreadable, not runny.
Storage & Reheating
This Frozen Birthday Cake stays fresh for up to 4 days in the refrigerator — just cover it tightly to keep the frosting smooth and moist. For longer storage, freeze individual slices wrapped in parchment and foil; they’ll last up to 2 months. When ready to enjoy again, thaw slowly in the fridge overnight and let it come to room temperature before serving. It’ll taste just as soft and dreamy as day one.
Frequently Asked Questions (FAQ)
Can I use store-bought cake mix?
Yes! You can easily dress up a vanilla or white cake mix with blue coloring and homemade frosting for that magical touch.
Can I make this cake dairy-free?
Absolutely — use almond milk with a splash of lemon juice for buttermilk, and coconut cream for frosting.
Can I make it ahead of time?
Yes, bake the layers a day ahead, wrap them in plastic, and frost the next morning. It saves time and keeps the cake moist.
How can I make it more festive?
Add shimmering sugar crystals or edible glitter — the sparkle makes it feel straight out of Elsa’s ice palace.
What if I want a chocolate version?
Use cocoa powder in half the batter for a “Frozen meets chocolate” marble cake twist!
Closing Paragraph
Creating this Frozen Birthday Cake is more than just baking — it’s crafting joy in every layer. The smiles, the sparkle, the sweet taste of vanilla and cream — it all comes together to make a memory your family will never forget. Whether it’s your first time baking a theme cake or you’re a seasoned pro, this recipe proves that magic really can be homemade.
Final Thoughts
Whenever I make this cake, I’m reminded that simple joy often hides in small moments — the laughter of decorating, the first slice shared, the tiny hands reaching for a piece of Elsa’s magic. It’s not about perfection, it’s about love, color, and the warmth behind every whisk and swirl. Follow me on Pinterest for more cozy, quick, and nostalgic recipes.

Frozen Birthday Cake
Equipment
- 2 × 8‑inch round cake pans
- Mixing Bowls
- Electric Mixer or Whisk
- Wire Rack
- Spatula
Ingredients
Cake Batter
- 2.5 cups all-purpose flour
- 1 tbsp baking powder
- 0.5 tsp salt
- 1 cup unsalted butter softened
- 1.75 cups sugar
- 4 large eggs
- 1 tbsp vanilla extract
- 1 cup buttermilk
- blue food coloring gel or natural for pastel blue hue
Frosting & Decoration
- 1.5 cups heavy cream
- 0.5 cup cream cheese softened
- 2.5 cups powdered sugar
- edible snowflakes or silver sprinkles for decoration
- Frozen Elsa cake topper optional but magical
Instructions
- Preheat oven to 350°F (175°C). Grease and line two 8‑inch round cake pans with parchment paper.
- In a bowl, whisk together flour, baking powder, and salt.
- In another bowl, cream softened butter and sugar until light and fluffy. Add eggs one at a time, then stir in vanilla.
- Alternate adding the dry mixture and buttermilk to the butter-sugar mixture, beginning and ending with dry ingredients. Gently mix until just combined. Add blue coloring until desired hue.
- Divide batter between pans and bake for 25–30 minutes or until a toothpick inserted comes out clean.
- Let cakes cool completely on wire racks.
- While cooling, whip heavy cream, cream cheese, and powdered sugar until soft peaks form and frosting is light. Keep a bit aside for piping if desired.
- Frost the layers: place first layer, spread frosting, top with second layer, then frost top and sides. Smooth or swirl texture for a snow-like effect.
- Decorate with edible snowflakes, silver sprinkles, and an optional Elsa topper. Chill briefly to set before slicing.


