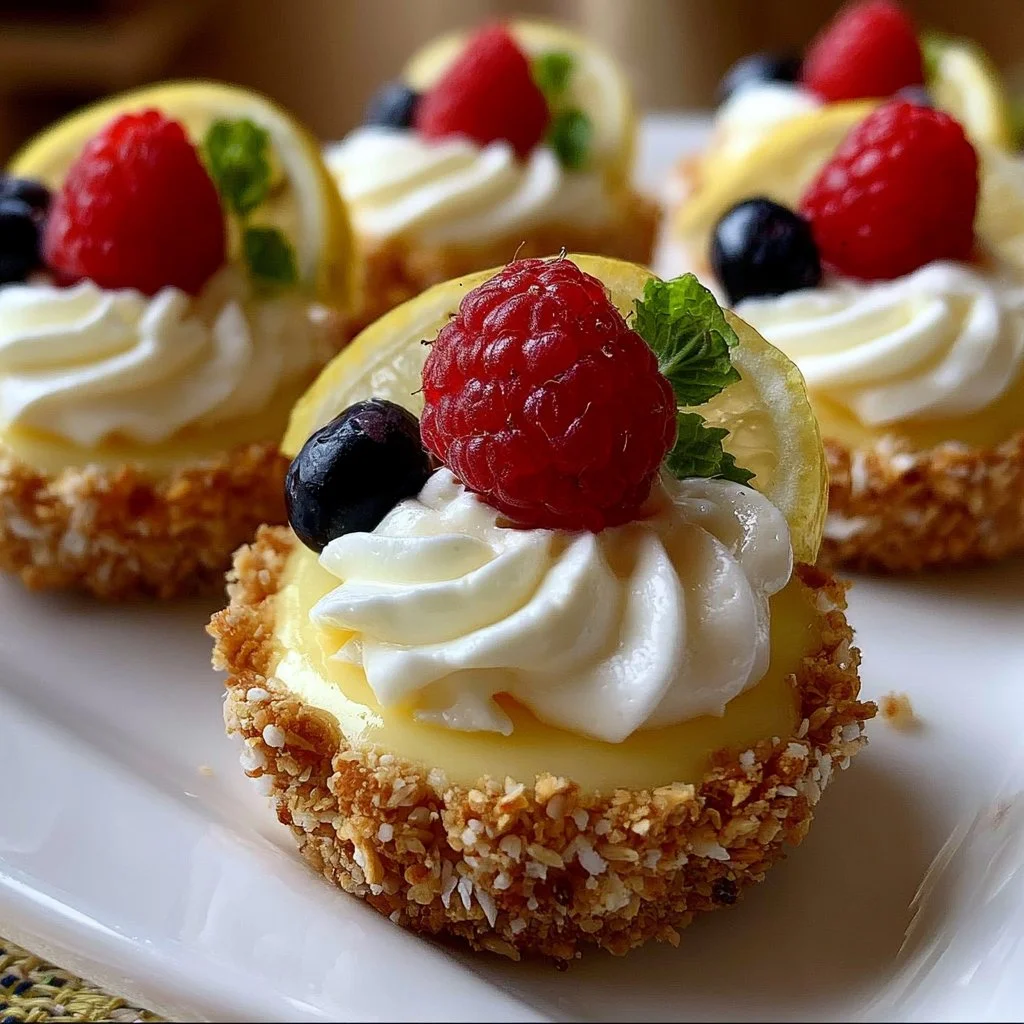
Making a delightful dessert often feels like a small indulgence in our busy lives. Mini no-bake lemon cheesecake tarts are perfect for enjoying quickly after a long week or sharing with friends during weekend get-togethers. The simplicity of preparation makes them accessible for any home cook while offering a delightful balance of creamy and zesty flavors that appeal to many. Whether enjoyed as a sweet treat during a quiet moment or relished as part of a gathering, they can brighten any occasion. Dive into these easy-to-make tarts, and you may find a new favorite in your recipe rotation.
Why You’ll Love This Mini No-Bake Lemon Cheesecake Tarts
These mini no-bake lemon cheesecake tarts combine ease and reliability, making them a comforting dessert choice for any day. The creamy filling contrasts beautifully with the crunchy crust, offering a balanced flavor that’s both refreshing and satisfying. With their practical everyday value, making these tarts from scratch can be a rewarding experience without overwhelming your schedule. You’ll appreciate how straightforward this recipe is, allowing you to focus on the enjoyment of sharing delicious treats.
Kitchen Tools You’ll Need
- Mixing bowls
- Tart pans
- Electric mixer (or whisk)
- Rubber spatula
- Measuring cups and spoons
Ingredients
- 1.5 cups graham cracker crumbs (for a crumbly texture)
- 0.5 cups unsalted butter, melted (moisture and richness)
- 2 tablespoons granulated sugar (for slight sweetness)
- 16 oz cream cheese, softened (for creamy consistency)
- 0.5 cups powdered sugar (for a smooth texture)
- 1 cup heavy whipping cream (for lightness)
- 1 cup fresh lemon juice (for tartness)
- 1 whole lemon zest (for fresh flavor)
- 1 teaspoon vanilla extract (for warmth)
How to Make Mini No-Bake Lemon Cheesecake Tarts
Step 1. In a mixing bowl, combine the graham cracker crumbs, melted butter, and granulated sugar until the mixture is well blended. Ensure the crumbs are evenly coated with butter, which will help the crust hold its shape. Once mixed, the texture should resemble wet sand.
Step 2. Press the crumb mixture uniformly into the bottom of miniature tart pans. Focus on packing it tightly to create a sturdy base. The crust should feel firm when you finish, setting the foundation for the creamy filling.
Step 3. Refrigerate the crusts for about 15 minutes. This step allows the butter to solidify, ensuring the crust firms up nicely before adding the filling. You’ll know it’s ready when it feels set to the touch.
Step 4. In a large bowl, beat together the softened cream cheese and powdered sugar until the mixture is smooth and creamy. This step is essential for creating a cohesive filling, so continue mixing until you achieve a silky consistency without lumps.
Step 5. Add the fresh lemon juice, lemon zest, and vanilla extract to the cream cheese mixture, beating until fully combined. The mixture will become more fluid and aromatic as the citrus and vanilla blend into the cream cheese, creating a balanced flavor profile.
Step 6. In a separate bowl, whip the heavy cream until stiff peaks form. This indicates that the cream is sufficiently aerated, which will contribute to a light and fluffy texture in the finished filling. Take care not to overwhip, as it could become grainy.
Step 7. Gently fold the whipped cream into the cream cheese mixture until they are completely combined. This folding technique helps maintain the lightness of the whipped cream. The combined mixture should be smooth and slightly airy when done.
Step 8. Spoon the lemon cheesecake filling into the chilled tart crusts, smoothing it out for an even top. Make sure to fill each crust to the edges without overfilling, which keeps the presentation neat and appealing.
Step 9. Refrigerate the tarts for at least 2 hours to allow them to set properly. The filling will firm up as it chills, giving the tarts a nice texture when served. Check that they hold their shape when gently pressed.
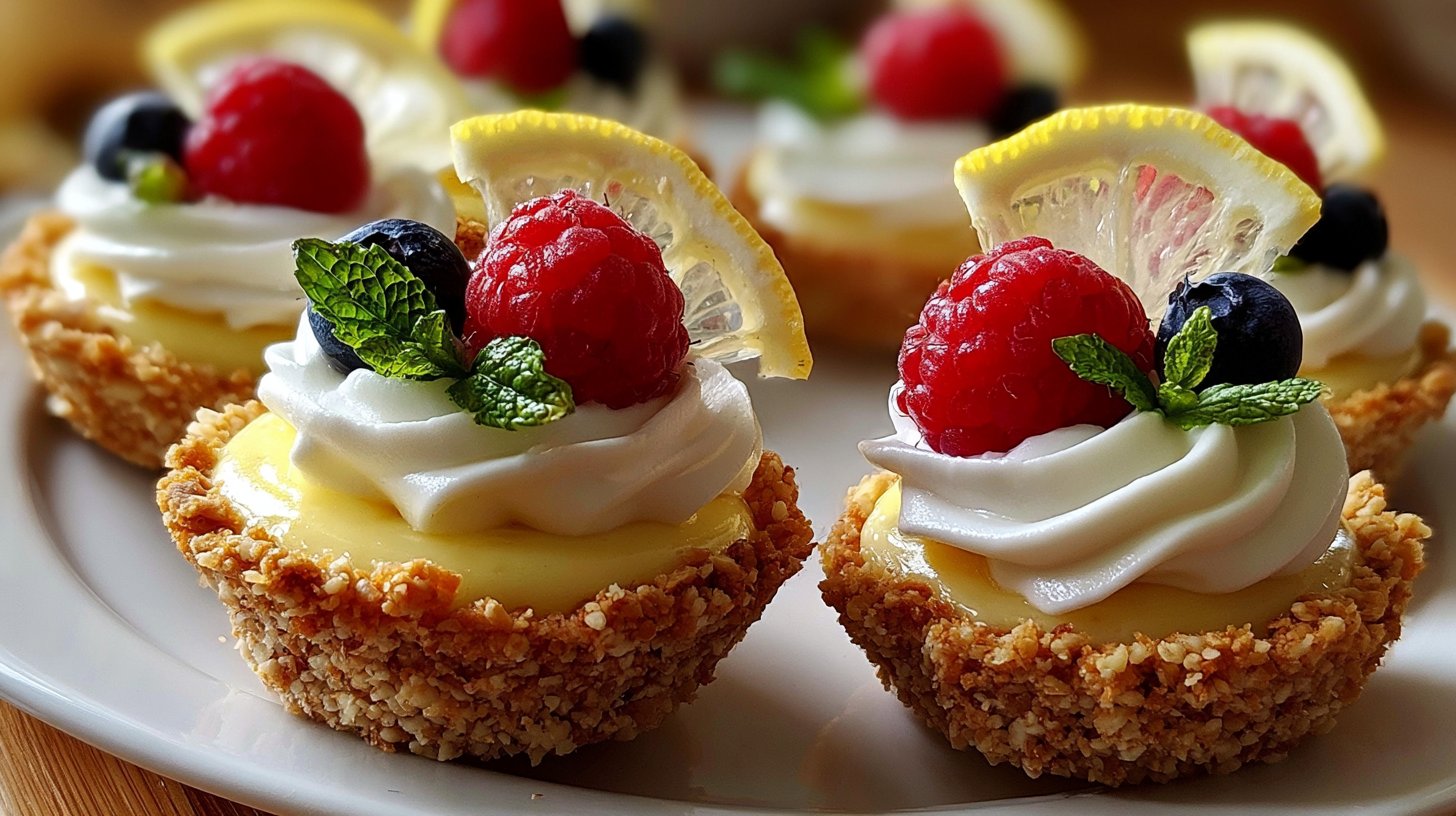
Step 10. Once set, garnish the tarts with additional lemon zest, berries, or a dollop of fresh whipped cream, if desired. This adds a pop of color and a little extra flavor, enhancing the overall presentation before serving.
Serving Suggestions
These mini no-bake lemon cheesecake tarts can be a delightful addition to a breakfast spread, offering a sweet start to the day. They also make for great snacks or desserts after family meals, providing a refreshing ending to your gatherings. Leftovers keep well, so they can easily be enjoyed later, making them a flexible choice for various occasions. Serving them chilled ensures that their texture remains pleasing and inviting.
Pro Tips for Best Results
- Allow the cream cheese to soften completely for a smooth filling without lumps.
- Press the crust firmly to ensure it holds its shape when removed from the tart pans.
- Use fresh lemon juice and zest for the best flavor and brightness.
- Be gentle when folding the whipped cream to maintain its airy texture.
- Chill the tarts long enough to ensure the filling sets properly for the best texture.
- For presentation, place garnishes just before serving to keep them looking fresh.
Common Mistakes to Avoid
- Not softening cream cheese: Using cold cream cheese can lead to a lumpy filling. Make sure it’s at room temperature for a smooth mixture.
- Overwhipping the cream: If whipped too long, the cream can become grainy. Stop whipping as soon as stiff peaks form for the best texture.
- Skipping refrigeration: Neglecting to chill the crust or filling can result in a mess when serving. Allow adequate time for everything to set properly.
- Not packing the crust firmly enough: If the crust isn’t pressed down well, it may crumble when removed from the pan. Make sure to pack it tightly for stability.
- Using bottled lemon juice: Pre-packaged lemon juice lacks the brightness of fresh juice. Always opt for fresh to achieve better flavor.
- Overfilling the tarts: Filling to the brim can cause overflow during chilling. Leave a little space at the top for a cleaner finish and easier handling.
Variations & Substitutions
For a twist on flavor, consider adding a layer of fruit puree or a chocolate drizzle on top of the tarts. You might also experiment with different flavored extracts like almond or coconut in the filling. For those with gluten sensitivities, substitute the graham crackers with almond flour for the crust. Remember to adjust the sugar as needed, as almond flour tends to have a slightly different sweetness level.
Storage & Reheating
Store the tarts in an airtight container in the refrigerator for up to 3 days to maintain freshness. They are best enjoyed chilled, so there’s no need for reheating. Avoid freezing, as the texture might suffer once thawed, and it’s best to serve them fresh for optimal taste and consistency.
Frequently Asked Questions
Can I make this recipe ahead of time?
Yes, you can prepare the tarts a day in advance. Once they are fully set, cover them in the refrigerator to maintain their freshness.
How long does it last in the fridge?
These mini tarts can safely be stored in the refrigerator for up to 3 days, allowing you to enjoy them at your leisure.
Can I freeze this recipe?
Freezing is not recommended for these tarts, as the texture of the filling may be compromised when thawed. It’s best to serve them fresh.
What can I substitute for one ingredient?
If you need to replace one ingredient, consider using almond flour instead of graham cracker crumbs for a gluten-free crust. Adjust the sugar content accordingly.
Why didn’t my recipe turn out as expected?
Possible issues may arise from not softening cream cheese, overwhipping whipped cream, or skipping refrigeration. Ensure you follow each step carefully for better results.
Final Thoughts
Making mini no-bake lemon cheesecake tarts offers a satisfying and approachable baking experience. The straightforward process allows for flexibility and creativity while producing a delightful dessert that’s perfect for various occasions. Whether you enjoy them right away or share them with family and friends, these tarts are bound to bring a smile. Embrace the comfort of this simple recipe, and enjoy every bite.

Mini No-Bake Lemon Cheesecake Tarts
Ingredients
For the crust
- 1.5 cups graham cracker crumbs for a crumbly texture
- 0.5 cups unsalted butter, melted moisture and richness
- 2 tablespoons granulated sugar for slight sweetness
For the filling
- 16 oz cream cheese, softened for creamy consistency
- 0.5 cups powdered sugar for a smooth texture
- 1 cup heavy whipping cream for lightness
- 1 cup fresh lemon juice for tartness
- 1 whole lemon zest for fresh flavor
- 1 teaspoon vanilla extract for warmth
Instructions
Preparation
- In a mixing bowl, combine the graham cracker crumbs, melted butter, and granulated sugar until well blended.
- Press the crumb mixture uniformly into the bottom of miniature tart pans.
- Refrigerate the crusts for about 15 minutes.
Filling
- In a large bowl, beat together the softened cream cheese and powdered sugar until smooth and creamy.
- Add fresh lemon juice, lemon zest, and vanilla extract; beat until fully combined.
- In a separate bowl, whip the heavy cream until stiff peaks form.
- Gently fold the whipped cream into the cream cheese mixture until fully combined.
- Spoon the lemon cheesecake filling into the chilled tart crusts.
- Refrigerate the tarts for at least 2 hours to allow them to set properly.
- Once set, garnish the tarts with additional lemon zest, berries, or a dollop of fresh whipped cream, if desired.