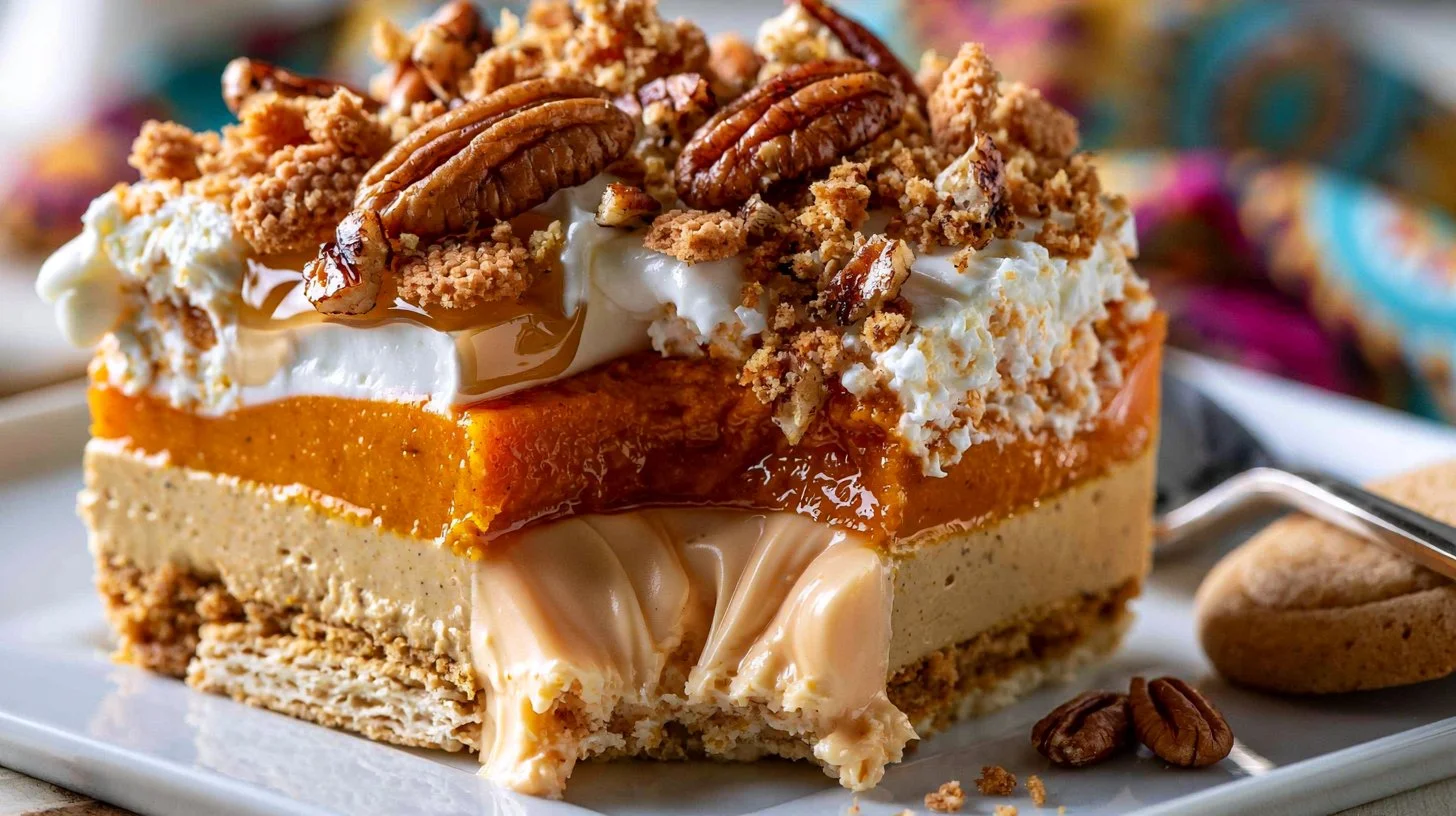
As the season shifts, bringing the warmth of fall flavors, this recipe captures that spirit in a sweet, creamy dessert. These bars blend the comforting taste of pumpkin with a delightful texture that’s perfect for sharing or enjoying solo. Ideal for weeknights, gatherings, or simply a quiet moment, they merge simplicity with a cozy vibe. With just a few straightforward steps, you’ll have a treat that’s both practical and comforting. Let’s get started on this delightful recipe.
Why You’ll Love This Pumpkin Dream Bars
These Pumpkin Dream Bars are wonderfully easy and reliable, making them a go-to for dessert lovers. The balanced flavor of pumpkin and spices brings comfort with every layer, while the dessert’s simple assembly caters to everyday baking needs. Plus, the inviting texture keeps it interesting without being overwhelming, allowing for a satisfying treat that’s perfect for any occasion.
Kitchen Tools You’ll Need
- 8X8-inch baking pan
- Parchment paper
- Mixing bowls
- Whisk
- Electric mixer or hand mixer
- Spatula
Ingredients
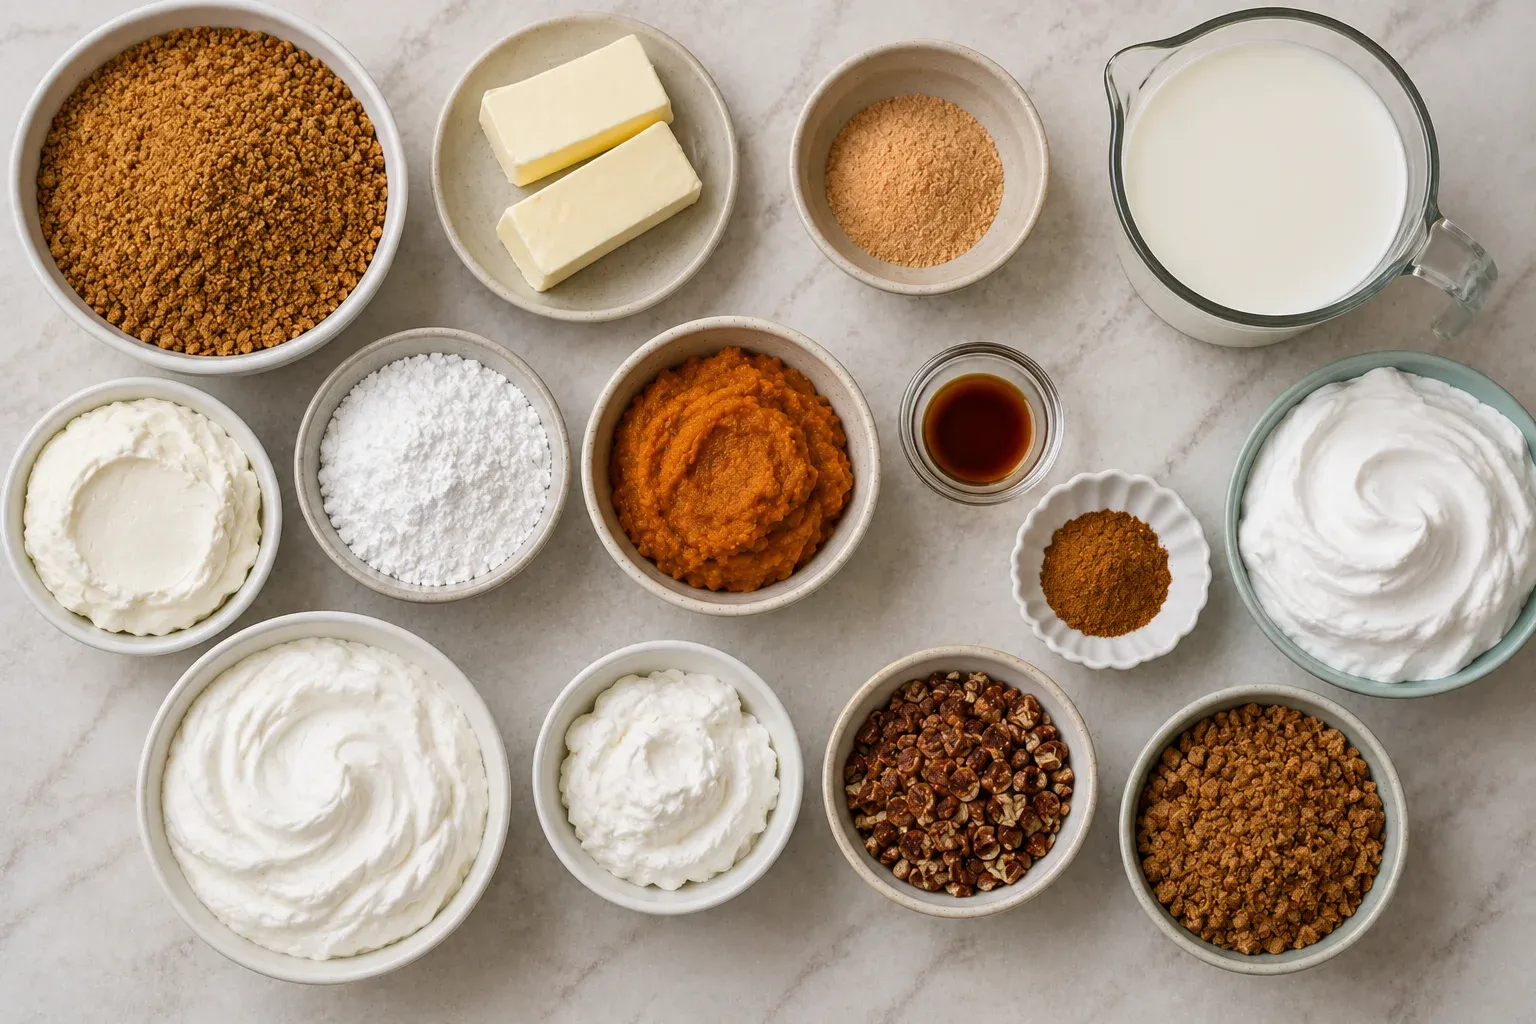
- 1 ⅓ cups crushed Gingersnap cookie crumbs (provides a sweet and spicy base)
- 5 tablespoons unsalted butter (adds moisture and richness)
- 1 package (3.4 ounces) Pumpkin Spice Pudding Mix (contributes flavor and creaminess)
- 1 ½ cups milk (provides moisture and smoothness)
- 6 ounces cream cheese, room temperature (adds a rich, creamy texture)
- ½ cup confectioners’ sugar (sweetens and smooths the creamy layer)
- ¼ cup pure pumpkin puree (intensifies the pumpkin flavor)
- ½ teaspoon pure vanilla extract (enhances overall sweetness and flavor)
- ¾ teaspoon pumpkin spice (adds a warm spice blend)
- 1 cup Cool Whip (provides lightness and creaminess)
- 8 ounces Cool Whip, divided (used in layers for texture)
- Chopped pecans and additional crushed Gingersnap cookies for topping, if desired (adds texture and crunch)
How to Make Pumpkin Dream Bars
Step 1. Line an 8X8-inch baking pan with parchment paper. This step helps in easily removing the bars once they’ve set. Ensure the paper covers the bottom and sides, which can help with cleanup later.
Step 2. Melt the butter and mix it with the crushed Gingersnap cookie crumbs until well combined. The mixture should feel moist and crumbly. Press it into the bottom of the prepared pan, creating an even layer. Freeze this crust for 30 minutes; it needs to solidify to hold its shape.
Step 3. In a mixing bowl, combine the pumpkin spice pudding mix with the milk. Whisk until smooth, and then refrigerate for a minimum of 10 minutes to allow it to thicken; the mixture should start to set.
Step 4. Beat the cream cheese in a bowl until it’s smooth and creamy. Then, mix in the confectioners’ sugar, pumpkin puree, vanilla extract, and pumpkin spice until everything is well combined. The mixture should be creamy and slightly fluffy. Gently fold in one cup of Cool Whip, which lightens the texture.
Step 5. Spread the pumpkin cream cheese layer over the chilled cookie crust. Take your time to ensure an even layer. Next, pour the chilled pudding mixture over this layer, spreading it gently for an even consistency. Finally, top it all with the remaining Cool Whip, smoothing it out.
Step 6. Refrigerate for a minimum of four hours or freeze for 1.5 hours. The bars need time to set up properly, developing their texture and allowing the flavors to meld together. They should feel firm but still slightly soft to the touch when ready.
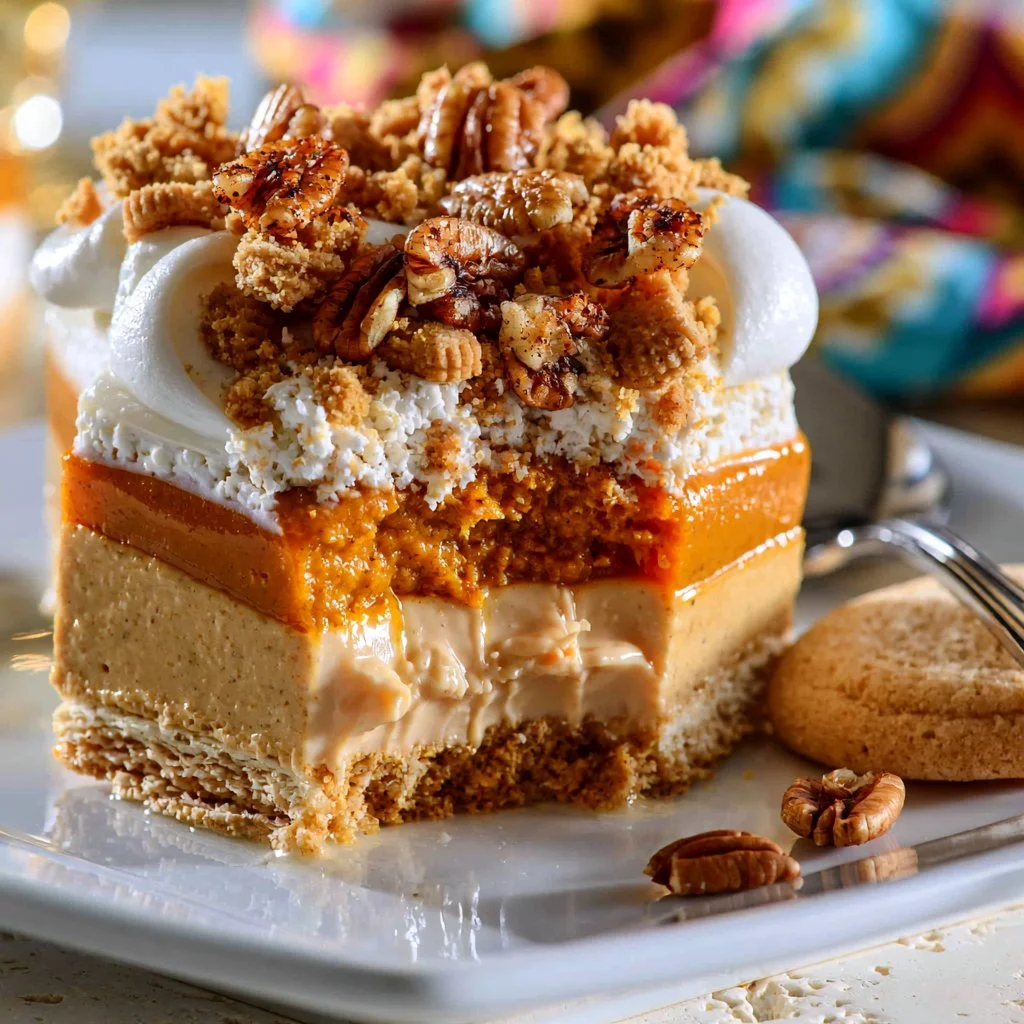
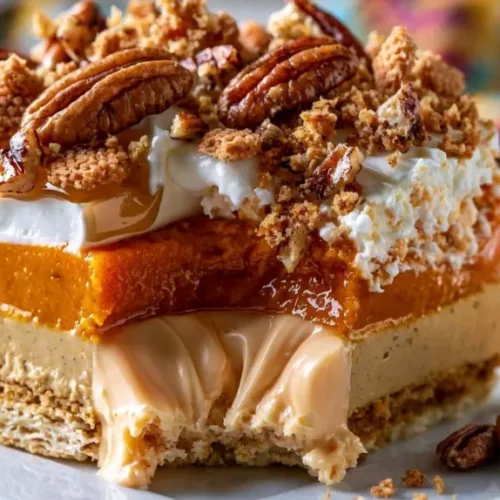
Step 7. Before serving, you can top the Pumpkin Dream Bars with chopped pecans and additional crushed Gingersnap cookies. This adds an extra layer of flavor and crunch, enhancing the overall experience of the dessert.
Serving Suggestions
These Pumpkin Dream Bars make a delightful addition to several occasions. They can easily be enjoyed as a breakfast treat alongside your morning coffee or as an afternoon snack. They work beautifully as dessert for family meals, providing a comforting finish. Should any remain, they keep well for a few days, making them a handy option for quick snacks. Their texture holds up, allowing for a sweet bite whenever the craving strikes.
Pro Tips for Best Results
- For a smoother filling, ensure the cream cheese is at room temperature before mixing.
- Allow adequate chilling time to ensure layers set properly; this helps with cutting clean bars.
- If you’re preparing for a gathering, consider doubling the recipe for larger servings.
- Use a spatula dipped in warm water to cut the bars smoothly for better presentation.
- If you prefer a less sweet topping, consider using a mixture of crushed gingersnaps and nuts for added flavor without more sugar.
Common Mistakes to Avoid
- Not softening the cream cheese – Using cold cream cheese can result in a lumpy filling. Always set it out a bit ahead of time until it’s soft for a smooth mixture.
- Skipping the chilling steps – Each layer needs to chill to set properly. Failing to do this may result in a runny or poorly layered dessert.
- Overmixing the pudding – Whisk just until combined. Overmixing can cause it to become too thick to spread easily.
- Using too much liquid in the pudding – Stick to the specified amount of milk to keep the pudding layer creamy without being watery.
- Not pressing the crust firmly – Make sure to firmly press the cookie crust into the bottom of the pan. A well-packed crust holds together better when cut.
- Skipping the topping – While optional, adding the pecans and extra cookie crumbs enhances both flavor and texture; it’s worth considering for an added crunch.
Variations & Substitutions
For those looking to mix it up, consider using different flavored pudding mixes, such as vanilla, for a twist. You can also add a sprinkle of chocolate chips or layers of caramel sauce in between the cream cheese and pudding layers. If you prefer a nut-free option, simply omit the pecans from the topping or replace them with additional crushed cookies for texture.
Storage & Reheating
At room temperature, these bars should be kept cool, ideally no longer than two hours. For refrigerator storage, place them covered in an airtight container, where they’ll last for about 4-5 days. If you wish to freeze them, wrap tightly in plastic wrap or foil, and store them in a freezer-safe container for up to a month. To enjoy after freezing, let them thaw in the refrigerator overnight to maintain their lovely texture.
Frequently Asked Questions
Can I make this recipe ahead of time?
Absolutely! These bars can be prepared a day in advance, making them perfect for gatherings. Chilling them overnight allows the flavors to meld beautifully.
How long does it last in the fridge?
When stored in an airtight container, Pumpkin Dream Bars can last about 4-5 days in the fridge. They maintain their flavor and texture well during this time.
Can I freeze this recipe?
Yes, you can freeze these bars. Ensure they are tightly wrapped and stored in a freezer-safe container. They should hold up well for about a month.
What can I substitute for one ingredient?
If you’re looking to replace the cream cheese, you might try mascarpone for a similar texture, though the flavor will shift slightly. Always keep the balance of sweetness in mind.
Why didn’t my recipe turn out as expected?
This could happen for several reasons, such as not allowing the layers to chill sufficiently or using ingredients at incorrect temperatures. Attention to detail is key for the best results.
Final Thoughts
Making Pumpkin Dream Bars is not just about following a recipe; it’s an inviting experience that welcomes you into the comforting world of fall flavors. The layers come together in a way that’s pleasing to the eye and satisfying to the palate. Enjoying these bars with a cozy drink or sharing them with loved ones adds to the charm. Whatever the occasion, you’ll find a little slice of joy in each bite.
Pumpkin Dream Bars
Ingredients
Crust
- 1 ⅓ cups crushed Gingersnap cookie crumbs provides a sweet and spicy base
- 5 tablespoons unsalted butter adds moisture and richness
Filling
- 1 package Pumpkin Spice Pudding Mix (3.4 ounces) contributes flavor and creaminess
- 1 ½ cups milk provides moisture and smoothness
- 6 ounces cream cheese, room temperature adds a rich, creamy texture
- ½ cup confectioners' sugar sweetens and smooths the creamy layer
- ¼ cup pure pumpkin puree intensifies the pumpkin flavor
- ½ teaspoon pure vanilla extract enhances overall sweetness and flavor
- ¾ teaspoon pumpkin spice adds a warm spice blend
- 1 cup Cool Whip provides lightness and creaminess
- 8 ounces Cool Whip, divided used in layers for texture
- to taste Chopped pecans and additional crushed Gingersnap cookies for topping, if desired, adds texture and crunch
Instructions
Preparation
- Line an 8X8-inch baking pan with parchment paper, ensuring it covers the bottom and sides.
- Melt the butter and mix it with the crushed Gingersnap cookie crumbs. Press into the bottom of the prepared pan and freeze for 30 minutes.
- In a mixing bowl, combine the pumpkin spice pudding mix with the milk. Whisk until smooth and refrigerate for at least 10 minutes.
- Beat the cream cheese until smooth. Mix in the confectioners' sugar, pumpkin puree, vanilla extract, and pumpkin spice. Gently fold in one cup of Cool Whip.
- Spread the pumpkin cream cheese layer over the chilled cookie crust.
- Pour the chilled pudding mixture over the cream cheese layer and top with the remaining Cool Whip.
- Refrigerate for a minimum of 4 hours or freeze for 1.5 hours until set.
- Before serving, top with chopped pecans and additional crushed Gingersnap cookies if desired.