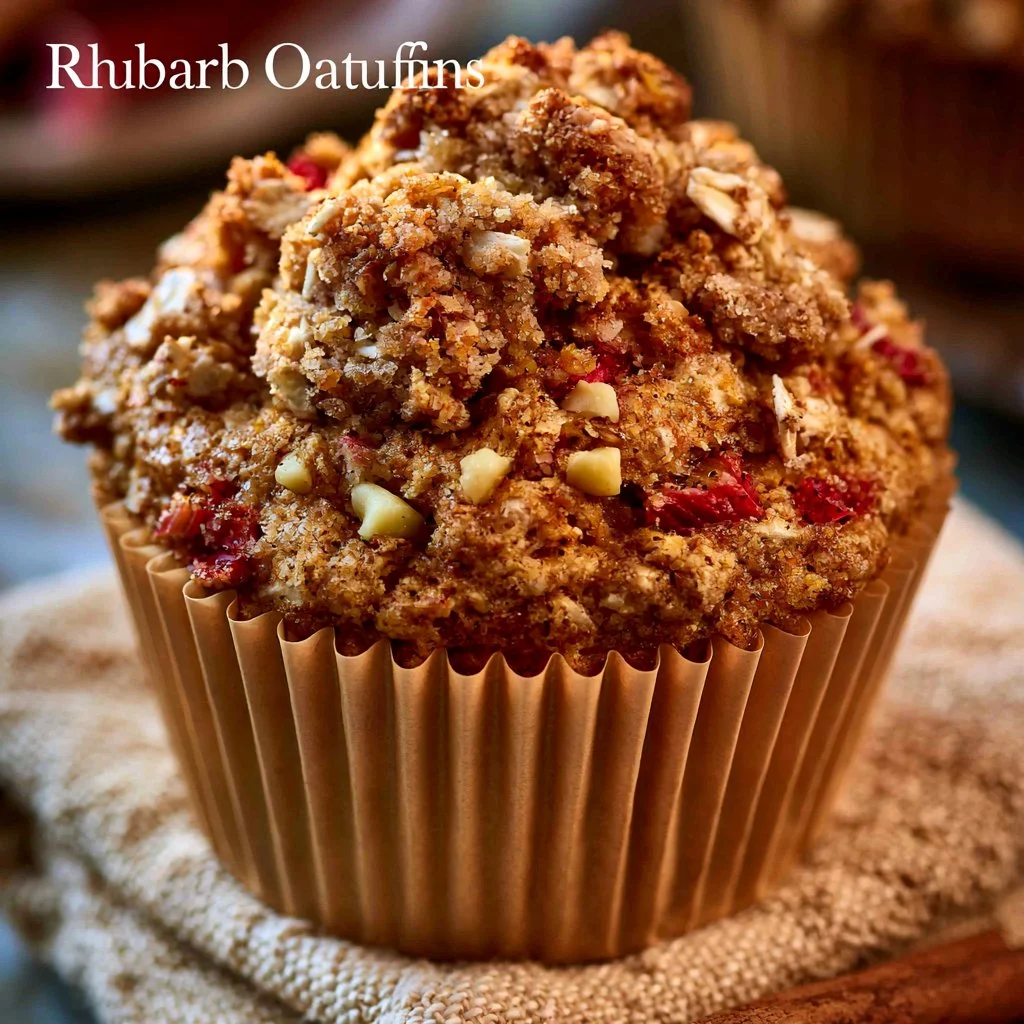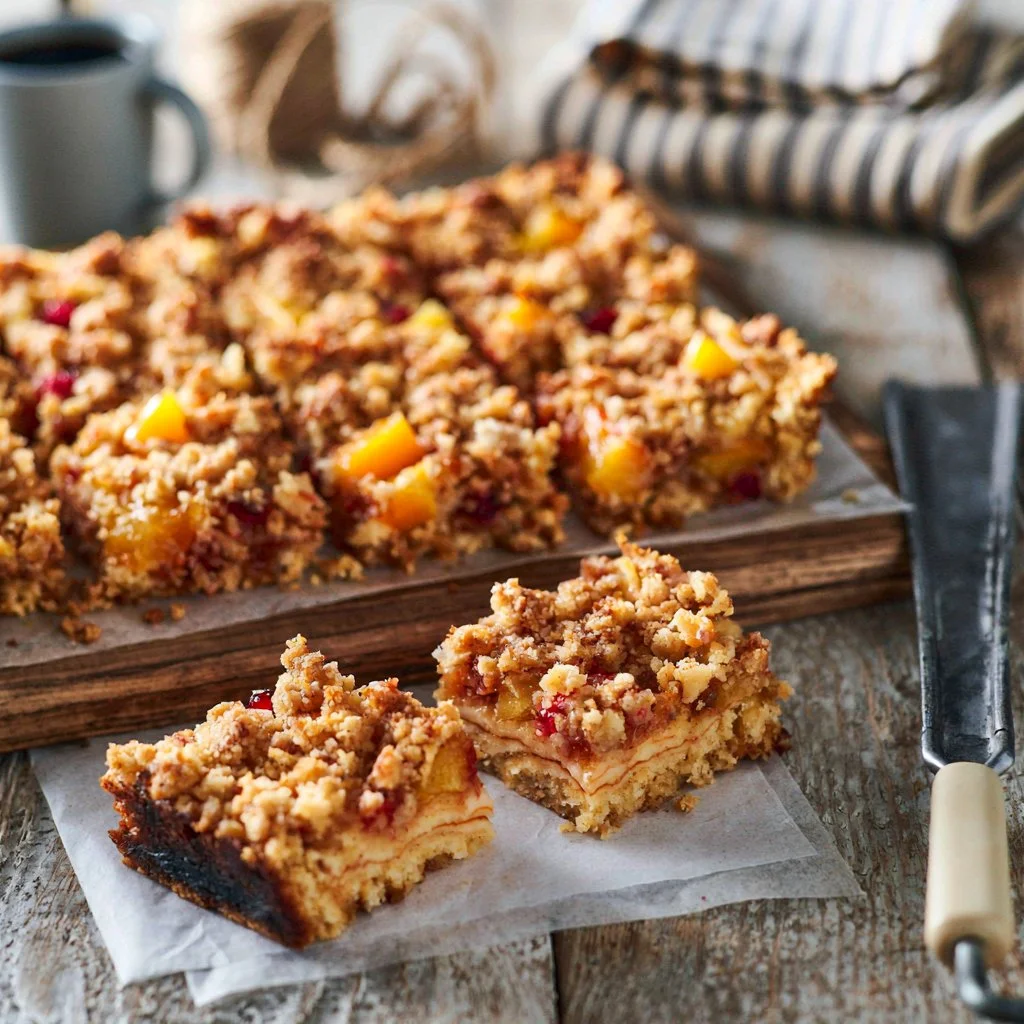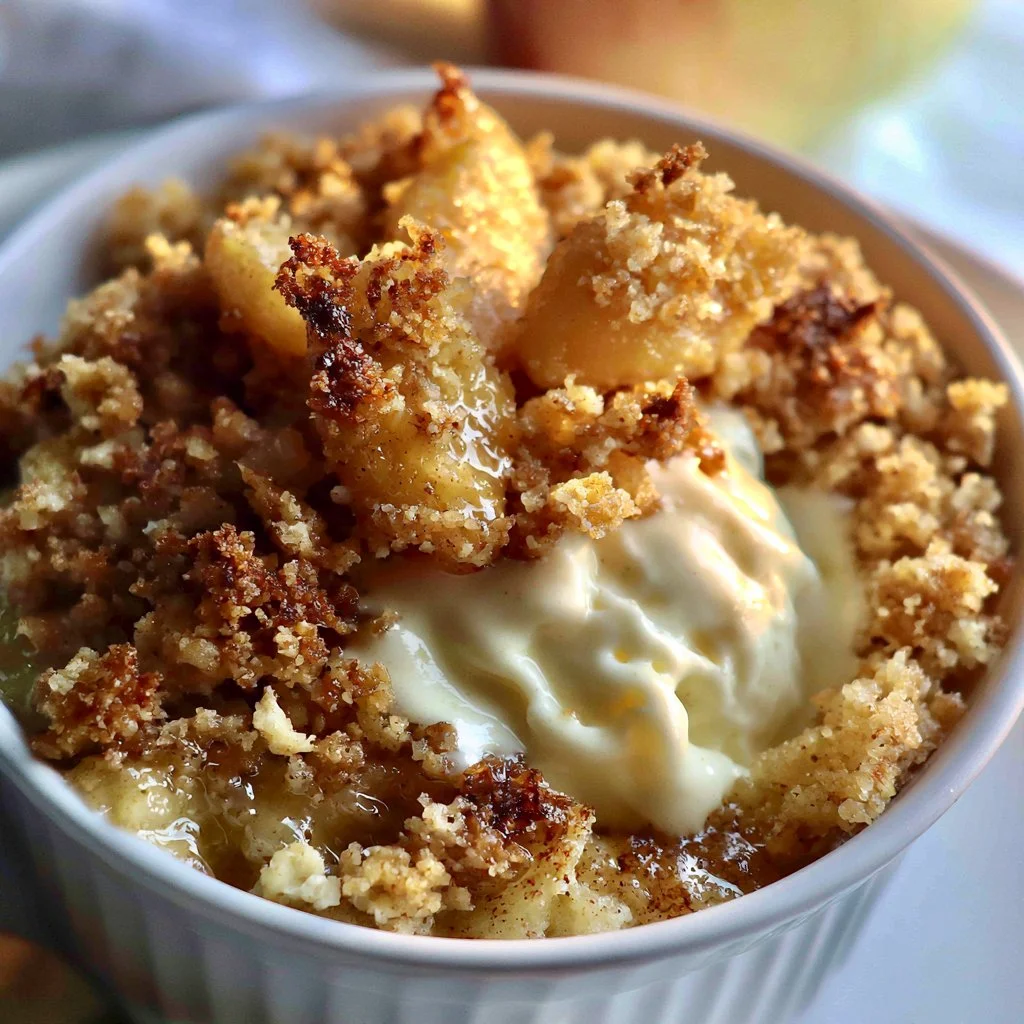
There’s something quietly satisfying about pulling a warm dish of apple crisp from the oven. It’s versatile enough for a weeknight dessert, a cozy weekend treat, or even as a comforting addition to gatherings. This recipe offers simplicity and practicality, making it easy to enjoy at any time. With its delightful combination of tender apples and a crunchy topping, this dish is a familiar favorite that fits seamlessly into everyday life. Let’s dive into making this comforting dessert.
Why You’ll Love This Sugar Free Apple Crisp
This sugar-free apple crisp combines ease and reliability with a comforting, balanced flavor. The oats and almond flour lend a satisfying texture, while the fresh apples provide natural sweetness without added sugar. It’s a practical everyday value, perfect for satisfying cravings without the guilt.
Kitchen Tools You’ll Need
- Pie dish (9-inch)
- Mixing bowls
- Whisk or fork
- Pastry cutter or hands for mixing
- Measuring cups and spoons
Ingredients
- ½ cup old fashioned oats (for texture and chewiness)
- ½ cup almond flour (adds moisture and a nutty flavor)
- ¼ cup brown sweetener (provides sweetness and depth)
- ½ teaspoon cinnamon (for warmth and flavor)
- ½ teaspoon baking powder (helps with topping lightness)
- ¼ cup unsalted butter, cold (binds the crumble topping)
- ½ teaspoon salt (enhances overall flavors)
- 2 medium apples, peeled and sliced (main fruit component)
- 3 tablespoons unsalted butter, melted (adds richness)
- 2 tablespoons almond flour (further thickens the apple mixture)
- 1 tablespoon lemon juice (brightens the apple flavor)
- 3 tablespoons unsweetened almond milk (adds moisture)
- ½ teaspoon vanilla extract (enhances sweetness and flavor)
- ¼ cup brown sweetener (additional layer of sweetness)
- ½ teaspoon cinnamon (for flavor depth)
- ¼ teaspoon salt (balances overall sweetness)
How to Make Sugar Free Apple Crisp
Step 1. Preheat your oven to 375°F. Start by setting the temperature so that the oven is ready to create a warm and golden finish for your apple crisp. Ensuring the oven reaches the right heat before placing the dish inside is essential for proper baking.
Step 2. Mix the topping ingredients together using a pastry cutter to incorporate the cold butter, or do this by hand until that lovely crumble texture forms. Focus on breaking up the butter into smaller pieces, creating a mixture that resembles coarse crumbs. Once you see clumps forming, you’re ready to set this aside.
Step 3. In a medium bowl, combine the melted butter and almond flour, stirring gently to blend. This mixture will help to bind the remaining ingredients together while contributing to a moist filling. Look for a smooth consistency without any large lumps of flour.
Step 4. Add all remaining ingredients, except for the sliced apples, into the bowl. Mix everything together until well combined. Take your time to ensure all ingredients are evenly distributed throughout the mixture, creating a homogenous batter that will envelop the apples.
Step 5. In a large bowl, add the sliced apples and pour the prepared mixture over them. Gently toss the apples to coat them evenly, making sure all of them are nicely covered. This step is crucial as it ensures that each slice will be infused with the combined flavors of the almond milk, sweetener, and spices.
Step 6. Grease a 9-inch pie dish to prevent sticking, then spread the coated apple mixture evenly into the dish. Taking your time to spread it out ensures even cooking and texture in every slice.
Step 7. Top the apple layer with the crumble topping you prepared earlier, scattering it evenly to create a nice layer over the apples. This will provide a crunch and contrast to the tender apples as it bakes.
Step 8. Bake in the preheated oven for 30-35 minutes, watching for the topping to turn golden brown and the mixture to bubble softly around the edges. This bubbling indicates the filling is cooking through, and the crisp is nearing completion.
Step 9. Once baked, allow the apple crisp to cool slightly before serving. This cooling time lets the flavors meld and makes it easier to serve while ensuring the dish holds its shape.
Serving Suggestions
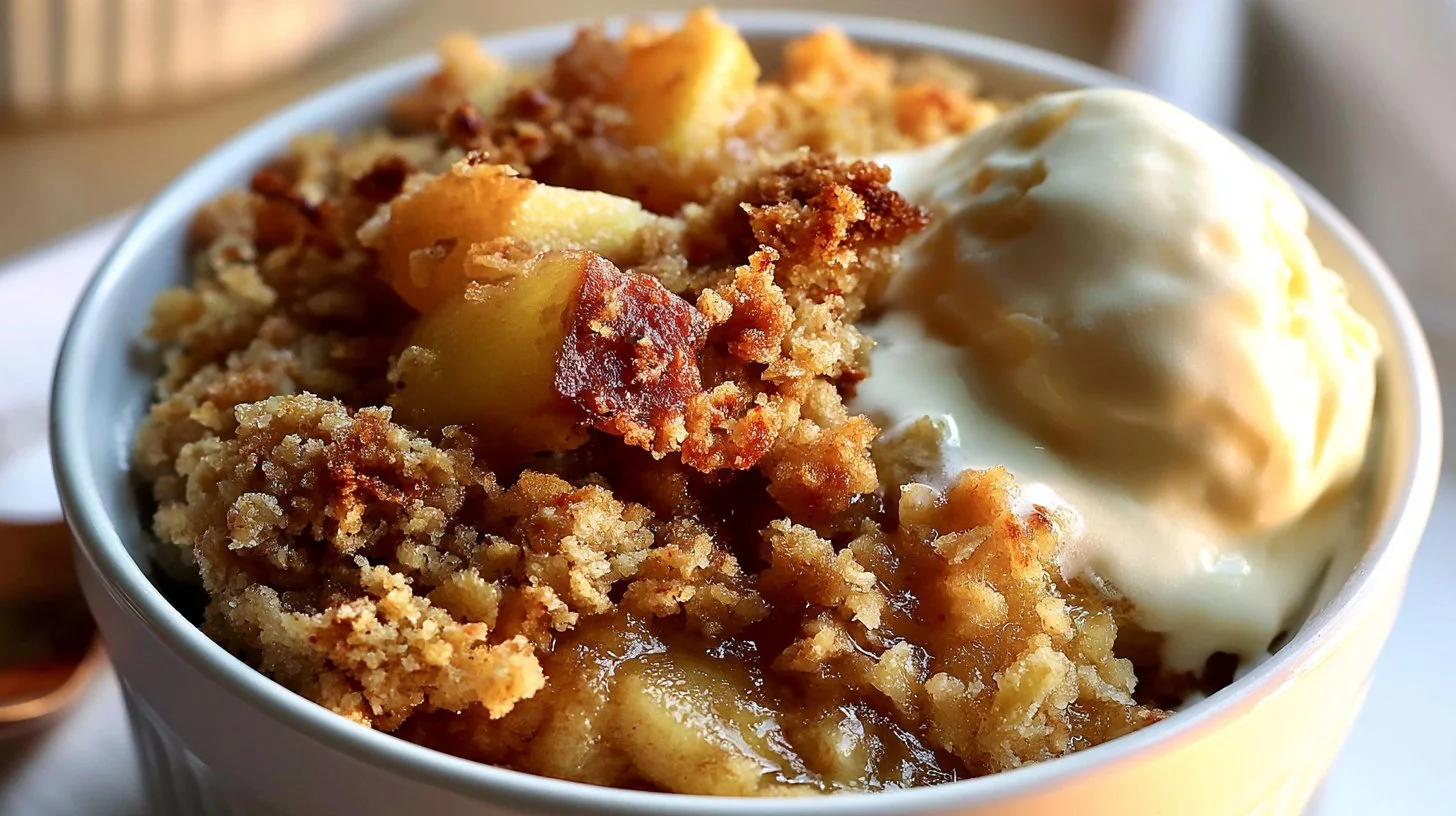
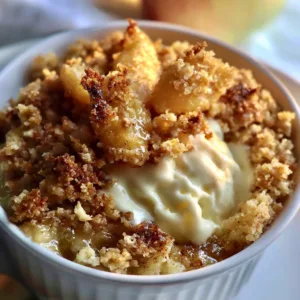
This apple crisp shines as a delightful dessert or even a comforting breakfast option. It’s great for those moments when you want a relaxing snack in the afternoon or after a family meal. Leftovers can be enjoyed the next day, warmed up or served cold. Consider pairing it with a scoop of sugar-free ice cream or a dollop of yogurt for added creaminess.
Pro Tips for Best Results
- Use a mix of sweet and tart apples for the best flavor contrast. This will enhance the overall taste of your crisp.
- Make sure the butter for the crumble topping is cold; this helps achieve a flakier texture.
- If you prefer a thicker apple layer, use slightly fewer apples or add a couple more tablespoons of almond flour.
- Slicing apples evenly ensures they cook at the same rate, providing uniform tenderness.
- Allow the crisp to sit for a few minutes after baking to help set the filling, which improves slicing.
- Store any leftovers tightly covered in the refrigerator for up to three days for optimal freshness.
Common Mistakes to Avoid
- Using overripe apples: This can lead to mushy filling, so choose firm apples for the best texture.
- Not greasing the dish: Skipping this step may cause sticking, making it hard to serve the crisp intact.
- Using melted butter instead of cold: This can result in a dense topping instead of a light and crumbly one.
- Overmixing the topping: Mixing too vigorously can create a tough texture, so handle gently to maintain a crumble.
- Baking too short or too long: Not watching the crisp closely can lead to a soggy or burnt topping. Keep an eye on the visual cues of bubbling and browning.
- Uneven apple slices: Cut apples into even sizes to ensure they cook uniformly, preventing some from being underdone while others are overly soft.
Variations & Substitutions
For a different twist, consider adding nuts or seeds to the topping for extra crunch. You might also experiment with spices like nutmeg for added warmth. If you’re looking for more fruit flavor, try mixing in some berries with your apples, but be mindful of moisture levels.
Storage & Reheating
To store, keep the apple crisp at room temperature for up to a day if covered, or refrigerate for up to three days. If you’d like to save it longer, it can be frozen for about three months. When ready to enjoy leftovers, reheat in small increments in the microwave or bake in the oven at 350°F until warmed through, which will help maintain the topping’s texture.
Frequently Asked Questions
Can I make this recipe ahead of time?
Yes, you can prepare the apple mixture and topping, store them separately in the refrigerator, and assemble just before baking.
How long does it last in the fridge?
The apple crisp will keep well in the fridge for about three days. Just ensure it’s covered to retain moisture.
Can I freeze this recipe?
Yes, you can freeze the baked apple crisp for up to three months. Just be sure it’s completely cooled and stored in an airtight container.
What can I substitute for one ingredient?
You could use coconut flour instead of almond flour, but keep in mind that coconut flour is denser, so adjust the amount accordingly.
Why didn’t my recipe turn out as expected?
Common issues could arise from improper measurements, using the wrong type of apples, or overmixing the ingredients. Accuracy and care in preparation are key.
Final Thoughts
Making this apple crisp is a straightforward process that delivers a warm and comforting dessert. The balance of tender apples and a crunchy topping creates a satisfying dish that many enjoy. It’s great to have a reliable recipe like this in your repertoire, ready to share with family or keep to savor quietly at home. Enjoy the simple pleasure of a classic dessert made with love.
Sugar Free Apple Crisp
Ingredients
Crisp Topping
- ½ cup old fashioned oats for texture and chewiness
- ½ cup almond flour adds moisture and a nutty flavor
- ¼ cup brown sweetener provides sweetness and depth
- ½ teaspoon cinnamon for warmth and flavor
- ½ teaspoon baking powder helps with topping lightness
- ¼ cup unsalted butter, cold binds the crumble topping
- ½ teaspoon salt enhances overall flavors
Apple Mixture
- 2 medium apples, peeled and sliced main fruit component
- 3 tablespoons unsalted butter, melted adds richness
- 2 tablespoons almond flour further thickens the apple mixture
- 1 tablespoon lemon juice brightens the apple flavor
- 3 tablespoons unsweetened almond milk adds moisture
- ½ teaspoon vanilla extract enhances sweetness and flavor
- ¼ cup brown sweetener additional layer of sweetness
- ½ teaspoon cinnamon for flavor depth
- ¼ teaspoon salt balances overall sweetness
Instructions
Preparation
- Step 1: Preheat your oven to 375°F.
- Step 2: Mix the topping ingredients together using a pastry cutter to incorporate the cold butter, or do this by hand until that lovely crumble texture forms.
- Step 3: In a medium bowl, combine the melted butter and almond flour, stirring gently to blend.
- Step 4: Add all remaining ingredients, except for the sliced apples, into the bowl. Mix everything together until well combined.
- Step 5: In a large bowl, add the sliced apples and pour the prepared mixture over them. Gently toss the apples to coat them evenly.
Baking
- Step 6: Grease a 9-inch pie dish and spread the coated apple mixture evenly into the dish.
- Step 7: Top the apple layer with the crumble topping, scattering it evenly.
- Step 8: Bake in the preheated oven for 30-35 minutes, watching for the topping to turn golden brown.
- Step 9: Once baked, allow the apple crisp to cool slightly before serving.