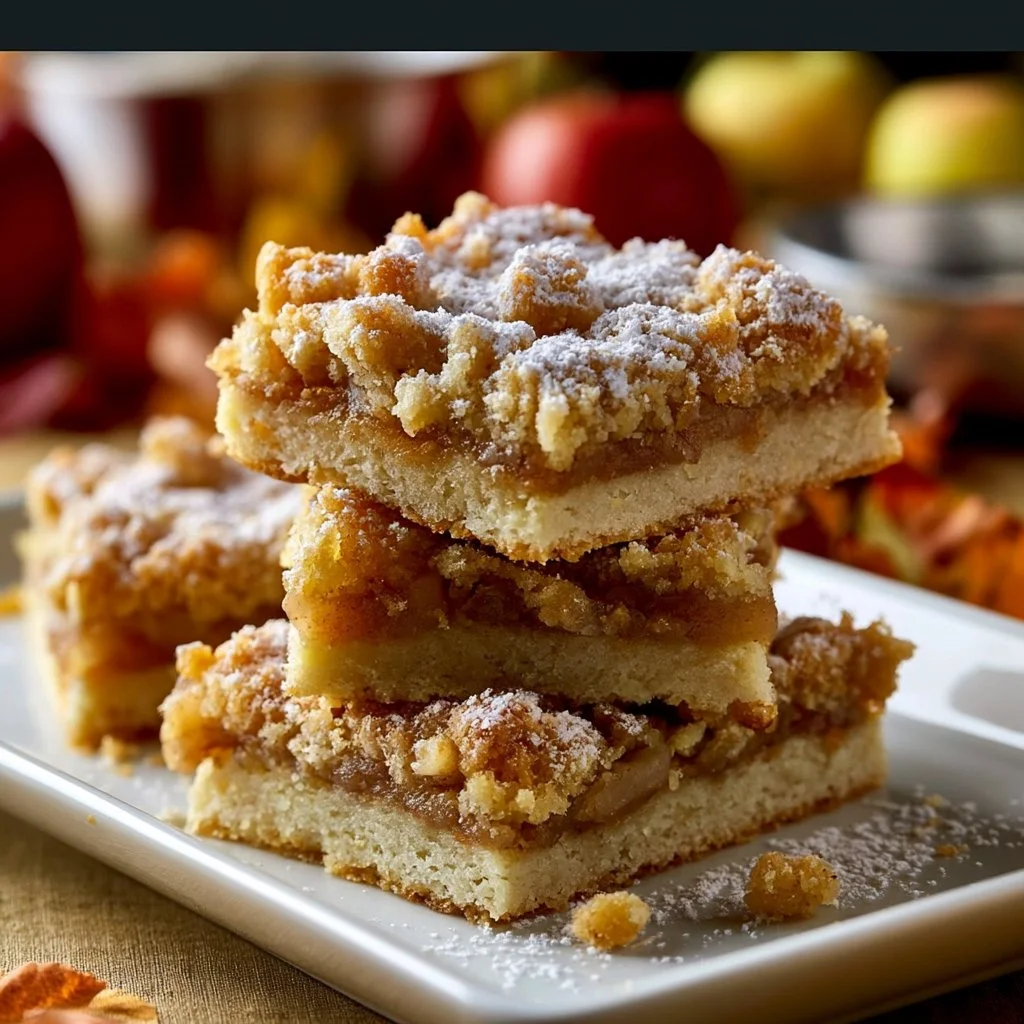
As the air turns crisp and leaves begin to change, there’s something comforting about baking with apples. The layers of crumbly topping and tender fruit create a delightful treat that feels right at home on weeknights, weekends, or during gatherings with family and friends. These apple crumble bars are straightforward to prepare, making them a perfect choice for those quiet moments in the kitchen, where simplicity meets warmth. Let’s step into the cozy world of baking apple crumble bars.
Why You’ll Love This Apple Crumble Bars for Fall
These Easy Apple Crumble Bars are about ease and dependability. With a balanced flavor from the apples and warm spices, you can savor each bite without any fuss. They celebrate practical, everyday moments, whether you’re enjoying a snack or serving them for dessert. Plus, their inviting crumble topping reminds us of home, making them wonderfully comforting.
Kitchen Tools You’ll Need
- 9×13 inch baking pan
- Parchment paper
- Large mixing bowls
- Whisk
- Cutting board and knife
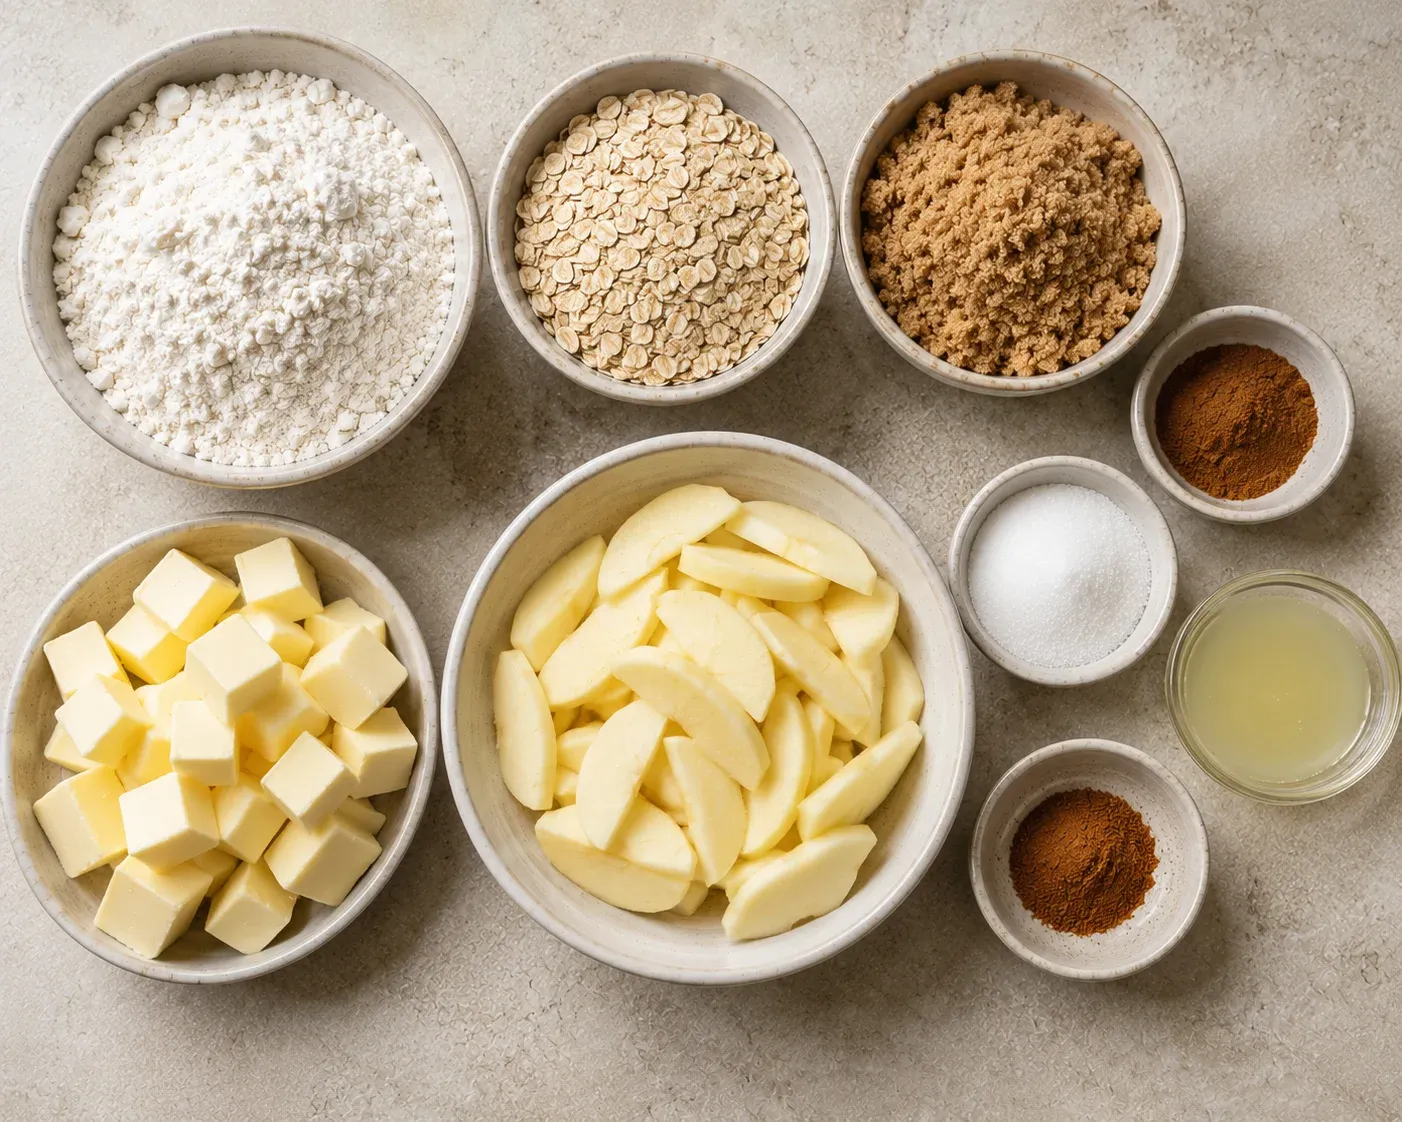
Ingredients
- 2 cups of all-purpose flour (for structure)
- 1 cup of old-fashioned rolled oats (adds chewiness)
- 1 cup of packed light brown sugar (provides sweetness and moisture)
- 1 teaspoon of ground cinnamon (for warmth)
- 1 cup (2 sticks) of cold, unsalted butter, cubed (creates flakiness)
- 4 medium baking apples, peeled, cored, and thinly sliced (for flavor and texture)
- ¼ cup of granulated sugar (adds sweetness)
- 1 tablespoon of fresh lemon juice (enhances apple flavor)
- 1 teaspoon of ground cinnamon (adds aroma and spice)
How to Make Easy Apple Crumble Bars
Step 1. Preheat your oven to 190°C (375°F) and line a 9×13-inch baking pan with parchment paper. The parchment will help prevent sticking, making it easier to lift the bars out later. Ensure the oven is fully heated before you bake so that the bars cook evenly.
Step 2. In a large bowl, whisk together the flour, oats, brown sugar, and 1 teaspoon of cinnamon. The mixture should be well combined, with no clumps remaining. This dry mixture will create both the crust and the topping for your bars, forming a solid foundation for the apple filling.
Step 3. Cut in the cold butter until the mixture resembles coarse crumbs. You can use a pastry cutter, forks, or even your fingers for this task. Look for a texture that has small, pea-sized pieces of butter throughout, which will contribute to a tender, crumbly topping once baked.
Step 4. Press two-thirds of the crumble mixture into the bottom of the prepared pan to form the crust. Make sure it is packed down evenly, which ensures a nice, stable base for the apples. The bottom layer should be cohesive but not overly compacted, allowing for a pleasant crunch.
Step 5. In another bowl, combine the sliced apples, granulated sugar, lemon juice, and the remaining cinnamon. Toss gently to coat the apples evenly, which will help them retain moisture as they bake. The lemon juice brightens the flavor of the apples, balancing the sweetness of the sugar.
Step 6. Spread the apple filling evenly over the crust and sprinkle the remaining crumble mixture on top. You want to cover the apples thoroughly without leaving large gaps. This topping will bake into a golden, crunchy layer that pairs beautifully with the soft apples beneath.
Step 7. Bake for 40 to 45 minutes until the fruit is tender and the topping is a rich golden brown. Once baked, the kitchen will be filled with a warm aroma, signaling that it’s nearly time to enjoy your creation. The topping should look crisp and slightly caramelized, while the apples will be bubbling slightly.
Serving Suggestions
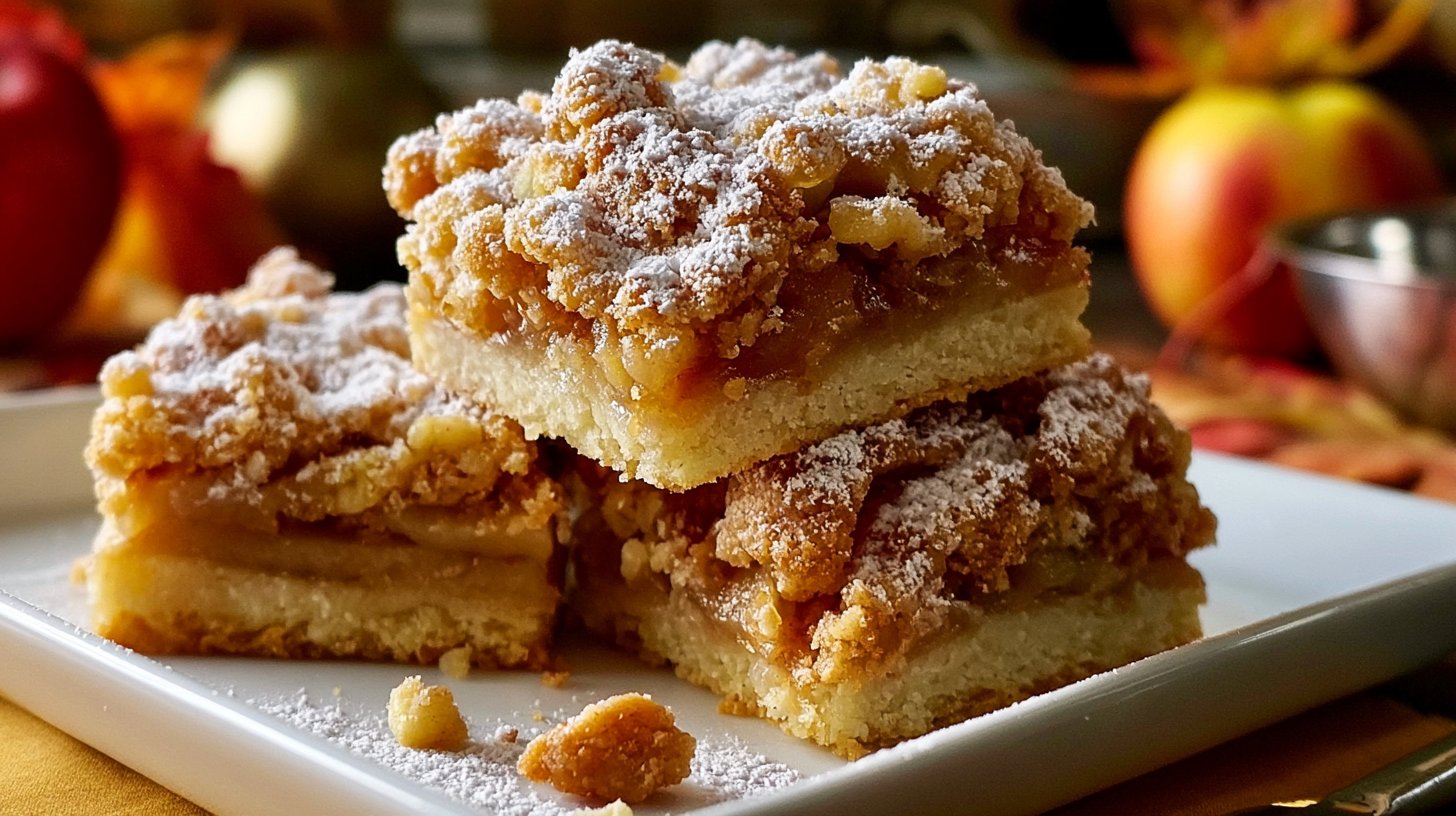
These apple crumble bars are versatile and can fit into your routine in many ways. They work wonderfully for breakfast alongside a cup of coffee or tea, making an easy morning treat. For snacks, they are perfect to serve with a dollop of yogurt or ice cream. If you have family meals, they can be a cozy dessert option, and you can always enjoy the leftovers cold or warmed slightly. They store well, ensuring a lovely treat is just a reach away.
Pro Tips for Best Results
- Use a variety of apples: Mixing different apple types can add depth to the flavor and texture.
- Ensure your butter is cold: This helps achieve that crumbly texture in both the crust and topping.
- Don’t rush the cooling: Letting the bars cool completely ensures they hold their shape when cut.
- Pack the crust evenly: This helps create a strong, balanced base for your bars.
- Adjust the sweetness: Depending on the tartness of your apples, feel free to tweak the sugar level slightly.
- Keep an eye on baking time: Ovens can vary; start checking a bit earlier if you know yours tends to bake quickly.
Common Mistakes to Avoid
- Not using cold butter: This can lead to a dense topping rather than a light, crumbly one. Ensure your butter is chilled.
- Overmixing the crumble: If you mix too much, the texture may become overly dense. Mix just until combined.
- Ignoring baking times: Every oven varies, and overbaking can dry your bars. Start checking a few minutes before the timer goes off.
- Skipping the parchment paper: This makes removing the bars from the pan more difficult. Use parchment to simplify the process.
- Not cooling completely: Cutting while warm can lead to messy bars. Be patient and let them cool fully.
- Using the wrong apples: Not all apples are suited for baking. Choose firm apples that hold their shape.
Variations & Substitutions
Consider adding nuts, like chopped walnuts or pecans, for extra crunch. You can also experiment with spices by adding a pinch of nutmeg or even allspice for deeper flavor. If you want a bit of sweetness, a drizzle of maple syrup over the apples can enhance their flavor.
Storage & Reheating
These bars can be stored at room temperature for a couple of days if kept covered. For longer storage, place them in an airtight container in the refrigerator, where they can last up to a week. You can also freeze them for up to three months. To reheat, place them in a warm oven for about 10 minutes, ensuring they stay tender and the topping remains crisp.
Frequently Asked Questions
Can I make this recipe ahead of time?
Absolutely! You can prepare these bars a day in advance and store them covered in the refrigerator. This can enhance the flavors as they sit.
How long does it last in the fridge?
These bars can be stored in the refrigerator for up to a week. Just make sure they are in an airtight container to maintain freshness.
Can I freeze this recipe?
Yes, you can freeze the bars. Wrap them tightly in plastic wrap or aluminum foil and place them in a freezer bag. They can last for up to three months.
What can I substitute for one ingredient?
If you don’t have ground cinnamon, you can use a mix of pumpkin pie spice or allspice for a different flavor profile. Just be sure to adjust the amount based on your taste.
Why didn’t my recipe turn out as expected?
There could be several reasons, including using warm butter instead of cold or not measuring the ingredients accurately. Each step contributes to the overall texture and flavor, so being precise helps.
Final Thoughts
Making these Easy Apple Crumble Bars is a simple and satisfying process that fills your kitchen with comforting scents. Each bite combines a crumbly topping with tender, spiced apples, creating a lovely treat any time of year. Enjoying these bars gives you a taste of home, perfect for any moment when you need a little warmth.
Easy Apple Crumble Bars
Ingredients
For the Crust and Topping
- 2 cups all-purpose flour for structure
- 1 cup old-fashioned rolled oats adds chewiness
- 1 cup packed light brown sugar provides sweetness and moisture
- 1 teaspoon ground cinnamon for warmth
- 1 cup cold, unsalted butter, cubed creates flakiness
For the Apple Filling
- 4 medium baking apples, peeled, cored, and thinly sliced for flavor and texture
- ¼ cup granulated sugar adds sweetness
- 1 tablespoon fresh lemon juice enhances apple flavor
- 1 teaspoon ground cinnamon adds aroma and spice
Instructions
Preparation
- Preheat your oven to 190°C (375°F) and line a 9×13-inch baking pan with parchment paper.
- In a large bowl, whisk together the flour, oats, brown sugar, and 1 teaspoon of cinnamon.
- Cut in the cold butter until the mixture resembles coarse crumbs.
- Press two-thirds of the crumble mixture into the bottom of the prepared pan.
- In another bowl, combine the sliced apples, granulated sugar, lemon juice, and the remaining cinnamon. Toss gently to coat the apples evenly.
Baking
- Spread the apple filling evenly over the crust and sprinkle the remaining crumble mixture on top.
- Bake for 40 to 45 minutes until the fruit is tender and the topping is a rich golden brown.