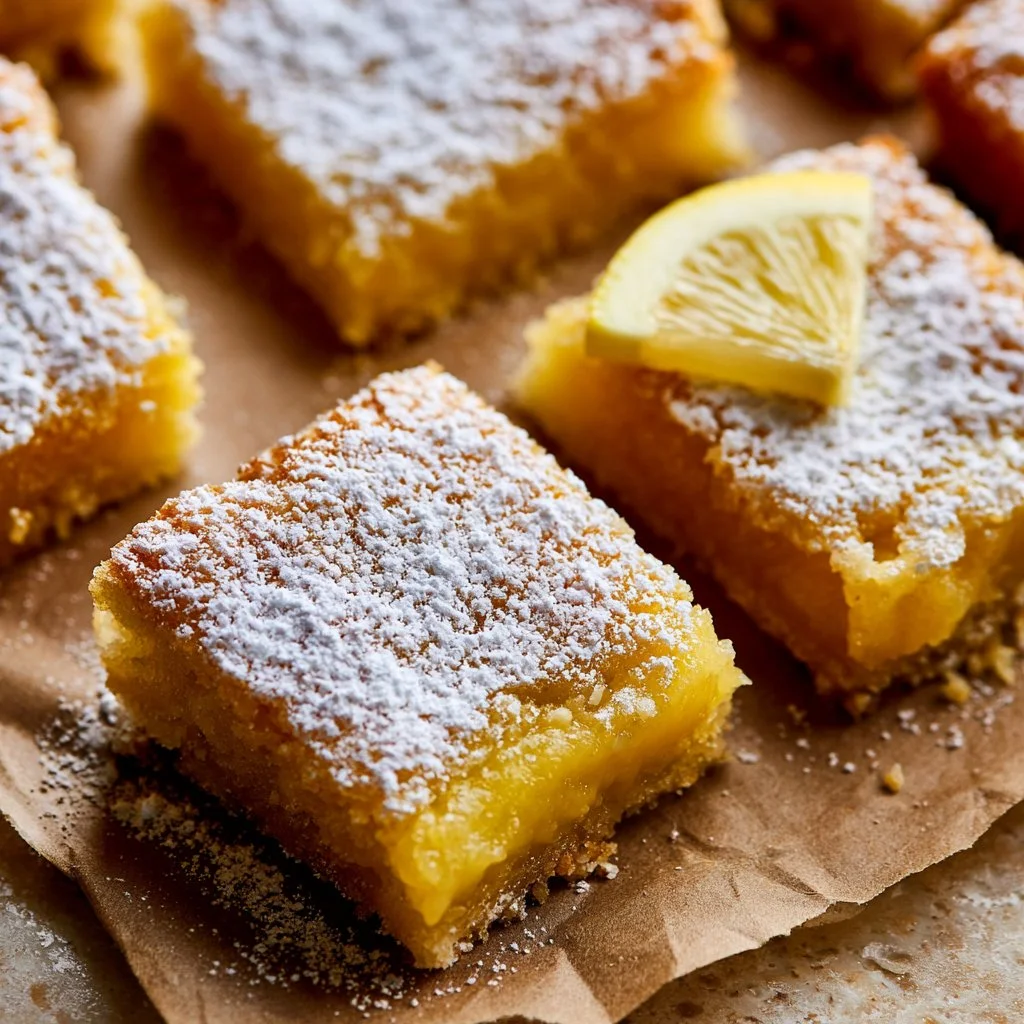
Super Easy Lemon Bars
Making something sweet and tangy can bring a touch of delight to a regular day. These lemon bars fit perfectly into those moments—whether you’re wrapping up a weeknight dinner or looking for a simple dessert to share with friends. Their straightforward preparation and refreshing flavor make them a welcome addition to any gathering or even a quiet afternoon at home. This recipe highlights the beauty of easy baking and invites you to enjoy a comforting treat.
Why You’ll Love This Recipe {focus_keyword}
These Super Easy Lemon Bars are simple to prepare, providing a reliable dessert option whenever you need something sweet. The balance of bright lemon flavor and the buttery crust offers comfort in every bite. With their straightforward ingredients and easy process, these bars are perfect for everyday enjoyment, making them a delightful choice for any occasion.
Kitchen Tools You’ll Need
- 8” x 8” baking pan
- Mixing bowl
- Whisk or mixer
- Parchment paper (optional for easier cutting)
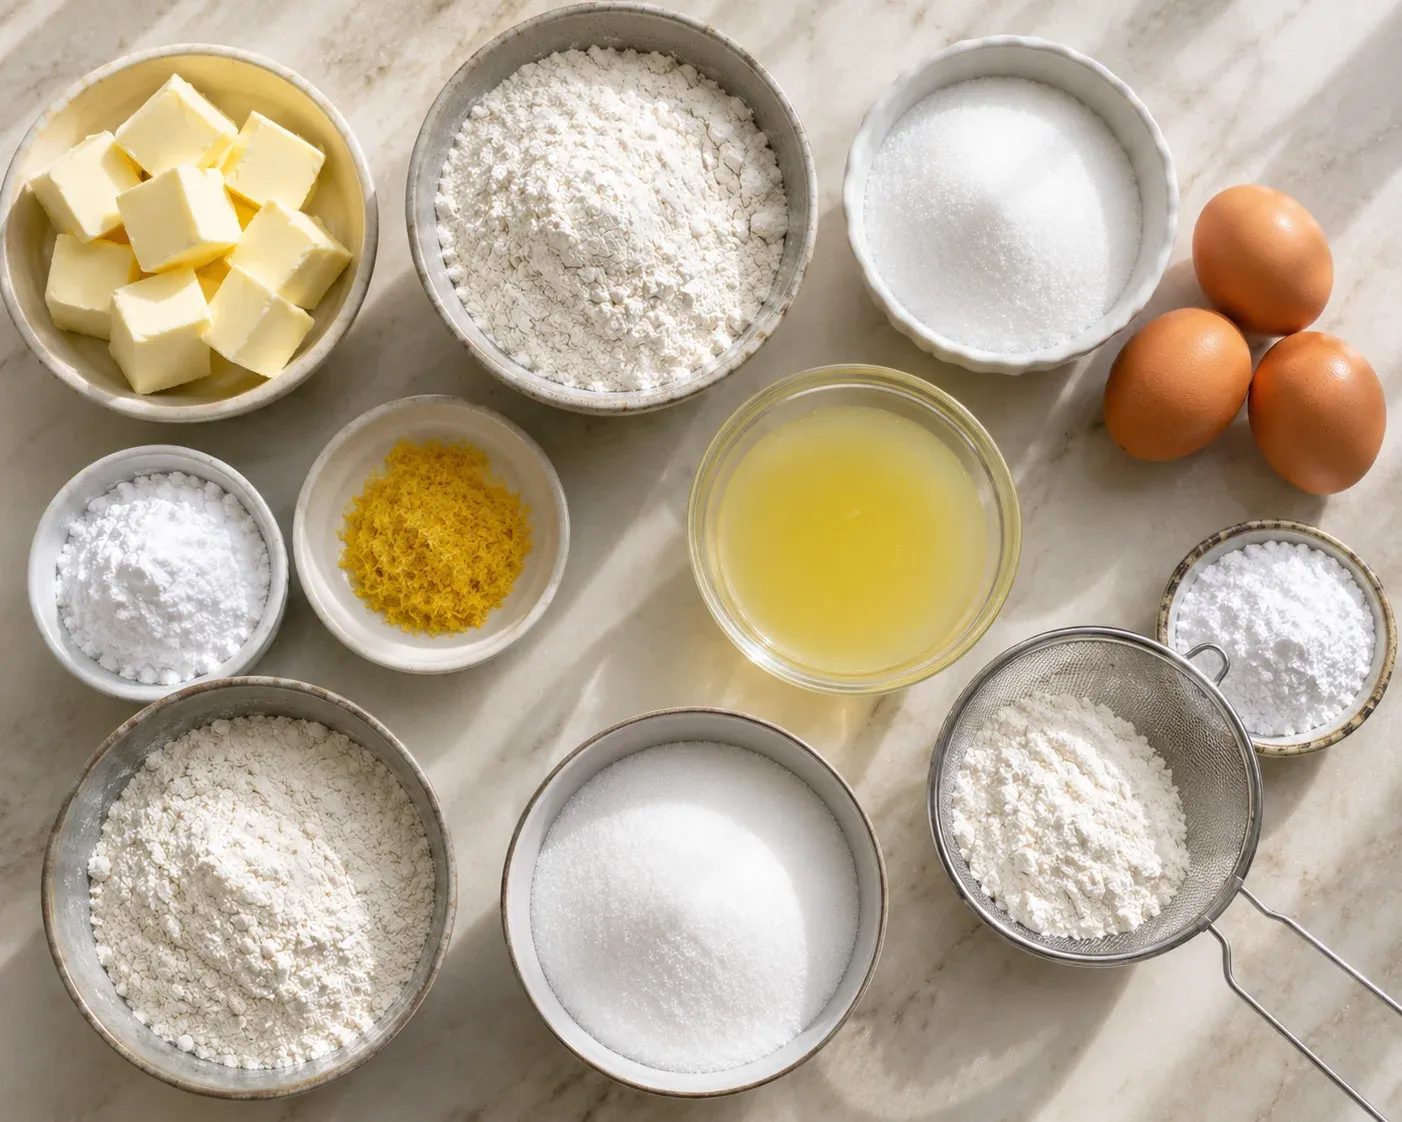
Ingredients
- 1/2 cup Unsalted Butter, room temperature (adds richness)
- 1 cup All-Purpose Flour (structure for the crust)
- 1/4 cup Powdered Sugar (sweetness and smooth texture)
- 1/2 cup Lemon Juice (from 2-3 lemons) (provides tartness)
- 1 tbsp Lemon Zest, finely grated (enhances lemon flavor)
- 3 Large Eggs, room temperature (binds the filling)
- 1 1/2 cups Granulated Sugar (sweetness for the filling)
- 1/2 cup All-Purpose Flour, sifted (provides body to the filling)
- Powdered Sugar, for dusting (a finishing touch)
How to Make {focus_keyword}
Step 1. Lightly spray an 8” x 8” baking pan with baking spray and set it aside. For easier cutting later, consider lining the pan with parchment paper to create a sling. This will help lift the bars out nicely once they are cooled.
Step 2. In a mixing bowl, combine the unsalted butter, 1 cup of flour, and powdered sugar. Beat these ingredients together until the mixture is crumbly. Once combined, press the mixture evenly into the bottom of the prepared pan. Place the pan in the freezer for about 10-15 minutes to firm up the crust. Preheat your oven to 350°F while you wait.
Step 3. Bake the crust for 15-18 minutes, or until it turns a light golden brown. Keep an eye on it during the baking, as a golden color indicates it is ready. Once done, remove it from the oven and let it cool slightly.
Step 4. While the crust is cooling, prepare the lemon curd filling. In a clean mixing bowl, whisk together the lemon juice, lemon zest, eggs, granulated sugar, and sifted flour until the mixture is fully combined. The goal is to ensure everything is well mixed and there are no lumps.
Step 5. Pour the lemon filling over the slightly cooled crust in the baking pan. Spread it gently to ensure it is evenly distributed. Return the pan to the oven and bake for an additional 25-30 minutes, until the filling is almost set. It may still have a slight jiggle in the center when done.
Step 6. Once baked, allow the lemon bars to cool completely in the pan. To enhance the texture, refrigerate the bars for at least 1 hour before cutting. This chill time helps set the filling.
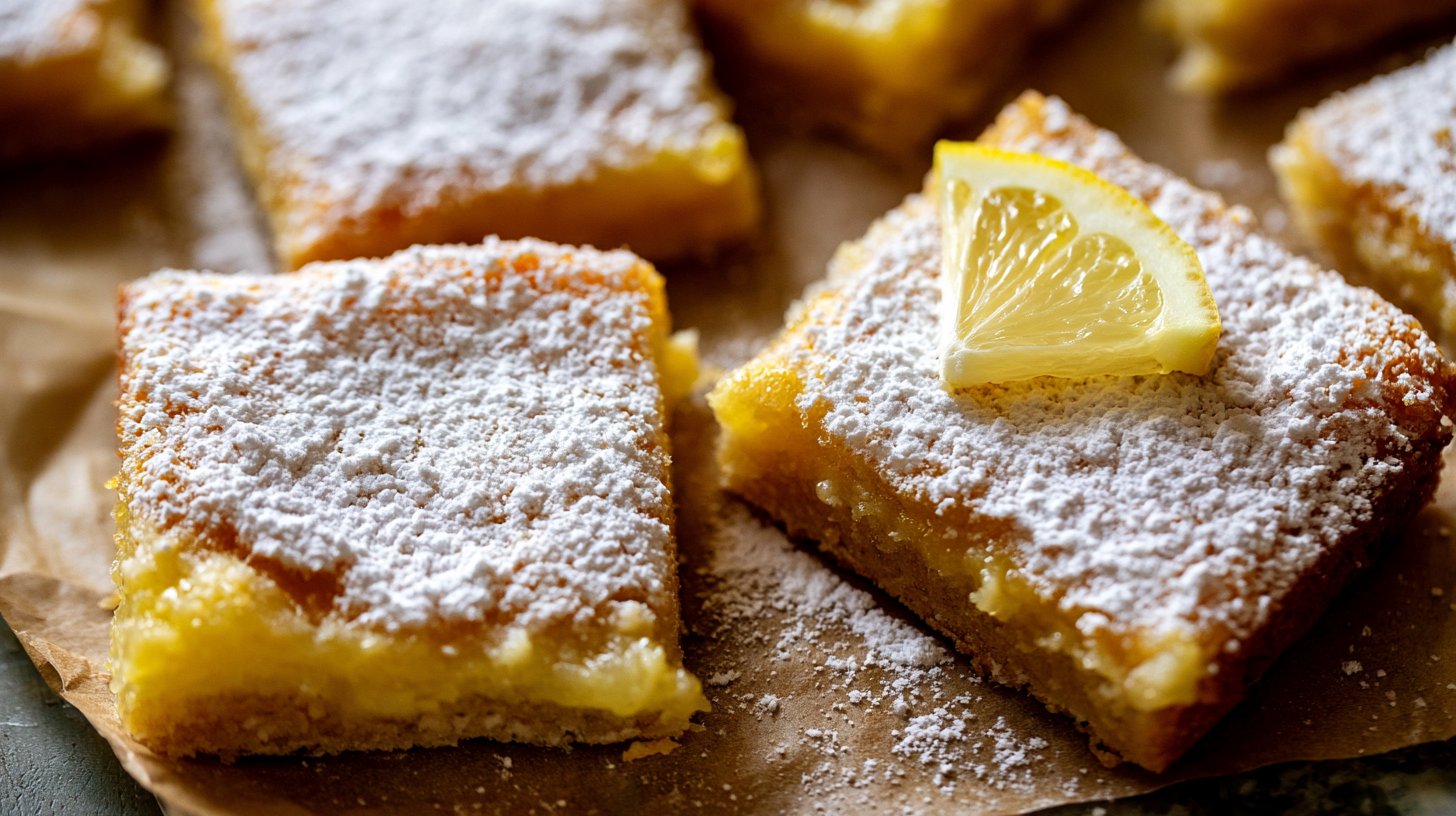
Step 7. Before serving, generously dust the top of the cooled lemon bars with powdered sugar. Use a knife or a pizza cutter to slice them into squares, making them easy to serve and enjoy.
Serving Suggestions
These lemon bars are versatile enough to enjoy at different times throughout the day. Serve them as a refreshing dessert following dinner, or cut them into smaller pieces for a delightful afternoon snack. They also make a welcoming addition to family gatherings or potlucks, where their bright flavor can be shared. If you have any leftovers, they can be enjoyed the next day or even added to a breakfast spread alongside coffee or tea.
Pro Tips for Best Results
- Ensure your butter is at room temperature for easier mixing and a smoother crust.
- Don’t skimp on chilling the crust; this helps it hold its shape when baked.
- Use fresh lemon juice and zest for the brightest flavor in the filling.
- Keep an eye on your bars while baking to prevent overcooking; they should be set but still slightly jiggly when removed from the oven.
- Allowing the bars to cool completely before slicing will make for cleaner cuts and a neater presentation.
Common Mistakes to Avoid
- Using cold butter: This can create a dense crust. Make sure the butter is softened to combine easily and create a light texture.
- Not pre-chilling the crust: Skipping this step can lead to a soggier bottom. Chilling it helps create a firm foundation for the filling.
- Overbaking the bars: Baking them too long can cause the filling to become tough and rubbery. Watch for a slight jiggle, indicating they’re done.
- Using bottled lemon juice: This lacks the fresh flavor that makes these bars truly shine. Fresh lemons provide the best taste.
- Slicing before cooling: Cutting the bars while they’re still warm can lead to messy edges and inconsistencies. Patience ensures neat pieces.
- Not dusting with powdered sugar: This finishing touch not only adds visual appeal but also balances the tartness of the lemon with a bit of sweetness.
Variations & Substitutions
Feel free to experiment with this recipe to suit your tastes. You might try a bit of lime zest and juice for a different citrus twist. Alternatively, consider adding a touch of mint to the filling for a refreshing flavor boost. If you’re in the mood for a thicker filling, increase the quantity slightly; just remember to adjust the baking time to ensure it sets properly.
Storage & Reheating
You can store leftover lemon bars at room temperature for up to a day if they are in a cool, dry area. However, refrigerating them is best for longer storage, where they will last up to a week. For even longer preservation, consider freezing them in an airtight container. When ready to enjoy, simply thaw them in the refrigerator overnight or at room temperature for a more enjoyable texture.
Nutrition Information
Nutrition information is not available.
Frequently Asked Questions
Can I make this recipe ahead of time?
Yes, you can prepare these lemon bars a day in advance. After they cool completely, store them in the refrigerator until you’re ready to serve. This can enhance the flavors and texture.
How long does it last in the fridge?
The lemon bars can be stored in the refrigerator for about a week. Just ensure they are sealed well or covered to prevent them from drying out.
Can I freeze this recipe?
Yes, you can freeze lemon bars for up to three months. Wrap them tightly in plastic wrap or place them in a freezer-safe container to keep them fresh. Thaw them in the refrigerator before serving.
What can I substitute for one ingredient?
If you’re out of granulated sugar, you can use an equal amount of coconut sugar. However, this may slightly alter the taste and color of the filling.
Why didn’t my recipe turn out as expected?
Common issues could stem from incorrect ingredient measurements or baking times. Always ensure you accurately measure and keep an eye on your bars while they bake to achieve the desired consistency.
Final Thoughts
Making lemon bars can be a straightforward joy, offering bright flavors that are both refreshing and comforting. This recipe simplifies the process, allowing you to create a delightful treat with ease. Enjoying a slice of these bars can be a small yet satisfying way to brighten your day, reminding you of the joys of home baking.

Super Easy Lemon Bars
Ingredients
For the crust
- 1/2 cup Unsalted Butter, room temperature adds richness
- 1 cup All-Purpose Flour structure for the crust
- 1/4 cup Powdered Sugar sweetness and smooth texture
For the filling
- 1/2 cup Lemon Juice (from 2-3 lemons) provides tartness
- 1 tbsp Lemon Zest, finely grated enhances lemon flavor
- 3 large Eggs, room temperature binds the filling
- 1 1/2 cups Granulated Sugar sweetness for the filling
- 1/2 cup All-Purpose Flour, sifted provides body to the filling
- Powdered Sugar, for dusting a finishing touch
Instructions
Preparation
- Lightly spray an 8” x 8” baking pan with baking spray and set it aside. Optionally line the pan with parchment paper for easier removal.
- In a mixing bowl, combine the unsalted butter, 1 cup of flour, and powdered sugar. Beat until crumbly, then press the mixture into the bottom of the prepared pan.
- Place the pan in the freezer for 10-15 minutes to firm up the crust. Preheat your oven to 350°F.
Baking
- Bake the crust for 15-18 minutes until light golden brown. Remove from oven and let cool slightly.
- In a clean mixing bowl, whisk together the lemon juice, lemon zest, eggs, granulated sugar, and sifted flour until combined and smooth.
- Pour the lemon filling over the slightly cooled crust, spreading it evenly. Return to oven and bake for an additional 25-30 minutes until the filling is almost set, with a slight jiggle in the center.
- Allow the lemon bars to cool completely in the pan. For best results, refrigerate for at least 1 hour before cutting.
- Before serving, dust the top with powdered sugar and slice into squares.