Making a delicious dessert doesn’t always have to be elaborate or labor-intensive. These peanut butter tarts are a delightful treat that captures the essence of simple home baking. They can be enjoyed during casual weeknight snacks or as a sweet indulgence over the weekend. Whether you’re hosting family gatherings or simply craving a quiet moment with something sweet, this recipe is straightforward and satisfying. It invites you into the comforting world of homemade desserts.
Why You’ll Love This Peanut Butter Tarts
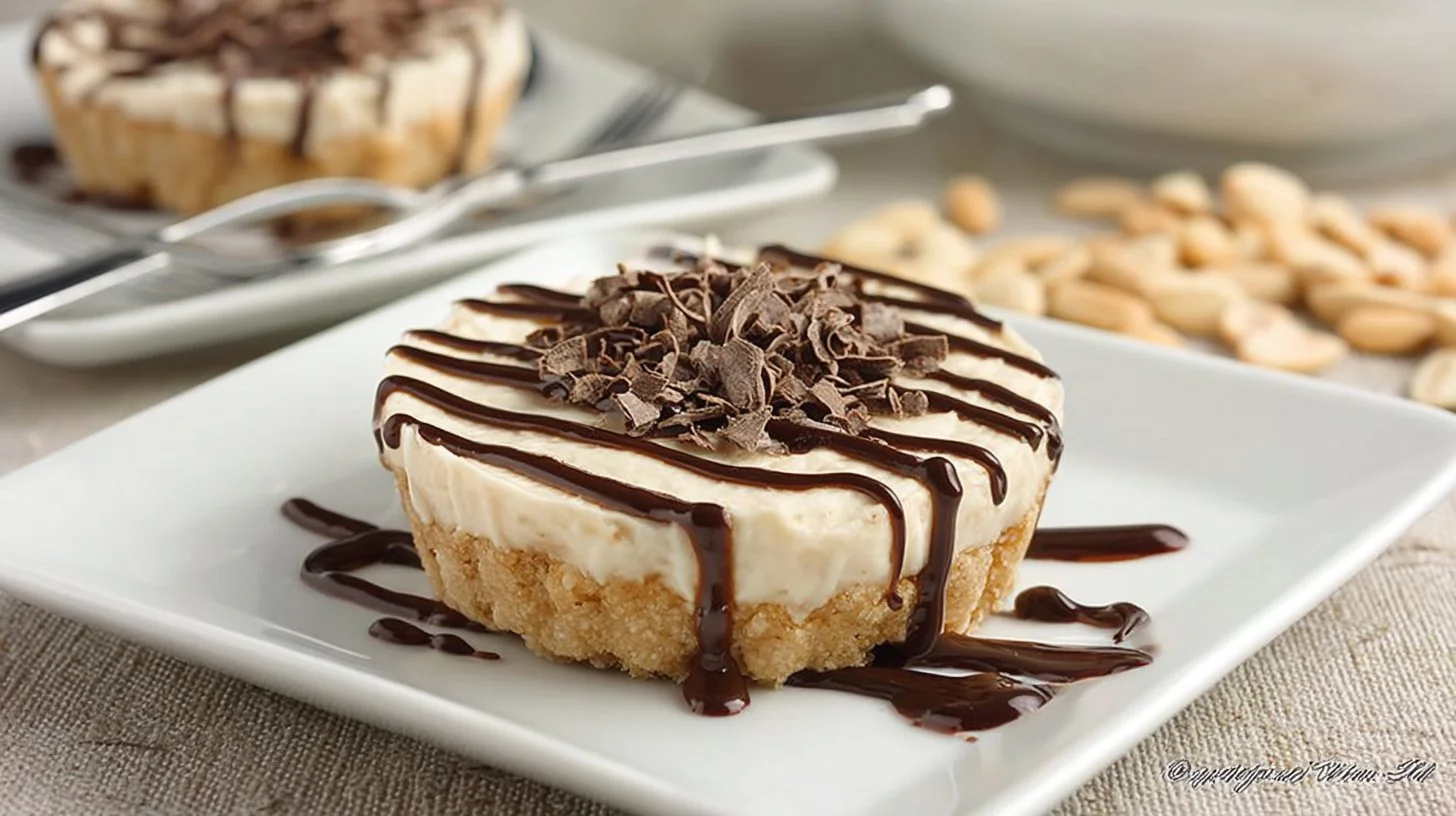
These peanut butter tarts offer ease and reliability as a dessert choice. The combination of the creamy peanut butter filling balanced with the crunch of peanuts creates a comforting flavor profile. With practical everyday value, they can fit seamlessly into a busy schedule, satisfying both sweet cravings and the desire for a homemade experience.
Kitchen Tools You’ll Need
- Mixing bowl
- Food processor
- Baking dish
- Whisk
- Rubber spatula
Ingredients
- 5 ounces Nilla wafers (for a crisp base)
- 1/2 cup unsalted peanuts (adds crunch)
- 1 tbsp sugar (sweetness to balance flavors)
- 6 tbsp unsalted butter, melted (provides moisture)
- 3 ounces semi-sweet chocolate, coarsely chopped (rich flavor)
- 3 ounces heavy cream (for creaminess)
- 2 tbsp sweetened condensed milk (adds sweetness and richness)
- 3/4 cup cream cheese, at room temperature (creates a smooth filling)
- 1/2 cup peanut butter (main flavor component)
- 1/3 cup icing sugar (for sweetness)
- 1/4 cup sweetened condensed milk (adds creaminess)
- 1 tsp pure vanilla extract (enhances overall flavor)
- 1/2 cup heavy cream (for whipping)
How to Make Peanut Butter Tarts
Step 1. Begin by preparing the crust for your peanut butter tarts. In a food processor, combine the Nilla wafers, unsalted peanuts, sugar, and melted butter. Pulse the mixture until it resembles fine crumbs. This creates a cohesive base that will hold everything together. Press the crumb mixture firmly into the bottom of a baking dish, ensuring an even layer. When done, the crust should feel solid enough to hold its shape.
Step 2. Next, prepare the chocolate ganache layer. In a small saucepan, combine the chopped semi-sweet chocolate and heavy cream. Over low heat, gently stir until the chocolate is fully melted and the mixture is smooth. Look for a velvety texture that indicates it’s well combined. This ganache will provide a rich layer of flavor that complements the peanut butter filling beautifully.
Step 3. For the peanut butter filling, take a separate mixing bowl and blend together the cream cheese, peanut butter, icing sugar, sweetened condensed milk, and vanilla extract. Use a whisk or mixer on low speed to combine the ingredients thoroughly. The filling should be creamy and well-mixed, creating a delightful texture. Once it’s smooth, it’s ready to layer into the tart.
Step 4. Spread the prepared peanut butter filling evenly over the crust you made earlier. Use a rubber spatula to smooth it out carefully. Take your time to make sure it’s level and looks inviting. This step is essential for creating an even layer that is pleasing to the eye and palate.
Step 5. Pour the chocolate ganache over the peanut butter filling, ensuring it covers evenly. Use another spatula if needed to spread it out gently. The ganache adds a glossy finish that is appealing and provides a wonderful contrast to the creamy filling below. Allow the tarts to set briefly at room temperature before moving on to the next step.
Step 6. Finally, place the tarts in the refrigerator for a few hours, or until set. This allows the layers to meld together and create the perfect texture. You’ll know they’re ready when everything is firm and holds together easily when sliced. This cooling time helps enhance the flavors, making them even more enjoyable.

Serving Suggestions
These peanut butter tarts are quite versatile in their use. They make a delightful breakfast option alongside a cup of coffee or tea, providing a sweet start to your day. As an afternoon snack, they satisfy any craving for something comforting and sweet. They’re also perfect for family meals, where everyone can enjoy a slice for dessert. If you find yourself with leftovers, they store well in the refrigerator and can be enjoyed throughout the week.
Pro Tips for Best Results
- Room Temperature Ingredients: Make sure your cream cheese is at room temperature before mixing. This ensures a smooth filling.
- Pulsing Technique: When processing the crust, pulse in short bursts to avoid over-processing and creating a paste.
- Chill Time: Don’t rush the chilling process; allowing enough time for the layers to set is essential for the best texture.
- Garnish Thoughtfully: Consider topping the tarts with additional crushed peanuts or a drizzle of chocolate for a decorative touch.
- Slicing Technique: Use a sharp knife to cut the tarts, and wipe the blade between cuts for clean slices.
Common Mistakes to Avoid
- Over-processing the Crust: If the wafer mixture becomes too fine, the crust may be too dense. Pulse only until combined, leaving some texture for a better bite.
- Not Chilling Long Enough: Rushing the chilling time can lead to a filling that doesn’t hold its shape. Be patient and allow for adequate refrigeration.
- Skipping Room Temperature Ingredients: Using cold cream cheese can create lumps in the filling. Allow it to sit out for a bit to soften.
- Uneven Crust Base: Pressing the crust inconsistently can lead to uneven baking or slicing. Aim for a flat, even layer all around for best results.
- Using Chocolate Chips Instead of Chopped Chocolate: Chips may not melt as easily and can lead to a grainy texture in the ganache. Use coarsely chopped chocolate for the best melt.
- Inadequate Mixing of the Filling: If the filling isn’t mixed well, it can lead to lumps and an uneven taste. Take your time to whisk thoroughly until smooth.
Variations & Substitutions
For a nut-free version, consider using sun butter in place of peanut butter. You could also use graham crackers instead of Nilla wafers for a different crust flavor. If you want additional flavors, a touch of espresso powder in the filling could enhance the chocolate’s richness. Other toppings could include fresh berries or drizzled caramel for an interesting twist.
Storage & Reheating
These tarts store conveniently at room temperature if they will be eaten the same day. For longer storage, keep them in the refrigerator, where they can last up to a week. When storing in the refrigerator, place them in an airtight container to maintain freshness. Freezing the tarts is also a possibility; just wrap them tightly in plastic wrap and follow up with aluminum foil for added protection. To enjoy after freezing, allow them to thaw in the refrigerator before serving for the best texture.
Frequently Asked Questions
Can I make this recipe ahead of time?
Yes, these peanut butter tarts can be made a day ahead. Just ensure they are well covered and refrigerated until ready to serve. This actually allows the flavors to enhance.
How long does it last in the fridge?
Once made, the tarts can be stored in the fridge for up to one week.
Can I freeze this recipe?
Absolutely, these tarts freeze well. Just make sure to wrap them tightly to prevent freezer burn.
What can I substitute for one ingredient?
If you don’t have unsalted peanuts, you can skip them or use roasted almonds for a different nutty flavor.
Why didn’t my recipe turn out as expected?
Common issues like not letting the cream cheese soften or not chilling the tarts long enough can lead to a less-than-optimal texture. Make sure to follow all steps carefully for the best outcome.
Final Thoughts
Creating these peanut butter tarts is a comforting and enjoyable process, yielding a dessert that truly feels homemade. They showcase how simple ingredients can come together to create something delicious. Whether you serve them at a gathering or enjoy them quietly at home, the process of making—and sharing—this dessert can be a warm experience.

Peanut Butter Tarts
Ingredients
Crust
- 5 ounces Nilla wafers for a crisp base
- 1/2 cup unsalted peanuts adds crunch
- 1 tbsp sugar sweetness to balance flavors
- 6 tbsp unsalted butter, melted provides moisture
Chocolate Ganache
- 3 ounces semi-sweet chocolate, coarsely chopped rich flavor
- 3 ounces heavy cream for creaminess
Peanut Butter Filling
- 2 tbsp sweetened condensed milk adds sweetness and richness
- 3/4 cup cream cheese, at room temperature creates a smooth filling
- 1/2 cup peanut butter main flavor component
- 1/3 cup icing sugar for sweetness
- 1/4 cup sweetened condensed milk adds creaminess
- 1 tsp pure vanilla extract enhances overall flavor
- 1/2 cup heavy cream for whipping
Instructions
Preparation
- In a food processor, combine the Nilla wafers, unsalted peanuts, sugar, and melted butter. Pulse until it resembles fine crumbs. Press firmly into the bottom of a baking dish.
Chocolate Ganache
- In a small saucepan, combine the chopped semi-sweet chocolate and heavy cream. Over low heat, gently stir until the chocolate is fully melted and smooth.
Peanut Butter Filling
- In a mixing bowl, blend cream cheese, peanut butter, icing sugar, sweetened condensed milk, and vanilla extract until creamy and smooth.
- Spread the peanut butter filling evenly over the crust, smoothing with a rubber spatula.
Assembly
- Pour the chocolate ganache over the peanut butter filling. Spread it evenly to cover the filling.
- Allow the tarts to set briefly at room temperature then refrigerate for a few hours until firm.


