There are moments in life that call for a comforting treat, and this healthy chocolate cake fits the bill perfectly. Whether it’s a weeknight indulgence, a weekend baking session, or a gathering with friends, it offers a simple yet satisfying way to enjoy dessert without the usual sugar and fat. This recipe is straightforward and flexible, making it a dependable choice in any home kitchen. Let’s get started!
Why You’ll Love This The BEST Healthy Chocolate Cake
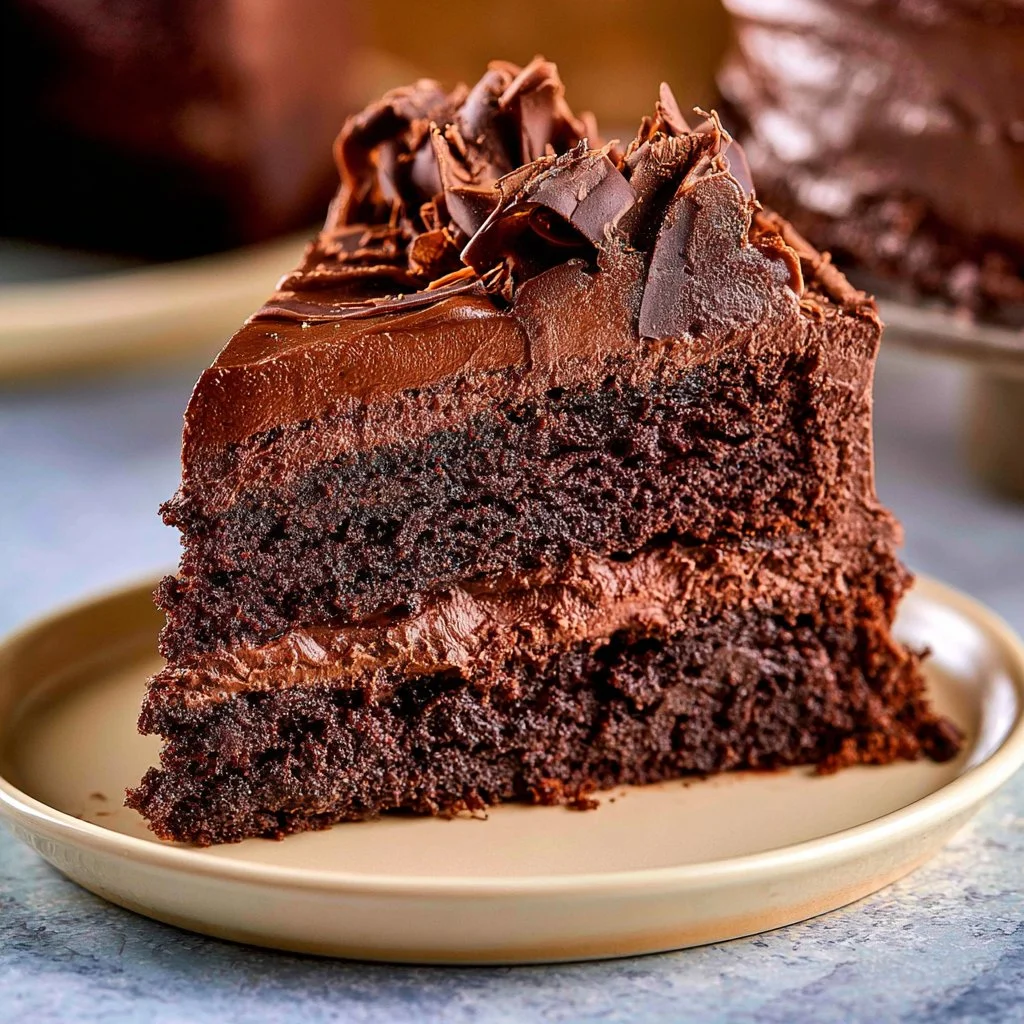
This cake is incredibly easy and reliable to make, providing a delightful balance of comfort and flavor. With its rich chocolate taste and moist texture, it suits a variety of occasions. The absence of sugar and fat makes it a practical everyday treat, fitting seamlessly into a healthier lifestyle, proving that you don’t have to sacrifice taste to enjoy a delicious cake.
Kitchen Tools You’ll Need
- 8-inch springform pan
- Parchment paper
- Large mixing bowl
- Whisk or spatula
- Skewer or toothpick
- Wire rack
Ingredients
- 1 1/2 cups all purpose flour (gluten free, if necessary)
- 1 cup granulated sweetener of choice
- 1/4 cup cocoa powder
- 1 teaspoon baking soda
- 1/2 teaspoon salt
- 1 tablespoon apple cider vinegar
- 1 teaspoon vanilla extract
- 6 tablespoons unsweetened applesauce
- 1 cup water
 1")
How to Make The BEST Healthy Chocolate Cake
Step 1. Begin by preheating the oven to 180°C (350°F). This is essential to ensure that the cake bakes evenly. While the oven warms up, prepare your springform pan by lining the bottom with parchment paper. This will prevent the cake from sticking and make it easier to remove later.
Step 2. In a large mixing bowl, combine the flour, granulated sweetener, cocoa powder, baking soda, and salt. Use a whisk or spatula to mix these dry ingredients thoroughly. This step incorporates air and ensures an even distribution of flavors and leavening agents throughout the batter.
Step 3. Next, add the apple cider vinegar, vanilla extract, and unsweetened applesauce to the dry mixture. These ingredients will contribute moisture and flavor, helping to create a tender cake. Mix well to combine, ensuring there are no clumps, which could affect the final texture.
Step 4. Carefully pour the water over the mixture. Then, stir until everything is fully combined. The batter will be somewhat runny, indicating that it’s ready for baking. Make sure there are no streaks of flour visible in the mixture.
Step 5. Transfer the cake batter into the prepared springform pan, using a spatula to smooth the top if needed. This ensures even baking and a pleasant appearance after it is cooked. Place the pan in the preheated oven and set a timer for about 25 to 30 minutes.
Step 6. After baking, check the cake’s doneness by inserting a skewer into the center. It should come out with a few moist crumbs but not wet batter. If it’s ready, remove the cake from the oven and let it cool in the pan for around 10 minutes. This resting period allows the structure to stabilize and makes it easier to transfer.
Step 7. Finally, carefully transfer the cake to a wire rack to cool completely before serving. This step is vital, as it prevents the bottom from becoming soggy and ensures a nice texture for slicing. Once cool, you can frost the cake if you wish or enjoy it as is.
 2")
Serving Suggestions
This healthy chocolate cake is versatile enough for any part of the day. Enjoy it as a sweet breakfast treat or an afternoon snack with a cup of tea or coffee. It also works well as a simple dessert after family meals. Any leftovers can be stored easily and make for a quick grab-and-go option throughout the week. Sharing slices with friends or family can make a delightful moment during gatherings.
Pro Tips for Best Results
- Ensure that all ingredients are at room temperature before you start for better mixing.
- Feel free to adjust the sweetness to your taste by choosing your preferred granulated sweetener.
- Mixing until just combined will help maintain a light texture; avoid overmixing.
- Allowing the cake to cool completely is essential for the best flavor and consistency.
- Experiment with our basic frosting if you want to elevate your cake without adding much sugar.
Common Mistakes to Avoid
- Using Cold Ingredients: Cold items can lead to a dense cake. Always let ingredients like applesauce and water reach room temperature before mixing.
- Overmixing the Batter: Mixing too vigorously can lead to a tough cake. Stir until ingredients are just combined for a lighter, fluffier texture.
- Not Measuring Ingredients Properly: Inaccurate measurements can alter the cake’s structure and taste. Use proper measuring cups and spoons to ensure accuracy.
- Underbaking or Overbaking: Baking times can vary based on oven calibrations. Keep an eye on the cake and test it a few minutes before the designated time to prevent dryness.
- Cooling Directly on the Counter: Cooling a cake in the pan too long can cause it to become soggy. Always move it to a wire rack after the initial cooling period.
- Ignoring Parchment Paper: Skipping the parchment lining can result in a stuck cake. Always line the bottom of your springform pan to facilitate a smooth release.
Variations & Substitutions
This cake can be made even more exciting with a few variations. Consider adding a teaspoon of coffee for a deeper chocolate flavor. You can also fold in chopped nuts or dark chocolate chips for added texture. For a fruity twist, try adding a layer of berries between the cake and any frosting.
Storage & Reheating
You can store the cake at room temperature for a couple of days, ensuring it remains covered to maintain moisture. If you need to keep it longer, refrigerate it for up to a week. Make sure to wrap it well to avoid drying out. If freezing, slice the cake beforehand and use an airtight container to preserve quality. For reheating, warm individual slices in the microwave for a few seconds, keeping them moist and soft.
Frequently Asked Questions
Can I make this recipe ahead of time?
Absolutely! You can bake the cake a day ahead. Just make sure to store it in an airtight container to keep it fresh. It may even taste better as the flavors develop overnight.
How long does it last in the fridge?
Typically, the cake can last up to a week in the refrigerator. Ensure it’s covered tightly to prevent it from drying out or absorbing any odors.
Can I freeze this recipe?
Yes, this cake freezes well. Once cooled, wrap individual slices in plastic wrap and place them in a freezer-safe bag. It can last for a couple of months in the freezer.
What can I substitute for one ingredient?
For the sweetener, you can use any granulated option that you prefer, including stevia or monk fruit sweetener. Keep in mind that sweetness levels may vary based on the substitute.
Why didn’t my recipe turn out as expected?
Common issues may stem from incorrect measurements, not allowing the cake to cool properly, or overmixing the batter. Each of these can affect the cake’s texture and taste, so be mindful during each step.
Final Thoughts
Making this healthy chocolate cake is a simple and rewarding process. Its rich flavor and satisfying texture make it a delightful addition to any meal or moment of relaxation. With the knowledge of how to create and enjoy this cake, you can feel confident baking it for yourself or sharing it with loved ones. Each slice is a reminder that comfort food can also be healthy and satisfying, all without the sugar and fat. Enjoy!
 3")
Healthy Chocolate Cake
Ingredients
Dry Ingredients
- 1.5 cups all purpose flour (gluten free, if necessary)
- 1 cup granulated sweetener of choice Adjust to taste
- 0.25 cups cocoa powder
- 1 teaspoon baking soda
- 0.5 teaspoon salt
Wet Ingredients
- 1 tablespoon apple cider vinegar
- 1 teaspoon vanilla extract
- 6 tablespoons unsweetened applesauce
- 1 cup water
Instructions
Preparation
- Preheat the oven to 180°C (350°F) and line the bottom of the springform pan with parchment paper.
- In a large mixing bowl, combine the flour, granulated sweetener, cocoa powder, baking soda, and salt.
- Add the apple cider vinegar, vanilla extract, and unsweetened applesauce to the dry ingredients and mix well.
- Pour the water over the mixture and stir until fully combined, ensuring no streaks of flour remain.
- Transfer the batter to the prepared pan and smooth the top.
Baking
- Place the pan in the preheated oven and bake for about 25 to 30 minutes.
- Check the doneness by inserting a skewer; it should come out with a few moist crumbs.
- Remove from the oven and let cool in the pan for around 10 minutes.
- Carefully transfer to a wire rack to cool completely.


