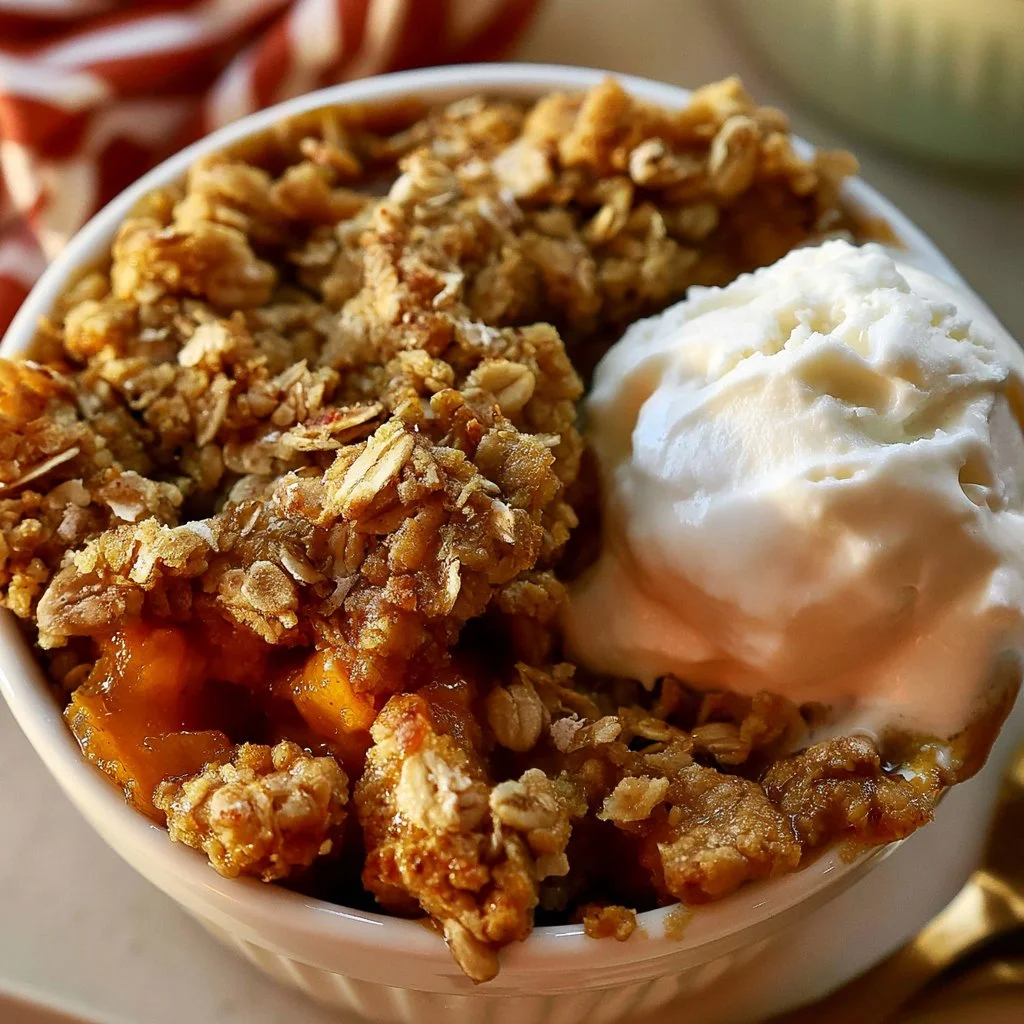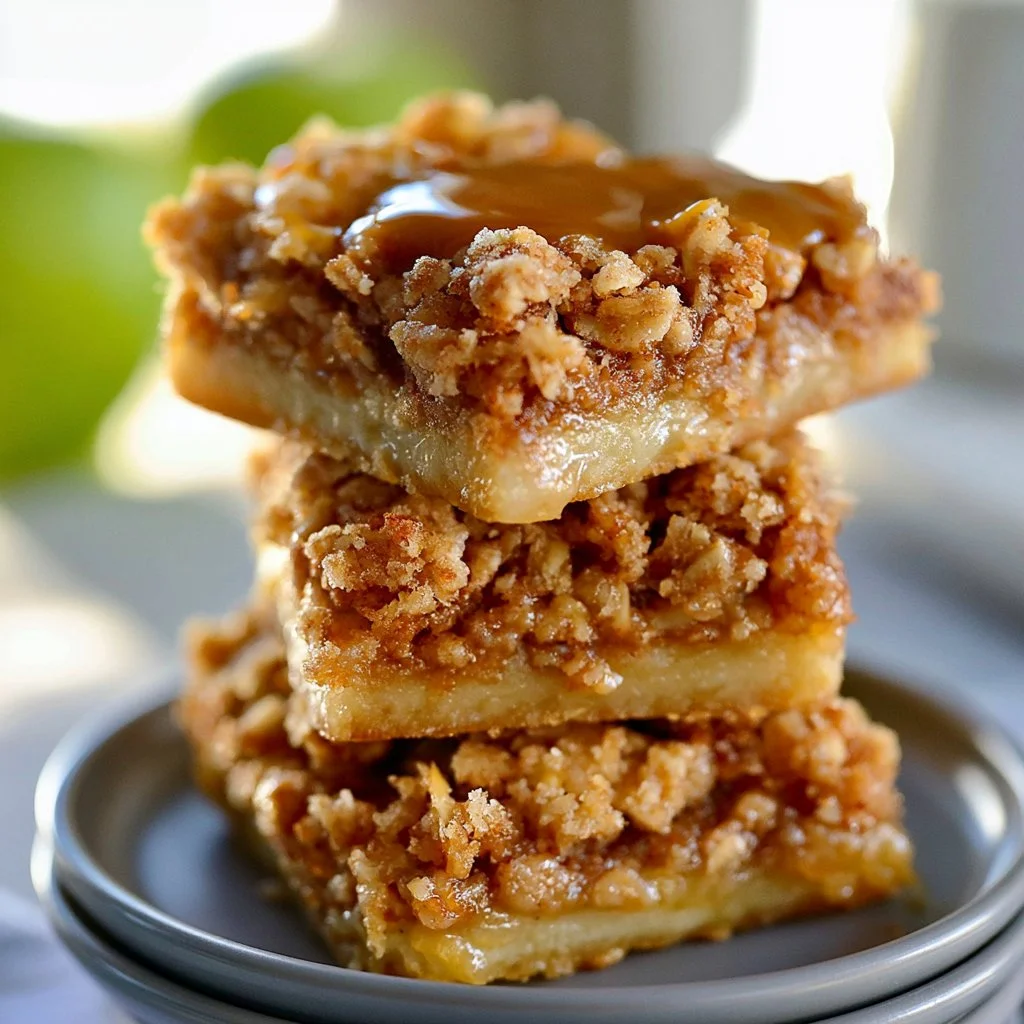
After a long day, a warm dessert can be the perfect end. Apple Crisp Bars offer a delightful blend of soft, spiced apples nestled under a crumbly topping. These bars are perfect for weeknights, casual weekends, or gatherings with friends. Their comforting flavors and reliable preparation method make them a staple to return to time and again. These bars bring simplicity and practicality to your kitchen, and they’re just a few steps away.
Why You’ll Love This Apple Crisp Bars
These Apple Crisp Bars are easy to prepare, making them a reliable choice for both busy weeknights and leisurely weekends. With a balanced flavor profile of sweet and tart apples intermingled with warm spices, they provide comfort and satisfaction. Their practicality means they’re versatile enough for dessert and snacks alike, ensuring you’ll keep coming back to this recipe.
Kitchen Tools You’ll Need
- Food processor
- 13-inch baking pan
- Large bowl
- Fork
- Spoon or spatula
Ingredients
- ¾ cup butter cut into ½-inch pieces (adds richness)
- 2 cups all-purpose flour (provides structure)
- ½ cup packed light brown sugar (adds sweetness and moisture)
- ½ teaspoon salt (enhances flavor)
- 4 large apples peeled and sliced (main filling, brings moisture)
- ½ tablespoon lemon juice (prevents browning and adds acidity)
- 2 Tablespoons all-purpose flour (thickens apple filling)
- 2 Tablespoons sugar (sweetens filling)
- 1 teaspoon ground cinnamon (adds warmth and flavor)
- ¾ cup old fashioned oats (adds texture)
- ¾ cup light brown sugar (sweetness and moisture)
- ¾ teaspoon baking powder (provides lift)
- ⅓ teaspoon ground cinnamon (adds flavor)
- A dash of salt (enhances sweetness)
- ½ cup unsalted butter cut into pieces (richness and moisture)
How to Make Apple Crisp Bars
Step 1. Preheat your oven to 300°F. This gentle start allows the base to firm up without over-baking it right away. By slowly warming the oven, you prepare a cozy environment for baking, which helps create a lovely texture.
Step 2. For the base, add the butter, flour, brown sugar, and salt to your food processor. Pulse until small lumps form, which makes for a crumbly yet cohesive mixture. This will serve as the foundation, so it should hold together but still have some texture.
Step 3. Spread the mixture evenly into a 13-inch baking pan. It’s important to press it down tightly with the back of a spoon or spatula to create a solid layer. This ensures the base bakes evenly and provides a good support for the filling.
Step 4. Bake the base for 15 minutes. At this point, it should be just beginning to turn a light golden color around the edges, which indicates it’s starting to set without being fully baked.
Step 5. Raise the oven temperature to 350°F. This additional heat will help cook the apples and topping more thoroughly as you continue with the recipe.
Step 6. For the apple filling, combine the sliced apples, lemon juice, flour, sugar, and cinnamon in a large bowl. Mix until the apple slices are well coated. The coating should be even, ensuring that each slice absorbs the flavors of cinnamon and sugar.
Step 7. Now, prepare the topping. In a deep bowl, combine the oats, light brown sugar, flour, baking powder, cinnamon, and salt. Gently mix with a fork until it resembles small crumbs. This texture will provide a satisfying crunch on top of the soft apple layer.
Step 8. Spread half of the topping mixture over the baked base. Be sure to cover it evenly so that the apples can sit comfortably on top without mixing in too much.
Step 9. Add the coated apple slices on top of the first layer, leveling them out gently. This layer should be generous, as the apples provide moisture and flavor.
Step 10. Sprinkle the remaining topping evenly across the apple layer. It should cover the apples completely, creating a barrier to hold in their moisture and sweetness as they bake.
Step 11. Bake for 40 minutes, checking for a golden-brown color on the topping. The apples should be tender, creating a delightful texture contrast with the crisp topping.
Step 12. Once baked, allow your Apple Crisp Bars to cool before cutting. This helps set the layers firmly, making it easier to slice and serve.
Serving Suggestions
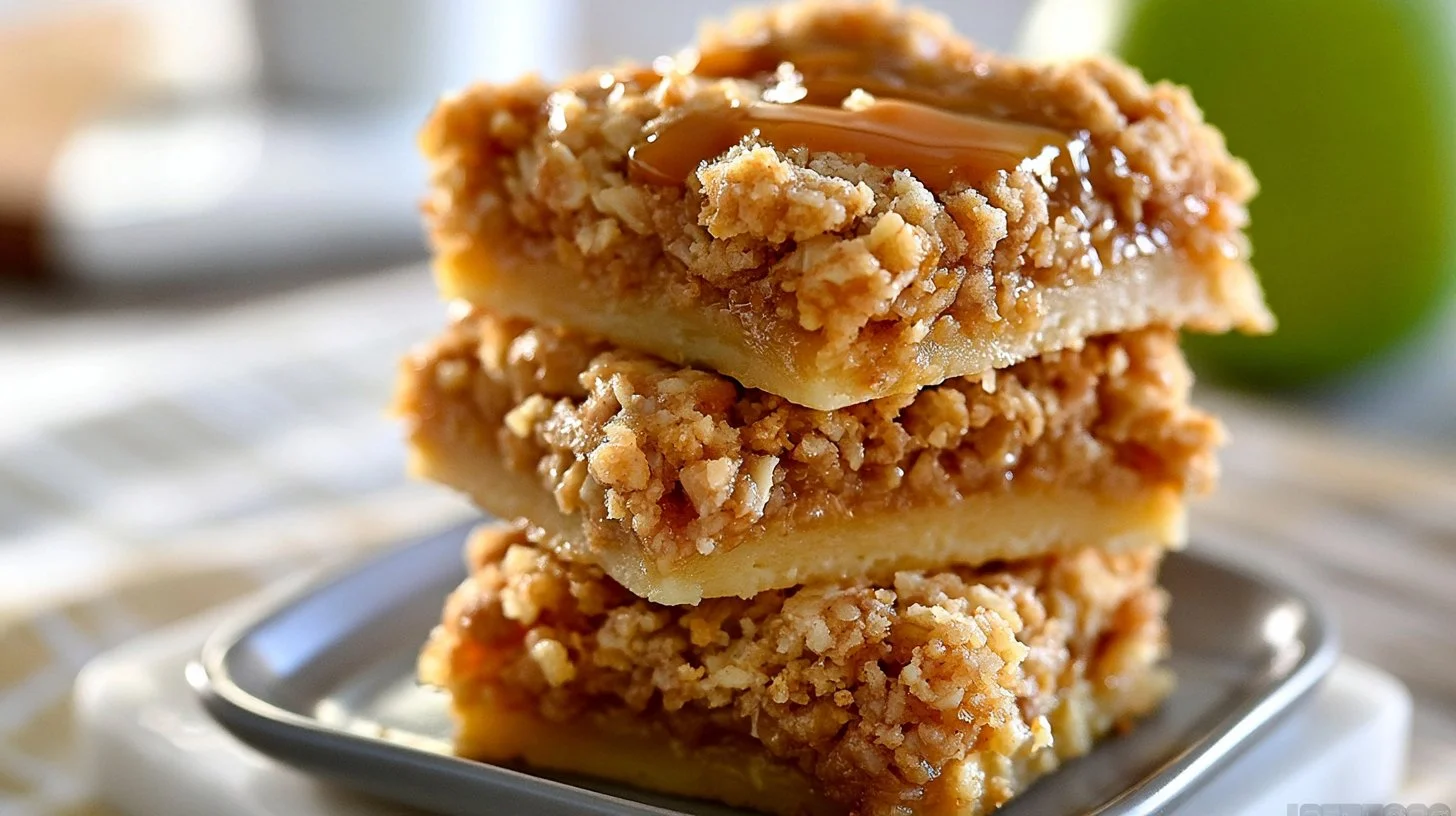
These Apple Crisp Bars make a great addition to breakfast if you enjoy a sweet treat alongside your coffee or tea. They serve perfectly as an afternoon snack, offering comfort and familiarity. They can also be a delightful option for family meals, adding a sweet note to any gathering. If you have leftovers, they can be easily stored and enjoyed later, keeping their charm over a few days.
Pro Tips for Best Results
- Make sure to slice the apples evenly for consistent cooking.
- Press the base firmly into the pan to avoid crumbling after baking.
- Allow the bars to cool completely before cutting for neat slices.
- If the topping seems too dry, you can add a tad more butter to enhance moisture.
- For extra flavor, consider adding walnuts or pecans to the topping.
Common Mistakes to Avoid
- Not preheating the oven properly. If your oven isn’t hot enough, the base might not set correctly. Always follow the preheating step.
- Overmixing the base ingredients. This can lead to a tough texture rather than a crumbly base. Mix just until small lumps form to avoid this.
- Using apples that are too soft. If the apples break down too much, you won’t achieve that nice, chunky texture. Always choose firm apples for slicing.
- Skipping the lemon juice. The lemon juice not only enhances flavor but also prevents browning of the apple slices. Don’t omit this step.
- Baking too long. Overbaking can lead to a dry topping. Keep an eye on it, especially the last few minutes.
- Not letting the bars cool before cutting. This can result in a messy presentation and uneven slices. Patience is key for the best results.
Variations & Substitutions
You can experiment with different types of apples to play around with the flavor, such as using Granny Smith for tartness or Honeycrisp for sweetness. The topping can also be enhanced with chopped nuts for added crunch or a dash of vanilla in the filling for more depth. If you prefer, consider reducing the sugar if your apples are particularly sweet.
Storage & Reheating
Store leftover Apple Crisp Bars at room temperature for up to two days, covered to maintain moisture. They can be kept in the refrigerator for about a week, though their texture may change slightly. If you wish to freeze them, wrap individual pieces tightly in plastic wrap and place them in a freezer bag. For reheating, a gentle warm-up in the oven helps maintain the texture, making them almost like fresh-baked bars again.
Frequently Asked Questions
Can I make this recipe ahead of time?
Yes, you can prepare the Apple Crisp Bars a day in advance. Bake them, allowing them to cool completely before storing in an airtight container in the refrigerator. This makes them easy to serve later, just reheat as needed.
How long does it last in the fridge?
When stored properly, Apple Crisp Bars can last up to a week in the refrigerator. Just be sure to cover them well, so they don’t dry out.
Can I freeze this recipe?
Absolutely. Once cooled, wrap individual bars in plastic and place them in a freezer bag for up to three months. You can enjoy them later by thawing and reheating.
What can I substitute for one ingredient?
If you’re looking to replace the old-fashioned oats, consider using quick oats instead. They will change the texture slightly but still maintain a similar flavor.
Why didn’t my recipe turn out as expected?
There are several reasons this could happen, from incorrect oven temperature to using overly ripe apples. Always check your oven’s accuracy and ensure ingredients are measured properly for better results.
Final Thoughts
Making Apple Crisp Bars is a straightforward process that culminates in a delightful treat. Their comforting flavors and textures are satisfying whether enjoyed warm or at room temperature. These bars often bring joy to both the cook and those lucky enough to share them. Trust that your efforts will yield a fulfilling dessert, and enjoy the simple pleasure it brings.
Apple Crisp Bars
Ingredients
For the base
- ¾ cup butter, cut into ½-inch pieces adds richness
- 2 cups all-purpose flour provides structure
- ½ cup packed light brown sugar adds sweetness and moisture
- ½ teaspoon salt enhances flavor
For the apple filling
- 4 large apples, peeled and sliced main filling, brings moisture
- ½ tablespoon lemon juice prevents browning and adds acidity
- 2 tablespoons all-purpose flour thickens apple filling
- 2 tablespoons sugar sweetens filling
- 1 teaspoon ground cinnamon adds warmth and flavor
For the topping
- ¾ cup old fashioned oats adds texture
- ¾ cup light brown sugar sweetness and moisture
- ¾ teaspoon baking powder provides lift
- ⅓ teaspoon ground cinnamon adds flavor
- a dash salt enhances sweetness
- ½ cup unsalted butter, cut into pieces richness and moisture
Instructions
Preparation
- Preheat your oven to 300°F.
- For the base, add the butter, flour, brown sugar, and salt to your food processor. Pulse until small lumps form.
- Spread the mixture evenly into a 13-inch baking pan, pressing down tightly.
- Bake the base for 15 minutes.
- Raise the oven temperature to 350°F.
Apple Filling and Topping
- In a large bowl, combine the sliced apples, lemon juice, flour, sugar, and cinnamon. Mix until well coated.
- In a deep bowl, combine the oats, light brown sugar, flour, baking powder, cinnamon, and salt. Mix with a fork until it resembles small crumbs.
- Spread half of the topping mixture over the baked base.
- Add the coated apple slices on top of the first layer, leveling them out gently.
- Sprinkle the remaining topping evenly across the apple layer.
Baking
- Bake for 40 minutes until golden brown.
- Allow to cool before cutting.